- Joined
- Nov 6, 2007
- Messages
- 62,016
- Reaction score
- 6,922
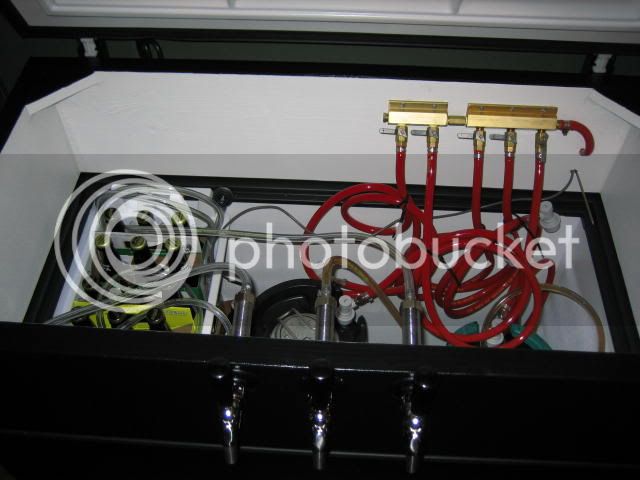
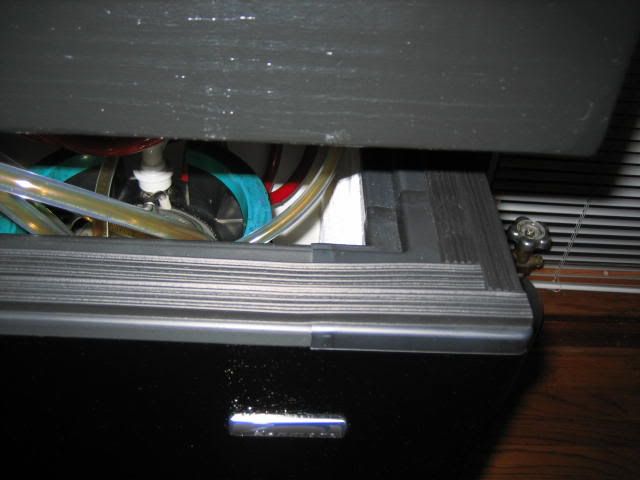
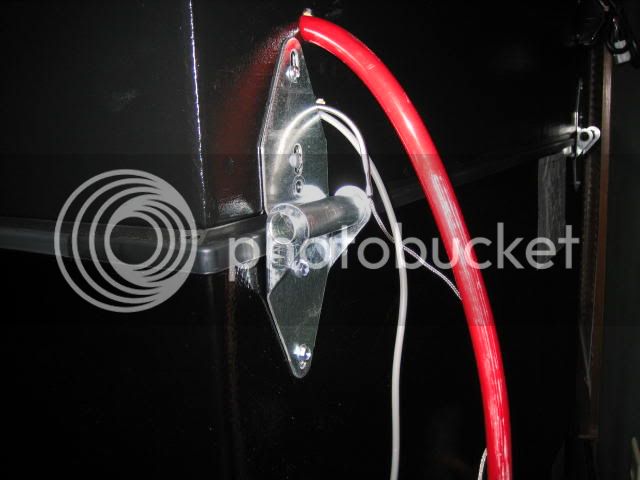
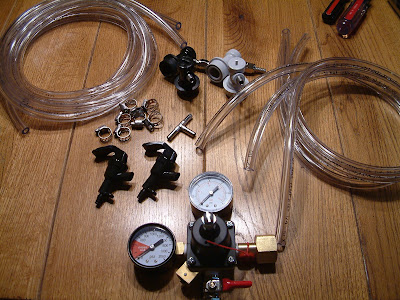
Where do you all get the red hose for gas? And what is the spec on it?

Where do you all get the red hose for gas? And what is the spec on it?
Where do you all get the red hose for gas? And what is the spec on it?

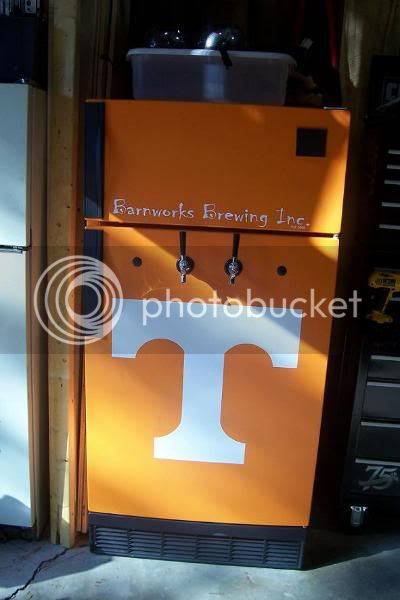
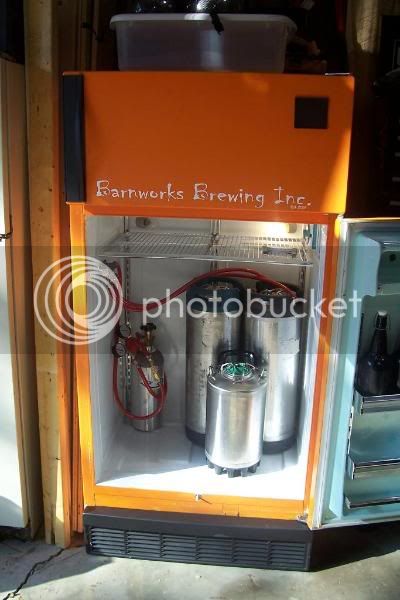
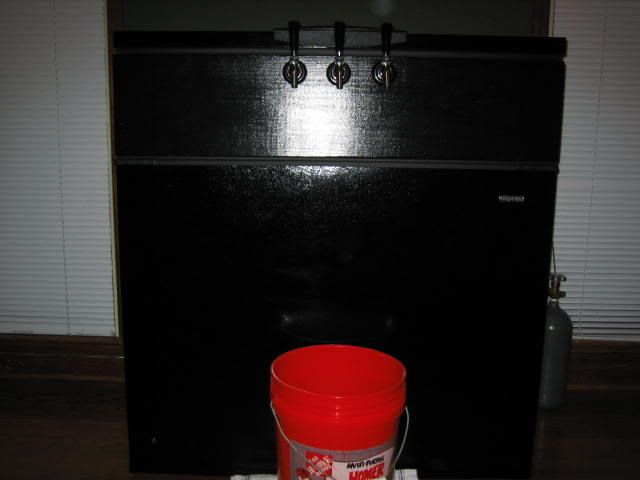
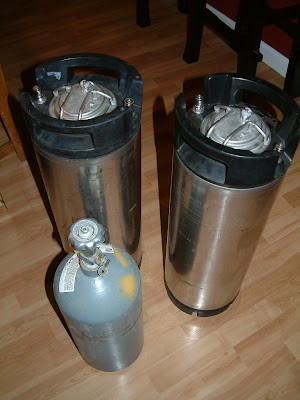
 The wife wants to paint flames on it, but this is it so far...
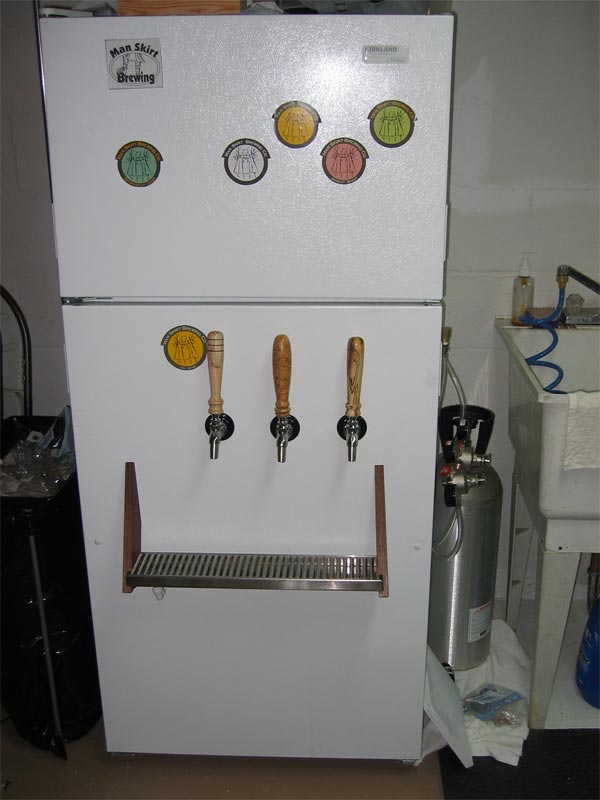
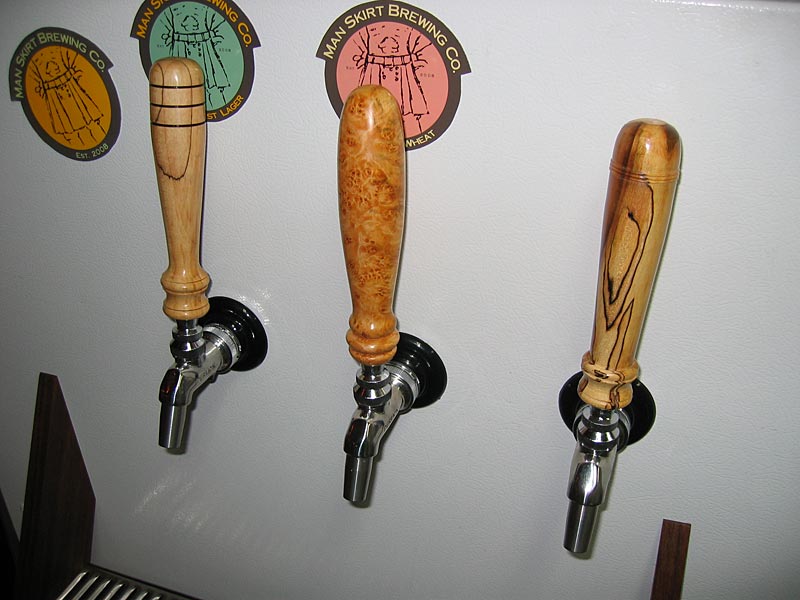


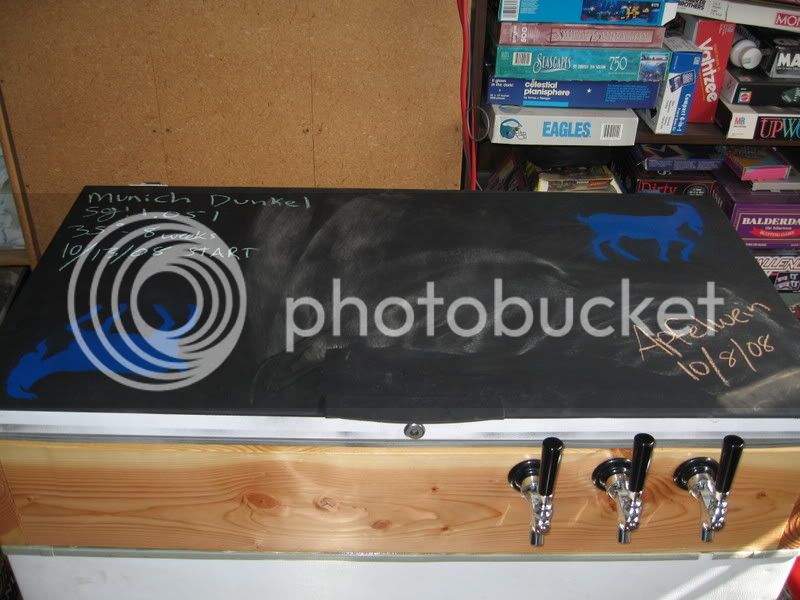
My turn! I was waiting until I finished the tap handles
Two more...
-Joe
 gotta say chriso, I was just watching your youtube vids on kegging again this afternoon, and I'm pretty sure you have a perfect brewing basement. That drain along the side is awesome, But I'm guessing it's rinse water only?
Wait what? I have youtube videos???
Edit: Ah. Chris Knight. He is not me is not he. We are not he are not us.
sorry.

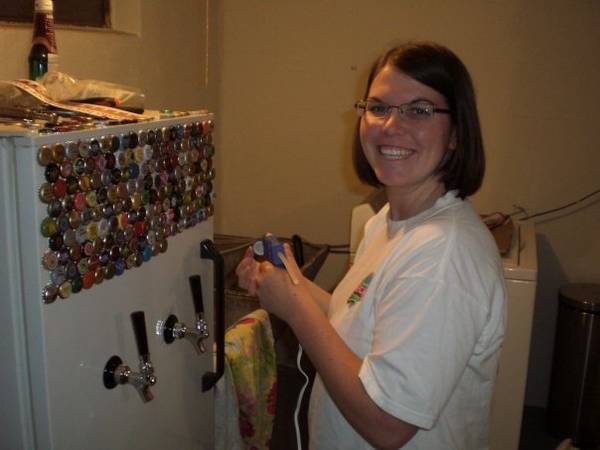
Before:
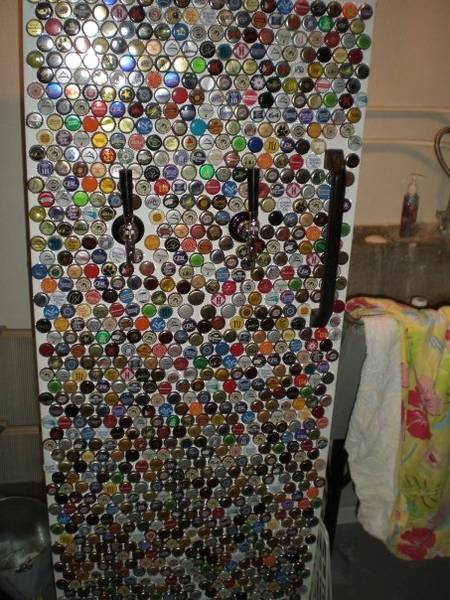
All of the caps we collected:
My girlfriend at work:
The final product
I was thinking the same thing as mmb... If I ever build a bar for the basement, I think I'm doing a similar thing - mosaic of caps, and flow coat with epoxy.
I've already got the caps - well over 3# of them by now.

Thanks to the great help from people on this site it came out great!
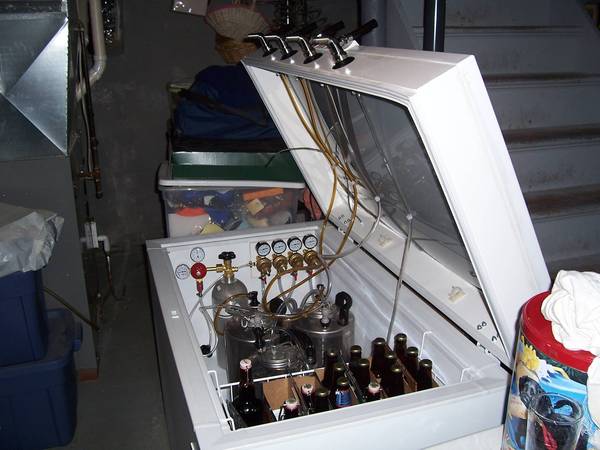
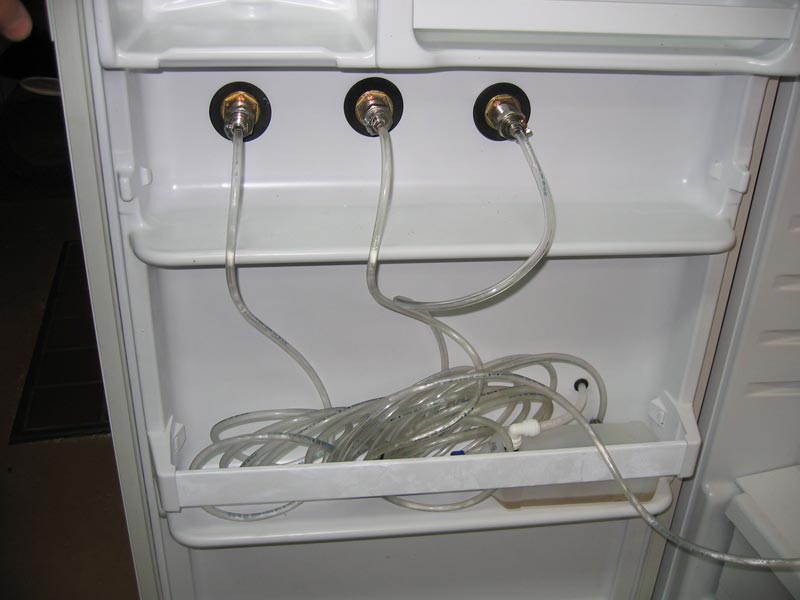
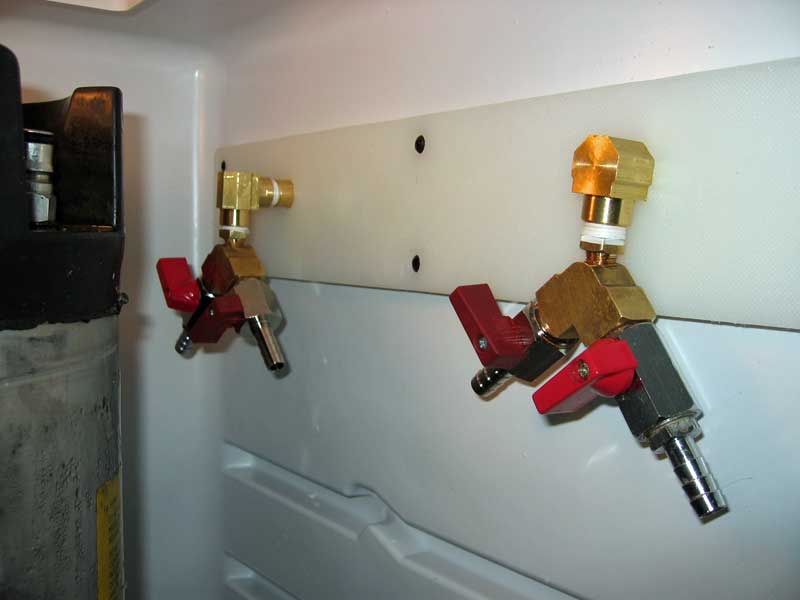
I actually now have 5 taps. This is an older picture....
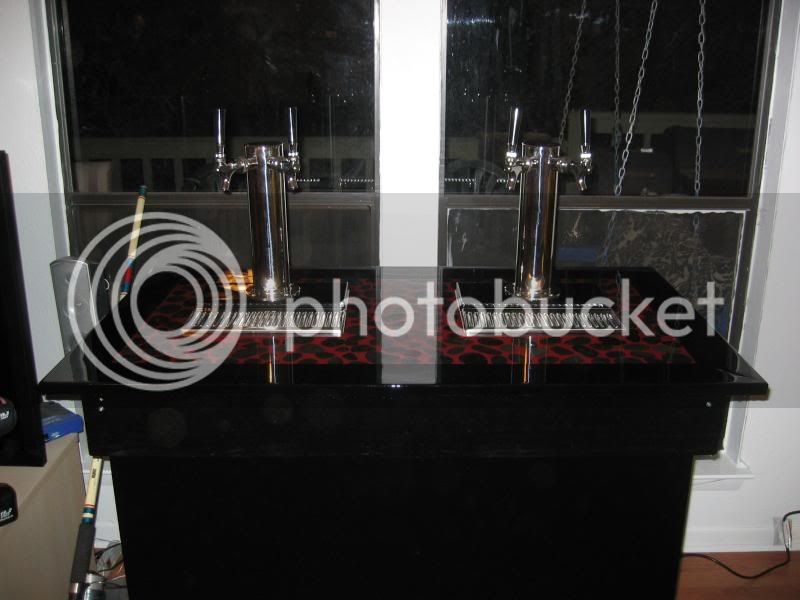
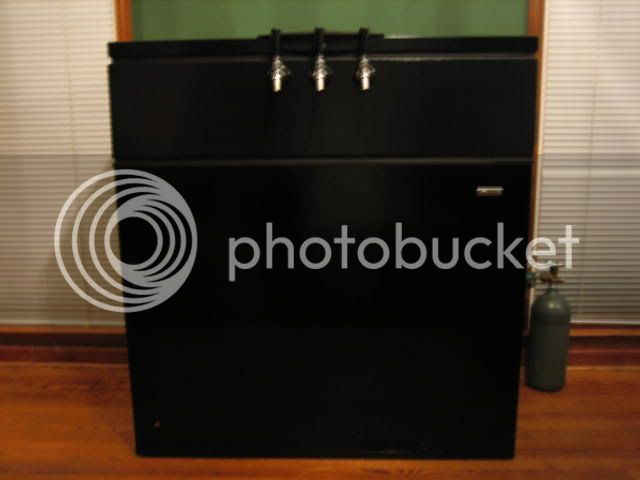
Just finished mine yesterday, here it is:


Necessity being the mother of, well... improvisation in this case.
I'd post a picture, but we are currently free users - and really, it looks hardly different than anybody elses, except for perhaps our beer glasses on top.
Haha, ghetto! What would you have done? I've got some real handles on there now, but the important part is I was able to successfully pour pints when my order was missing the handles.damn man thats ghetto. I saw Edworts orrigional dong handels and man this gives them a run. atleast in the end it doesnt look phallic
Enter your email address to join: