MN Kegerator Build Log

Homebrew Talk - Beer, Wine, Mead, & Cider Brewing Discussion Forum

Help Support Homebrew Talk - Beer, Wine, Mead, & Cider Brewing Discussion Forum:

This site may earn a commission from merchant affiliate links, including eBay, Amazon, and others.
I set out to finish the drip tray. It's a plywood tray surround covered with a couple layers of carbon fiber to make it look purdy. I've used the carbon for a couple of other projects- It's fairly easy to work with as long as you have a handle on the epoxy instructions.


Finished mounting the drip tray. 8" angle brackets mounted through the fridge.
A Dremel tool made the mounting slots fairly easy.


Totally Awesome, I am currently handicapped and can't build my keezer I was given for my last birthday, My SWMBO also can't stand all the bottles laying around :).

I really like the tiled look and the drip tray. You would never know it is an 80's refrigerator.

Inspirational for sure.
 
Do you know what your casters are rated for? I was looking at some with a 300lb rating that look similar to yours, but didn't think that's enough with a few full kegs.
 
Casters are rated at 175# each. The fridge rolls fine with 4 filled kegs, a bunch of bottles, and a freezer of food. I have no idea if they'll hold up over time. I had considered using all-steel shop casters, but just went with rubber ones instead. I know you don't want to operate them at their rated capacity, but i figured it would be difficult to ever get close to more than 700lbs!
 
The carbon is 6 oz 2x2 twill that I bought in a bulk roll on eBay. 6 oz is light enough to drape well into curves, though you need a few layers to give a uniform coverage without bleed- through of whatever's underneath. The twill weave is what gives it the distinctive diagonal zig-zag pattern.
I used system three silvertip epoxy resin that I bought in person from their composites distributor warehouse when I lived in Seattle. It sets up completely clear and is easy to mix by weight.
 
Long time to leave this thread, but I realized that I had finished the build and not posted photos.

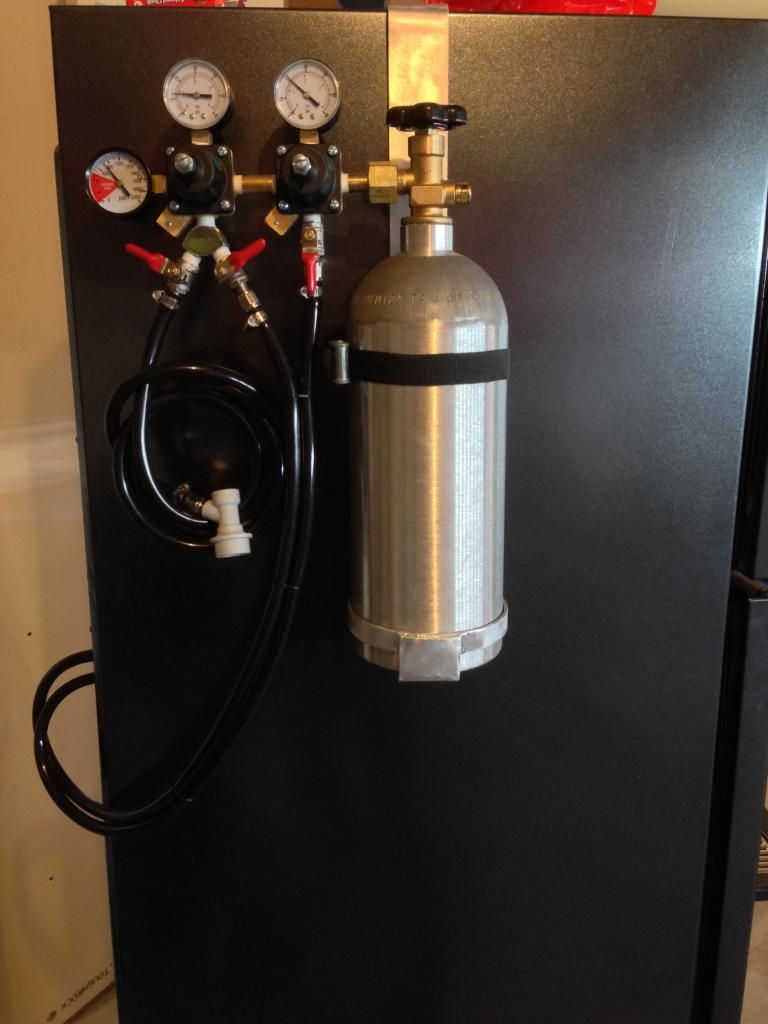
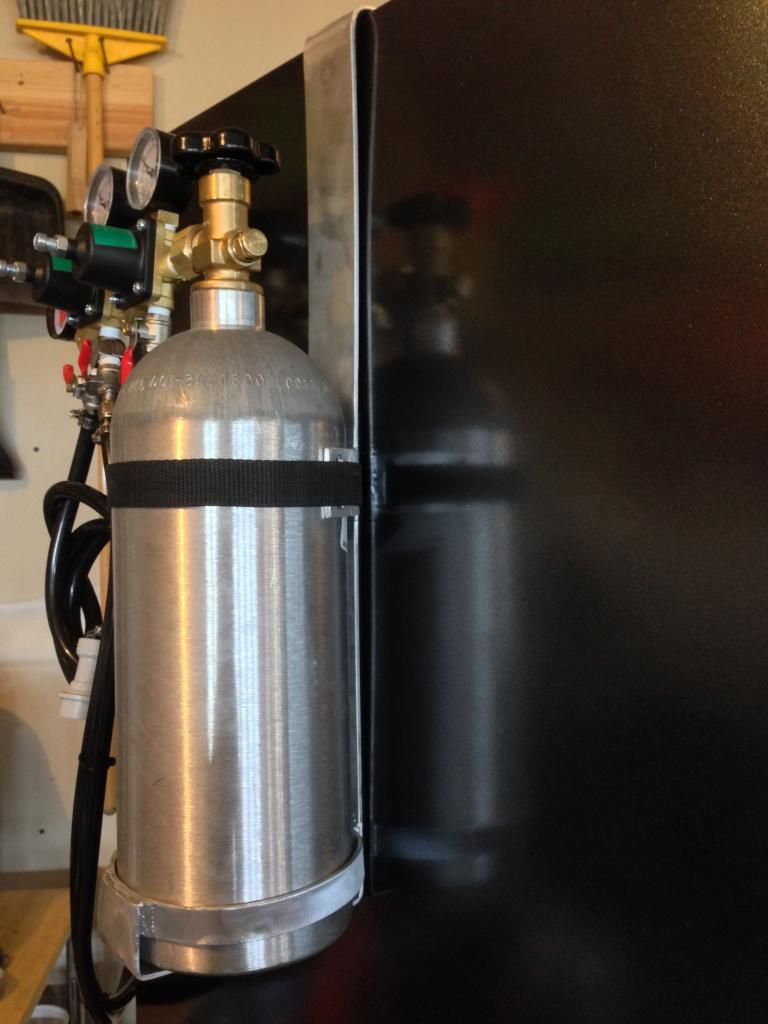
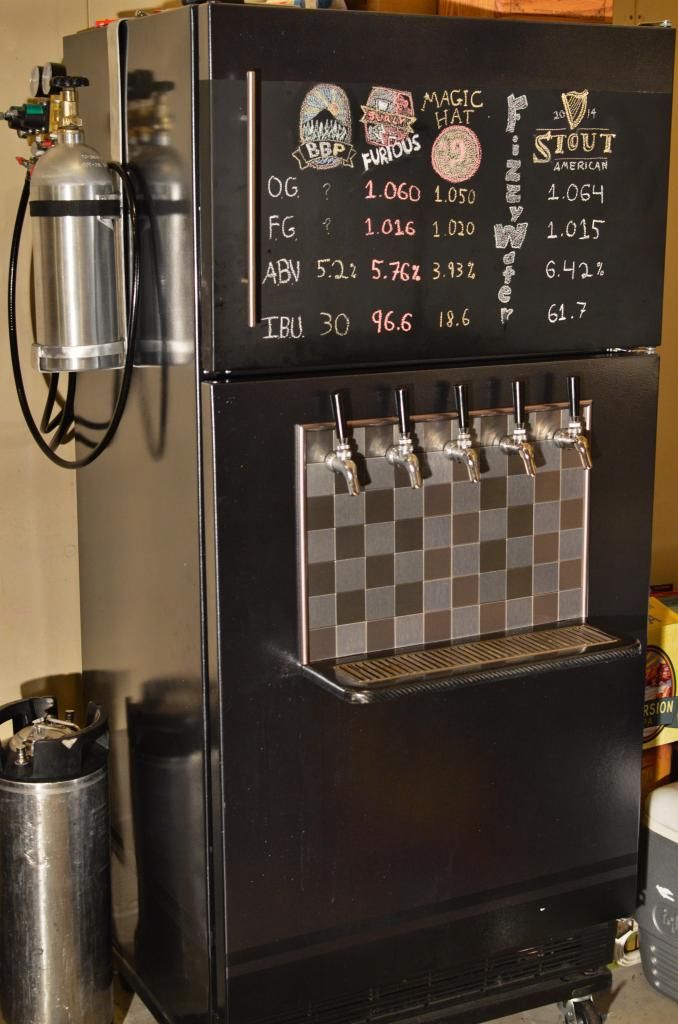
-Made an aluminum bracket to mount CO2 bottle to the side.
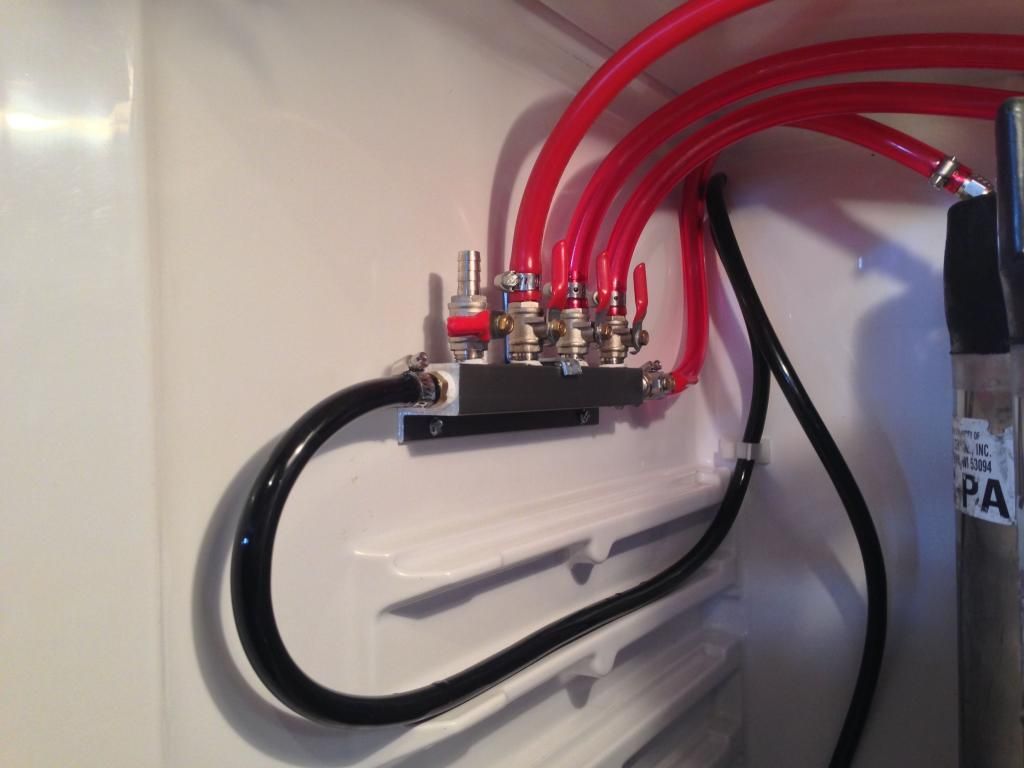
-Ran a second regulated gas line to have charged water or soda at a higher PSI.
-Split the Primary gas line with a wye fitting at the regulator so I have an accessory gas port on the outside for purging kegs/fermentors/etc. Very handy.
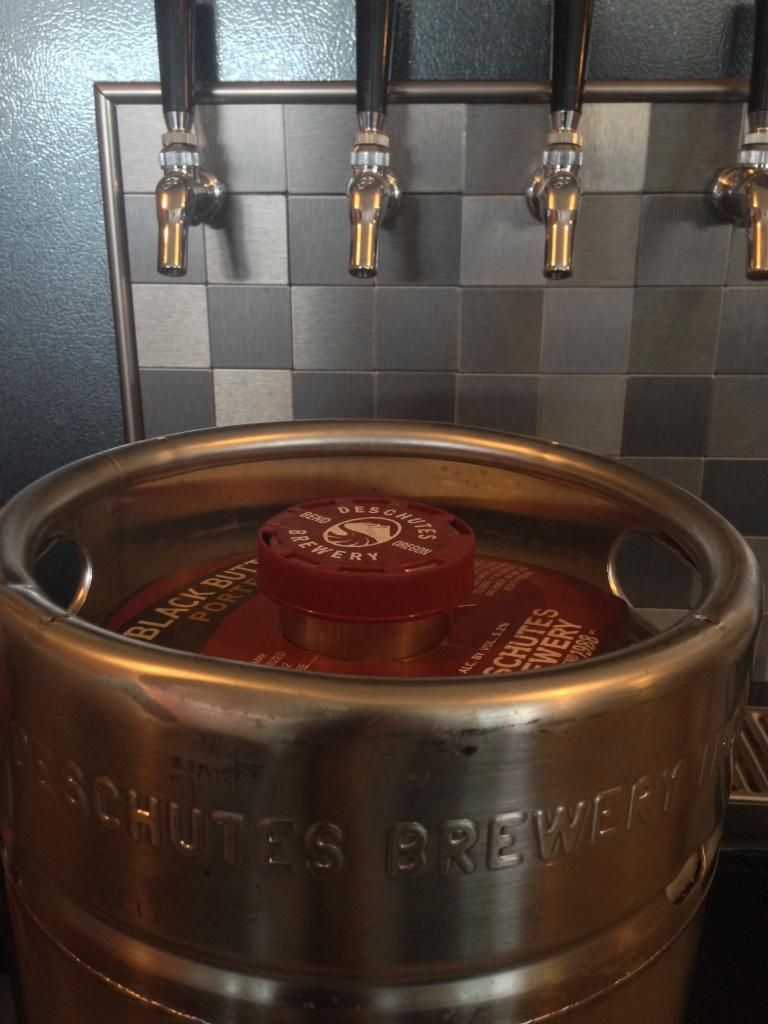
-Added a Sankey tap on MFL fittings so I can swap in commercial kegs during the winter brewing hiatus.
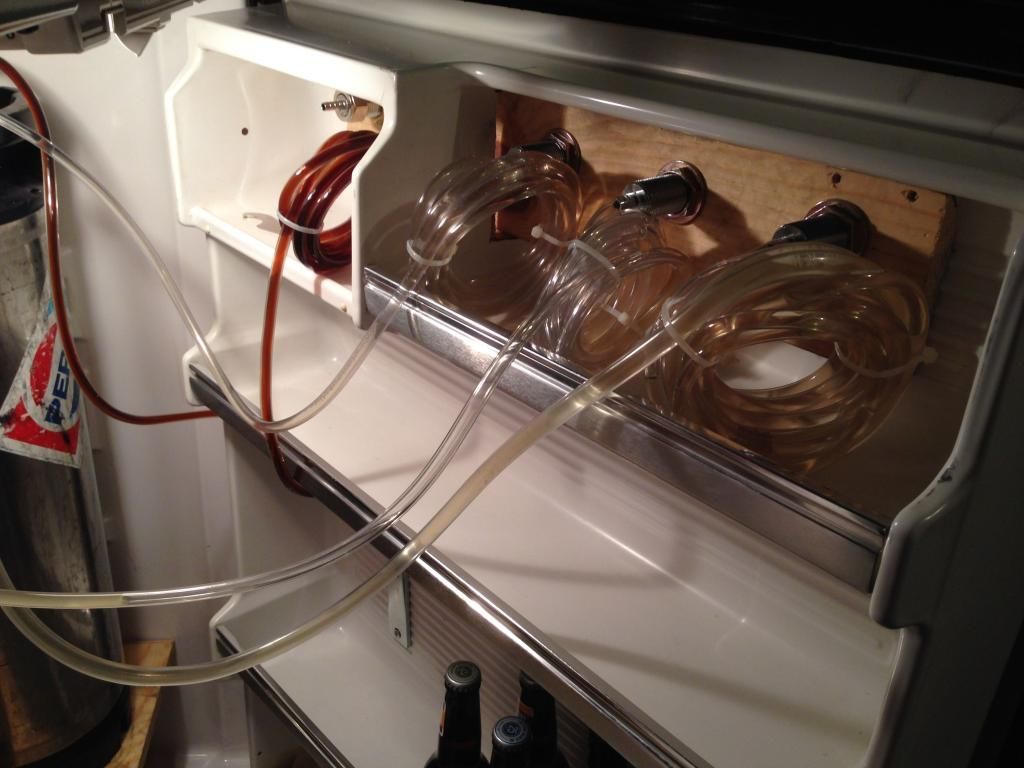
-Made all beer lines minimum 10' of 1/4" tubing. The cheap vinyl stuff.


As it sits today in the garage:

(purchased the black butte, but brewed the others)


I can officially call it 'finished' though I do have an idea floating around for some sort of security/safety control. The kids are going to get tall enough to reach the handles in a couple years, and then in a few more years old enough to realize what beer is. I still want the ease of pulling a pint without unlocking anything, though. The current thought involves actuated ball valves on the beer lines inside the door, with an arduino and fingerprint reader. I've never seen anyone attempt it that way before, but I have a fingerprint gun safe that is fast and amazing, and It would be cool to have the same functionality on the kegerator. Still haven't worked out the details, but someday.
 
-Added a Sankey tap on MFL fittings so I can swap in commercial kegs during the winter brewing hiatus.

I just finished my electric BIAB build. So, if you ever want to brew in the winter just shoot me a line. I brew in my garage with my current setup. It's heated any all that...so it's very comfortable in the winter.

Really like the kegerator. Looks really good. I just finished my Keezer build a few weeks ago. But haven't had time to fill it with beer yet. Hope to change that this week.
 
Back
Top