Mirage
Well-Known Member
That is really nice looking! Good work!

Sensibull, I like that one very much. A neat and tidy installation that goes well with kitchen decor. It looks like it belongs there.
I was about to post mine... but my fridge stopped cooling after 3days!!! makes a weird clink noise and motor is hot to the touch. no coolant lines in the top on the Danby. didn't nick any lines while cutting. voided warranty when I made my first cut and removed door self panel. Which had nothing to do with tap install...
I AM SOOO BUMMED! was hoping to have 2 on tap by christmas!!! Now I need to find a fridge repair guy locally to take it to. Worked before I did my cuts. worked while I was making cuts. installed last bit... no chill. Right now it's a pretty looking 2 tap door stop. AAARRRGGHHH!
how would that be done? I un plugged it and had to walk away... majorly frustrated. I can post a pic when i get home...

what black paint are you guying using to paint the white Keezer black?
also im thinking about attaching my granite to face and sides of the lid instead of having it wood. do ya'll think that would look good?
-=jason=-
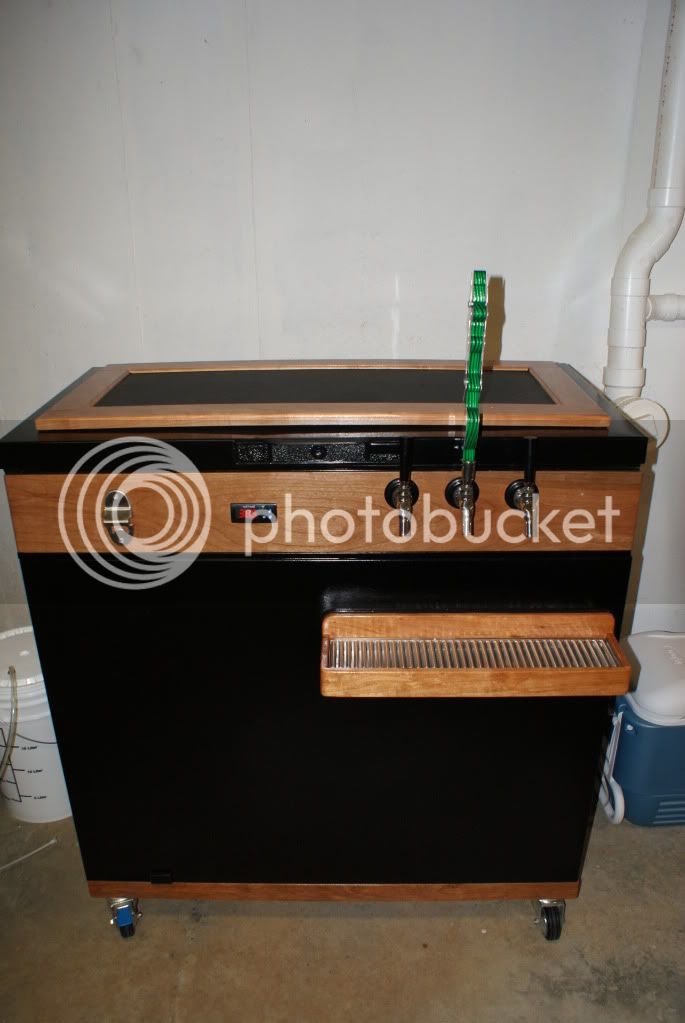
8 CF Frigidaire Freezer
4 Corneys (with room for two more, or room for 6 gal lagering carboy)
2x8 Collar
Johnson Controls A419ABC-1C

1990, that is one of the sharpest, nicest looking collar keezzers i have seen. The cherry and black is a real classy look. I also like what you did with the controller. The rounded corners on the collar and drip tray are a nice touch too.
What controller did you use?


There is a small chance that the fridge had short-cycled and liquid refrigerant got into the compressor and locked it up, especially if you have a different controller on it. This problem would clear after being unplugged for 10 minutes or so.

Thank you! If there's one thing I know how to do, it's work with wood!
The controller is a Love TSS2 2-stage. Currently only have it for cooling, but I figured if I bought one, might as well make sure I could use it as a fermentation chamber if I wanted to. Might not ever do it, but it saves me about 30 bucks down the road if it comes to it.
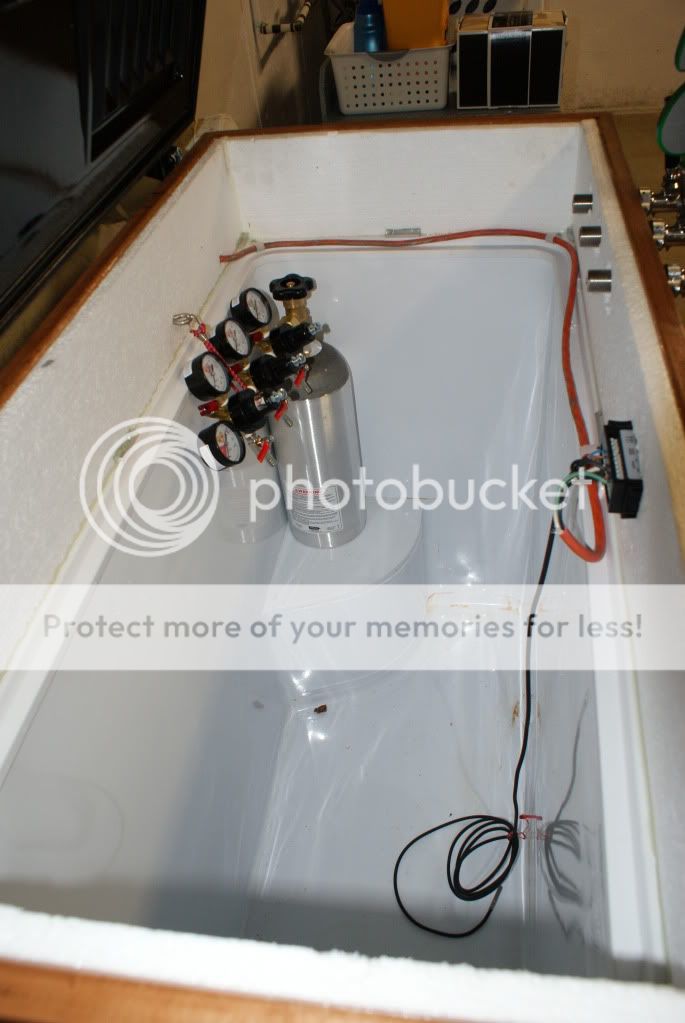
I'd put some sort of cover the back wiring though. Keezers even mine with a fan and damprid in it are notorious for having condensation issues and that wont mix well with electricity.
Yea, I realize the cold air sinks to the bottom, but I also know some people (and me, if I ever make one of these) put little computer fans in there to circulate the air. It makes sense that your faucets are much colder than the collar, but the fact that the collar is cool at all indicates heat transfer. Me, I'm a mechanical engineer so I really geek out about this sort of stuff and always try to maximize mechanical efficiency, just for fun. In this case, mechanical efficiency = thermal efficiency, and that collar just looks like a big ol' black hole of heat loss (to me). I'm not bashing anyone's build at all, b/c obviously this works and works great for many. I'm just doing some pondering and was wondering if any had done some pondering along these same lines before.
Yea, I realize the cold air sinks to the bottom, but I also know some people (and me, if I ever make one of these) put little computer fans in there to circulate the air. It makes sense that your faucets are much colder than the collar, but the fact that the collar is cool at all indicates heat transfer. Me, I'm a mechanical engineer so I really geek out about this sort of stuff and always try to maximize mechanical efficiency, just for fun. In this case, mechanical efficiency = thermal efficiency, and that collar just looks like a big ol' black hole of heat loss (to me). I'm not bashing anyone's build at all, b/c obviously this works and works great for many. I'm just doing some pondering and was wondering if any had done some pondering along these same lines before.
A layer of insulation makes a huge difference with the collar. As for the taps they are like a heat sink (cold sink in this case, lol) since there is a shank sticking into the cooler and a big metal tap sticking out but there isn't all that much you can do about it.
Implying that the wood was cold was probably an overstatement. I cant tell the difference between the temp of the side of my freezer and the outside of the wood collar.
While I am not specifically mech-e, I am a professional engineer with experience in thermodynamics. I too pondered this when putting my kegerator together. A softwood 2x8 could have an R value over 2 per inch. Foam insulation is obviously higher than this. Assuming that you have everything sealed up properly, energy cost savings over the life of the kegerator compared to the extra cost / effort of adding insulation is something that could easily go either direction.
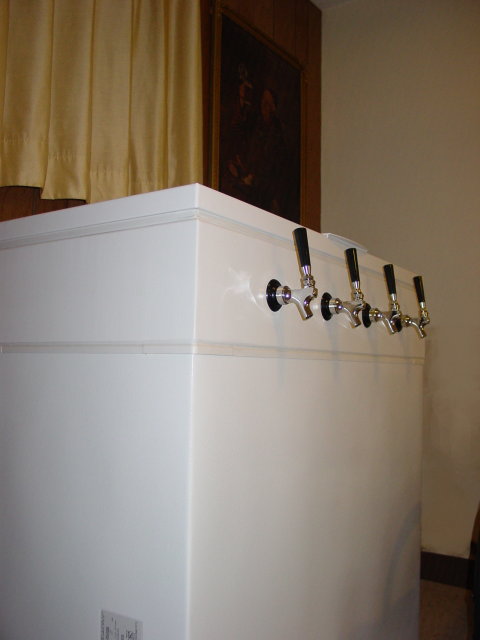
http://www.bonemopbrewing.com -- been meaning to throw this up with the pics of my keezer for awhile now. The tap handles were hand made from stainless steel pipe and welding wire by my father. They're welded on the back, then ground down on the front to make them convex, then polished and shined.

http://www.bonemopbrewing.com -- been meaning to throw this up with the pics of my keezer for awhile now. The tap handles were hand made from stainless steel pipe and welding wire by my father. They're welded on the back, then ground down on the front to make them convex, then polished and shined.
A layer of insulation makes a huge difference with the collar. As for the taps they are like a heat sink (cold sink in this case, lol) since there is a shank sticking into the cooler and a big metal tap sticking out but there isn't all that much you can do about it.
That is for sure... there is tons of information.
those tap handles are awesome! I'm jealous
http://www.bonemopbrewing.com -- been meaning to throw this up with the pics of my keezer for awhile now. The tap handles were hand made from stainless steel pipe and welding wire by my father. They're welded on the back, then ground down on the front to make them convex, then polished and shined.
I'd put some sort of cover the back wiring though. Keezers even mine with a fan and damprid in it are notorious for having condensation issues and that wont mix well with electricity.
Plus, since you have the collar attached to the body and not the lid, you could end up banging it with kegs.
I've often wondered at what effect the wood collar has on the insulation of these things. I would imagine that heat would permeate through the wood a lot easier than through the insulation in the walls of the original freezer. For example, I would expect that looking through some thermal goggles at a running unit would show a major cold spot at the collar, as it would not be as insulated from the inside as the rest of the freezer. Is this addressed somehow in your guys' mods?
There have been others that voiced similar concerns to yours, and if you peruse this site enough you will see some people have gone to the effort of adding insulation to their wood collars to rectify this problem.
It all depends on priorities. For some people it is not worth the effort/cost, and others it is.
http://www.bonemopbrewing.com -- been meaning to throw this up with the pics of my keezer for awhile now. The tap handles were hand made from stainless steel pipe and welding wire by my father. They're welded on the back, then ground down on the front to make them convex, then polished and shined.
Shorter shanks. Mine protrude 1/2" beyond the insulation. However in this case it may be desirable to keep the taps cold to reduce foaming. I could go either way on this one, but the shorter shanks help getting kegs in and out with a collar-on-body keezer.
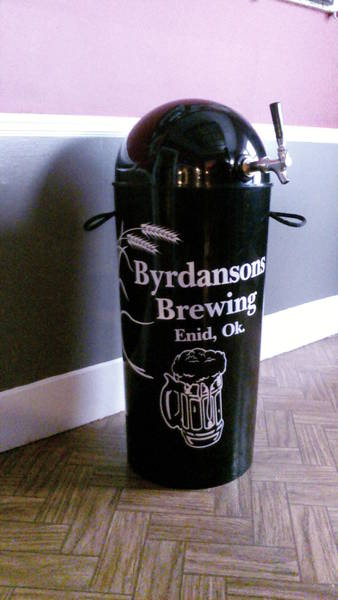
needs to be painted to look like R2D2

needs to be painted to look like R2D2-=Jason=-
Enter your email address to join: