chuck- now that your set up, which looks great by the way, is done, can you tell what your final tally was with the stand, burners, metal for the shelves and all the misc parts? Just wondering how in the end your cost ended up as compared to the Top Tier equivelant. I know from reading here yours is 3" and the top tier is 5", but asside from that, just wondering if you came out ahead or behind when done. Also, do you know what your total time (estimated) to build was?
I am trying to develop my own top tier and very glad I found this thread.
Great job!
I have not done a detailed price list since I added a pump and a few other little itemms, but the last time I added it all up I had $1054 in my BrewTree. Now keep in mind this price includes all t-slot material, all hardware used to built the entire stand, all of the steel I built the burners and the shelf out of, both burners, plate chiller, cold pump, everything (includeing fittings false bottom and copper pipe) that I used to build the BK MLT and HLT, the cost of the kegs that were used, the water line including the filter, and the gas manifold. I think I got everyting....
When you buy a Top Tier you get the center mast the outriggers/legs, and burners/shelves depending on how you order it. No gas line, no chiller system, no water line, and no kettles. You be the judge of weather or not to buy or build your own, the skill level needed to build this thing was probably medium at best.
And I guess I probably have about 30 hrs in designing and building.
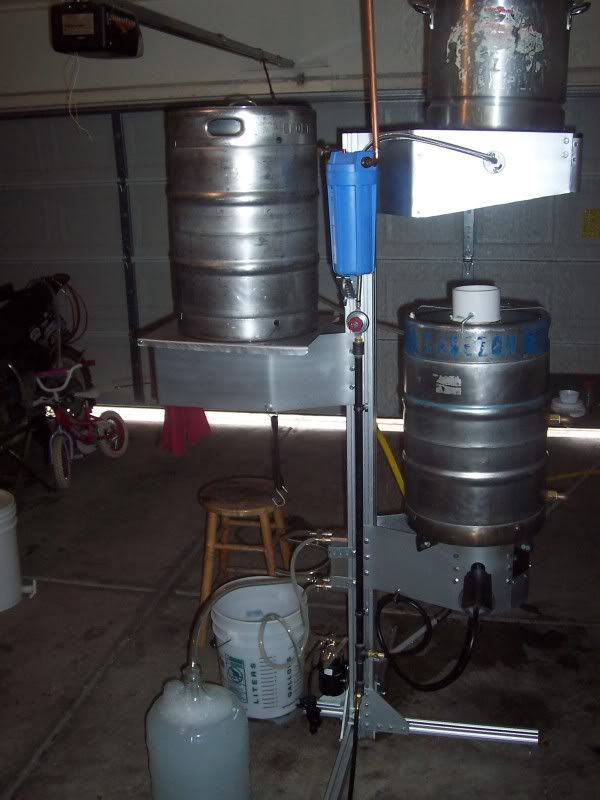
Would I change anything today... not really, I love this BrewTree and the design, it takes up almost no floor space which is a plus, but you need a stool to stir you mash, I have a sight glass on the HLT and a water line that feeds it so I do not have to hold a hose to fill it I just turn a valve which is SWEET!
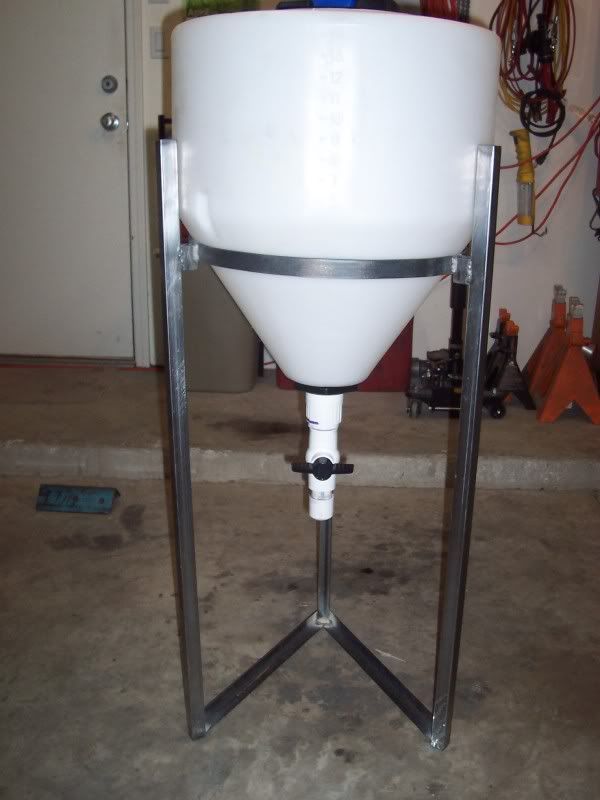
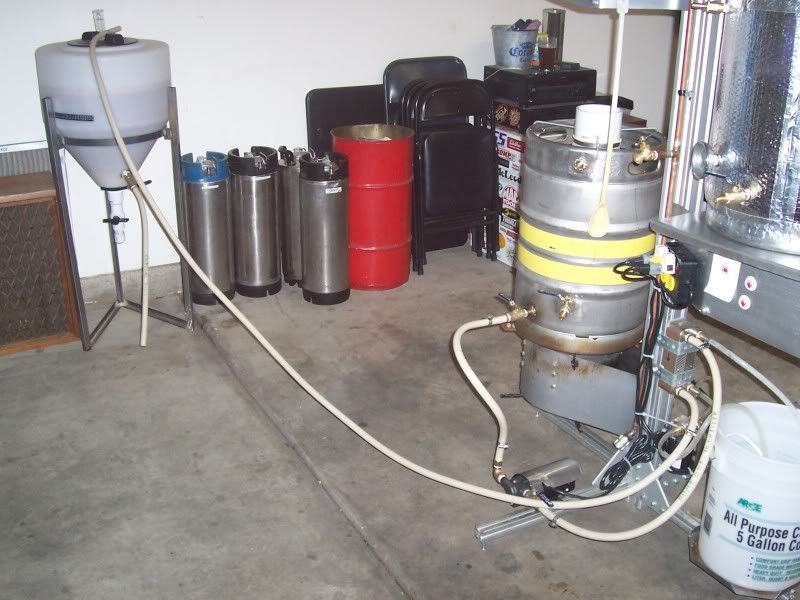
I will be installing a March hot pump this weekend, for two reasons, so I can circulate my mash and so I can fill my new 15 gal conical fermenter from the boil kettle. The conical is my latest creation, its not quite done but I will include a pic for you guys. After istalling the pump, I will be able to lower the BK down to its lowest position on the mast, which means I can lower all the tiers and still be able to gravity feed from one to the next, at that point I am pretty sure I will not need the stool anymore to stir the mash, so this thing jsut keeps getting better!!!
Only thing left to add is wheels so I can tip it and roll it around!!!
Cheers adn happy brewing!!!

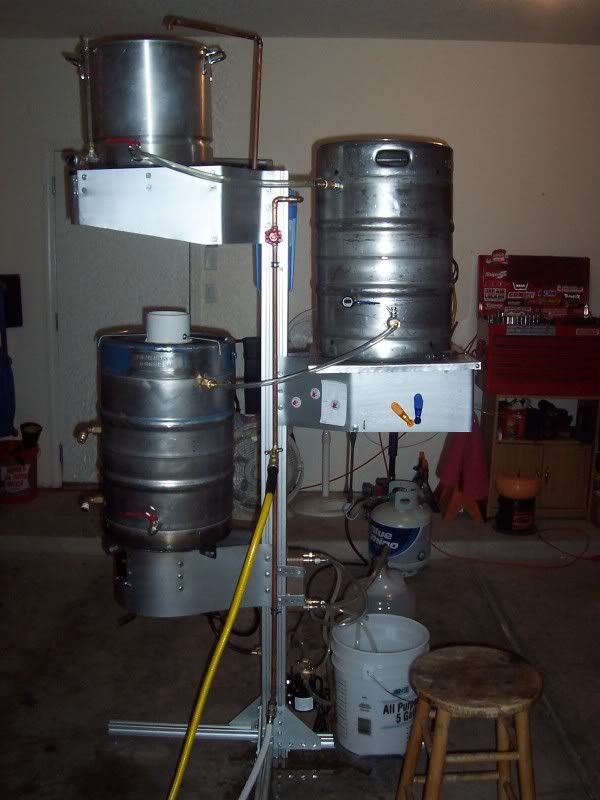
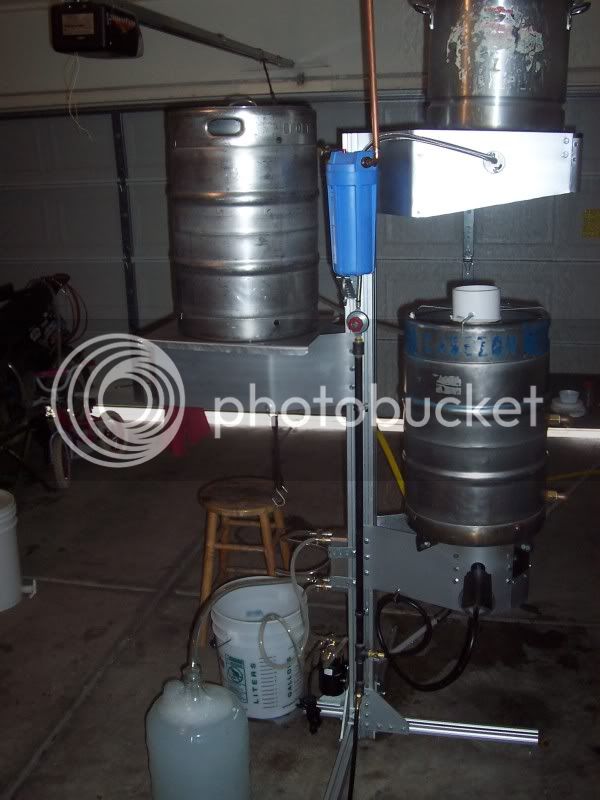
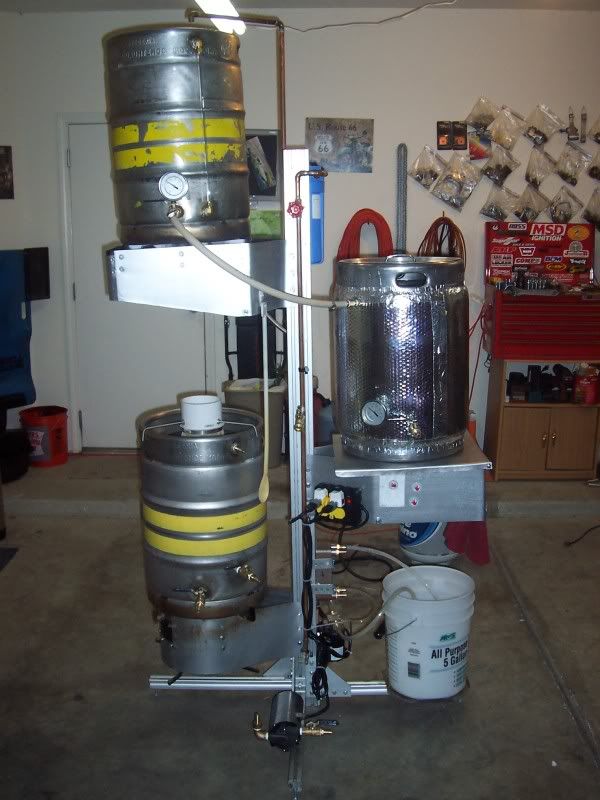
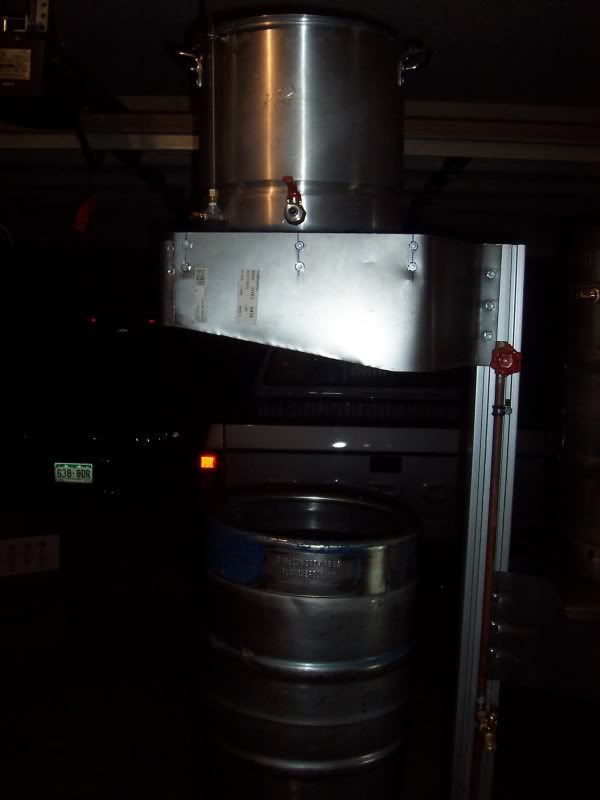
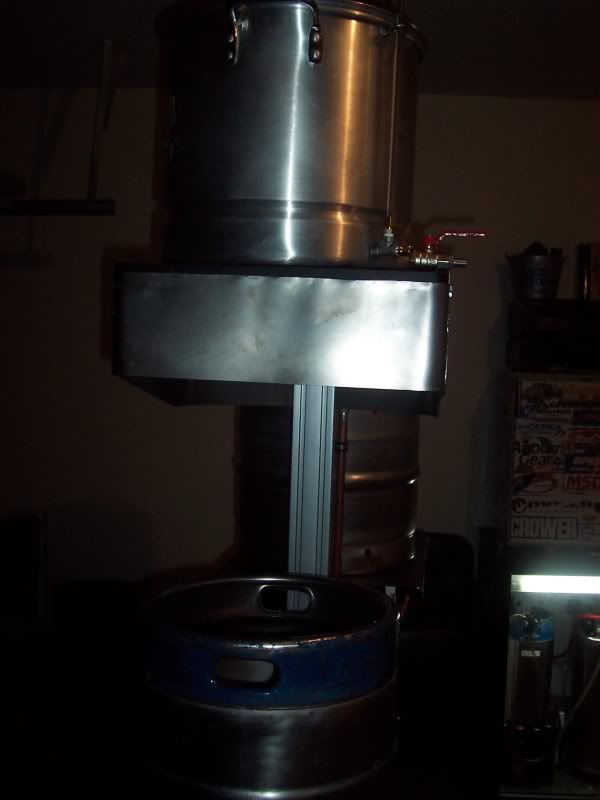
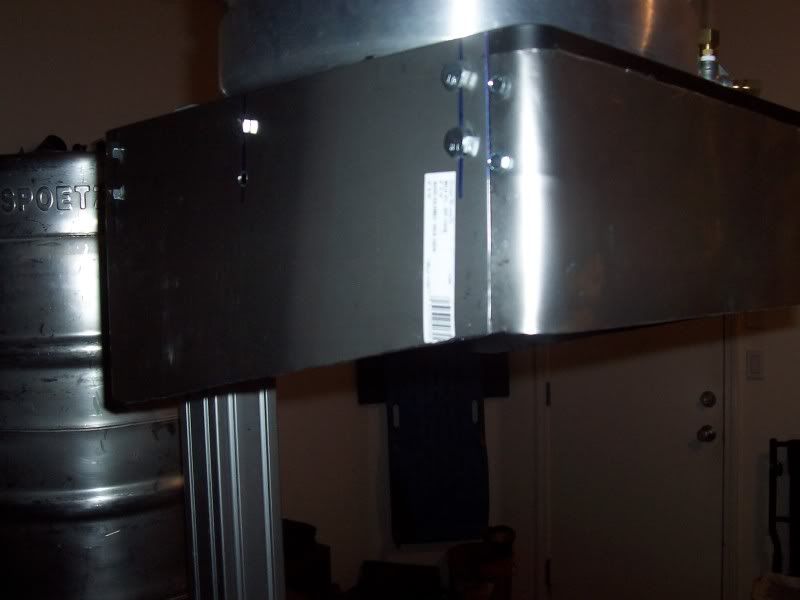
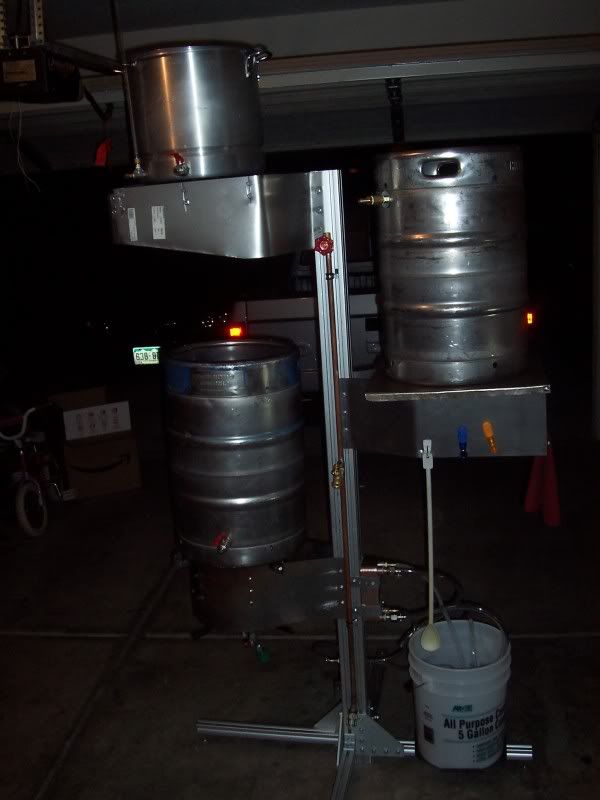
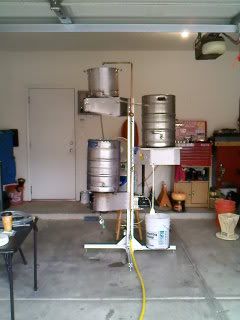
Here are a few recent pics...
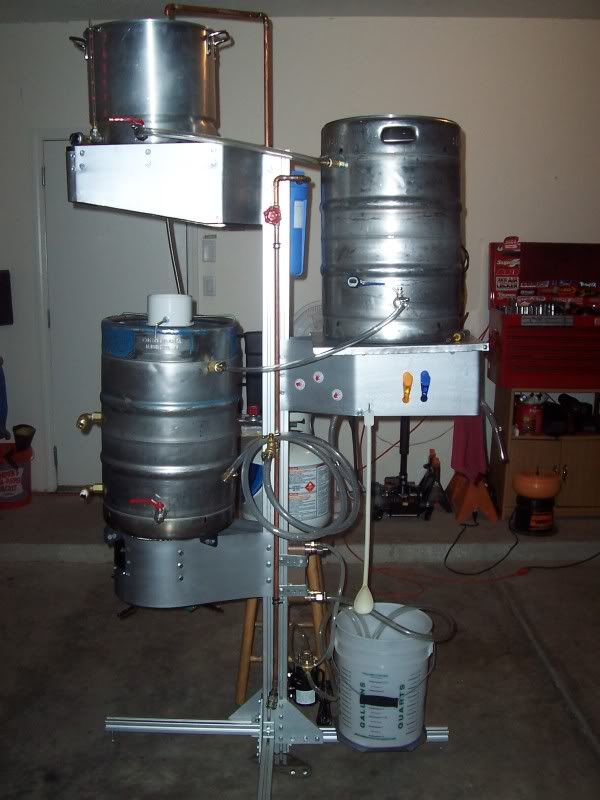
Front of BrewTree.
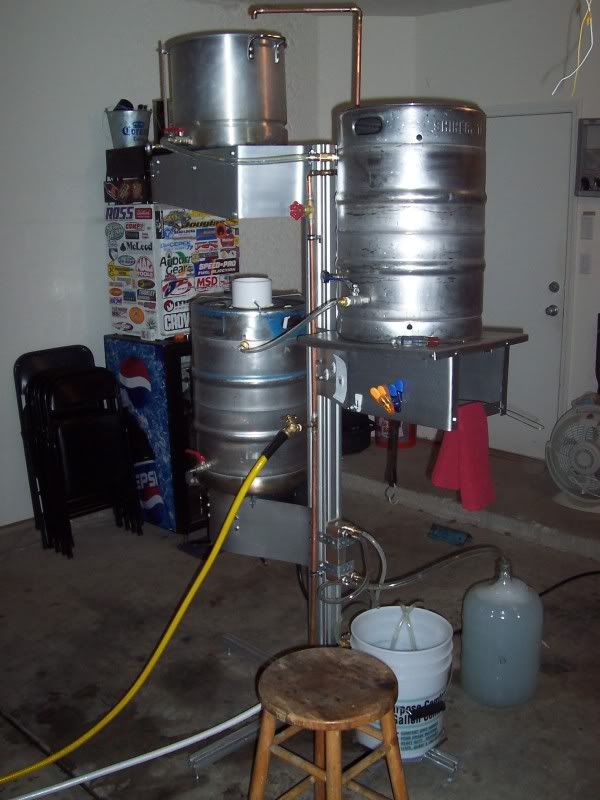
Back of BrewTree.
My new 15 gal conical.
And finally... pouring a pint of the product!!:cross:


")