Pavlovs_Dog
Member
- Joined
- Mar 20, 2015
- Messages
- 6
- Reaction score
- 10
View attachment ImageUploadedByHome Brew1426895789.372151.jpgView attachment ImageUploadedByHome Brew1426895816.389709.jpgView attachment ImageUploadedByHome Brew1426895849.706915.jpg
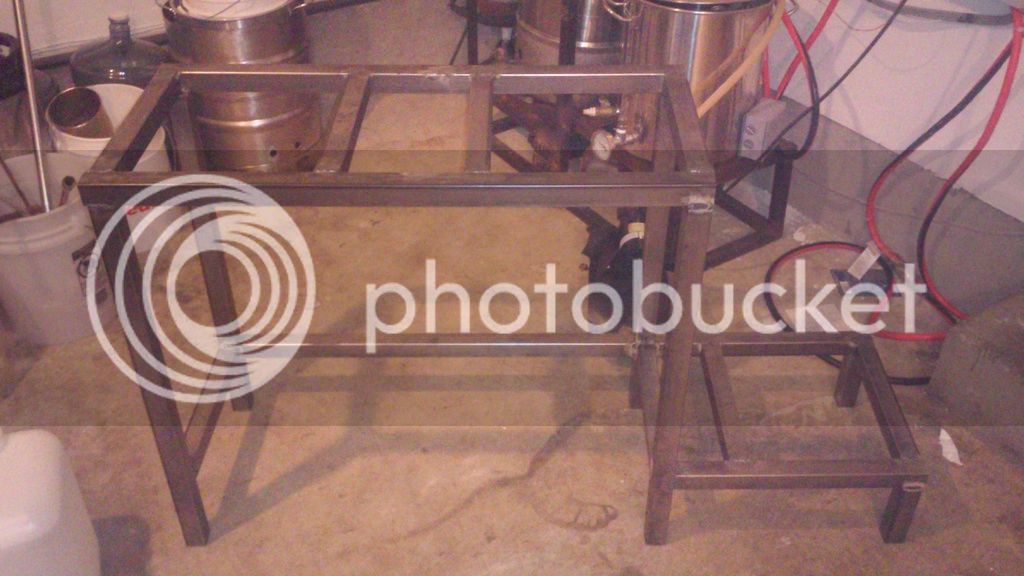
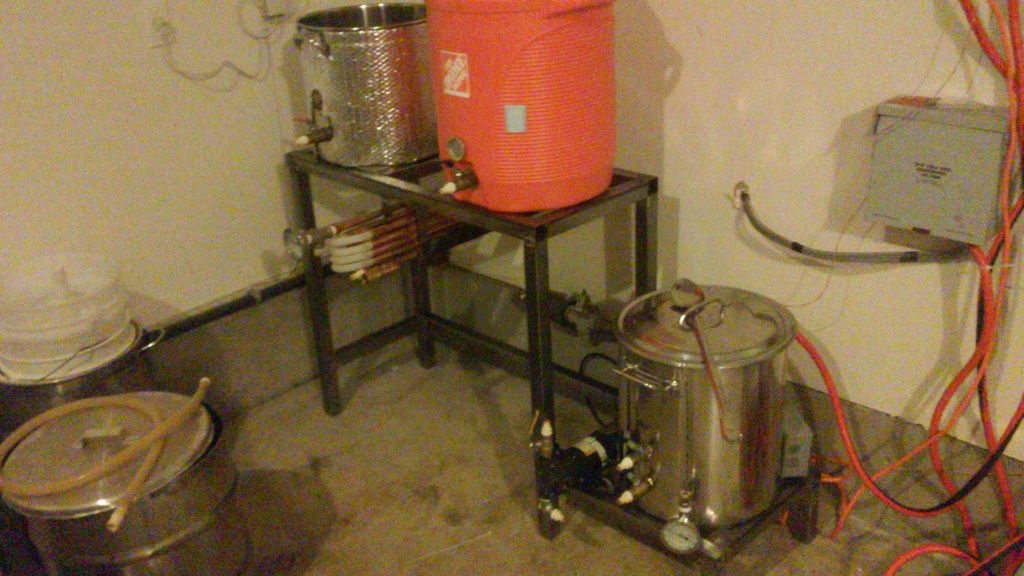
Going for a small foot print, I built a custom 22qt, full induction brew cart. I took the angle grinder to my wort chiller and installed it permanently in the boil kettle. Along with a whirlpool inlet, I can go from boil to 75 in 14 min. Chugger pump recirculates the MLT during mash and step temps are easily maintained just by hitting the warm button at the desired temp. Then the hoses are transferred to boil kettle for whirlpool. Great little brewery for 3-5 gal test batches or pull double duty and brew 10 gal. Having and induction plate on all three kettles gets it done! 2nd mash is started while first wort is boiling. Tell me what you guys think.
Going for a small foot print, I built a custom 22qt, full induction brew cart. I took the angle grinder to my wort chiller and installed it permanently in the boil kettle. Along with a whirlpool inlet, I can go from boil to 75 in 14 min. Chugger pump recirculates the MLT during mash and step temps are easily maintained just by hitting the warm button at the desired temp. Then the hoses are transferred to boil kettle for whirlpool. Great little brewery for 3-5 gal test batches or pull double duty and brew 10 gal. Having and induction plate on all three kettles gets it done! 2nd mash is started while first wort is boiling. Tell me what you guys think.
") . Maybe my beer will taste better if I buff up my HLT? ;-)
. Maybe my beer will taste better if I buff up my HLT? ;-)

 .
.