danegardner
Member
Long time reader, first time post. I've taken a lot of ideas from these forums, so I figured share a few of my own.
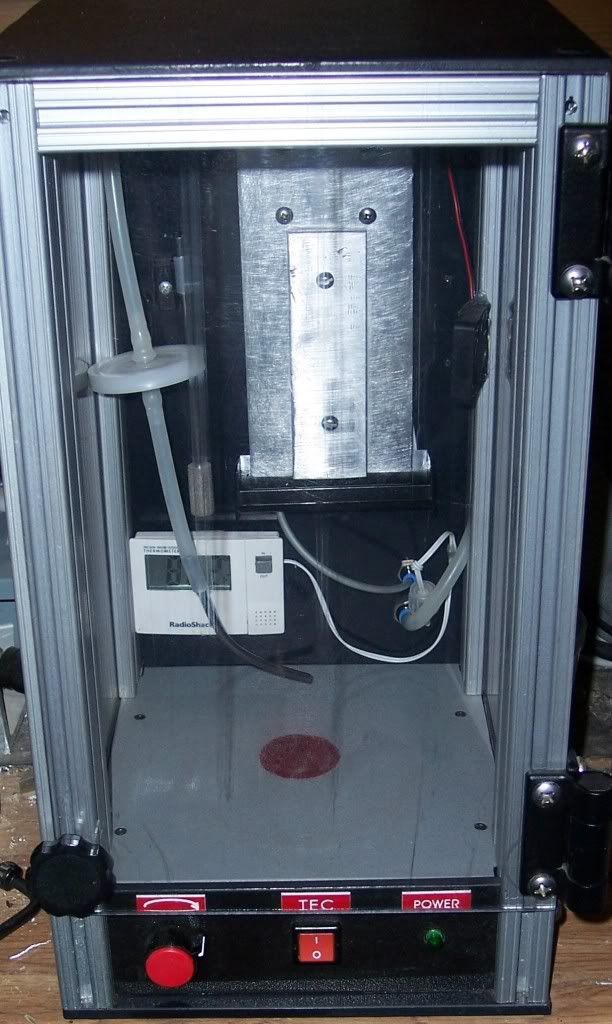
This winter we've been trying to cut back on heating, so the temperature dips considerably at our house at night. When I wake in the morning, it's usually well into the 50's. As you all undoubtedly know, this is bad for yeast growth on slants and in starters, so I was desperately looking for a cheap incubator. This led me to start looking at thermoelectric coolers like the ones that Coleman puts out, but I figured that I would have to build a controller to keep it within a couple degrees.
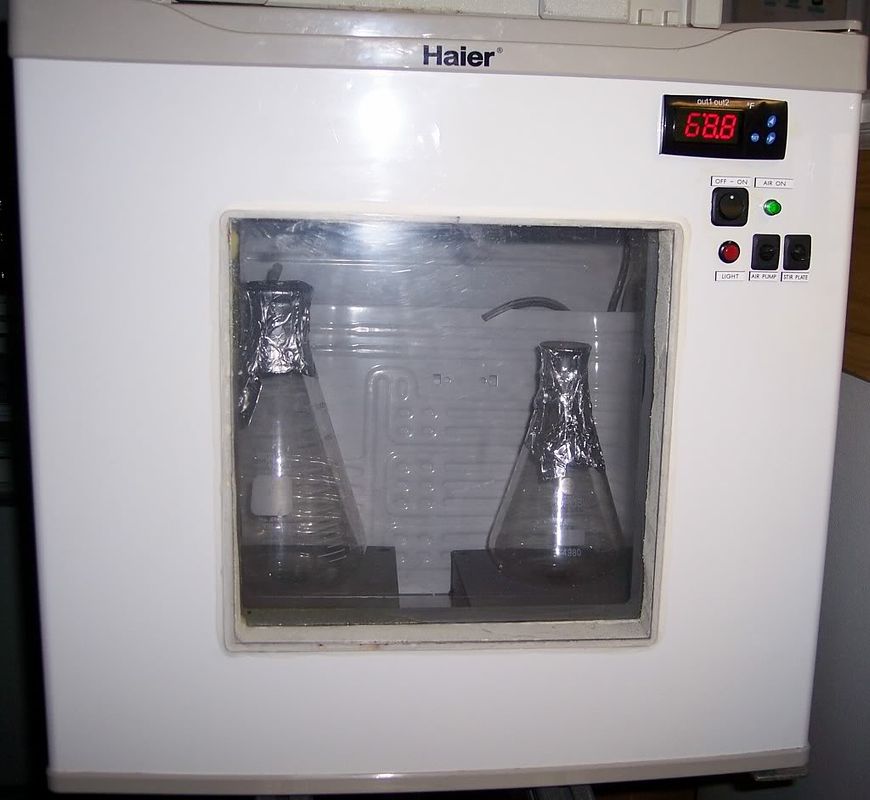
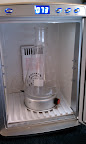
I had been looking around for a couple days, when I accidentally came across a product that Think Geek makes available on their website. Looking at the pictures I roughly figured out the height by the diameter and height of the cans. I was certain I could fit a one liter flask on my home made stir plate in there without any problems, but I didn't know if I could use a two liter flask.
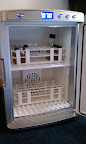
Turns out that I was off by about an inch for the 2L flask, so all I needed was a lower profile stir plate and I was golden! So, for Christmas I had asked my SWMBO for Northern Brewer's low-profile stir plate, but she thought it would be better to get me a chest freezer to convert into a keezer. I agree... God, I love her.
I however still needed a lower-profile stir plate than the one that I built, so I started looking around for parts. Since I was upgrading, I figured I'd change the design a bit to meet certain criteria.
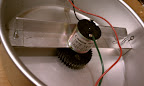
One of my biggest complaints about my previous plate was the way that computer fans are mounted in most stir plate designs; one usually has to pad the top to prevent the flasks from resting on the screw heads. I also noticed that fan motors tend to not have as much torque to turn at their full speed, meaning that I couldn't get a really good twister going on a 2L flask.
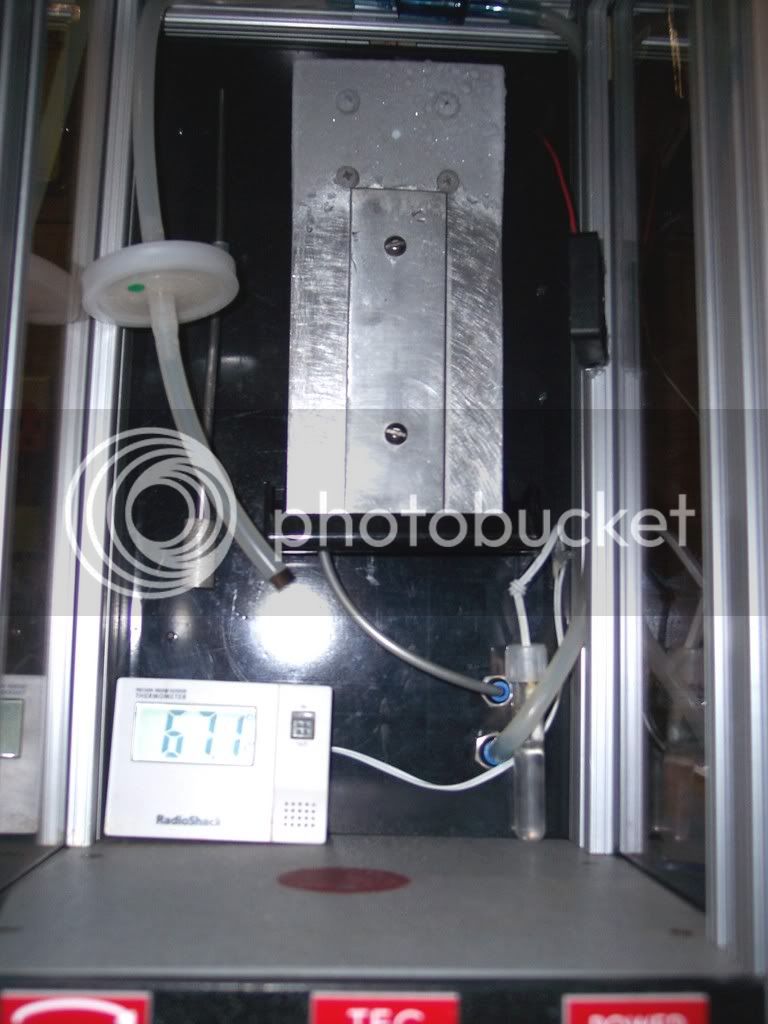
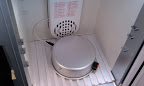
I picked up a couple of cheap ($2) motors from All Electronics, but I had to guess on their strength. I was lucky that they worked out well. Later, while in a kitchen shop I noticed a 2" deep, 6" aluminum cake pan which, when turned over, makes a perfect platform for a stir plate. Put those together with some custom bracketry made from 3/4" aluminum angle, a flywheel from a plastic gear and some magnets, a potentiometer, and a power jack and I've got a stir plate that cost less than $20, is half the height of my original, and is much more powerful.
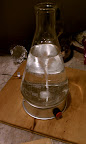
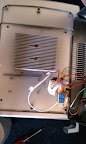
And while I was at it, I tapped the 12V line coming from the fridge itself. Now I can have my two liter flask churning away in my incubator without having to force the door closed on a second power line.
Right now I'm working on the Mk II version of the stir plate, which will feature a 3D printed flywheel that will be more balanced than the plastic gear that I'm using now. And while I'm at it I may have the bracketry printed as well.
More pictures can be found at the following links:
BTW, I'm aware that some people have been having problems with instability when using an aluminum surface between the magnets and the stir bar. I've seen none of this once I discovered the proper spacing of the magnets (~1-1/8" for a 1" stir bar) and got them to within 1/16" of the surface.
This winter we've been trying to cut back on heating, so the temperature dips considerably at our house at night. When I wake in the morning, it's usually well into the 50's. As you all undoubtedly know, this is bad for yeast growth on slants and in starters, so I was desperately looking for a cheap incubator. This led me to start looking at thermoelectric coolers like the ones that Coleman puts out, but I figured that I would have to build a controller to keep it within a couple degrees.
I had been looking around for a couple days, when I accidentally came across a product that Think Geek makes available on their website. Looking at the pictures I roughly figured out the height by the diameter and height of the cans. I was certain I could fit a one liter flask on my home made stir plate in there without any problems, but I didn't know if I could use a two liter flask.
Turns out that I was off by about an inch for the 2L flask, so all I needed was a lower profile stir plate and I was golden! So, for Christmas I had asked my SWMBO for Northern Brewer's low-profile stir plate, but she thought it would be better to get me a chest freezer to convert into a keezer. I agree... God, I love her.
I however still needed a lower-profile stir plate than the one that I built, so I started looking around for parts. Since I was upgrading, I figured I'd change the design a bit to meet certain criteria.
One of my biggest complaints about my previous plate was the way that computer fans are mounted in most stir plate designs; one usually has to pad the top to prevent the flasks from resting on the screw heads. I also noticed that fan motors tend to not have as much torque to turn at their full speed, meaning that I couldn't get a really good twister going on a 2L flask.
I picked up a couple of cheap ($2) motors from All Electronics, but I had to guess on their strength. I was lucky that they worked out well. Later, while in a kitchen shop I noticed a 2" deep, 6" aluminum cake pan which, when turned over, makes a perfect platform for a stir plate. Put those together with some custom bracketry made from 3/4" aluminum angle, a flywheel from a plastic gear and some magnets, a potentiometer, and a power jack and I've got a stir plate that cost less than $20, is half the height of my original, and is much more powerful.
And while I was at it, I tapped the 12V line coming from the fridge itself. Now I can have my two liter flask churning away in my incubator without having to force the door closed on a second power line.
Right now I'm working on the Mk II version of the stir plate, which will feature a 3D printed flywheel that will be more balanced than the plastic gear that I'm using now. And while I'm at it I may have the bracketry printed as well.
More pictures can be found at the following links:
- http://picasaweb.google.com/Dane.Gardner/Incubator
- http://picasaweb.google.com/Dane.Gardner/StirPlate
BTW, I'm aware that some people have been having problems with instability when using an aluminum surface between the magnets and the stir bar. I've seen none of this once I discovered the proper spacing of the magnets (~1-1/8" for a 1" stir bar) and got them to within 1/16" of the surface.