My "Man Cave" adult beverage dispenser

Homebrew Talk - Beer, Wine, Mead, & Cider Brewing Discussion Forum

Help Support Homebrew Talk - Beer, Wine, Mead, & Cider Brewing Discussion Forum:

This site may earn a commission from merchant affiliate links, including eBay, Amazon, and others.

Butchv12

Well-Known Member
Joined
Aug 7, 2011
Messages
158
Reaction score
30
Location
Streetman
This thread will probably have less than 10 posts from me - but I wanted to show everyone what can be done if you use your imagination and don't get in a big hurry.

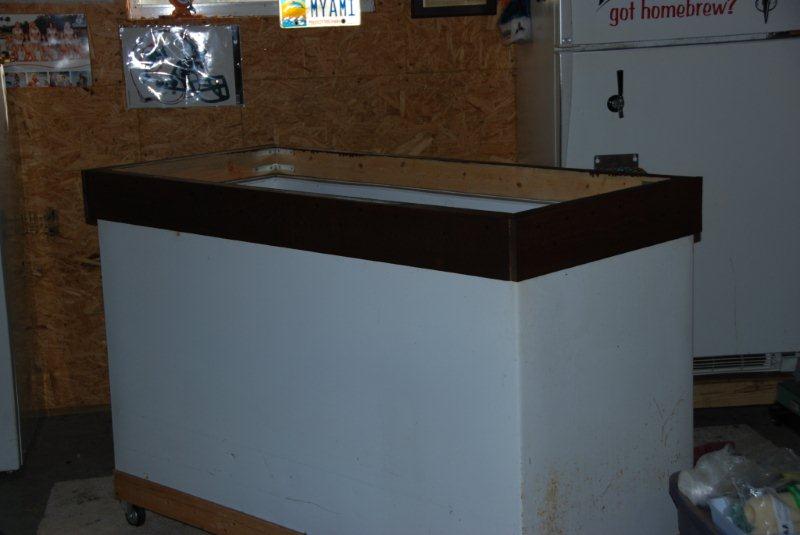
Our kegerator / beverage dispenser started out life as a huge Montgomery Ward chest freezer. I found it on Craigslist over a year ago and my only regret, is that I didn't take more pictures.

Anyway.... The person who sold it, did so because one of the hinges broke ---

Now the project steps completed as of last night ( in order, over the last few months)

Bottom frame built out of 2" X 4" lumber and casters attached

Top removed, inside cover painted and sprayed with foam insulation by a local company. The original plastic and insulation was not re-useable

Freezer base sanded and 4 coats of Rustoleum applied ( sanded in between coats)

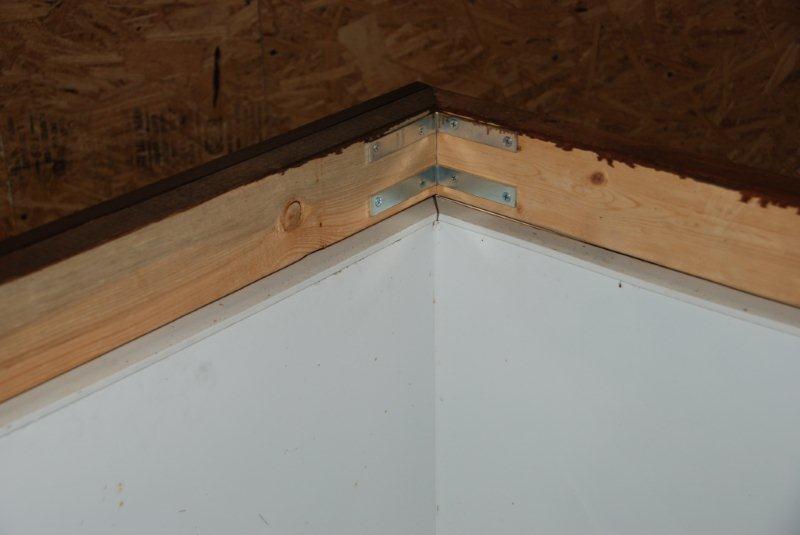
Collar built out of 2" X 4" lumber and trimmed in cedar

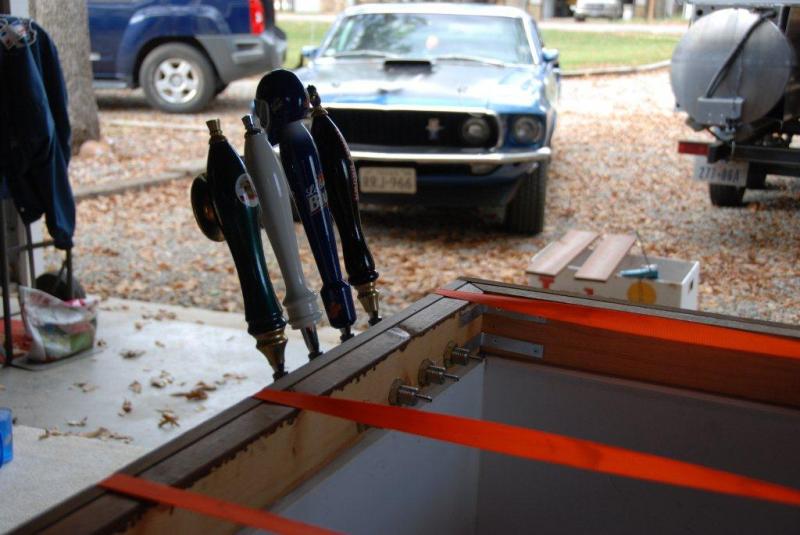
4 tap shanks installed in collar after it was stained

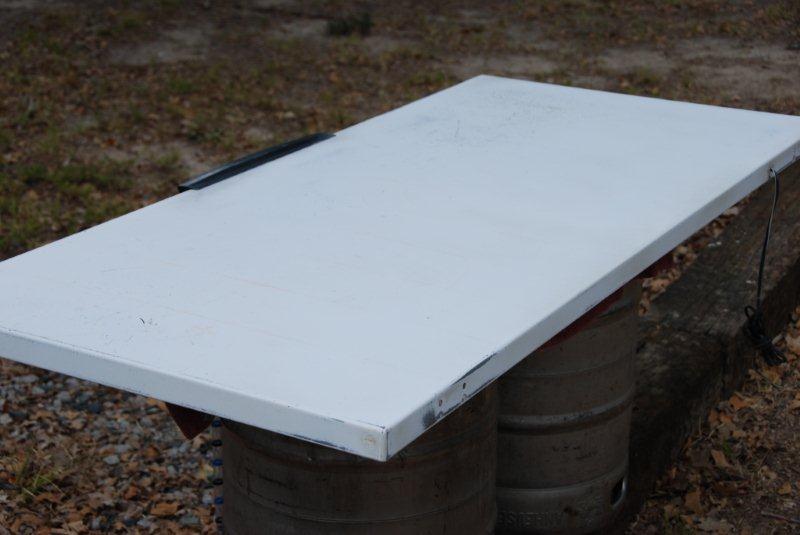
Freezer lid had 3 coats of spray paint applied and sanded in between - I really didn't like the look, so I found the color I was after ( you'll understand when you see the finished pictures ) and applied 7 coats of Rustoleum with sanding in between

Applied vinyl decals to freezer lid -

Applied 3 coats of Krylon clear over decals

Started Saturday (11/19/2011) with polyurethane - I will put on 2 coats a day for the next week or so and see how much I can get the finish built up. My goal is to be able to set glassware or bottles on the top and not damage the vinyl decals over time.

I will update this thread at least weekly --- my goal was to be completed by Thanksgiving as my Thanksgiving Ale (pumpkin spiced) is ready to go. I will not make that goal, but it will completed by Christmas!
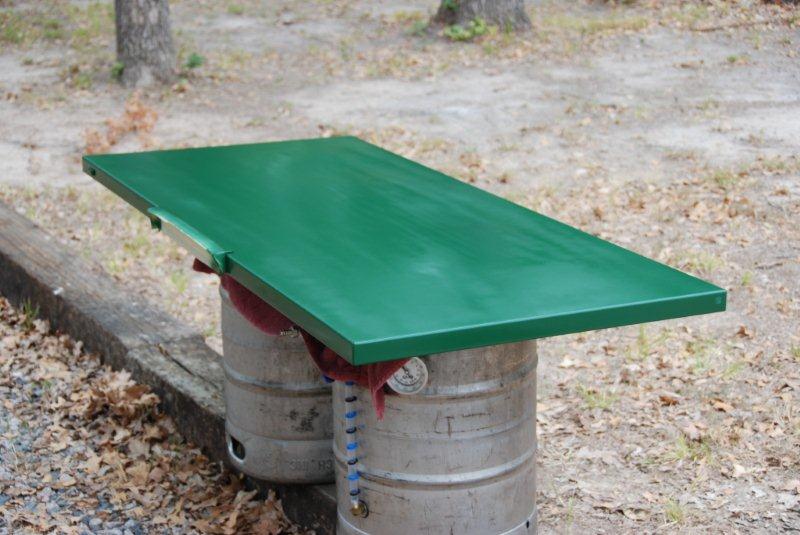
2.jpg


3.jpg


4.jpg


5.jpg


6.jpg
 
Wow, you know I have a 25 cu ft freezer laying around and I was wondering if someone had attempted a GIANT keezer build. Now I know.

Can't wait to see the end of this.
 
Because this is a themed project ( imagine sports ) I cannot show pictures of the lid until it is finished. Yesterday ( 11/21 ) I put on the 5th and 6th coat of polyurethane over the decals. I'll take a few pictures over the holiday weekend and post them. It would be safe to say - this is really gonna floor everyone.
 
Why are you overselling the awesomeness of this before the pictures come?


You have a good point ---- I'll try and refrain from doing that in the future. I only did so because I never imagined when the project was being kicked around, it would turn out like it has, enough said.

This morning ( 4:50 am ) I put on the 11th coat of polyurethane and probably have 1 cup left out of the quart I started with. Because of family/friends over for the holiday, I wanted to get it done early so that it will be dry by Turkey time.

I would love to have the lid mounted by Monday evening as I don't return to work until Tuesday....

Happy Thanksgiving everyone!
 
Today -----

12th coat of polyurethane on lid --- cut, stained and installed lower cedar board which holds drip tray. Cannot screw into freezer directly, so I thought this would be the best way to go....

More next weekend

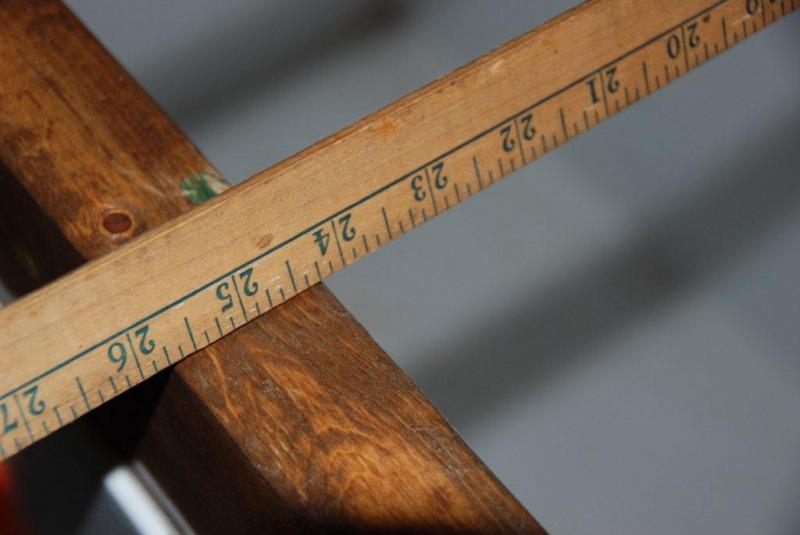
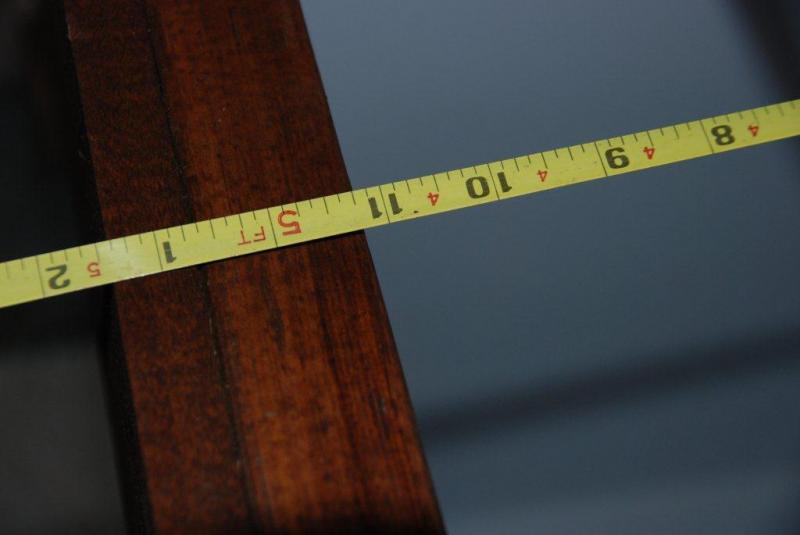
Measurements are of overall size of this monster

1.jpg


2.jpg


3.jpg


4.jpg


5.jpg
 
Why don't you just use a steel plate to extend the drip tray to the collar? Then add a bit of liquid nails to seal the thing in place. The dayglo straps don't look good. You can get metal plates painted appliance white at home depot (they sell them for going on the wall between stove and microwave).

BTW, love the huge freezer. I'm in the market for a freezer for my kegs.
 
there's a product by envirotex called pour on finish.... might be more what you're looking for. it can be built up to something like 1/2 inch in one coat
they do advise using a torch to release bubbles in that coat, but it's pretty awesome.
crystal clear, UV resistant, and since it's all one coat, it levels like glass (assuming you use the torch to get the bubbles out, that is...)

might be a little late for this project, but i'm sure there's a bar build coming up here.
 
I'll check on that and really appreciate the heads up. I want to get enough thickness so that years down the road it can be sanded and resealed ---

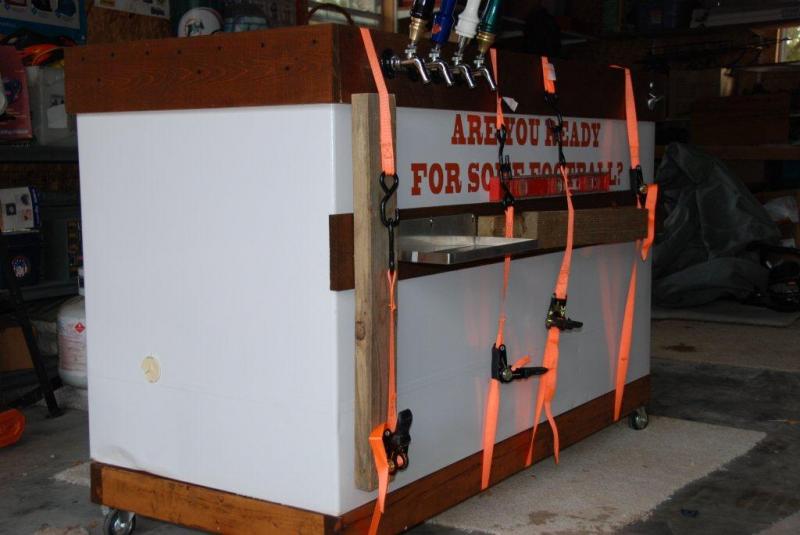
The orange is just temporary ---- first time with liquid nails didn't work so good -- so tried something different and clamps come off in the morning.

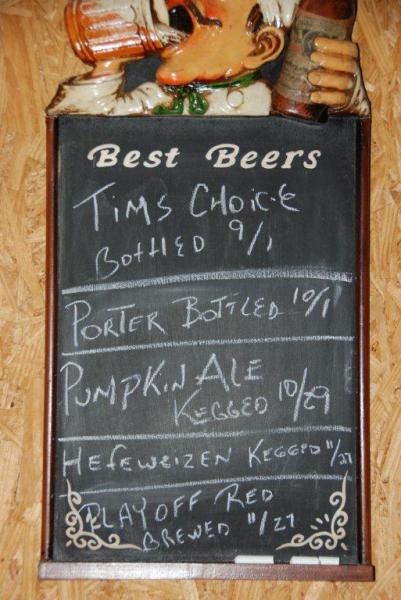
BTW -- Pumpkin Ale which was tapped today was a big hit --- I was hoping it was my first out of the new dispenser, but it was not meant to be.....

DSC_1425.jpg
 
Because this is a themed project ( imagine sports ) I cannot show pictures of the lid until it is finished. Yesterday ( 11/21 ) I put on the 5th and 6th coat of polyurethane over the decals. I'll take a few pictures over the holiday weekend and post them. It would be safe to say - this is really gonna floor everyone.

I think I have a good idea what might be on the lid. I have a buddy who did what I am thinking and it was pretty awesome. Whether it is the same or not can't wait to see it!
 
Well as I guessed early on Its obviously either the Miami Dolphins or Hurricanes. There was a clue early, and the last set of pictures confirms it.
 
there's a product by envirotex called pour on finish....

I ordered a 32 oz kit last night - thanks! If it arrives this week I'll plan on Saturday/Sunday to finish the top.

Brewers are funny people = Yesterday I got so busy " messing " I totally forgot to keg my first hefeweizen which has been fermenting since 10/29. One more day on the yeast bed.......
 
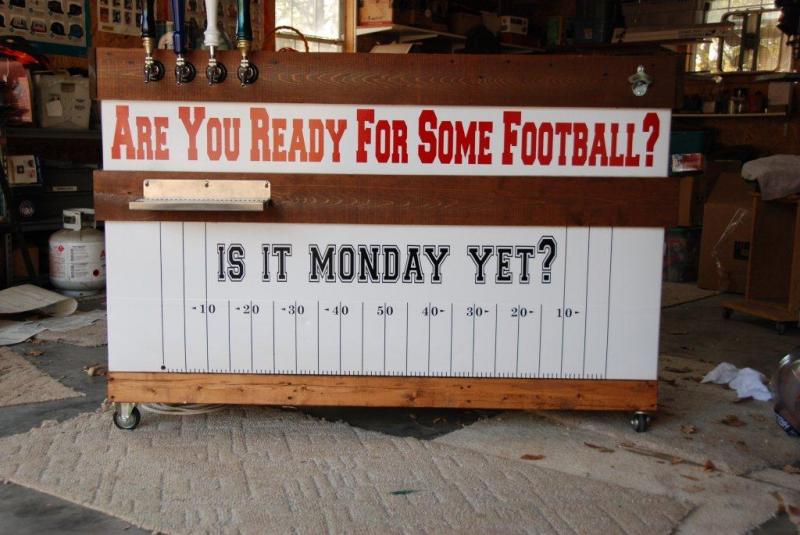
Busy day here today --- I'll let pictures do the talking. Hope to get the temp controller and plumbing done this week, but we'll see..... Took off the are you ready for some football vinyl because we are re-doing it. Came up with a better idea - I think.....

1.jpg


2.jpg


4.jpg


5.jpg
 
Today = 11/28 - Wired up temp controller/freezer and ran for a minute or 2 ( lid still off ) connected all 4 tap lines and 4 pressure lines with pin lock connectors. I had to use boiling water to soften up the hoses, but it worked great.

Waiting on new vinyl decals and pour on finish I ordered to complete this project.
 
I ordered a 32 oz kit last night - thanks! If it arrives this week I'll plan on Saturday/Sunday to finish the top.

Was sitting at the computer and doing a little math --- seems like just one 32 oz kit ( 8 sq ft ) was not quite enough to properly cover the lid ( 62" X 27" ) so I ordered a second kit. The instructions call for a minimum of 70 degrees for 48 hours - that might be the tough part since my "cave" doesn't have temp control like my fermenter does!

Another home-brewing challenge!

Somehow - this will be completed by Christmas morning - cheers everyone!
 
Hey man, That thing looks great! I just finished a 7 cu.ft. with 3 taps on a cedar collar as well. I've been trying to figure out a way to get a drip tray on there and like what you did. How did u secure that wood to the freezer?
Thanks!
Phil
 
Hey man, That thing looks great! I just finished a 7 cu.ft. with 3 taps on a cedar collar as well. I've been trying to figure out a way to get a drip tray on there and like what you did. How did u secure that wood to the freezer?

Appreciate the compliment ---- The lower cedar board is attached using liquid nails and silicone caulking. I used the straps and 2 X 4's to clamp it tight overnight. I wanted to make sure it would hold a pitcher full of homebrew. It will, as we tried to pull it off to see how good it attached and I can say.... It's not going anywhere.

Almost forgot - the drip tray is attached with screws and nuts --- after drilling holes in the cedar - we hammered nuts into the back and since cedar is soft, it worked very well. You can remove the screws and reinsert them if you ever needed to.

Got the front vinyl last night - I'll post pictures after I get it attached
 
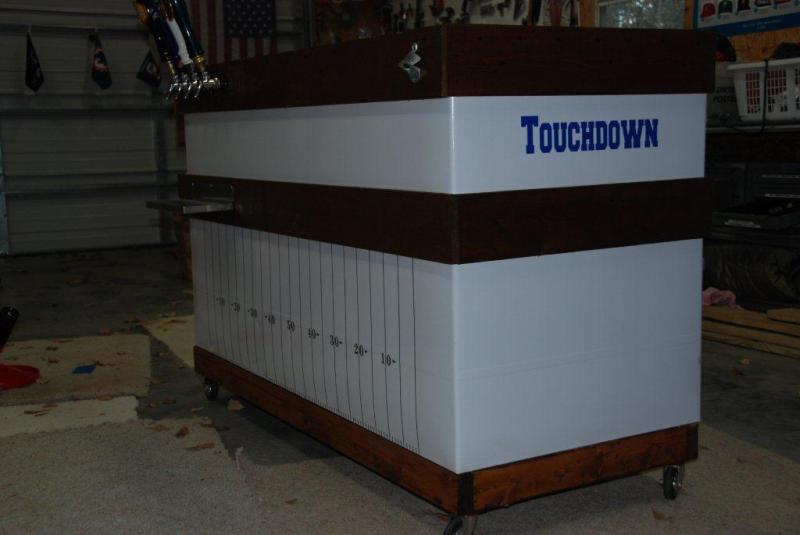
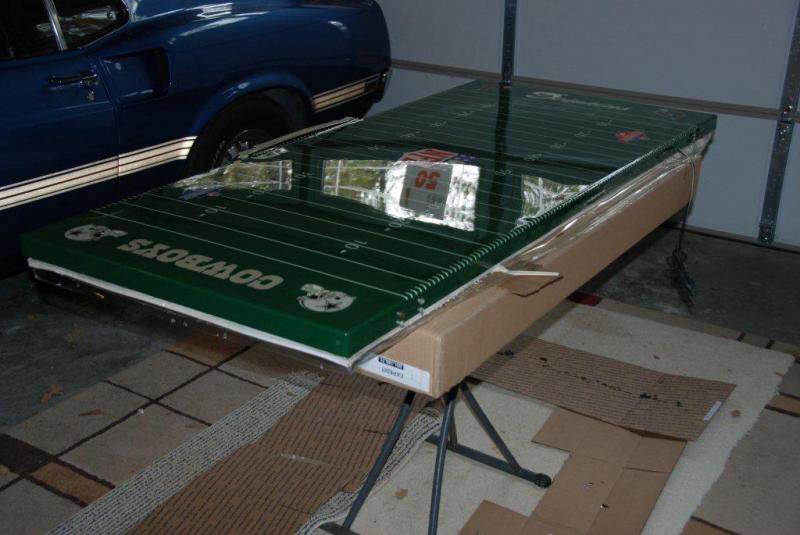
OK ---- December 9th was the day for magic! That is the only way I can describe what my lid looks like now, really! If you could see it in person you would be at a loss for words.....


More pictures later, but you get the idea now --- It will dry until tomorrow night undisturbed ---- Maybe by next weekend I can get it mounted....

first.jpg


second.jpg
 
Awesome job!! Have to say though you ruined the top with the Cowboys logo. Lol just kidding. Had to say it as I'm a Steeler fan.
 
Has anyone ever made a beer pong table out of a kegerator? The top of yours kinda reminds me of a chinese football table or something.
 
Please do not take this as a sign of disrespect - you did an amazing job. I'm wondering if it is decorative or do you use it somehow, too?

B
 
Thanks ---- Married a Texas gal --- only time we "argue" is when the Dolphins play the Cowboys....

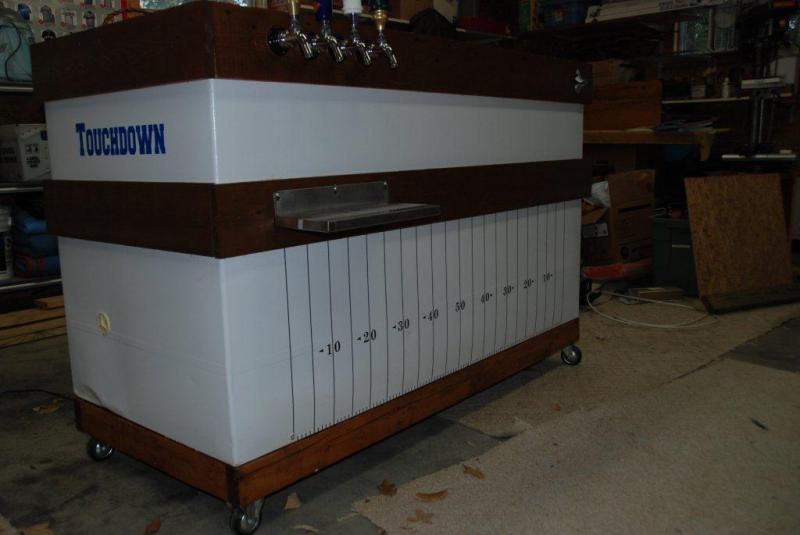
Here is the front as of today -----

Final pictures ( with the lid on ) in a week or so.....

DSC_1488.jpg
 
I'm wondering if it is decorative or do you use it somehow, too?

Nope ---- It's only use will be to sit empty/full glasses of an adult beverage we all love so much ---

I do appreciate the comments ---

When I get the top mounted - I'll get on a ladder and take a picture or 2....
 
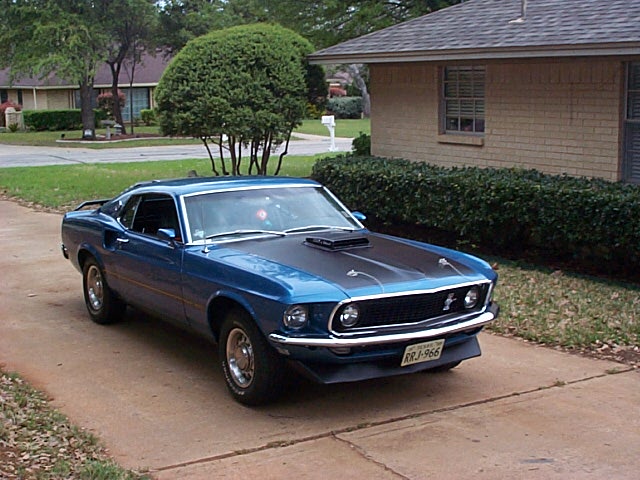
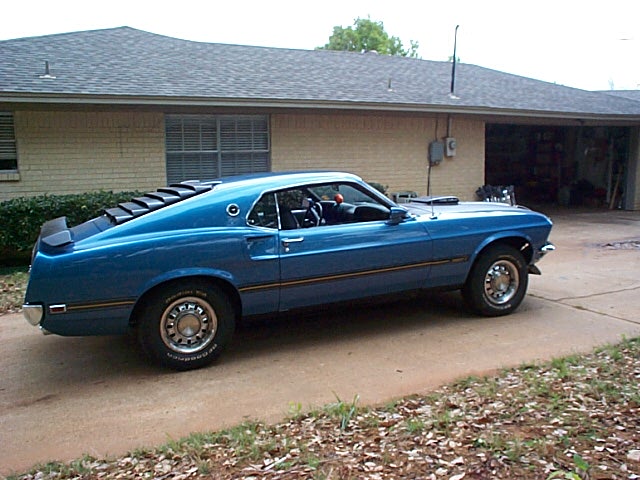
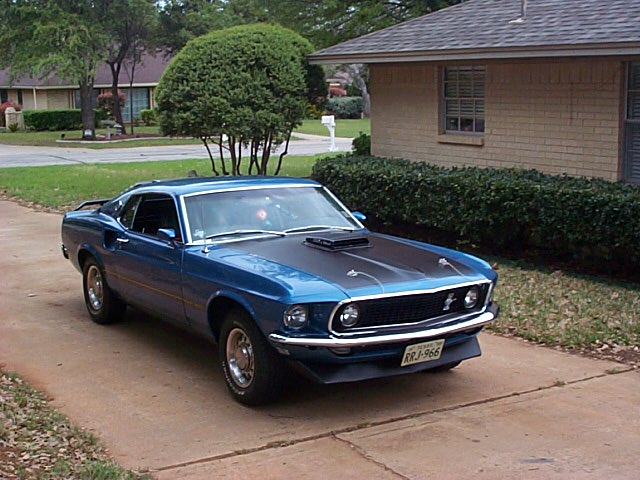
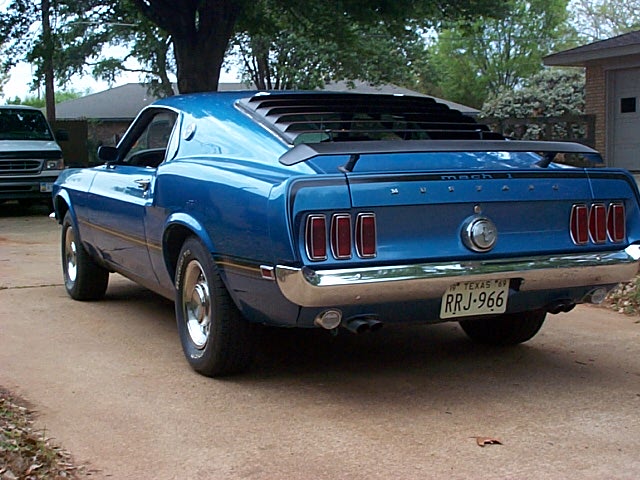
That is an absolutely beautiful pony. Nice work. I'd love to pick up a '69 fastback one of these days. I had an '05 GT that I had to sell this year in preparations for our firstborn son.

Also, great work on your kegerator. Beautiful job.
 
I was about to say screw the football crap and show some pics of the 69 with the shaker hood. That car would look nasty 1 1/2" - 2" lower in the front. Very nice!
 
screw the football crap and show some pics of the 69 with the shaker hood.

OK -- but this is the last Mustang deal on this thread ---- It was sitting a little high in the front on these pictures because the front end was just rebuilt. The rear leaf springs were not touched ----- yet........

DCP01138.JPG


DCP01140.JPG


DCP01141.JPG


DCP01139.JPG


DCP01142.JPG
 
Back
Top