Oster 4.5

Homebrew Talk - Beer, Wine, Mead, & Cider Brewing Discussion Forum

Help Support Homebrew Talk - Beer, Wine, Mead, & Cider Brewing Discussion Forum:

This site may earn a commission from merchant affiliate links, including eBay, Amazon, and others.

chillitsgill

Member
Joined
Nov 3, 2008
Messages
17
Reaction score
0
Location
Tucson, AZ
Hey all-

I've done a good bit of searching, and have not come up with the answers I am looking for. I have an Oster 4.5 mini-fridge, and would like to convert it to a kegerator for a slim pony keg. I have measured it all out, and the keg will fit with a flat adapter. My only remaining question regards freon lines. I have seen a few 5.0 conversions on this board that say there are no freon lines in the top of the 5.0. What are my chances this is true for the 4.5? Does anyone have an experience with this?

- Josh
 
Just to be sure I'm correct-

Lather a layer of 50/50 corn starch and alcohol mixture on the top of the fridge while running and observe any changes? I came across a video when I originally was searching for help, but cannot find it again.

-Josh
 
Hey Chill, post your results. I will be doing an Oster 5.0 conversion and was wondering if there are any fridge lines in the top? Thanks.
 
There's several builds on this site, do a search. There are none in the 5.0.

Yes, I realize there are several builds and know about them. However, they are vague on fridge line layout. Some say there "may" be lines in the top. Wanted to know if anyone knew for certain (on the Oster 5.0).
 
They were pretty clear-

Anyways, I will be doing this conversion on monday, assuming my parts get here. I will post pictures.
 
All finished!!

I must say, the entire build went so smoothly. I only ran into two problems the entire build. The first was that I bought the wrong sized screws for the tower. Secondly, the hole saw that I bought didn't fit my 3/8 drill. I found an adapter. And hey, if these are my only issues, I'll :mug: to that!

For anyone wondering, there were NO cooling line problems near the middle of the fridge. I did the corn starch and alcohol test, nothing showed up.

Also, if anyone's fridge has a freezer, don't be scared to move it. It's very easy, just do it slowly and carefully. The beer is ice cold, and the freezer's getting icy again. Must be no leaks or kinks.

I built an air circulator to take cold air up to the tap. It works beautifully, the tap is ice cold. I used a container that was laying around, a piece of hose, and a 12V fan/power supply from Radio Shack.

The Oster 4.5's door has a lining that is made to hold cans, etc. This got in our way, and unlike many other door's I've seen on this board, there were no screws to remove the lining. The only way I could think to get rid of it was to take an angle grinder with cutoff wheel to the plastic.. Overboard? :D
 
Heres a basic write up:
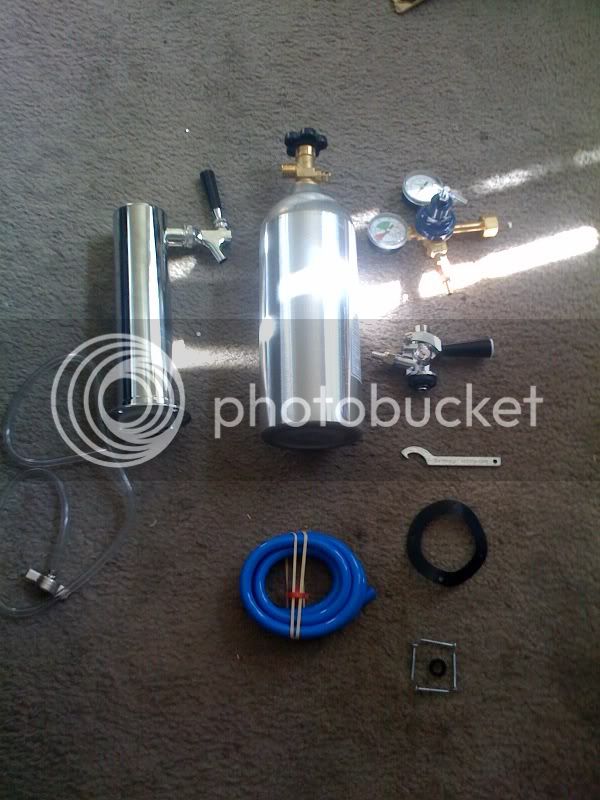
Parts:
Kegerator Keg Tap Home Bar Beer Cooler Taps Kit STCK-5T - eBay (item 360102889902 end time Nov-06-08 07:32:06 PST)
2" Hole Saw WITH pilot bit
Drill
Corn Starch
Rubbing Alcohol
3" machine screws (get screws that will fit through the holes in your tower)
Nuts (Haha)
Washers
Fridge
Keg
Some kind of cutter or grinder
Beer to consume while building the kit


Procedure
1. Acquire fridge and kit. I used an Oster 4.5 CU fridge. The kit I used was . This kit comes with everything you'll need, including a CO2 tank.

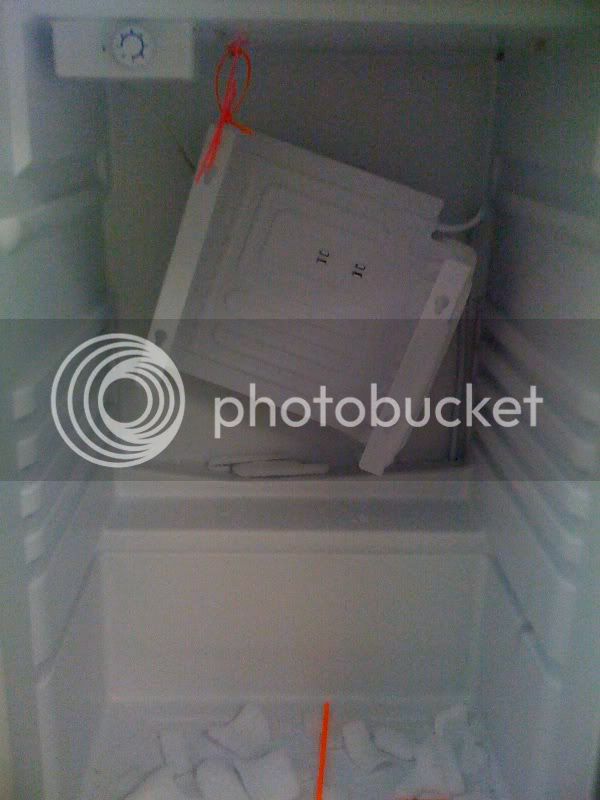
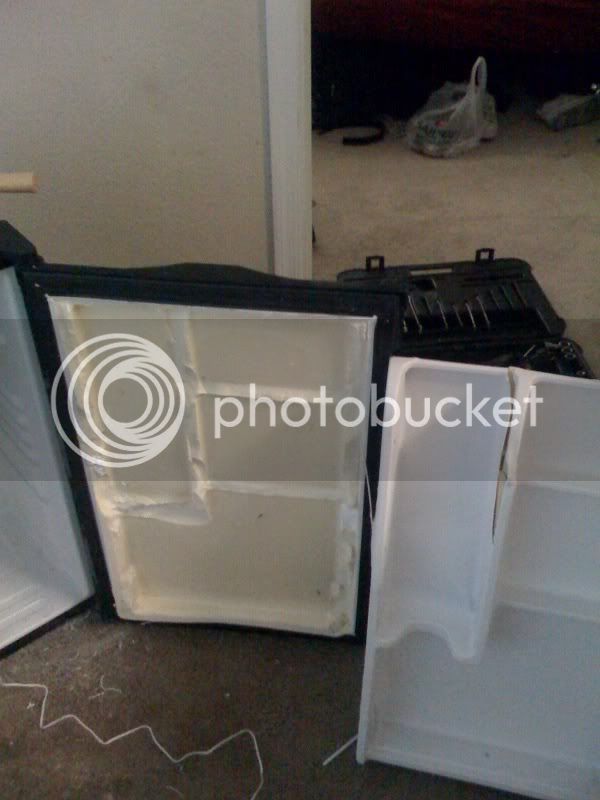
2. Like some of you, your mini fridge will have a freezer in the top. Mine did, and there was not enough room for the keg and tap with the freezer where it was located. This was a very easy mod. First, clear out the fridge, and unscrew the thermostat to alleviate any tension in the temperature sensor. Once this was done, I made small bends in the cooling line leaving the freezer until it was flat against the back wall. Once done, reposition the thermostat.

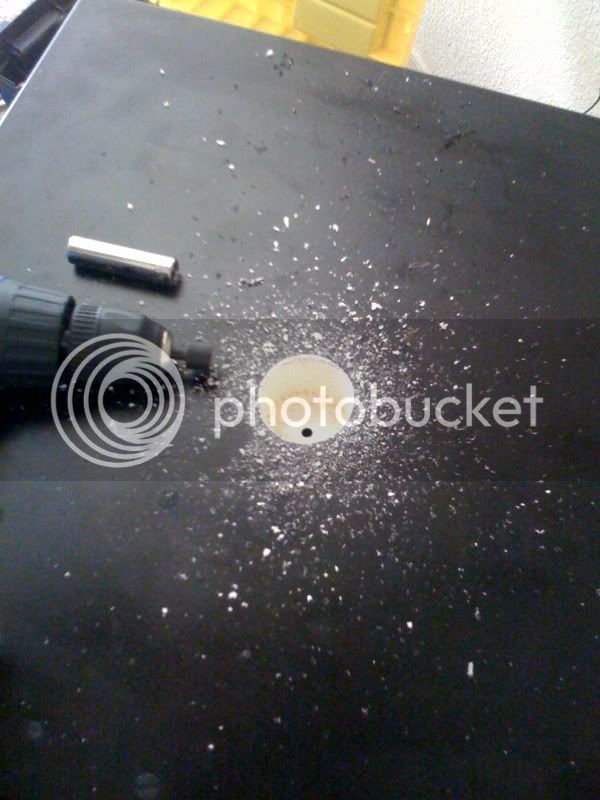
3. Now that the freezer is out of the way, test for cooling lines. To do this, you must make a mixture of corn starch and rubbing alcohol. From what I have researched, you take an even mixture of rubbing alcohol to corn starch (IE .5 cups alcohol, .5 cups starch), and lather it on the top of the fridge. I'm guessing the idea behind this concept is that the heat of the lines will cause the alcohol to evaporate quicker in some areas than others. The dried corn starch will show you where the lines are before you drill.

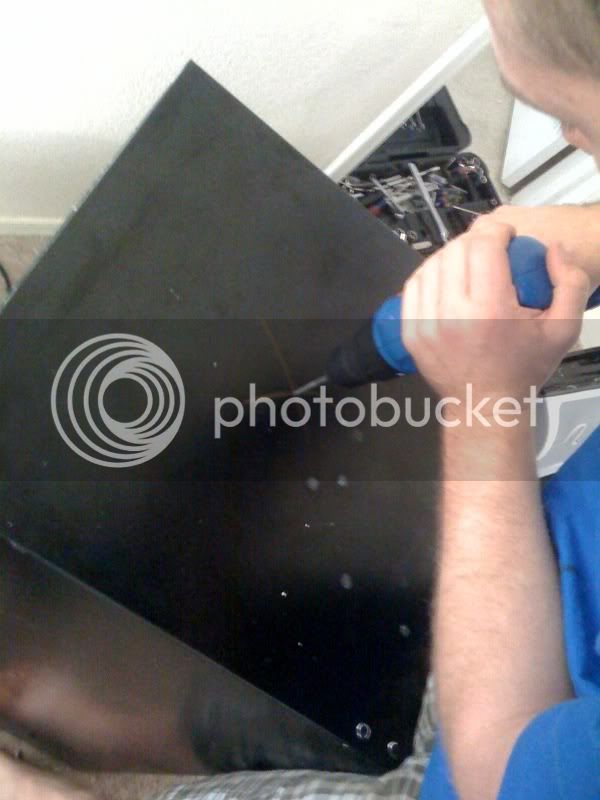
4. Once it is determined that no lines are in the way of the drilling location, drill a pilot hole. I was pretty scared while doing this, as I did not want to ruin the fridge. Just go slowly, I'm sure that if anything is in the way, you will feel it. After the pilot hole is drilled, grab your hole saw bit, and drill away. (Make sure your hole saw fits in your drill if you have a 3/8ths! Woops :))

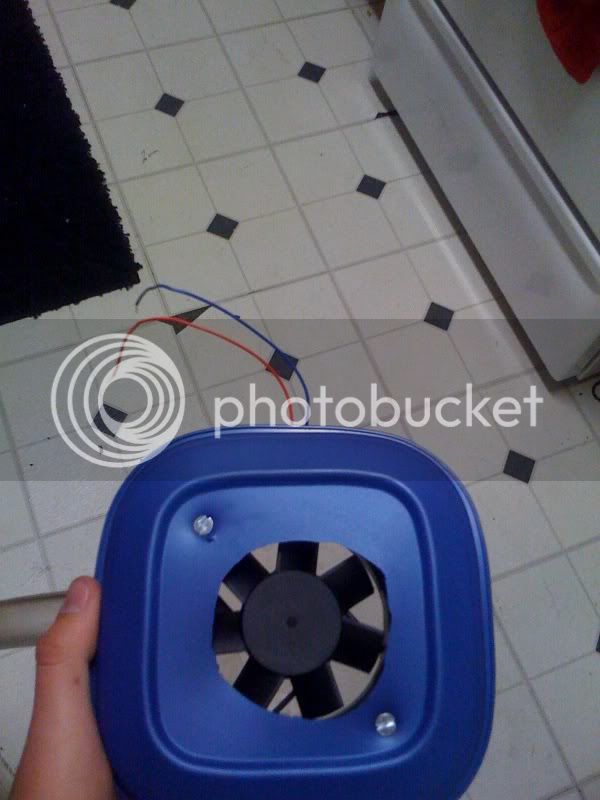
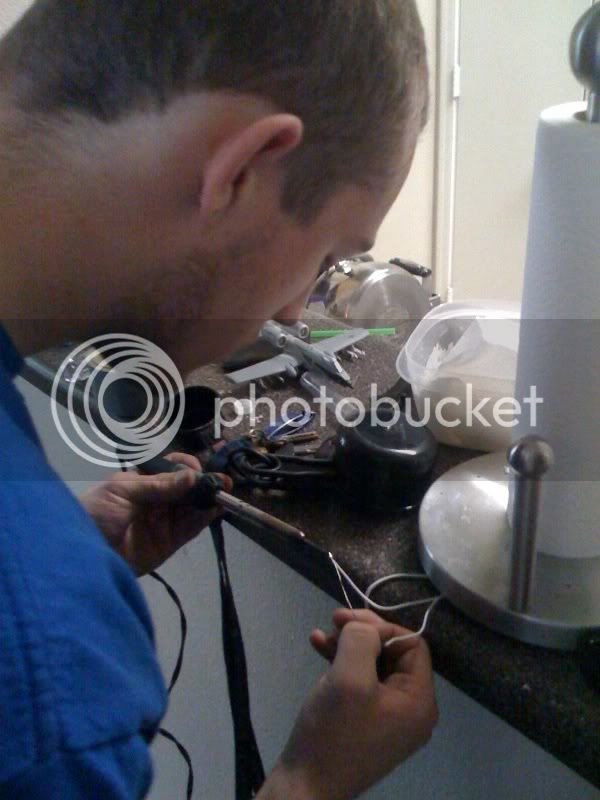
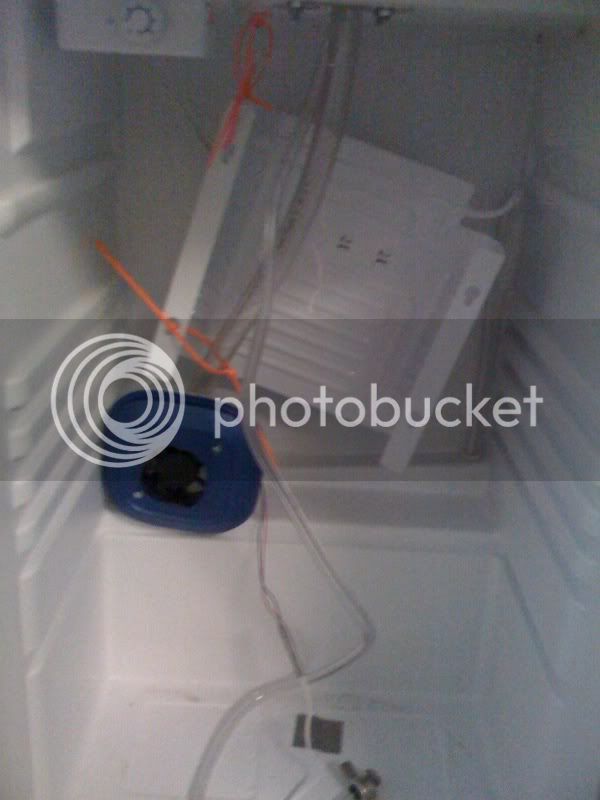
5. Before screwing down the tower, we must install the circulation box. This is a really easy mod, it just takes a 12V DC adapter and a 12V computer fan. They can be picked up at radio shack. I took a Tupperware container and bolted the fan to the lid. Then put a hole in the side for the cooling tube. I used a clear tube that you can get at any home depot. I didn't bother sealing the tube, as it the tower is freezing cold as it is. Tape (or zip tie in my case) the box and tube to the fridge, and run it up into the tower. This will keep your faucet cold so the first beer is not wasted.

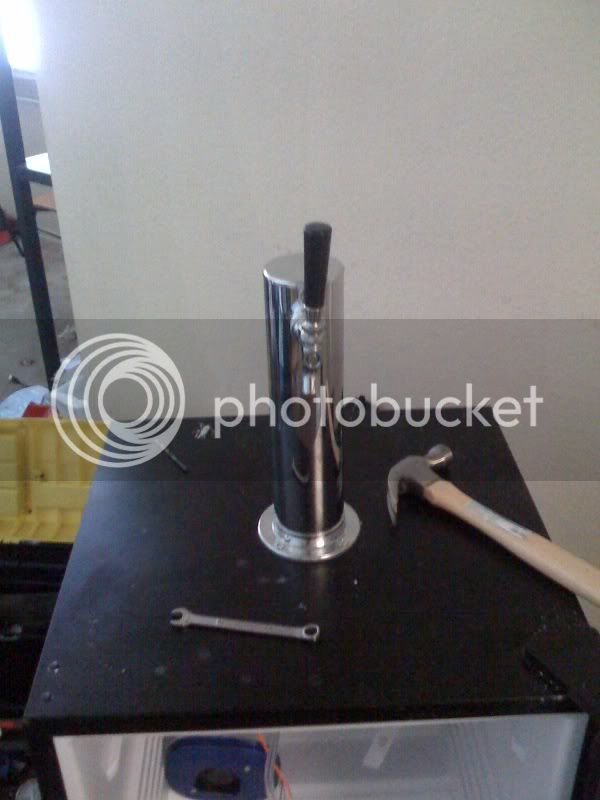
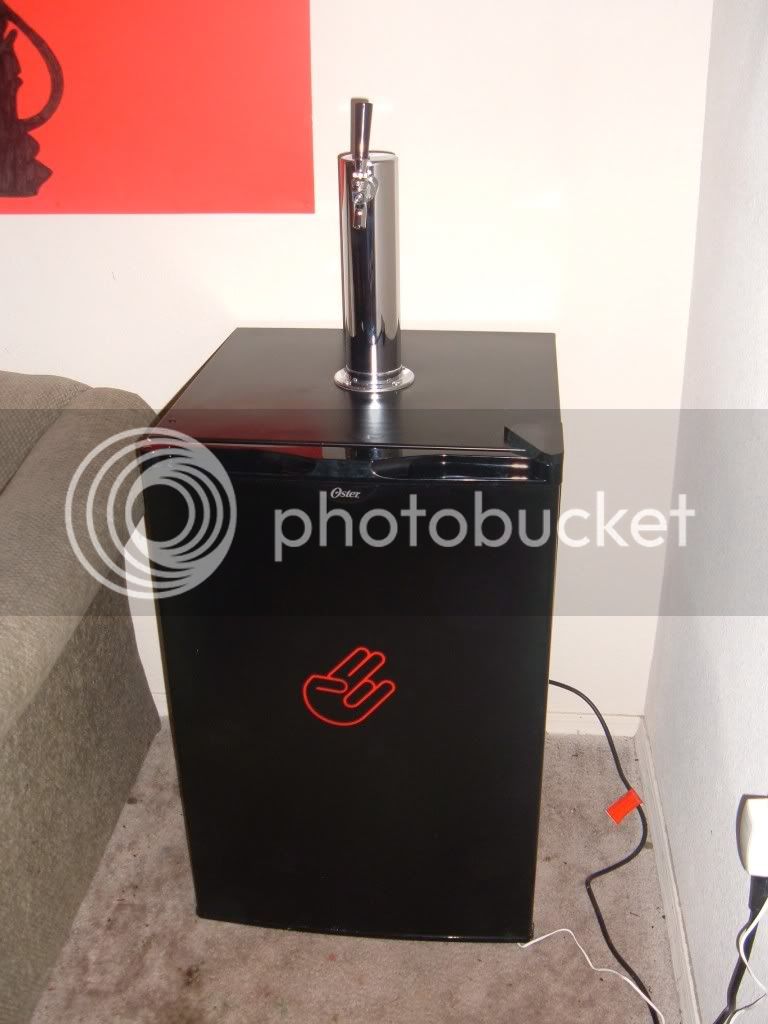
6. Install the tower. Most people on this board have shown plywood underneath the top of the fridge. I found this is unnecessary. Simply slide very large fender washers on the machine screws before the nuts, and tighten. The insulation does not crush much, and the tower is very sturdy.

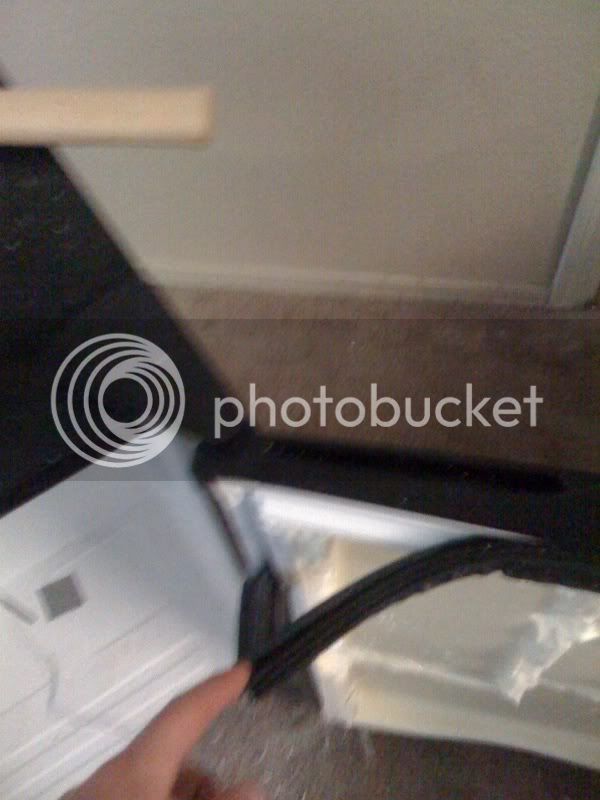
7. Ruin the door. On my fridge, and I'm sure many others, there are shelving/can holders on the door. Mine, unlike others, did not have screws to remove this plastic lining. I simply took an angle grinder with cutoff wheel, and dug in. Came out nicely. The keg will now fit.

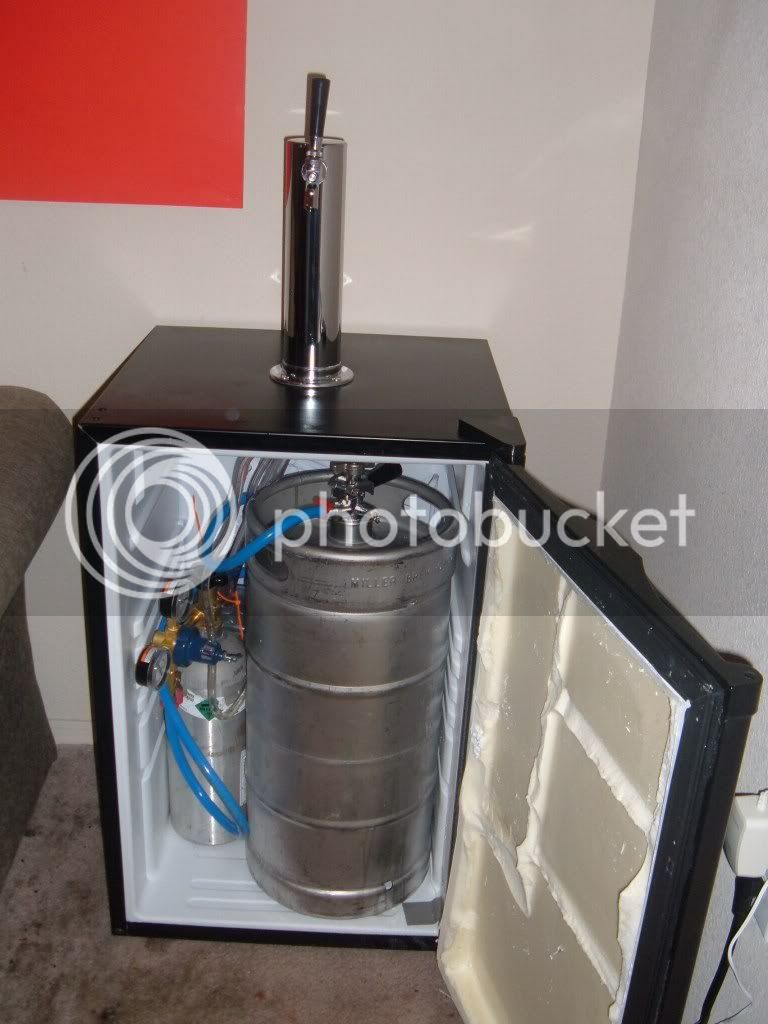
8. Connect all the plumbing. Pretty self explanatory, parts only go where they belong. Don't forget gaskets where needed!! Also, make sure your faucet is OFF before you tap the keg!! We forgot :eek:

9. Fortunately, I did not have to drill an additional hole for the CO2 line. I don't know what I would have done in that case. I haven't seen many detailed builds of that, and frankly I didn't research it.

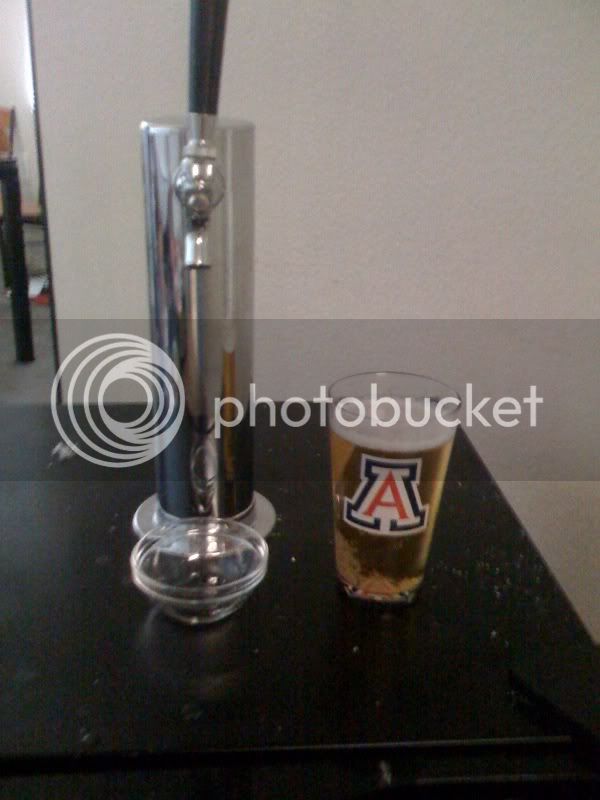
10. Turn on CO2, and enjoy ice cold beer on tap.
 
Pictures:

The kit:
keg1.jpg


The bent freezer:
keg2.jpg


X marks the spot:
keg3.jpg


Uh oh!!!
keg4.jpg
 
I hope that helps anyone who's on the fence about making a kegerator or not. Trust me, do. It's so nice, and the conversion is very easy.
 
Nice job. I think you spent more time on converting the 4.5 where the 5.0 was pretty simple (no grinding, no freezer removal) and can hold 2 corny kegs - I doubt it'll hold two 1/6 kegs though, my 2 corny's are tight.. Overall, looks great!
 
Nice job. I think you spent more time on converting the 4.5 where the 5.0 was pretty simple (no grinding, no freezer removal) and can hold 2 corny kegs - I doubt it'll hold two 1/6 kegs though, my 2 corny's are tight.. Overall, looks great!

I definitely did spend a little more time converting the 4.5. The freezer bend job didn't take too long, just did it carefully. Maybe 10 minutes. Also, cutting the door up was pretty quick, a cuttoff wheel goes through plastic pretty fast!! I don't really have a need for 2 kegs, 85 beers is plenty for my roommates and I to drink during the week.

Josh
 
So everyone told me you drink more beer with a kegerator-- I trusted them, but WOW! You really do drink a TON more!!! The pony keg lasted 6 days, and that's just daily drinking, we didn't have people over on the weekend like we usually do!

Overall though, the kegerator's keeping the beer nice and cold, and there's pretty much zero foam. It almost looks flat in the glasses. The regulator reads 11 PSI, and from what I've read, it might actually be a little higher because the regulator's cold? Whatever it is, it works. Its a nice controlled pour, you don't feel like you need to shut it off in any hurry. LOVE IT!!

Oh, and while swapping out the pony, I sealed up the edges around the fan in the circulation box. Much more airflow to the tap, and it stays colder than before.
 
Back
Top