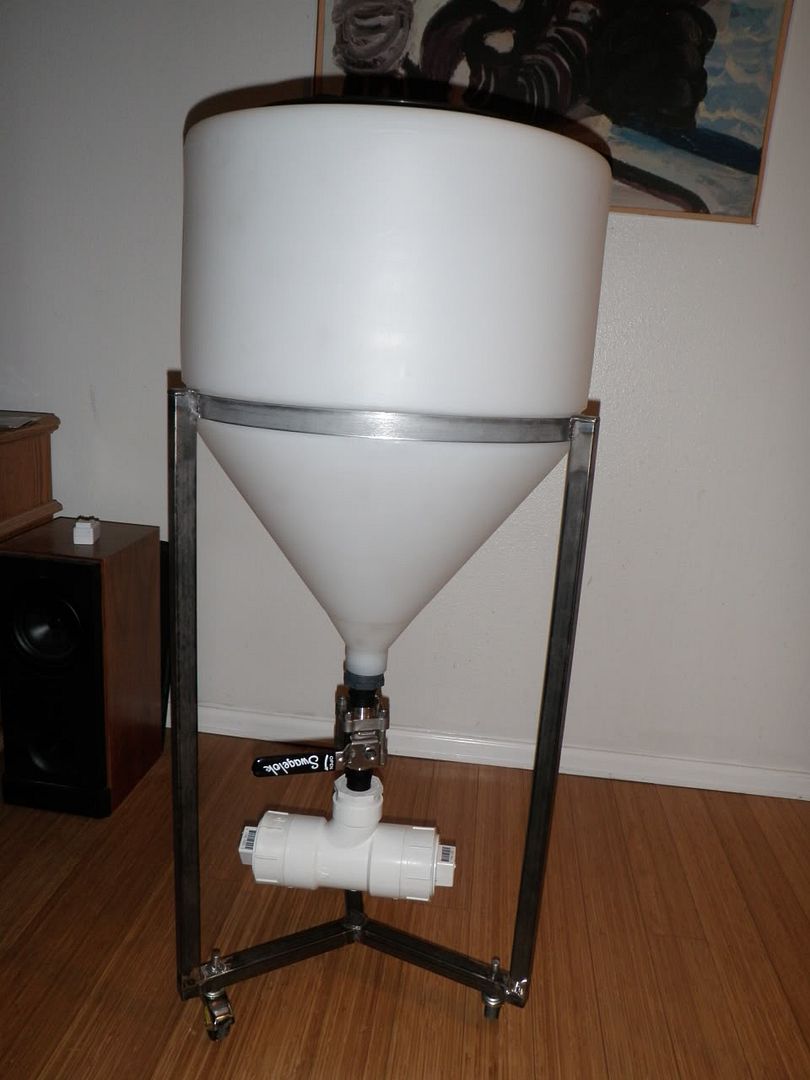
1) I plan to fill it after it's moved into the ferm chamber and drain it while it's in there, as well; so, it won't be moved around much while it's full. Maybe I should weld some handles near the top of the stand.
2)Yep!
3) I agree with you - all you need is a quart jar. However, after reading all of spottedog's posts in both this thread and
his thread, I decided to emulate his technique. Building and implementing this yeast catcher is, as you say, Easy Peasy... and it's an interesting concept that is worth trying, IMO. If I don't like it, maybe I can turn it into a bong or a planter or something...
I guess I should've mentioned those first two things already. Cheers!
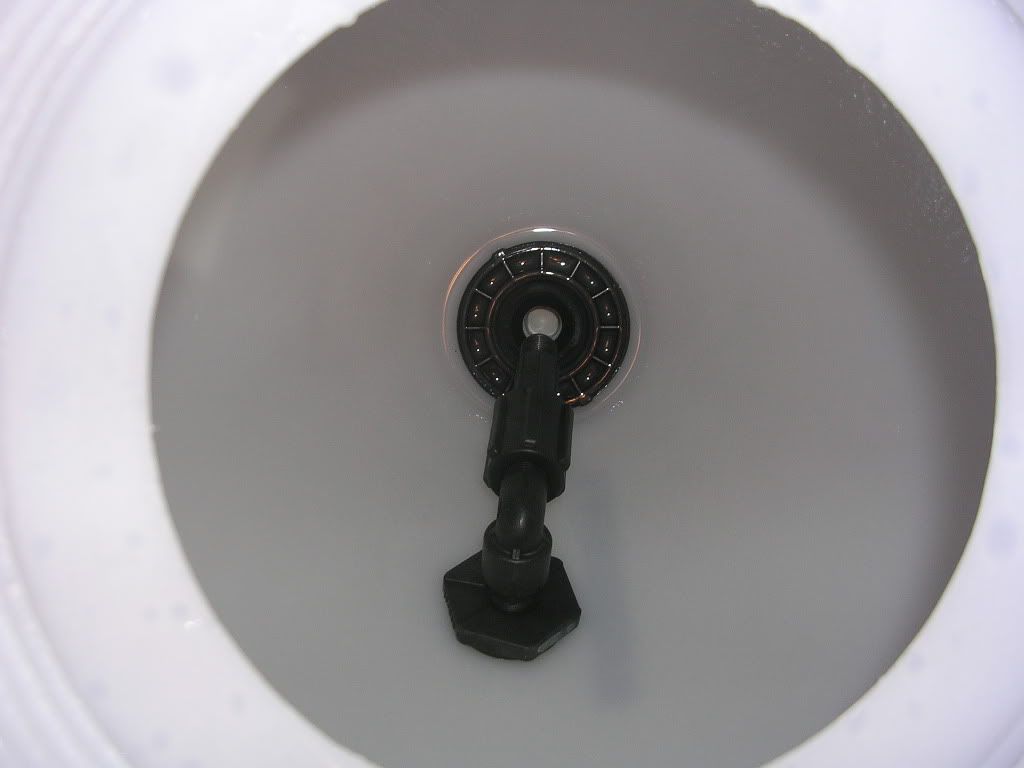
Here ya go.
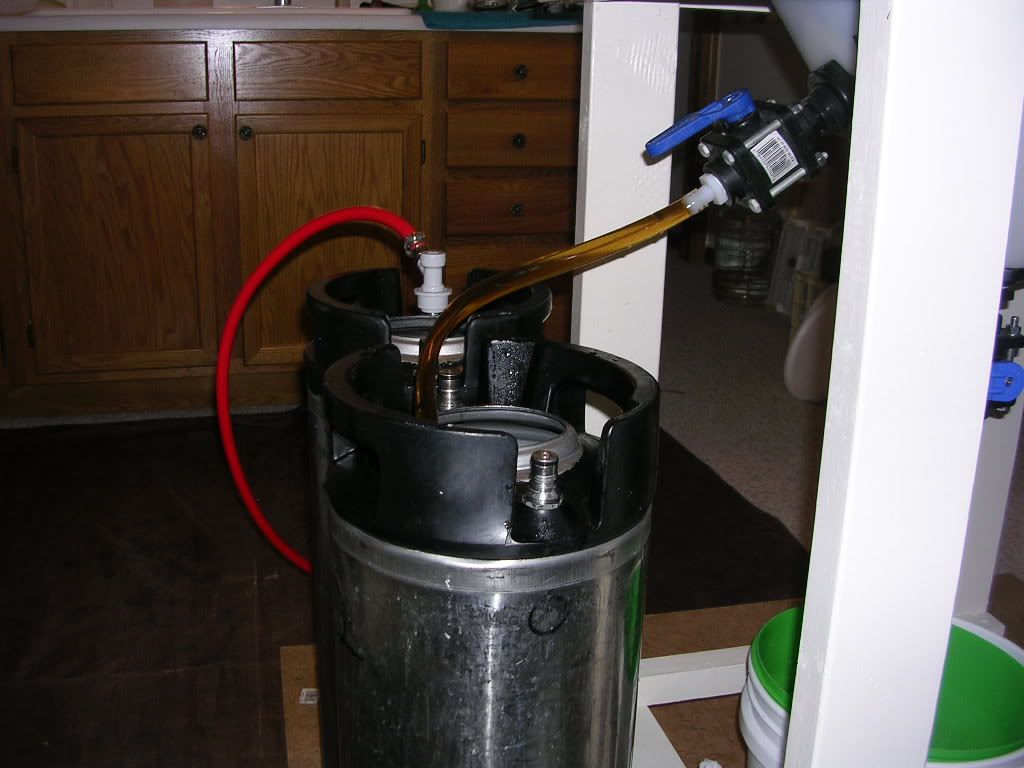
I'll be sealing it like that guy... silicone for the ring and weatherstripping to seal the lid. I plan to add a bulkhead fitting on top, as well, for not just blowoff and CO2 but also for filling it with wort. This way I won't move it when it's full.

I assume HBT has beef with BR.


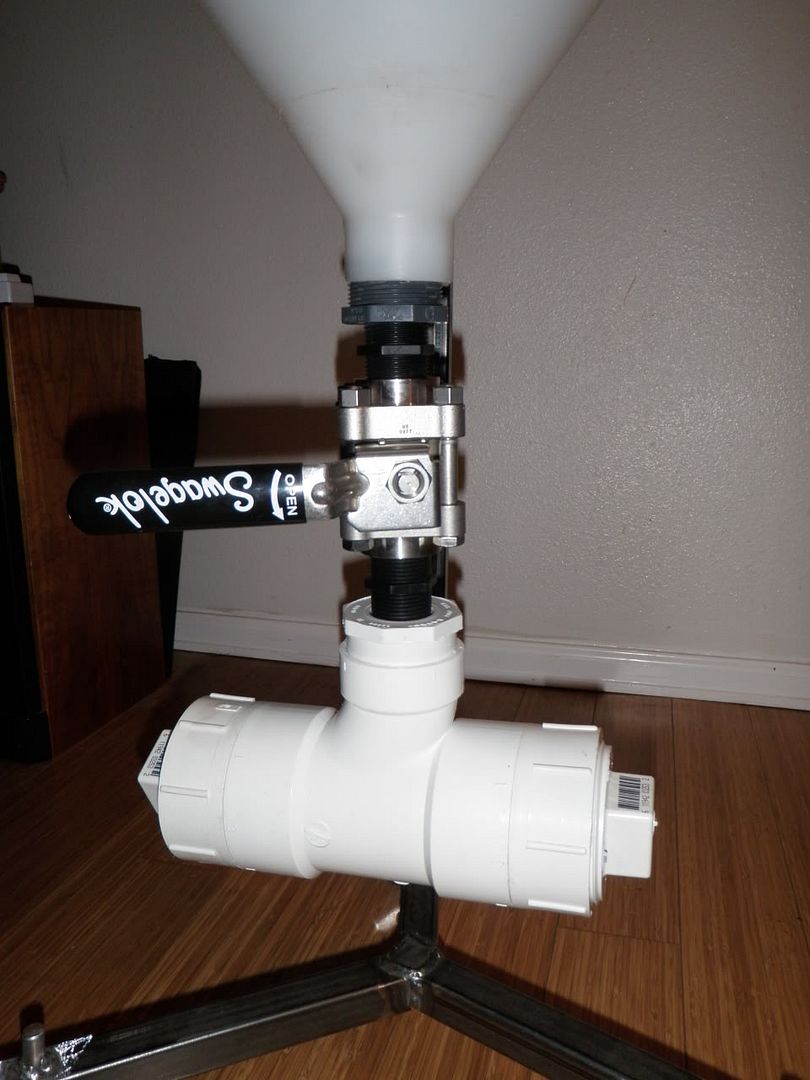

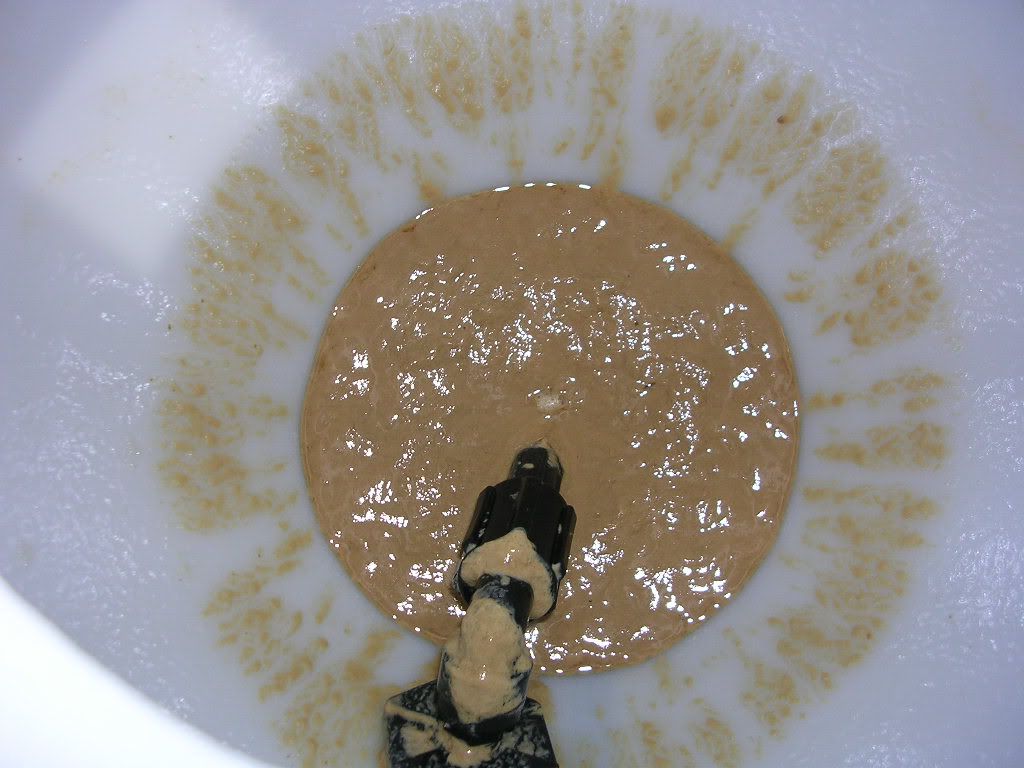
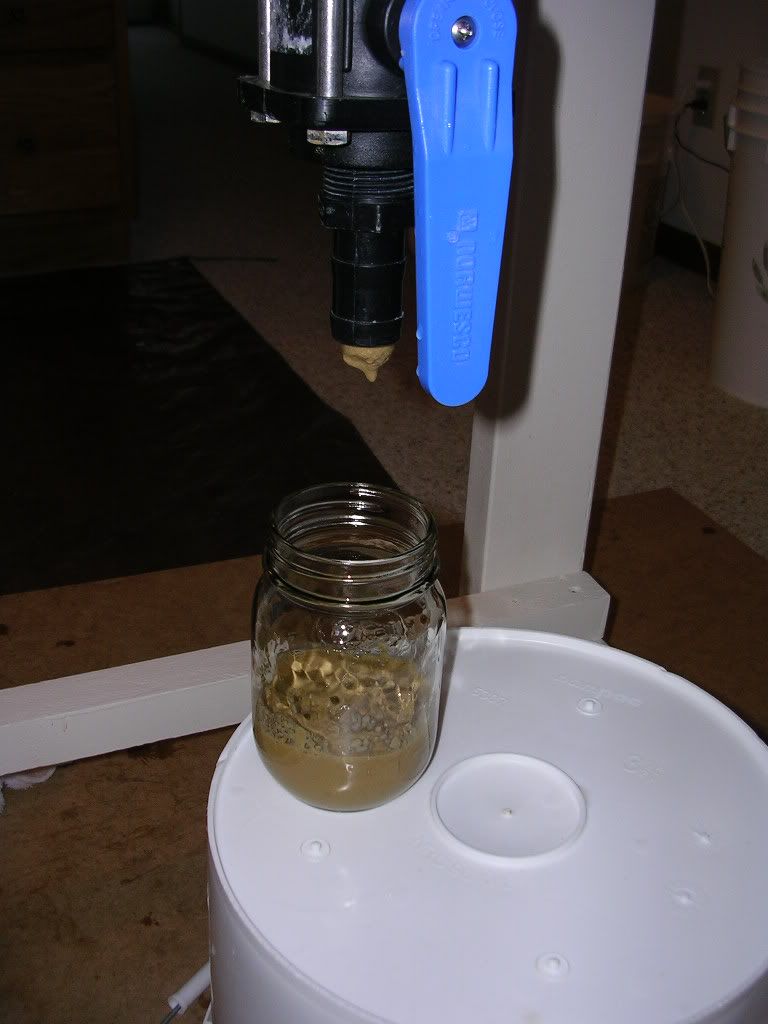
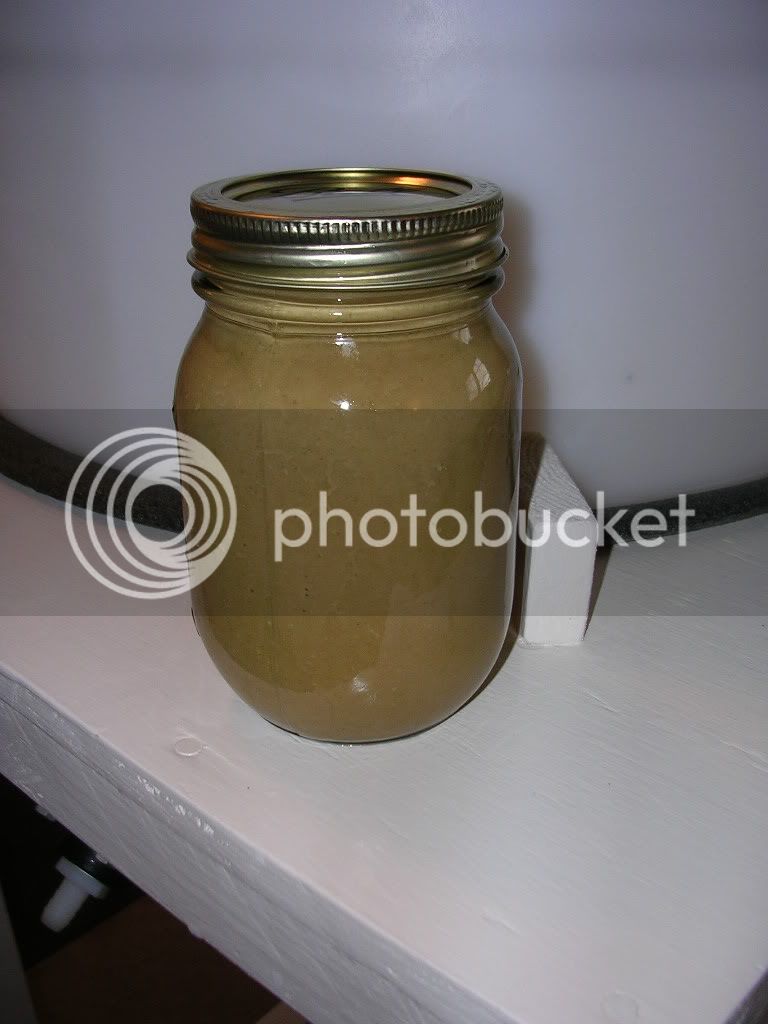
") my main reason for creating a catcher at the bottom was to catch all the junk that collects at the bottom of a fermenter after fermentation and secondary!! The more junk that stays out of the fermenter gives you more beer in the end, at least what I believe! My process is:
my main reason for creating a catcher at the bottom was to catch all the junk that collects at the bottom of a fermenter after fermentation and secondary!! The more junk that stays out of the fermenter gives you more beer in the end, at least what I believe! My process is: