You are using an out of date browser. It may not display this or other websites correctly.
You should upgrade or use an alternative browser.
You should upgrade or use an alternative browser.
Planning the Brichaus E-brewery build
- Thread starter Brickout
- Start date

Help Support Homebrew Talk - Beer, Wine, Mead, & Cider Brewing Discussion Forum:
This site may earn a commission from merchant affiliate
links, including eBay, Amazon, and others.
P-J, thanks for catching that.
Looking at the spec's on that switch is listed at, "Contact Rating @ 250V (Amps) - 15".
This is O K to use? Not that I'm questioning you. I just want to make sure I'm getting the correct switch.
Those switches are fine for our application as the voltage measured to ground from any point is 120V. Both 120V phases are open whenever the switch is off and therefore the voltage across the switch points when off would still not be 240V (Zero in fact). It is more than capable of carring the current needed (25A).
Hope this makes sense & helps.
Ok: First I want to thank you Brickout for your question about the switch. I fielded that question a whole bunch of times before you asked and have been -- damn -- nevermind. I'll just get upset again. (Getting old sucks.!)
Thank you so much Brickout for your question presented in a very pleasant manner.
BTW: I KNOW I'm still very correct in my choice of the original switch. It is dead on (but - I'm tired of getting beaten up over it).
As alway: For those that want to do a build and want to feel more comfortable with the switch and its power rating, I've done extensive research and had an AhHa moment a couple of weeks ago when I found this one: Digi-Key Part Number S823/U-ND. There are 3 different switches types all rated for 30A @ 120V and 30A @ 240V.
When you all get to the linked site just scroll down and click on the data sheet for tons of info about different switches that they have available. They have got 'em all and are rated for 30A @ 120V & 240V.
Problem solved. All of my new diagrams using element switches will show this switch set for element control.
Brickout: You are looking like you are ready to go and get in on.
Please keep us informed. If there is any way I can help, please ask.
Wishing you the very best.
P-J
Brickout
Well-Known Member
P-J, I bought the switch you recommend from Grainger. So I'm go-to-go!
P-J, I bought the switch you recommend from Grainger. So I'm go-to-go!
Absolutely - Without question!
P-J
(I know that was not a question - but I hadda reply anyway.

Brickout
Well-Known Member
So I was FINALLY able to get back to work on this project.
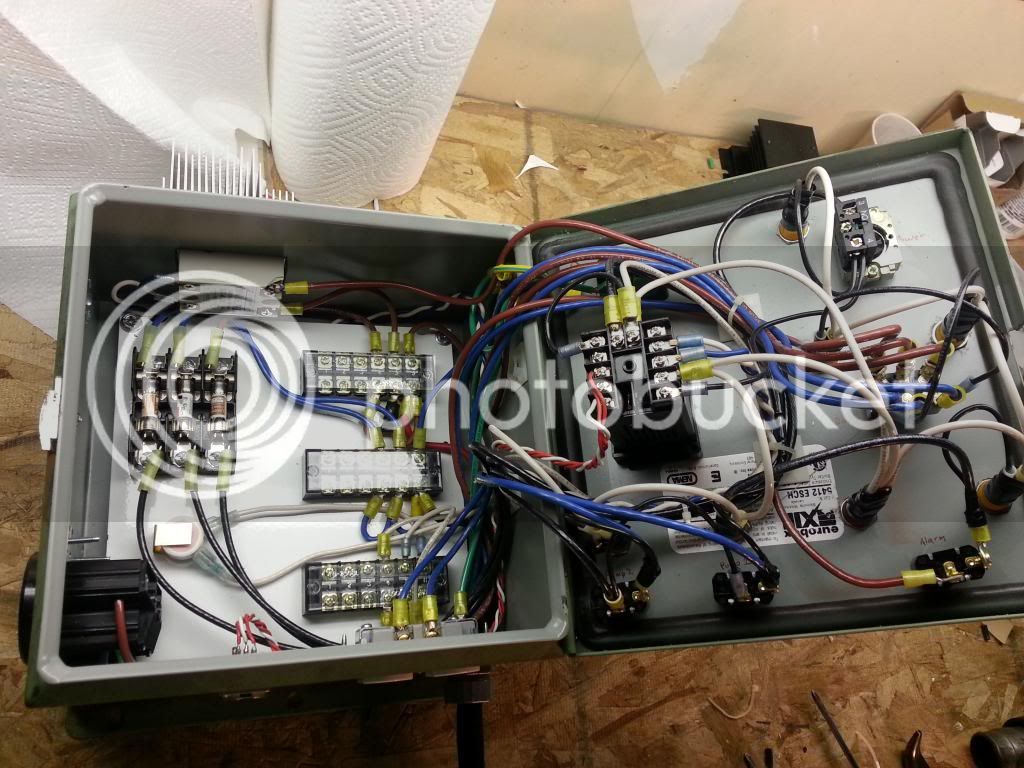
I have the control panel painted and wired up.
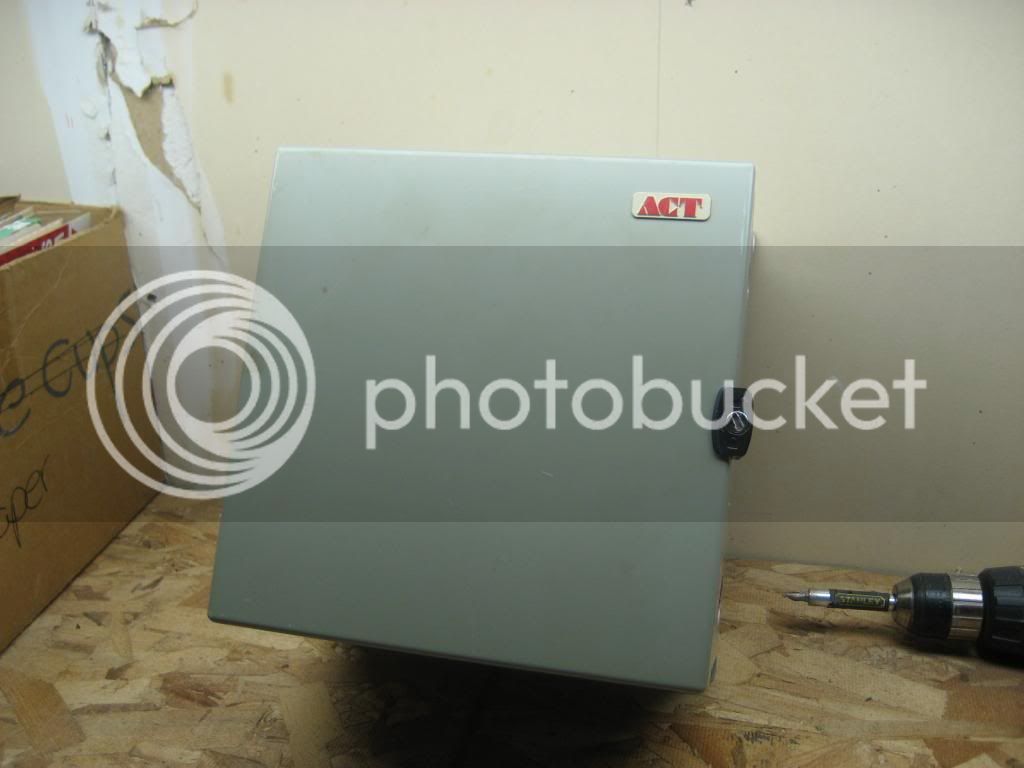
Here's how the box looked when I first got it.
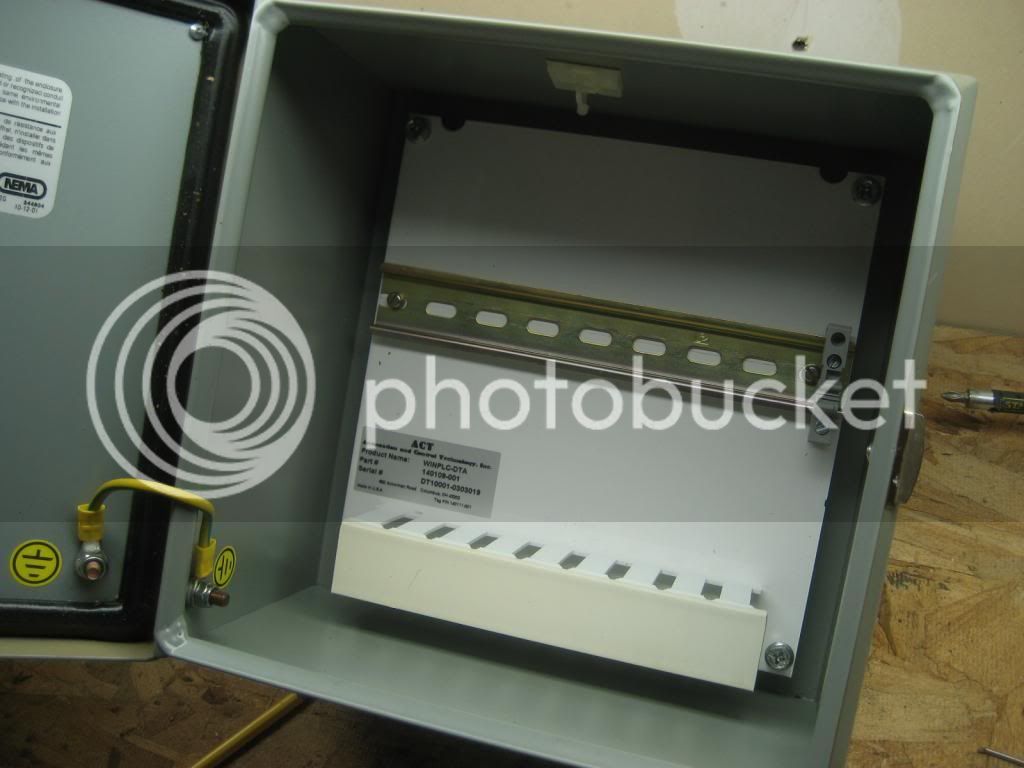
First I drilled all the holes and test fit everything.
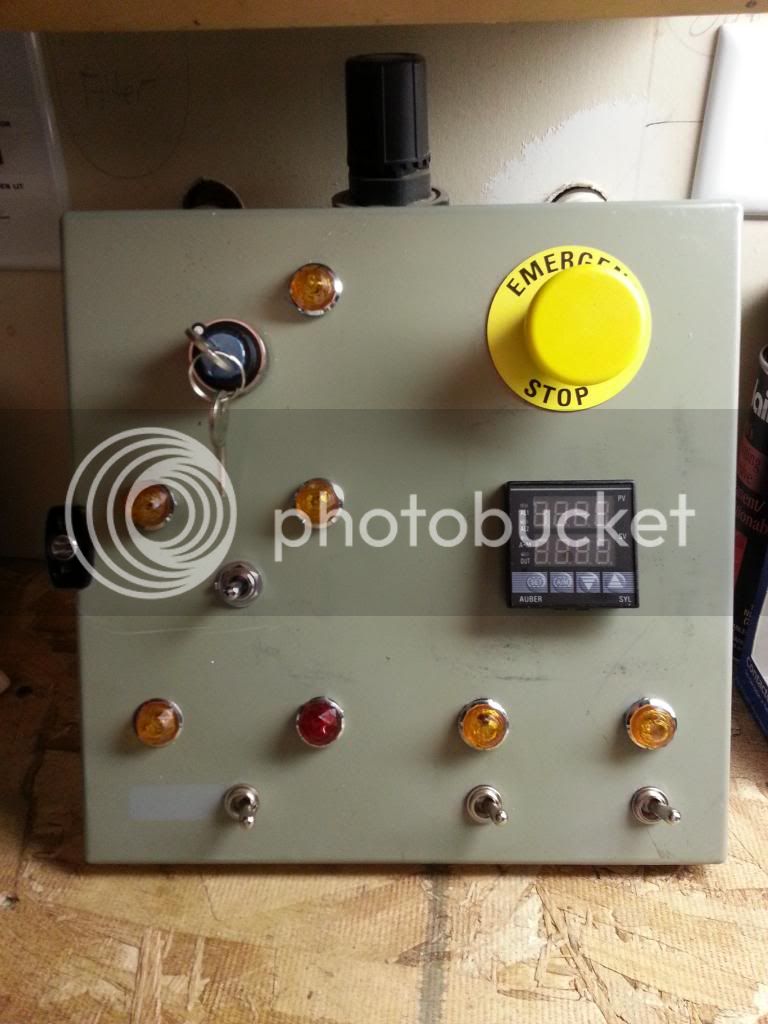
Then it was time to prime it.
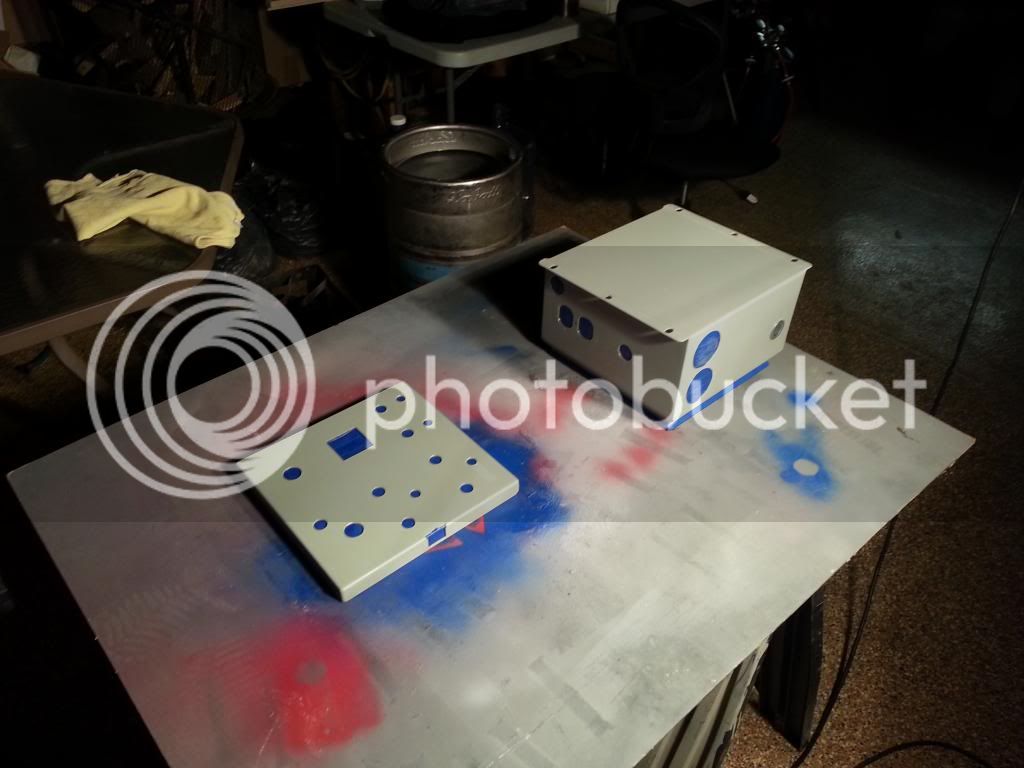
Once that was done I gave it a speckle coat of various colors.
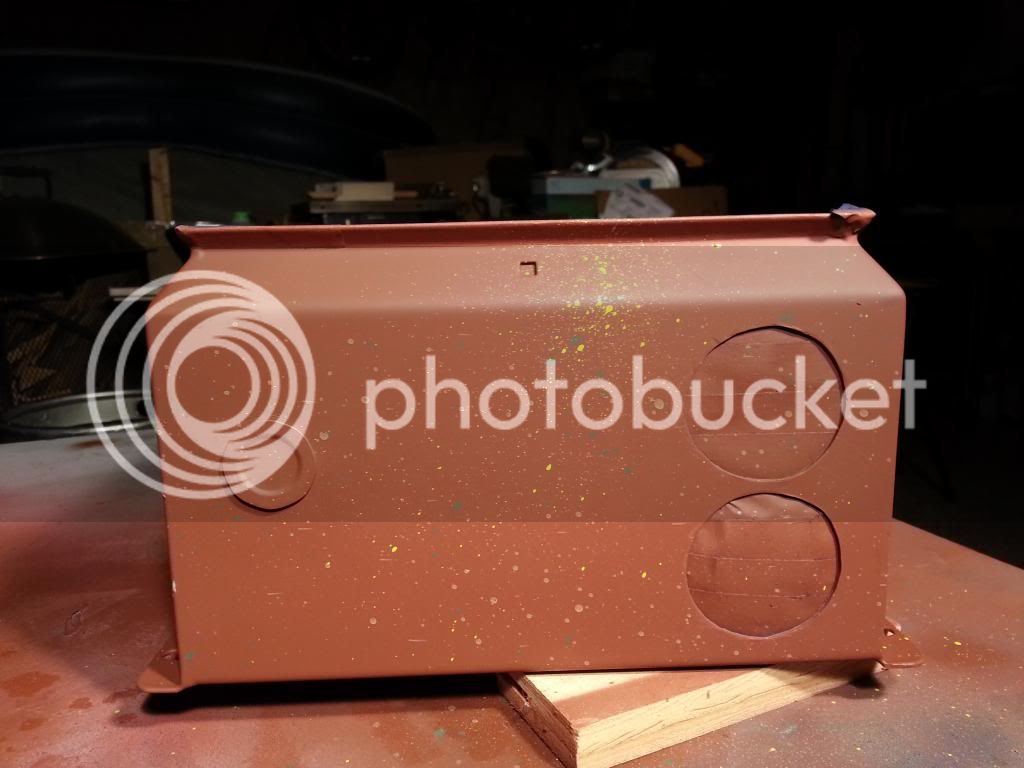
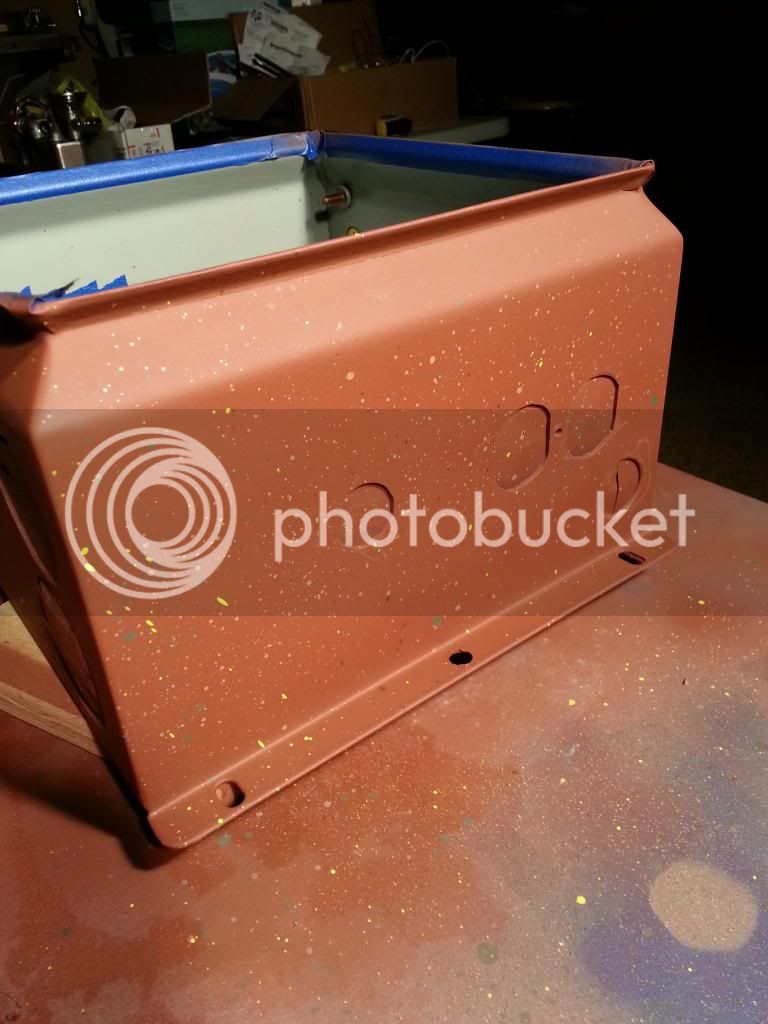
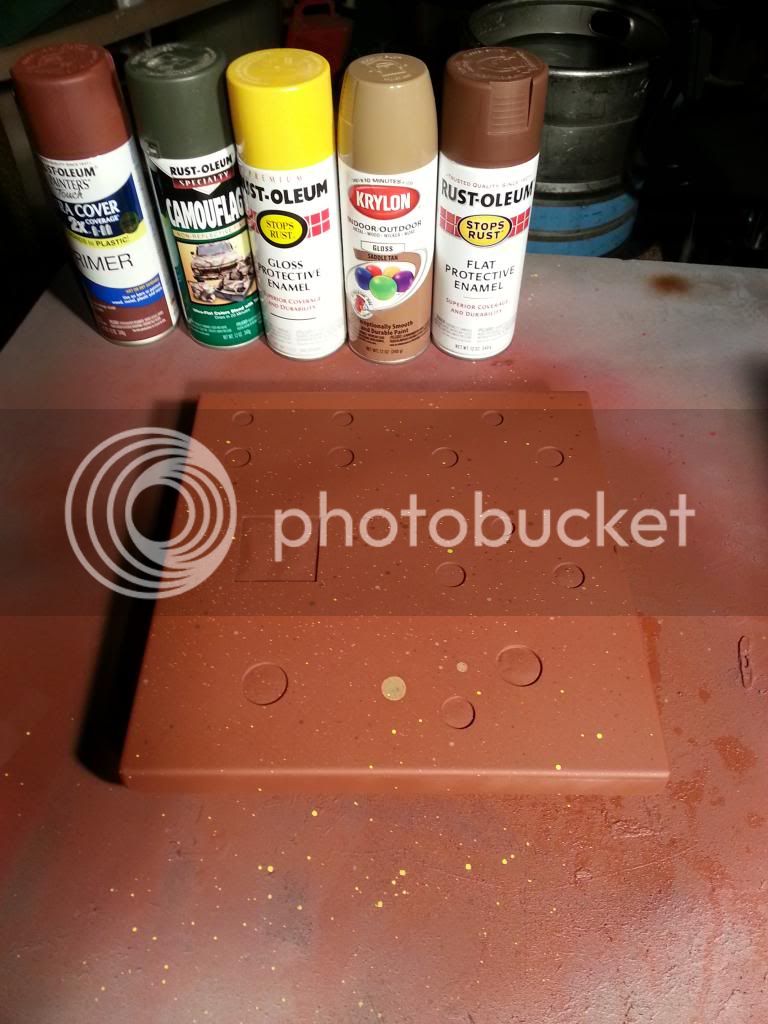
Now the cool part! I lightly wet it with water with a little soap and applied salt. I used table and rock salt to get varying sizes.
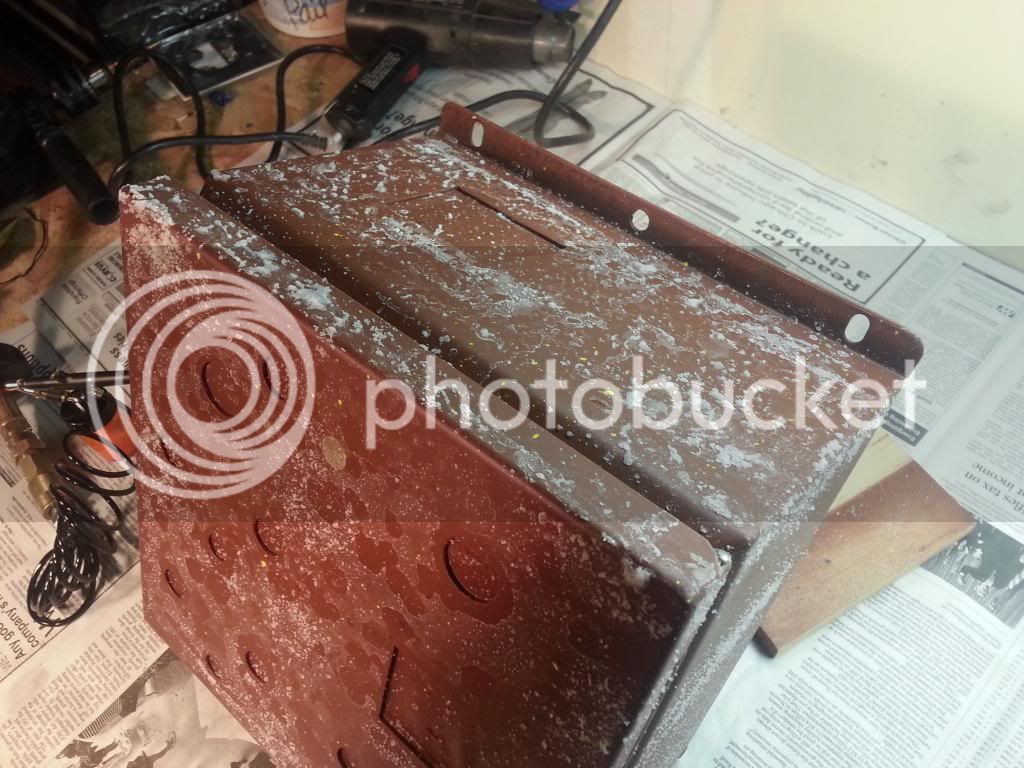
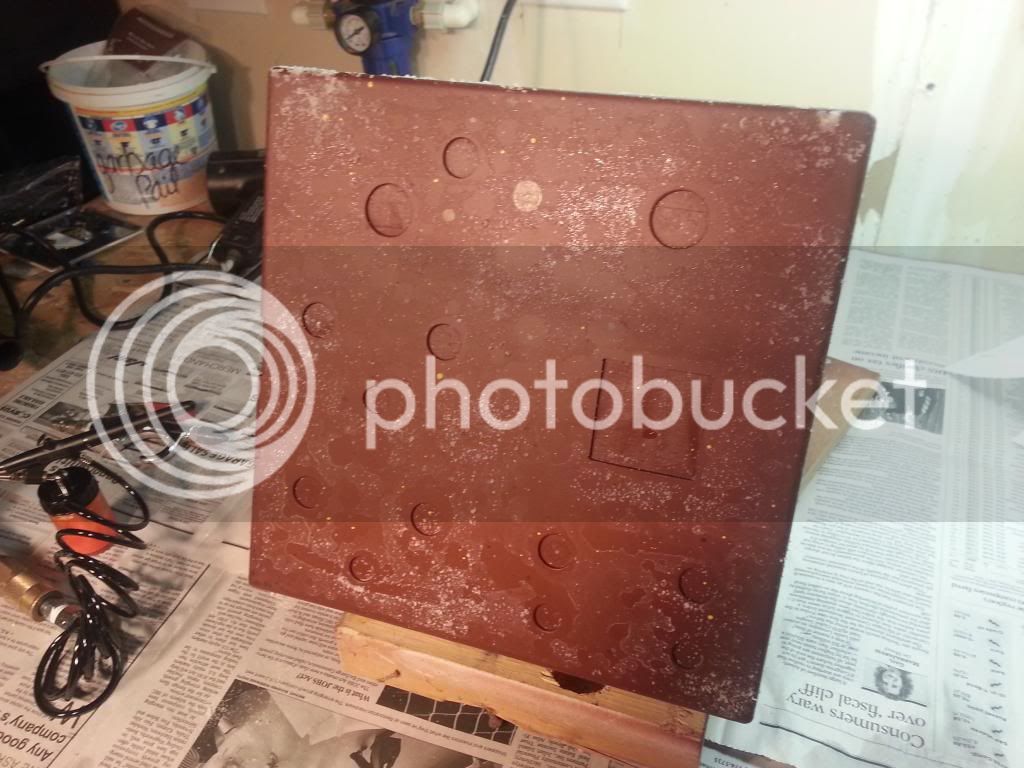
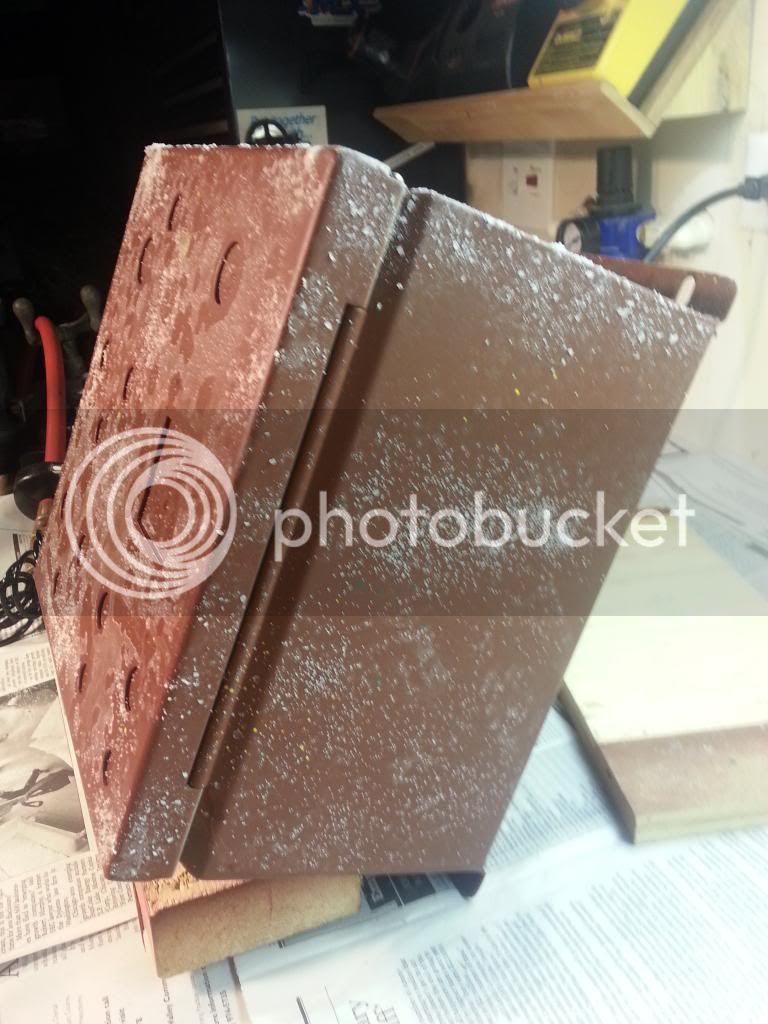
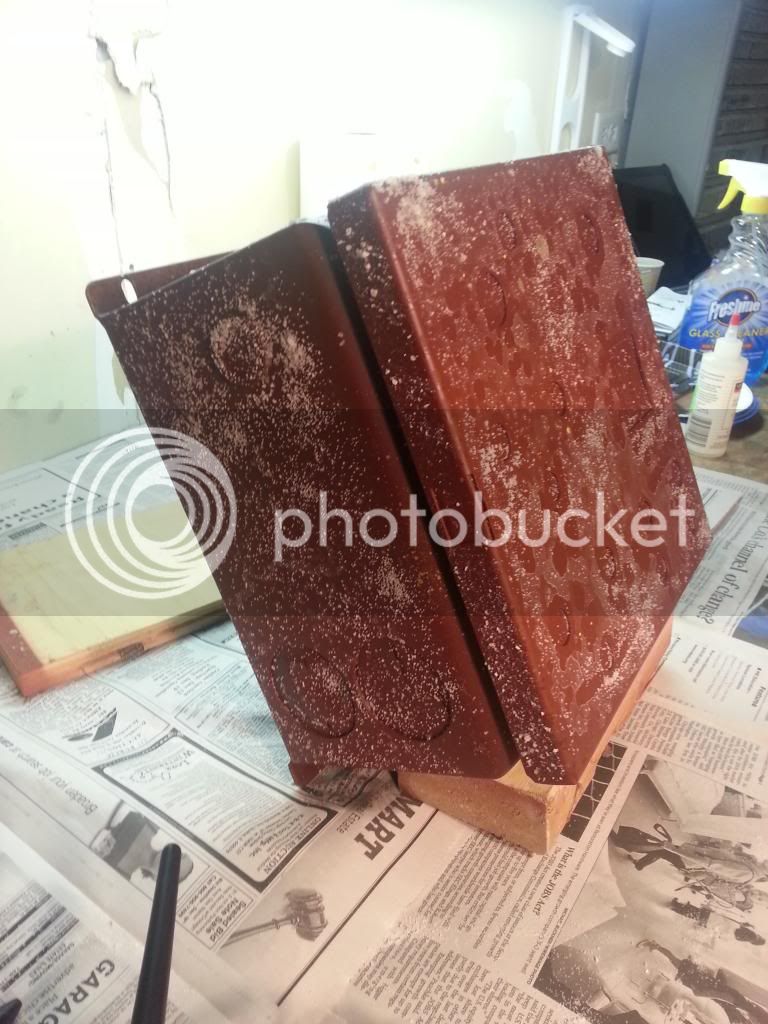
I have the control panel painted and wired up.

Here's how the box looked when I first got it.


First I drilled all the holes and test fit everything.

Then it was time to prime it.

Once that was done I gave it a speckle coat of various colors.


Now the cool part! I lightly wet it with water with a little soap and applied salt. I used table and rock salt to get varying sizes.


Brickout
Well-Known Member
Once the salt dried I added a light coat of orange. Then another light coat of salt.
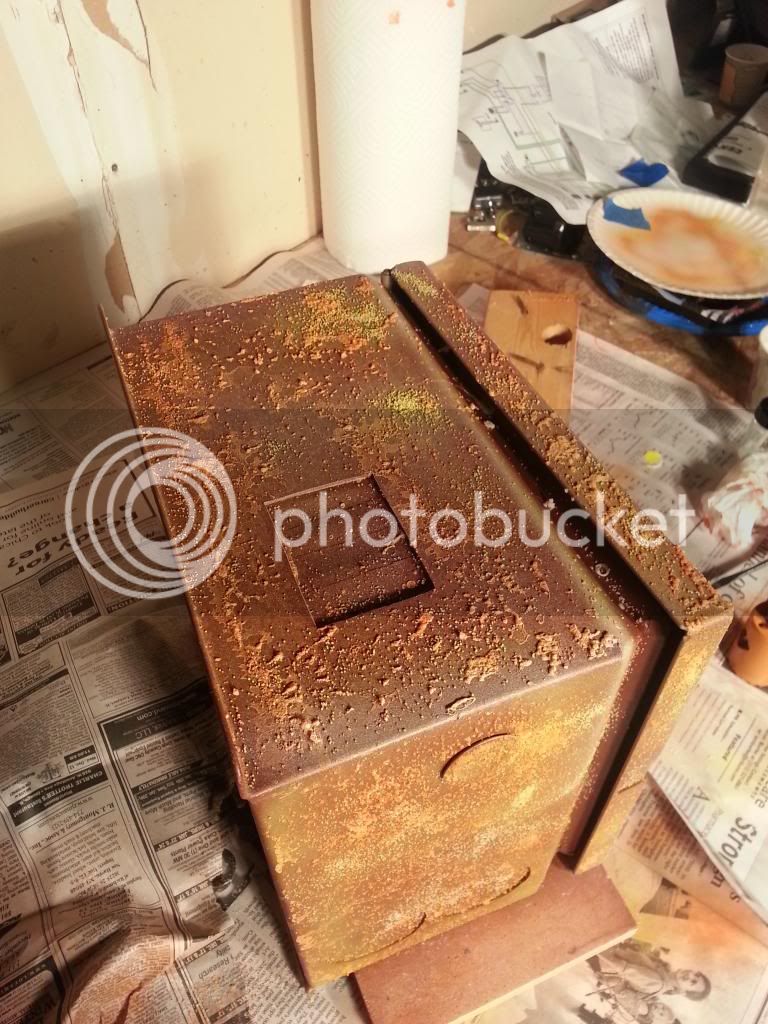
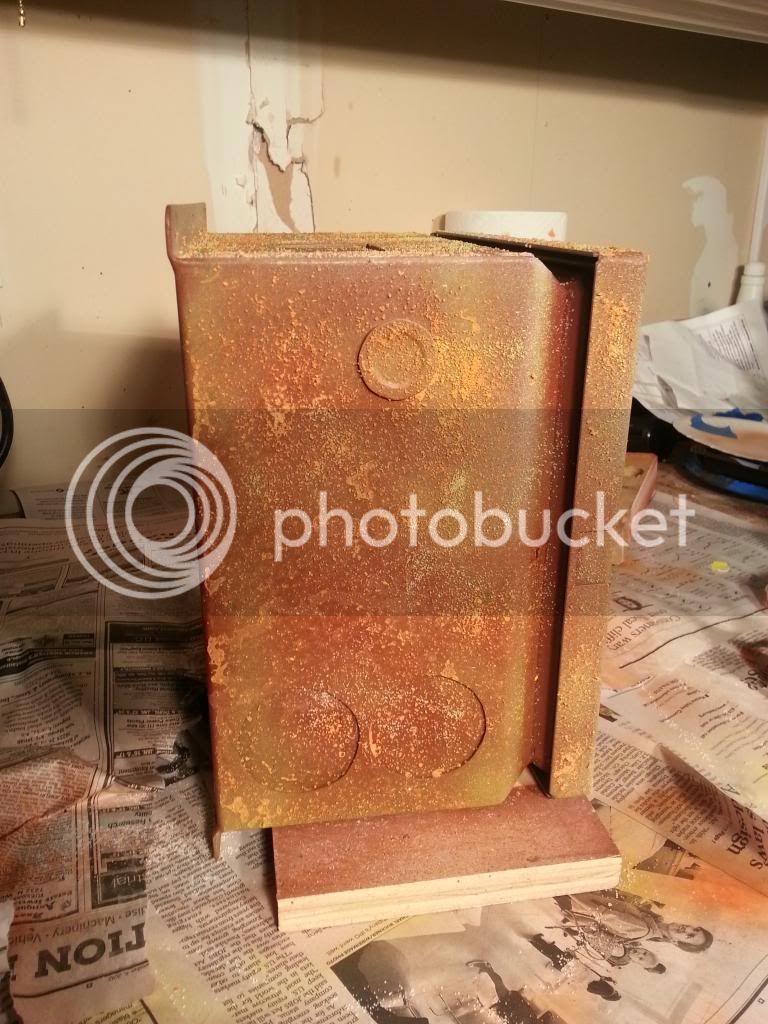
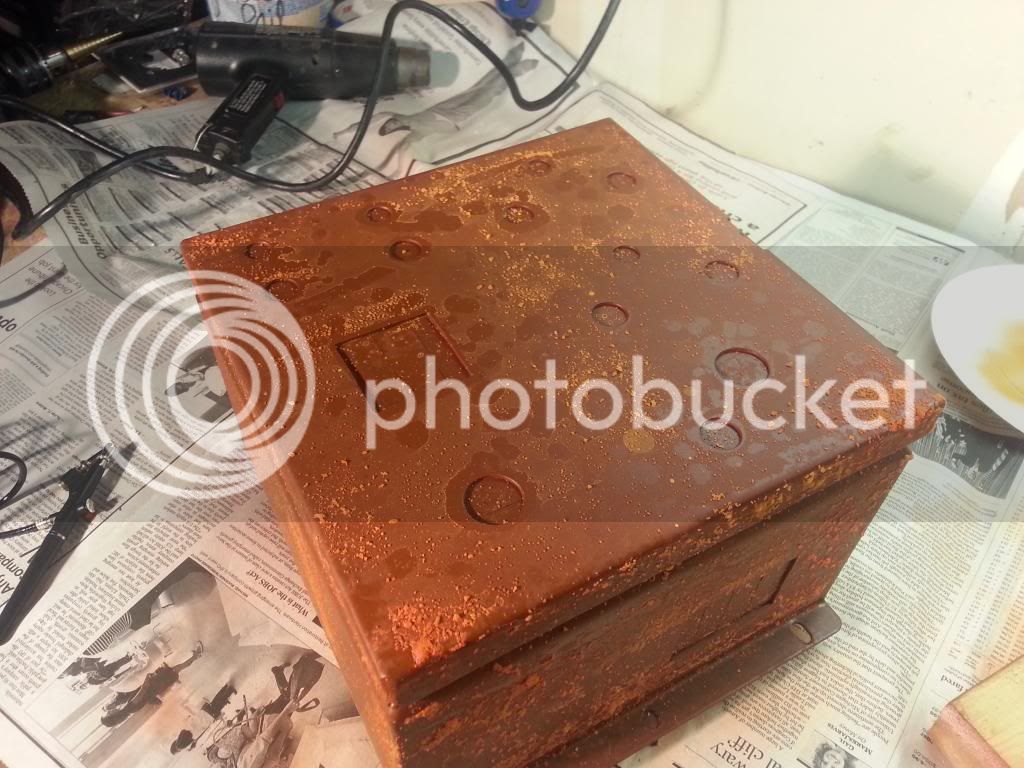
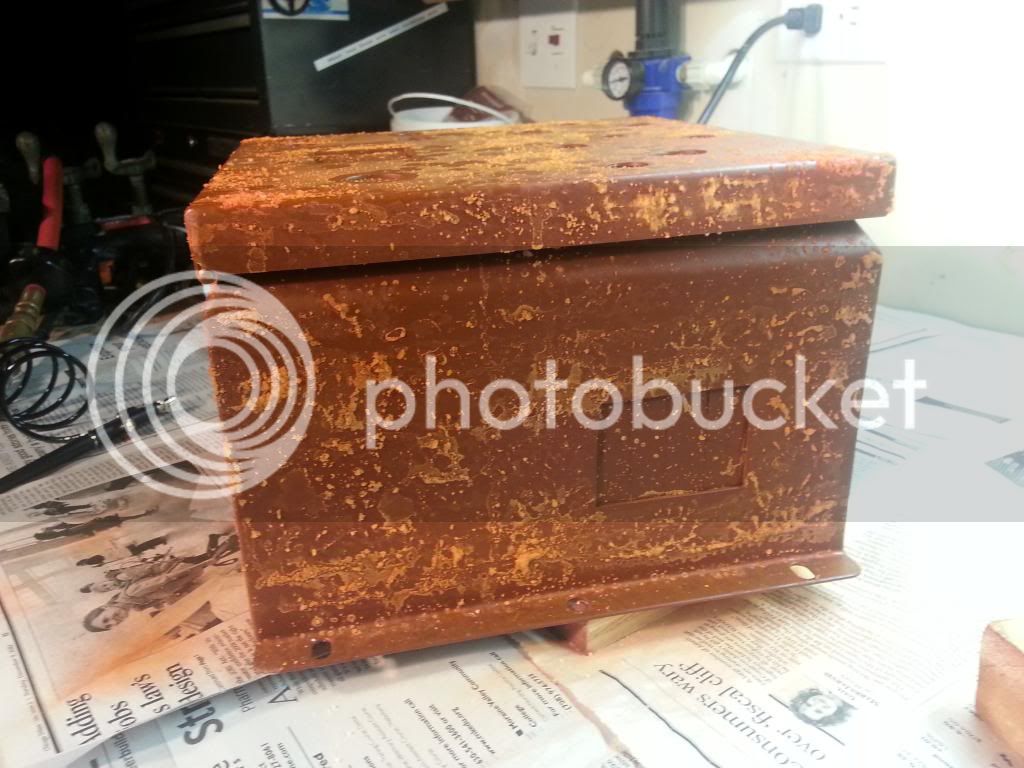
Once that dried I added some white and yellow highlights.
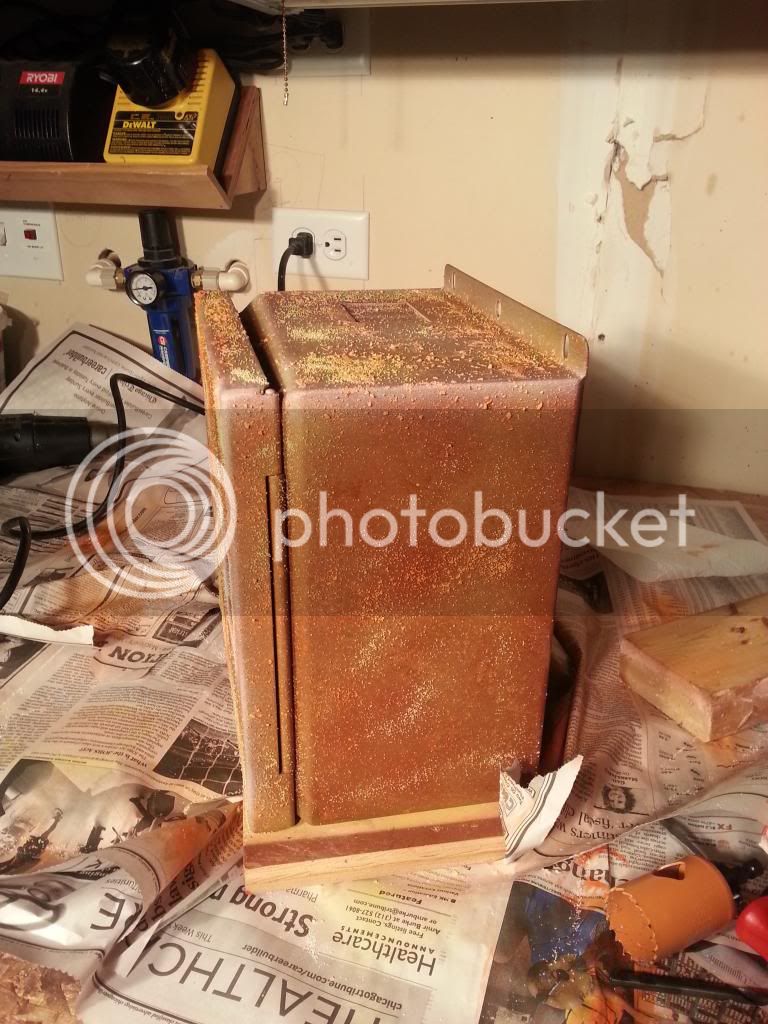


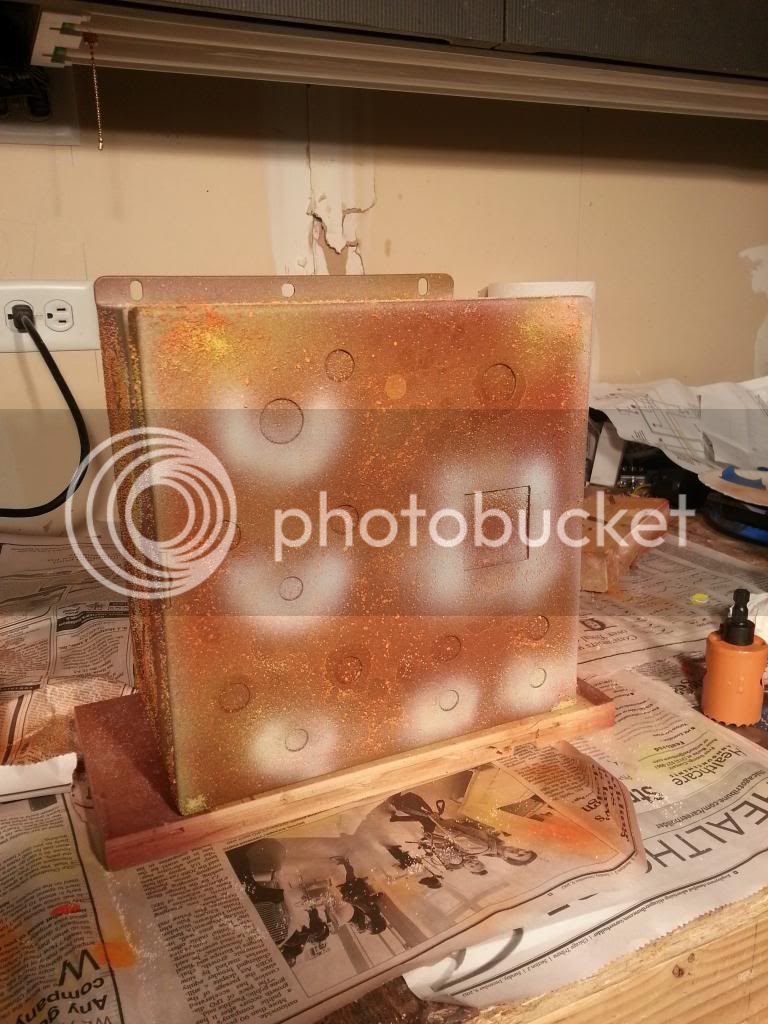
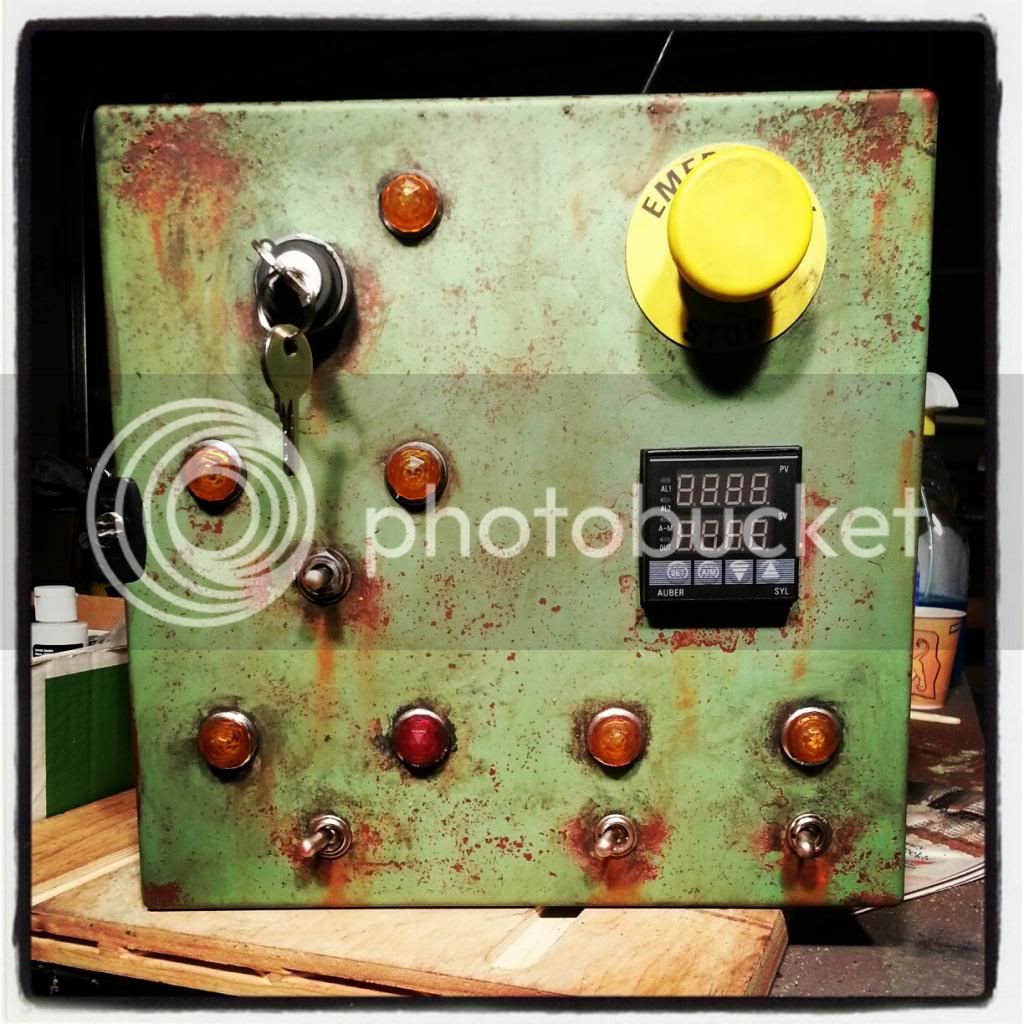
Then came the final color. I went with a green that reminded me of old tool / machine shop and power tools. Since my idea was to make this look like it came out of an old factory, that seemed to be an appropriate color.
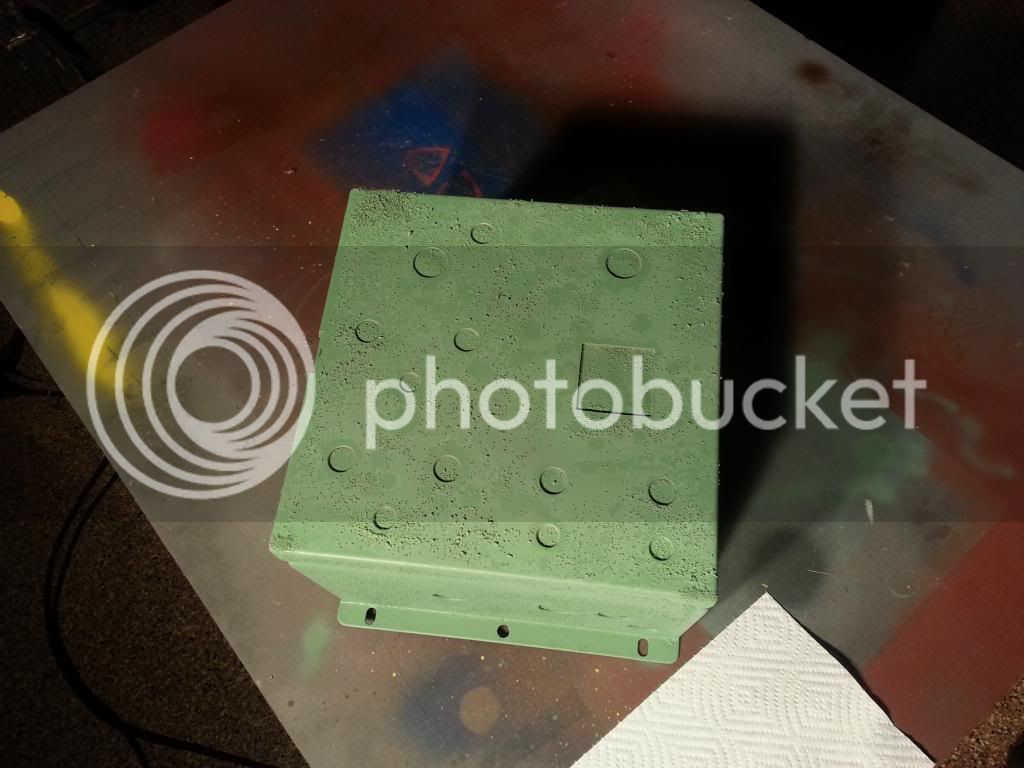
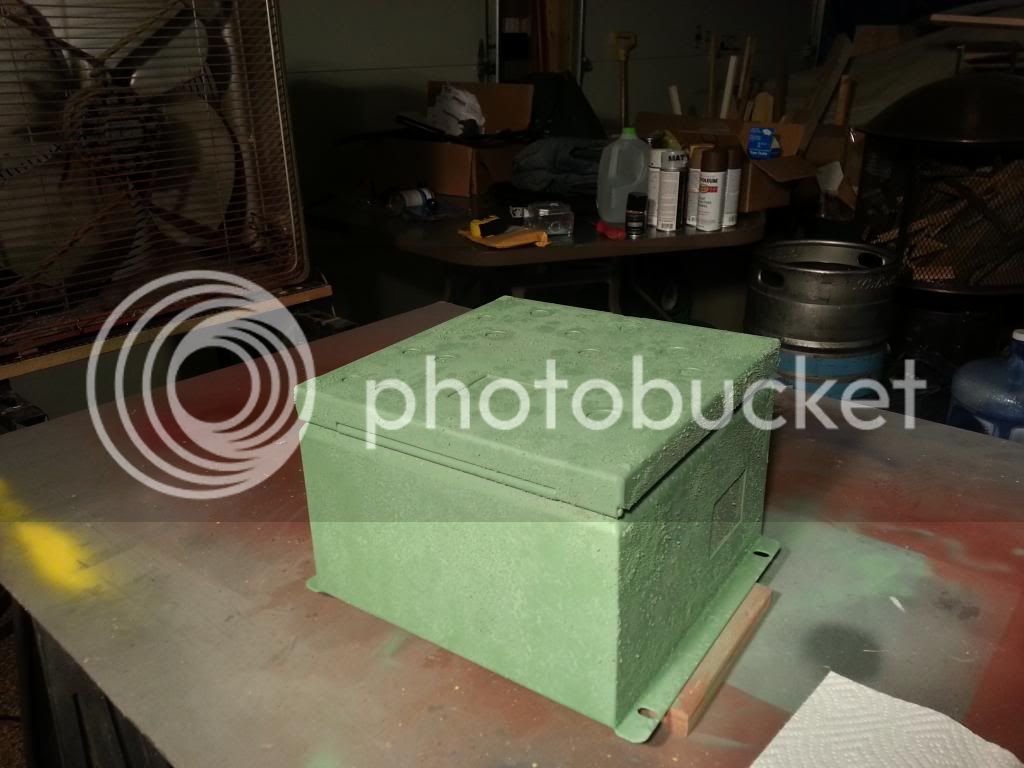
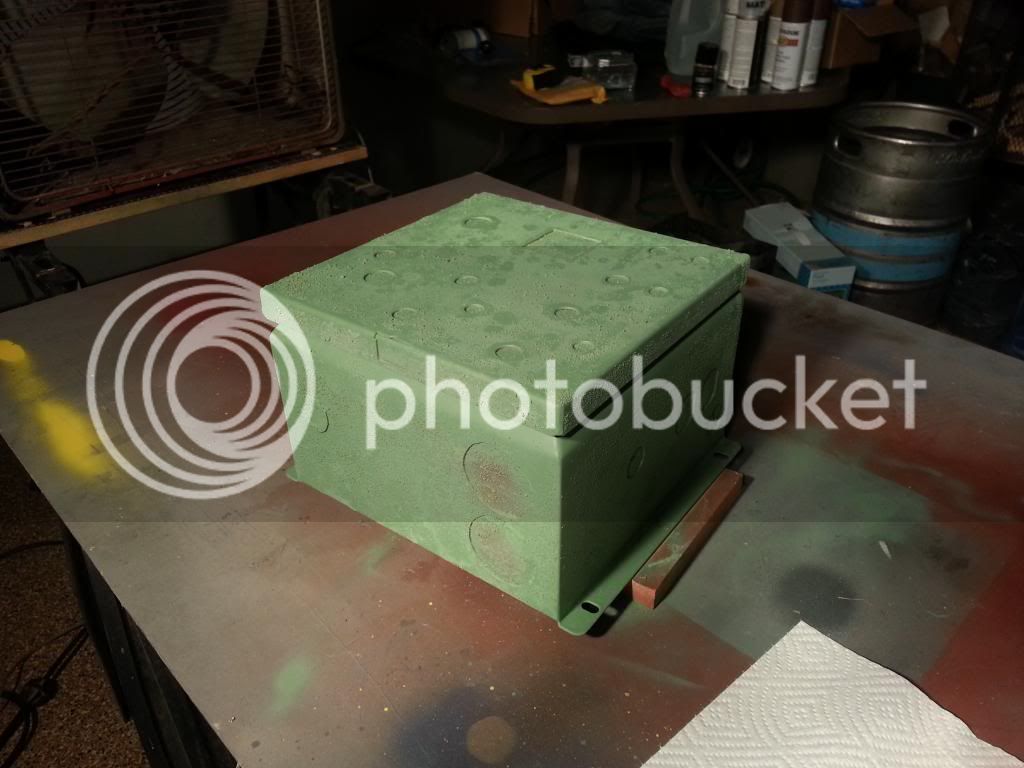
Once the green paint had dried I took an old toothbrush and water and started scrubbing away the salt. This process starts reveling the base colors. This method give the paint a good random pattern and by leaving some of the salt under the paint creates a "bubbling" effect under the paint.
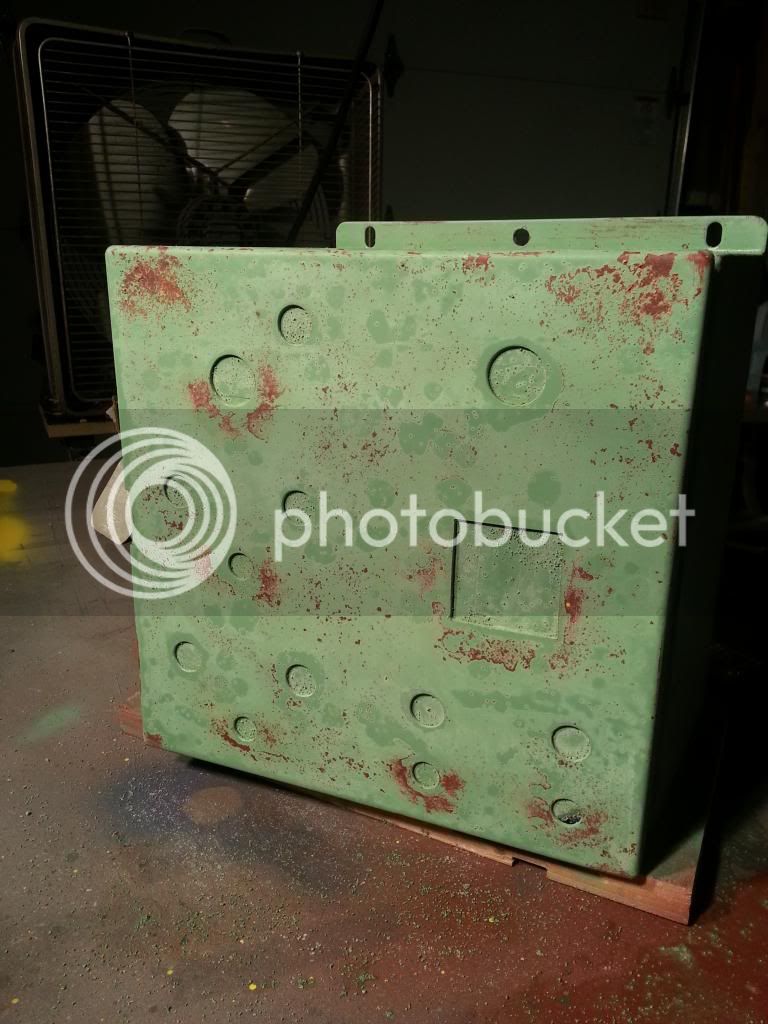
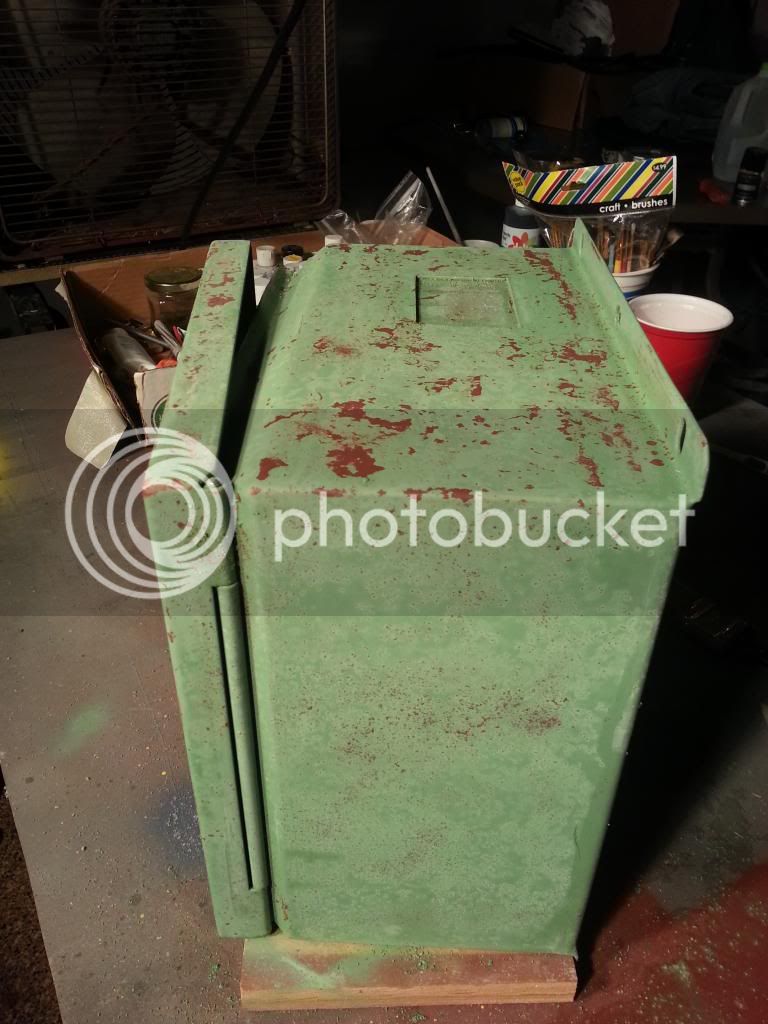
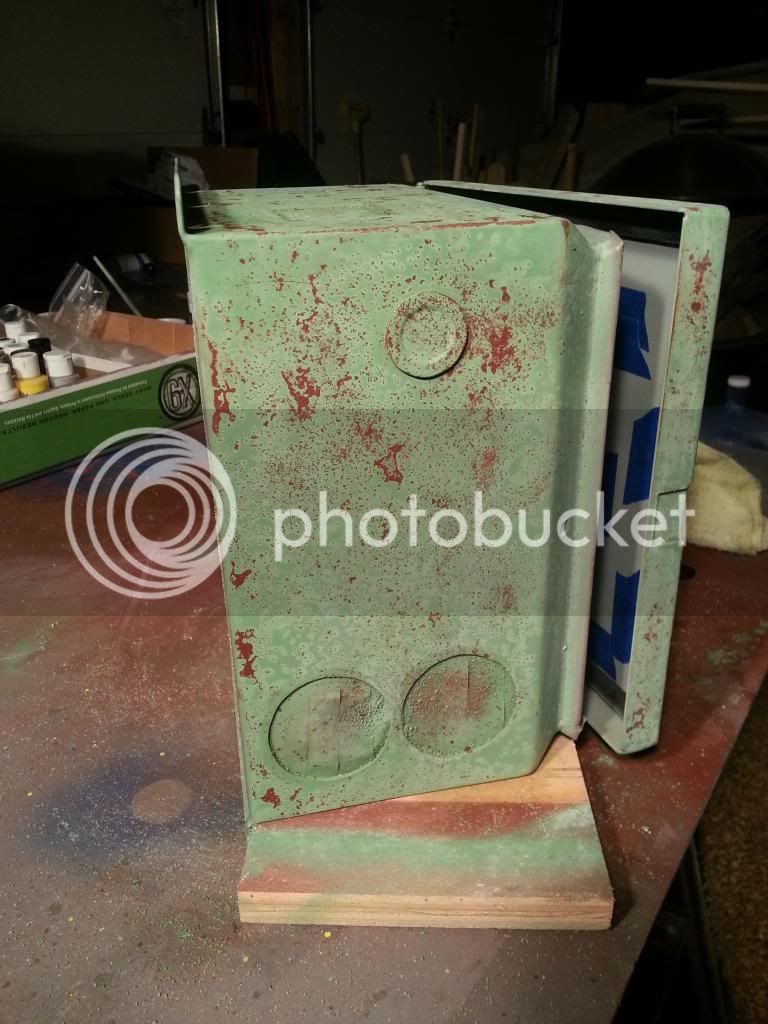
Once I mounted all the components I used some black and brown paints and worked then into all the crevices and cracks. I also gave the entire panel some washes of diluted paints to tone down the bright green. The final touches were dry brushing the rust streaks.
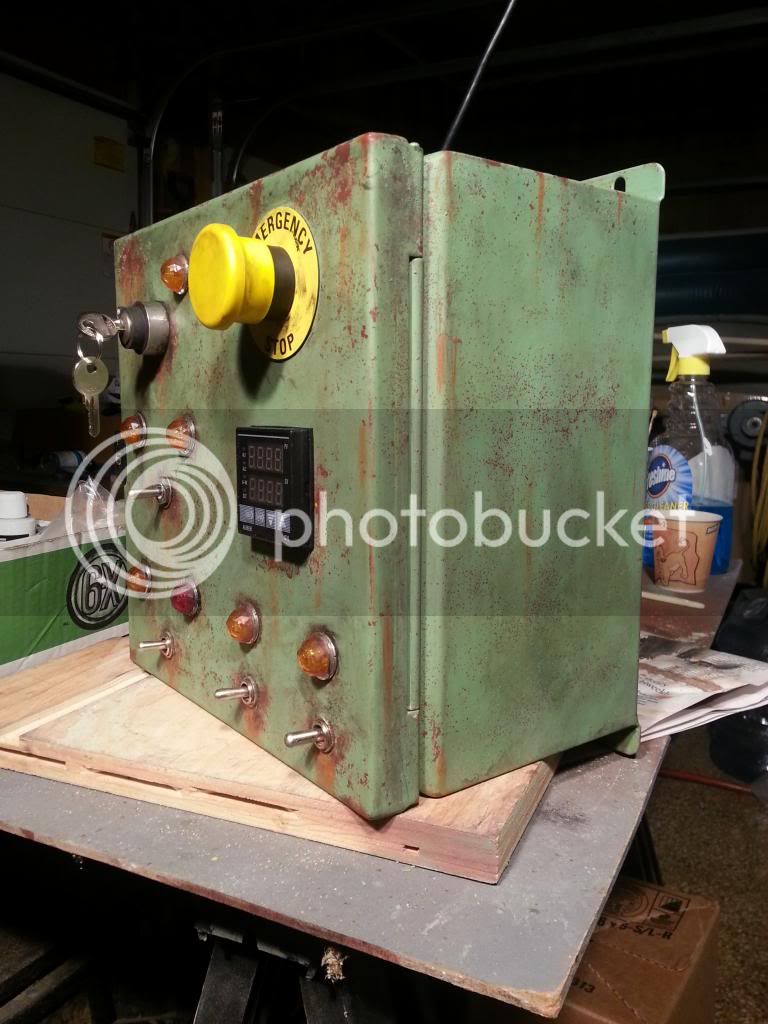
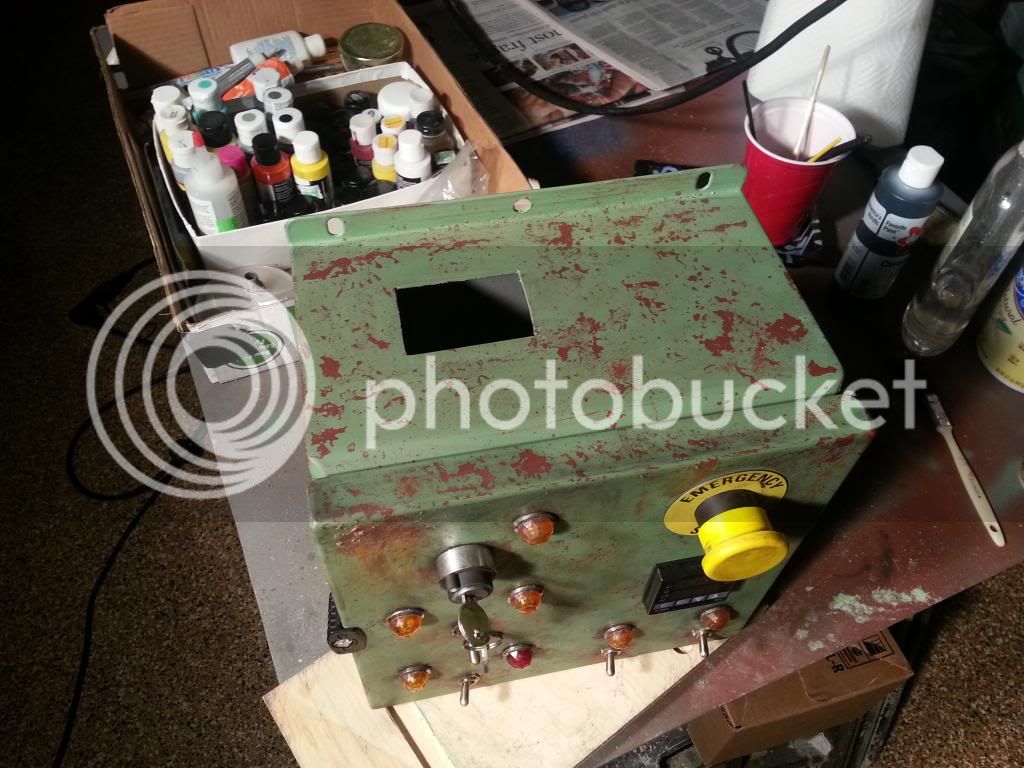
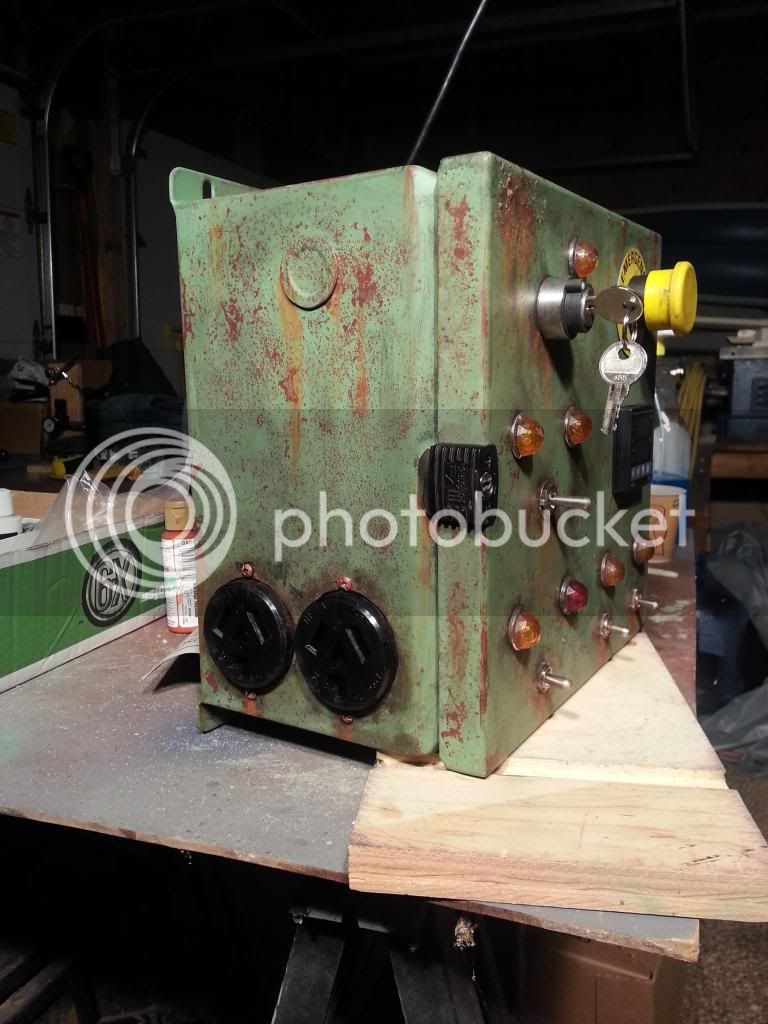
All of the paint (with the exception of the primer) was acrylic (water based) and was applied with an airbrush or paintbrush.
And...the wiring


Once that dried I added some white and yellow highlights.


Then came the final color. I went with a green that reminded me of old tool / machine shop and power tools. Since my idea was to make this look like it came out of an old factory, that seemed to be an appropriate color.


Once the green paint had dried I took an old toothbrush and water and started scrubbing away the salt. This process starts reveling the base colors. This method give the paint a good random pattern and by leaving some of the salt under the paint creates a "bubbling" effect under the paint.


Once I mounted all the components I used some black and brown paints and worked then into all the crevices and cracks. I also gave the entire panel some washes of diluted paints to tone down the bright green. The final touches were dry brushing the rust streaks.


All of the paint (with the exception of the primer) was acrylic (water based) and was applied with an airbrush or paintbrush.
And...the wiring

rcm_rx7
Well-Known Member
That is AWESOME! Very jealous, how did you come up with that painting technique?
Now that's just insane. Great job! So how are you going to scuff up your PID? 
lpdjshaw
Well-Known Member
Way cool!!!
kal
Well-Known Member
Old thread, but I have to chime in and say that this is one of the coolest paintjobs I've ever seen. Amazing. Nice work!
The paint job, lights, and toggle switches remind me of something from the Fallout video game series (post-apocalyptic 1950s America).
Kal
Similar threads
- Replies
- 14
- Views
- 1K
- Replies
- 4
- Views
- 728

