Schnitzengiggle
Well-Known Member
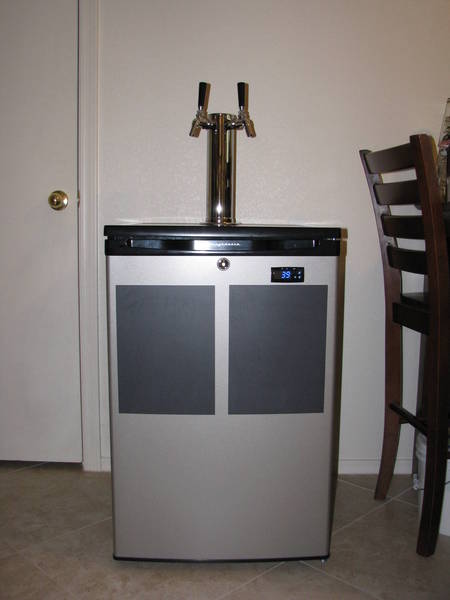
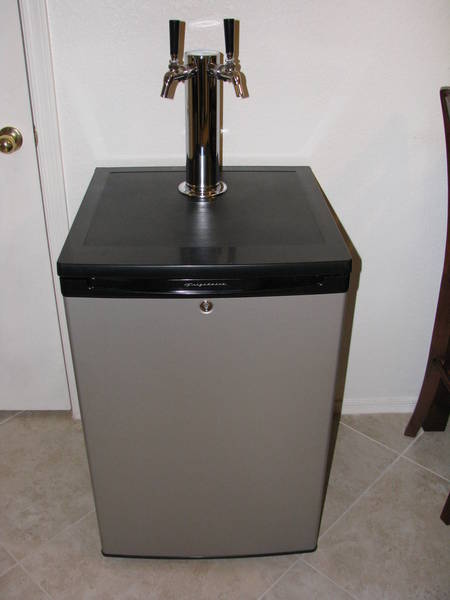
I know a couple of similar projects have been posted, but I am extremely proud of my DIY kegerator, so here is my experience with this build:
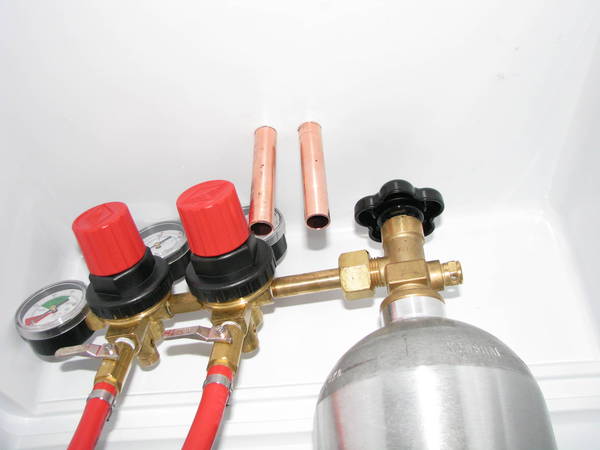
I purchased all of my kegging equipment from Kegconnection, they have great prices, and excellent customer service. I was helped by a gentleman named Todd ,who I understand is the owner. Despite having received regulator guages that were damaged during shipping, Todd promptly replaced them without any questions asked. I even asked if he'd like me to return the damaged pair, and he said to just keep them. Sweet, no additional shipping costs to me!
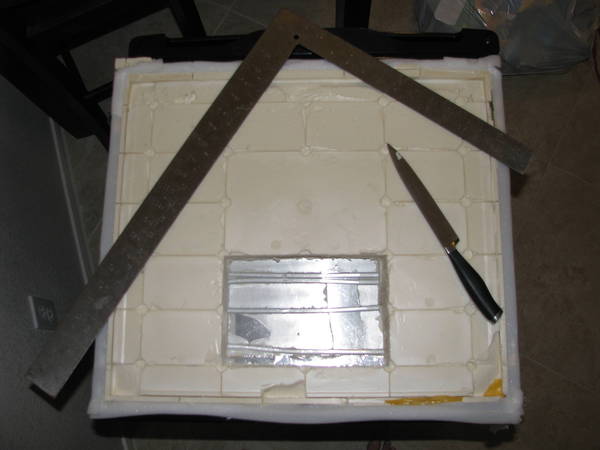
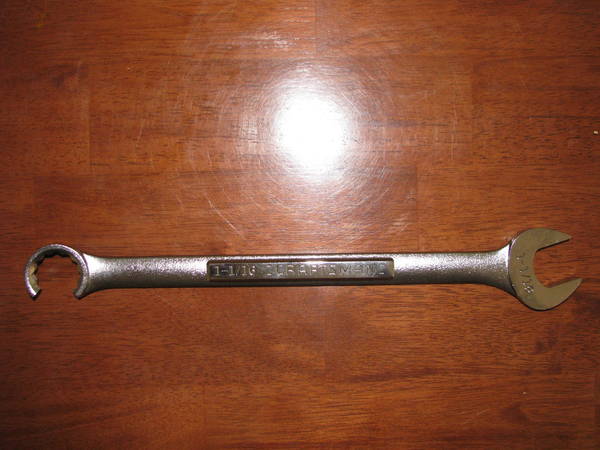
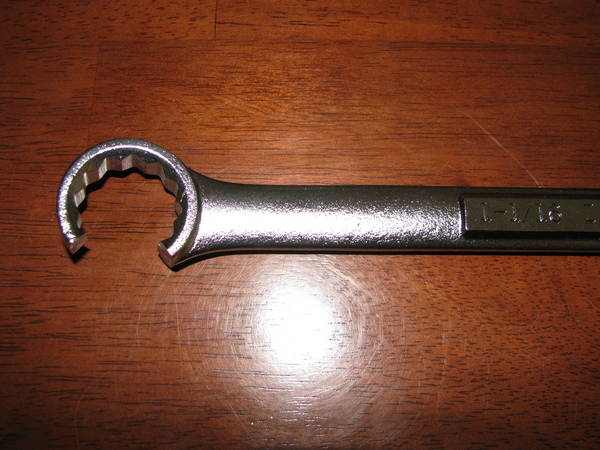
Other hardware for the build was purchased at Lowe's, Ace Hardware and the 1-1/16" Craftsman combination wrench shown in the photo (I'll get to that later) was purchased at Sears, of course.
1 can of Great Stuff window and door spray foam (Lowe's)
1 tube of PL Polyurethane adhesive (Lowe's)
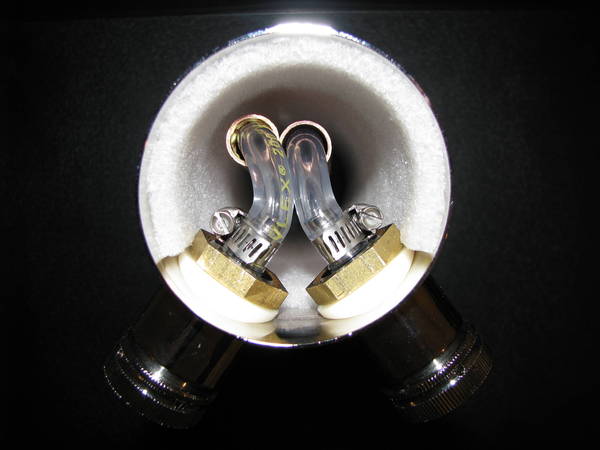
24" length of 1/2" copper pipe (Lowe's)
1-1/16" Combination wrench (Sears)
6 Stainless steel hose clamps (Ace Hardware)

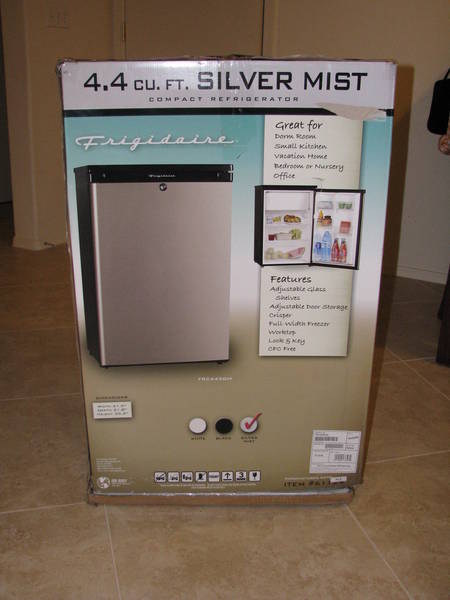
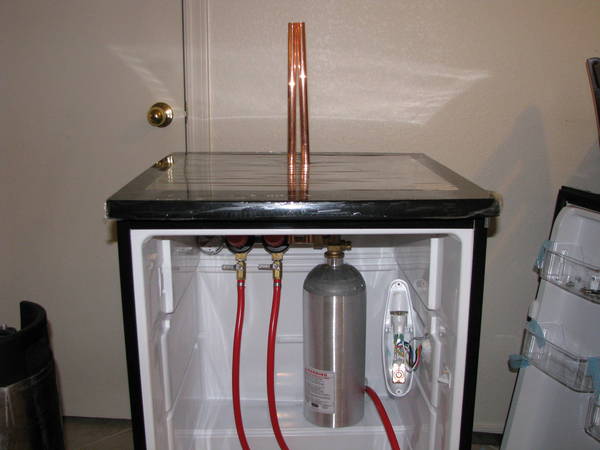
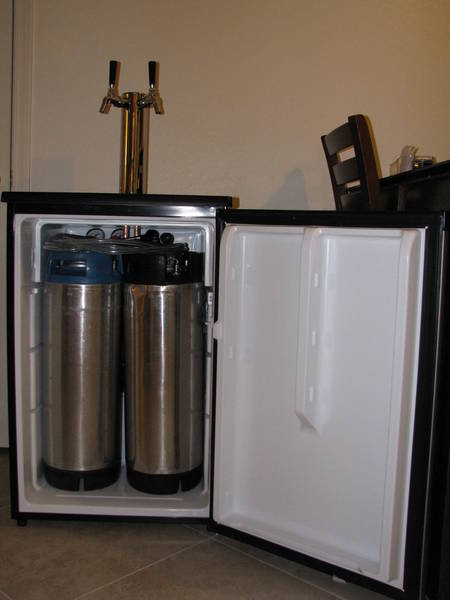
I started my kegerator build this past Friday, and had a couple of hours each day to work on it through the weekend. I started with this mini-fridge. Frigidaire model #FRC445GM.
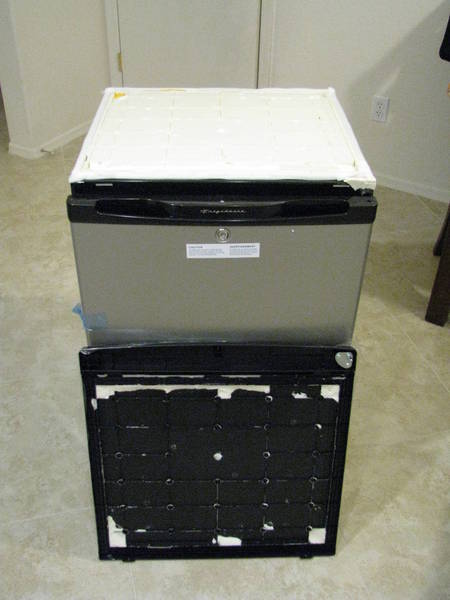
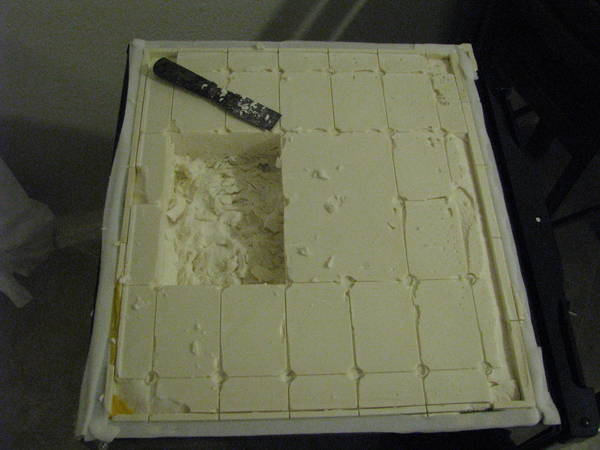
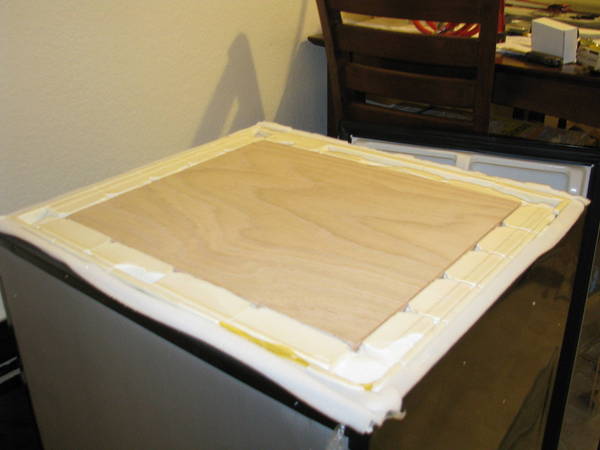
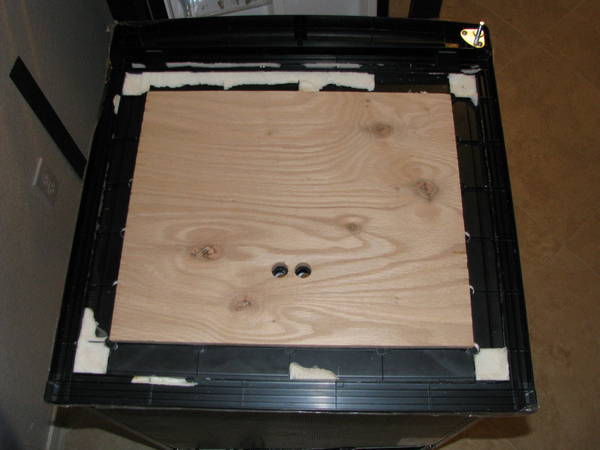
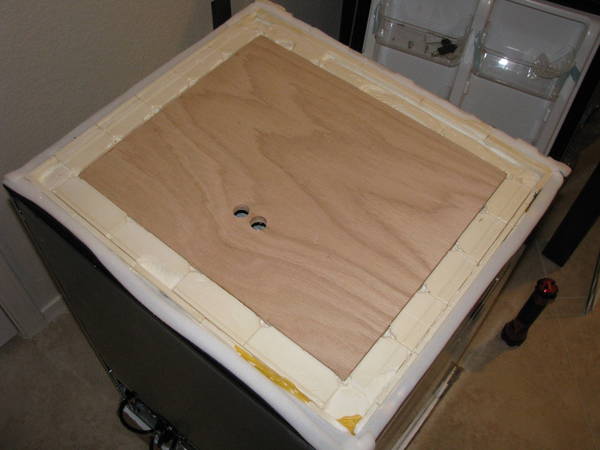
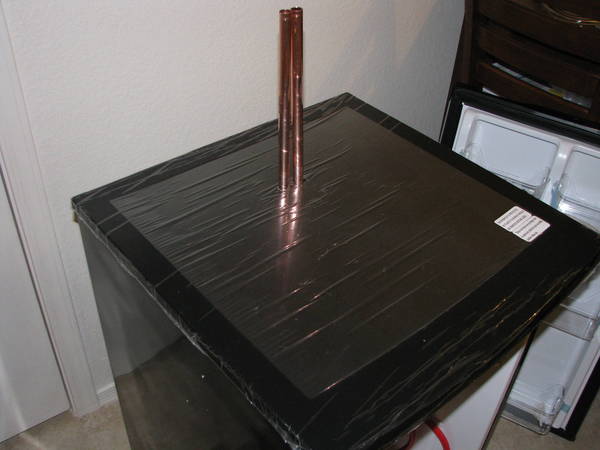
The first order of business was to remove the top, although it wasn't extremely difficult it was somewhat of a pain in the ass. I would suggest working from one of the rear corners to start. The top is attached with foam insulation, and some adhesive tape around the top's edge. This is what it looks like with the top off.


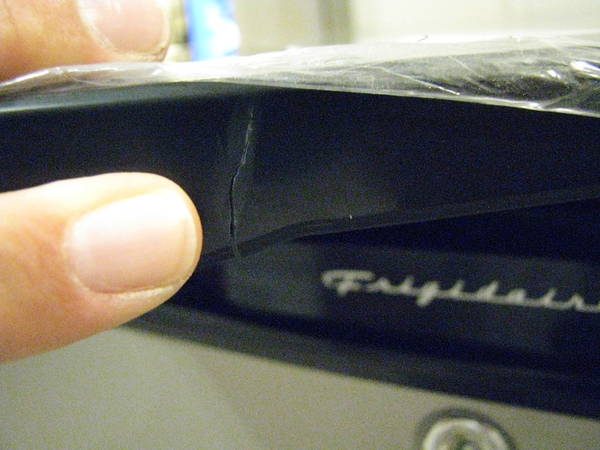
While removing the top, I managed to crack it right next to the door hinge. I used a small amount of epoxy on the inside of the crack to reinforce the damaged point while hiding it a the same time. It is purely cosmetic, and will not be noticed unless pointed out. So be careful!
I purchased all of my kegging equipment from Kegconnection, they have great prices, and excellent customer service. I was helped by a gentleman named Todd ,who I understand is the owner. Despite having received regulator guages that were damaged during shipping, Todd promptly replaced them without any questions asked. I even asked if he'd like me to return the damaged pair, and he said to just keep them. Sweet, no additional shipping costs to me!
Other hardware for the build was purchased at Lowe's, Ace Hardware and the 1-1/16" Craftsman combination wrench shown in the photo (I'll get to that later) was purchased at Sears, of course.
1 can of Great Stuff window and door spray foam (Lowe's)
1 tube of PL Polyurethane adhesive (Lowe's)
24" length of 1/2" copper pipe (Lowe's)
1-1/16" Combination wrench (Sears)
6 Stainless steel hose clamps (Ace Hardware)
I started my kegerator build this past Friday, and had a couple of hours each day to work on it through the weekend. I started with this mini-fridge. Frigidaire model #FRC445GM.
The first order of business was to remove the top, although it wasn't extremely difficult it was somewhat of a pain in the ass. I would suggest working from one of the rear corners to start. The top is attached with foam insulation, and some adhesive tape around the top's edge. This is what it looks like with the top off.
While removing the top, I managed to crack it right next to the door hinge. I used a small amount of epoxy on the inside of the crack to reinforce the damaged point while hiding it a the same time. It is purely cosmetic, and will not be noticed unless pointed out. So be careful!


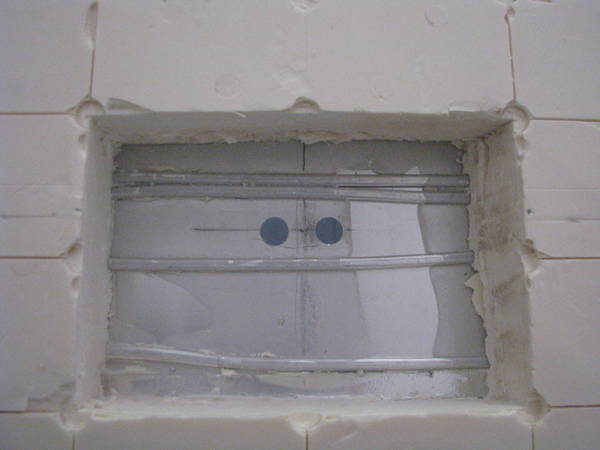


 Yes I plan on installing a computer/muffin fan that will help to circulate the cold air.