Show us your sculpture or brew rig

Homebrew Talk - Beer, Wine, Mead, & Cider Brewing Discussion Forum

Help Support Homebrew Talk - Beer, Wine, Mead, & Cider Brewing Discussion Forum:

This site may earn a commission from merchant affiliate links, including eBay, Amazon, and others.
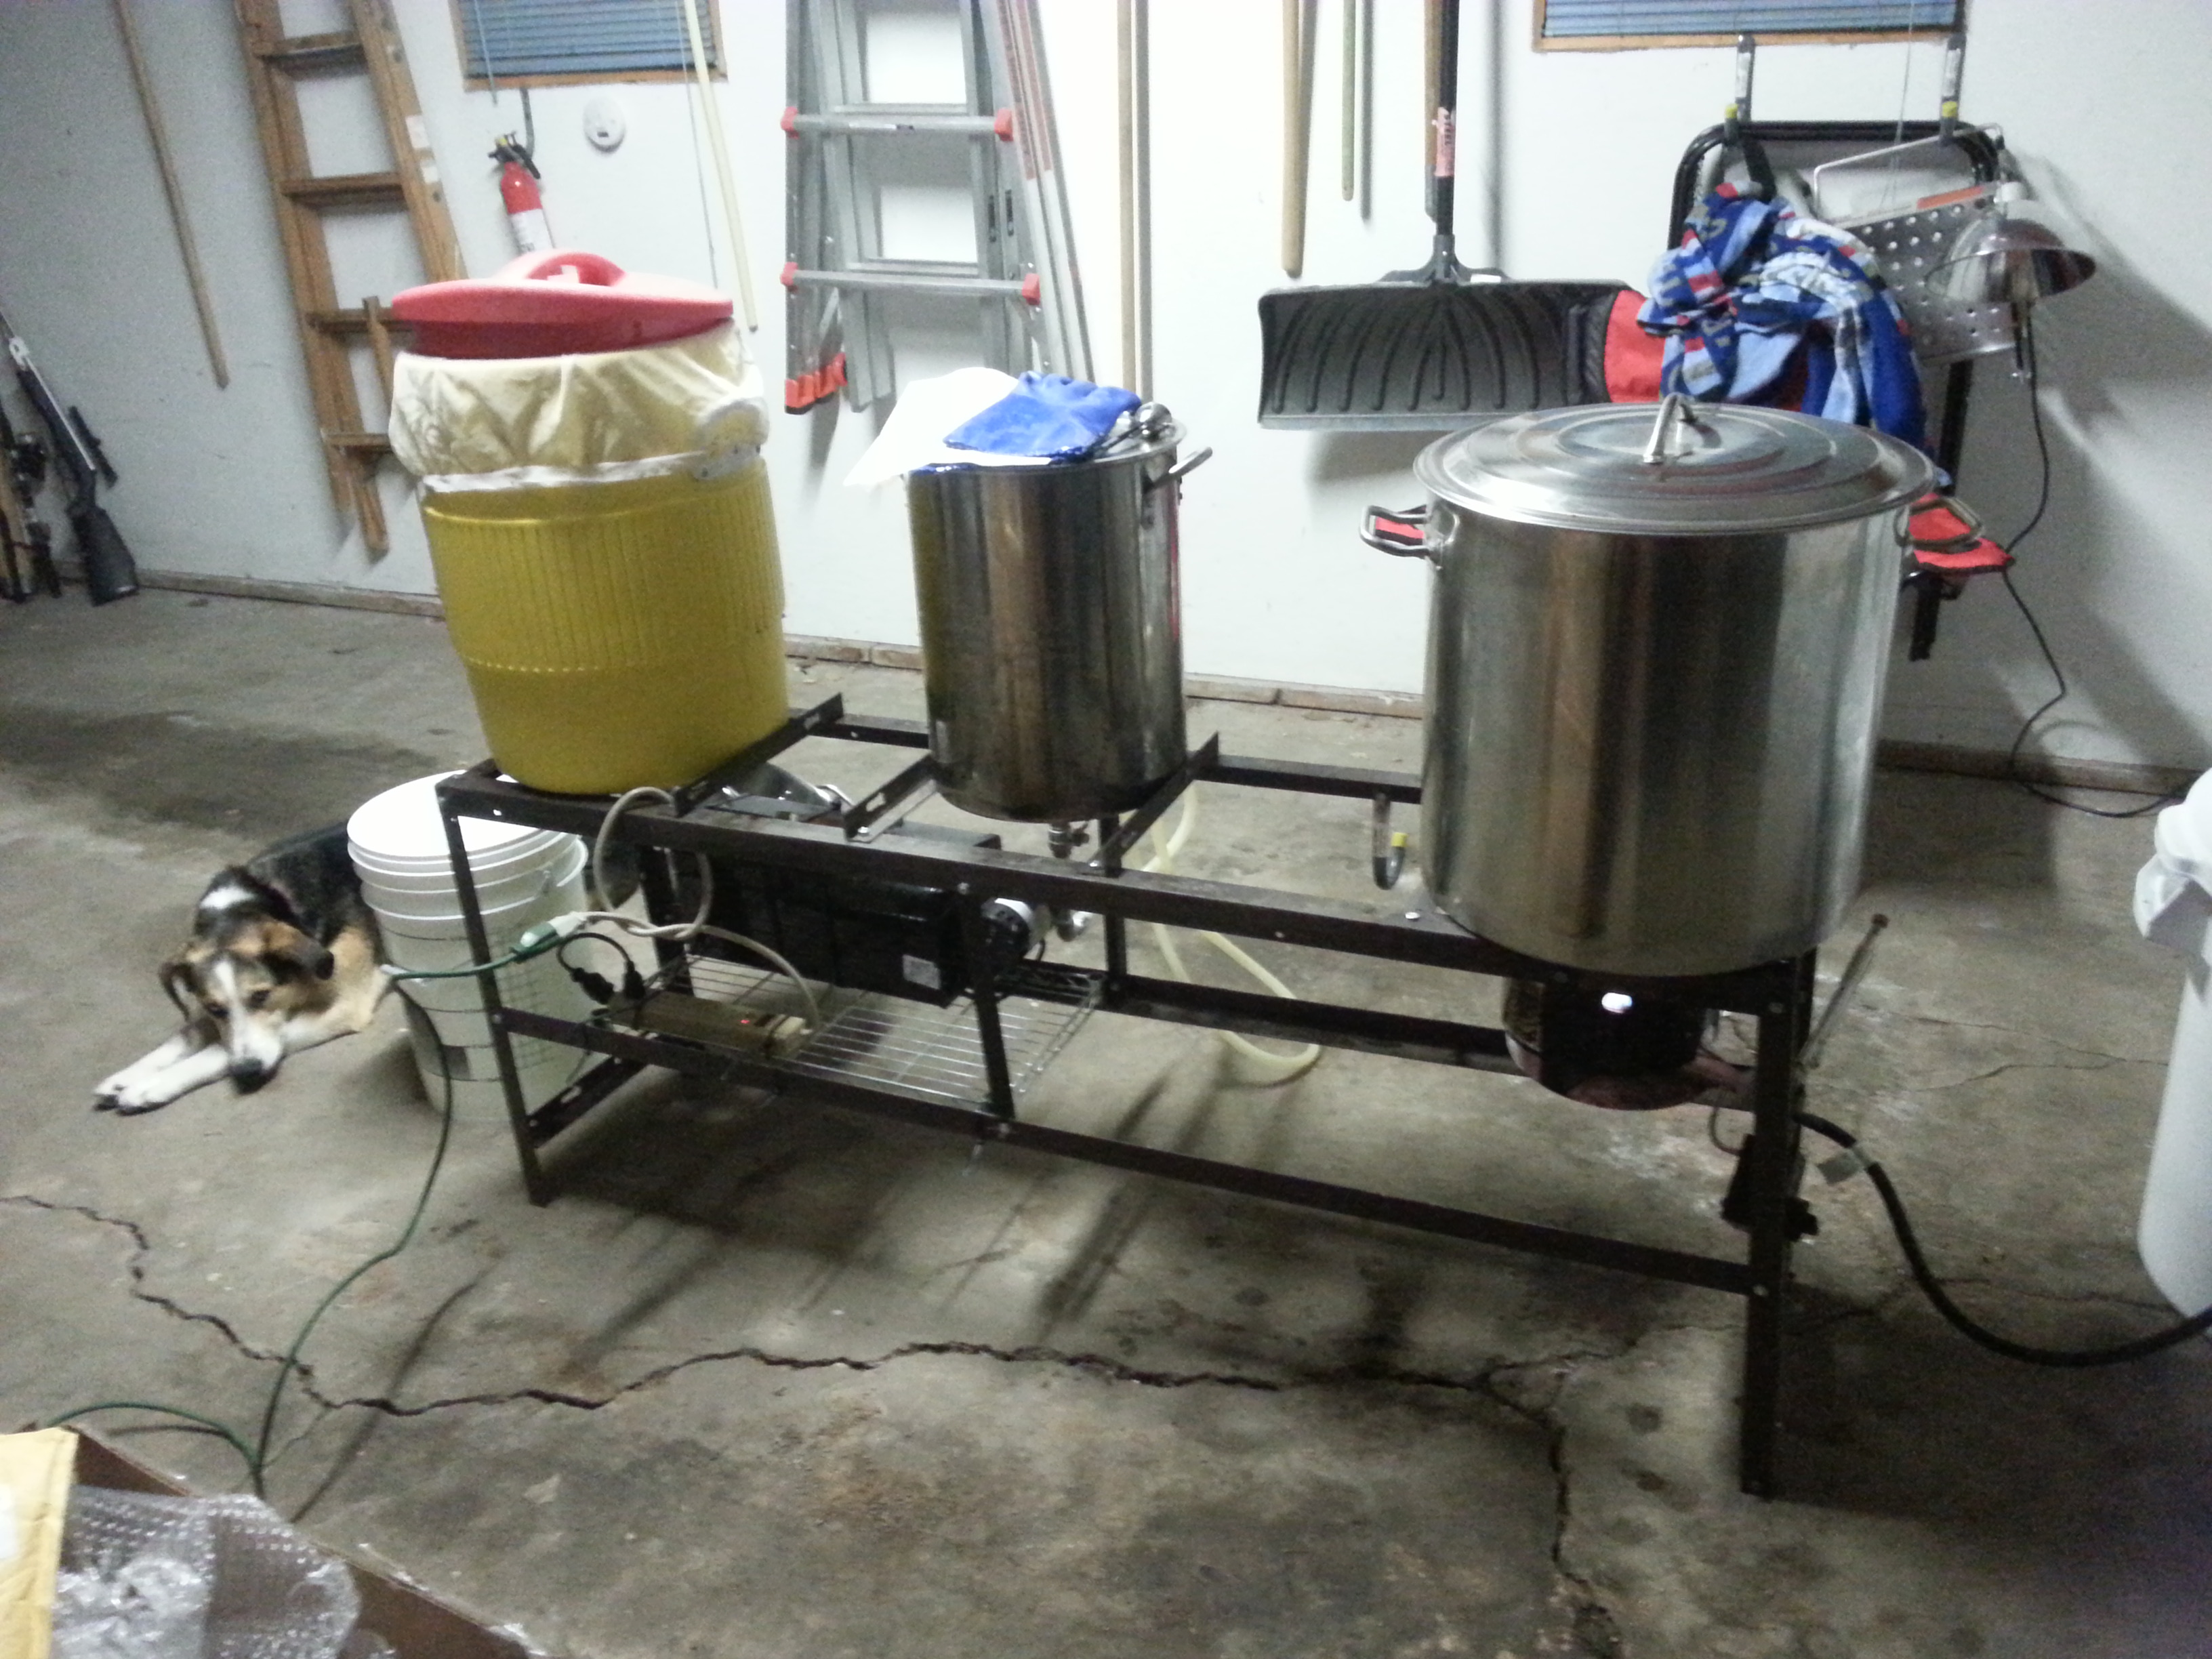
It's not terribly pretty, but I'm extremely proud of it. I just posted a thread explaining it in all its glory:

https://www.homebrewtalk.com/f170/my-new-hybrid-e-herms-biab-setup-464085/#post5968831

Complete Setup.jpg
 
Another successful brew day.
First brew with the water plumbed on the brewtree. Should have done that sooner! Man did that make brew day easier

ImageUploadedByHome Brew1394288037.355426.jpg
 
My Deluxe Lo-Tek "Cheap 'n Easy" 3-Gallon 3-tier Brewery!

And then put away neatly in the utility closet :)

Some of the stuff you guys make blows my mind. The wooden stands in particular are fantastic.

Cheers!

IMAG0103.jpg


IMAG0088.jpg
 
Bed frames and bolts probably 25$ to make and 14$ of that was a harbor freight grinder to cut the bed frames up.

Ag7duOY.jpg

koW3hGM.jpg

iKxRzTt.jpg

49GEIbq.jpg
 
Here is mine.

I need to make changes to an error on a couple of measurments to correct the sloped pump on the pump inlet.


image2_zpsee4f635d.jpeg
[/URL][/IMG]
 
Do the steam jacketed kettles heat well with propane? I assume this is used as a pot no steam in use.

A gun without ammo is just an expensive club.
 
How does the autosparge work with the pump? I ask because I just picked one up and have heard it can be hard to regulate the flow low enough to get it to work correctly.
 
How does the autosparge work with the pump? I ask because I just picked one up and have heard it can be hard to regulate the flow low enough to get it to work correctly.

Install a 3 way bypass if needed (essentially a tee on the output with one leg going to the autosparge and the other leg having an inline ball valve to throttle with it discharging back into the HLT. Throttle down until there is about half of the pumps rated flow going back into the HLT. Then each time the autosparge wants water the pump will be ready to rock with a smooth flow of water.
 
How does the autosparge work with the pump? I ask because I just picked one up and have heard it can be hard to regulate the flow low enough to get it to work correctly.

Bit off topic to this thread but we now have a controller for our pumps that allow you to turn the pump down to a trickle for sparging, its new and unreleased at this time but couple weeks away, it is designed strictly for sparging.
 
How does the autosparge work with the pump? I ask because I just picked one up and have heard it can be hard to regulate the flow low enough to get it to work correctly.

It works pretty well for me. I throttle down the valve on my pump to less than half and have no issues. It just takes me a bit to set the float properly before starting the sparge.
 
Here is my archaic setup. It is still in its infancy, but it works. I will be adding another pump and a keggle as the mash tun next.
I have bought the auto sprague but it is difficult to sparge and transfer wort from the mash tun to the boil kettle at the same time. I do recommend getting a good stout false bottom is you are going to tackle 10 gal batches so it does not collapse under the weight if the mash.
Just my two cents.
ImageUploadedByHome Brew1395497932.484516.jpg


Sent from my iPhone using Home Brew
 
Looks nice! One thing to be careful with is putting casters directly on the legs of the Brewhemoth. I asked the guys about doing that and they advised against it. If you tie the legs together though - maybe even just zip ties or some strut - then the main concern is eased. I ended up building a base with casters and bolting right to the base instead.

You can kind of see it here:


Nicely organized though!

Just got finished reorganizing the space. Coming along nicely! First brew will be next weekend!!!

View attachment 189553View attachment 189554View attachment 189555


Sent from my iPhone using Home Brew
 
I like that!!! I put wheels on it so u can move them around when they are empty. But I do see what you mean, the legs aren't as solid as I'd like. I think I'll brace them for now and add a base mount as you have later. Nice idea and thank you for the suggestion!


Sent from my iPhone using Home Brew

No problem - glad it is helpful!
 
Here is mine. Direct fired RIMS is how I use it typically, but I have a tri-clamp immersion chiller that can be moved to the HLT for a HERMS setup. The control panel is definitely a "hands on" setup. One switch controls the HSI (Hot Surface Ignitor) that ignites the propane that is controlled by another switch that opens and closes a solenoid valve. The third switch turns the alarm sound off. It's tri-clamp throughout except the vacuum gauge on the pump mechanism. Only "threads" on this baby. Had a friend make the stainless heat shields that attach to the legs at the base. BTW these are Sabco kegs that another friend did some modifications to. Fun stuff! ImageUploadedByHome Brew1396308253.383074.jpgImageUploadedByHome Brew1396308280.847372.jpgImageUploadedByHome Brew1396308297.641910.jpgImageUploadedByHome Brew1396308313.938436.jpgImageUploadedByHome Brew1396308331.368560.jpgImageUploadedByHome Brew1396308355.210184.jpg


Sent from my iPhone using Home Brew
 
Here is my current brew rig: Single tier, Natural Gas Fired, Bottom Drain MLT, HERMS.

the-rig-62634.jpg


Boil Kettle on the left, Mash Tun in the middle, and Hot Liquor Tank / HERMS on the right. Image shown is in 'sparge mode' with wort being pumped to the boil kettle via the HERMS coil in the HLT. Love this setup!
 
I did a few updates and went to single tier.... honestly, I wish I'd done it a long time ago. I't just so much easier working on the floor, or WCS, a small step stool.
Having all the storage beneath is a huge plus as well.

IMG_0449_zpsd1f6b575.jpg
 
Back
Top