Frigidaire Model FRC445GB Keg Conversion

Homebrew Talk - Beer, Wine, Mead, & Cider Brewing Discussion Forum

Help Support Homebrew Talk - Beer, Wine, Mead, & Cider Brewing Discussion Forum:

This site may earn a commission from merchant affiliate links, including eBay, Amazon, and others.

Wildrebel

Well-Known Member
Joined
Sep 27, 2009
Messages
47
Reaction score
0
Location
Oxford, MS
Here are the pics of my Frigidaire FRC445GB Kegerator Conversion. Sorry some of the pictures are blurry, I didnt realise the lens on my camera was dirty till we were about done.

Supplies: Frigidaire 4.4 from Lowes
Keg Connection Kegerator Conversion
Misc. Hardware, all bought from Lowes

Pics:
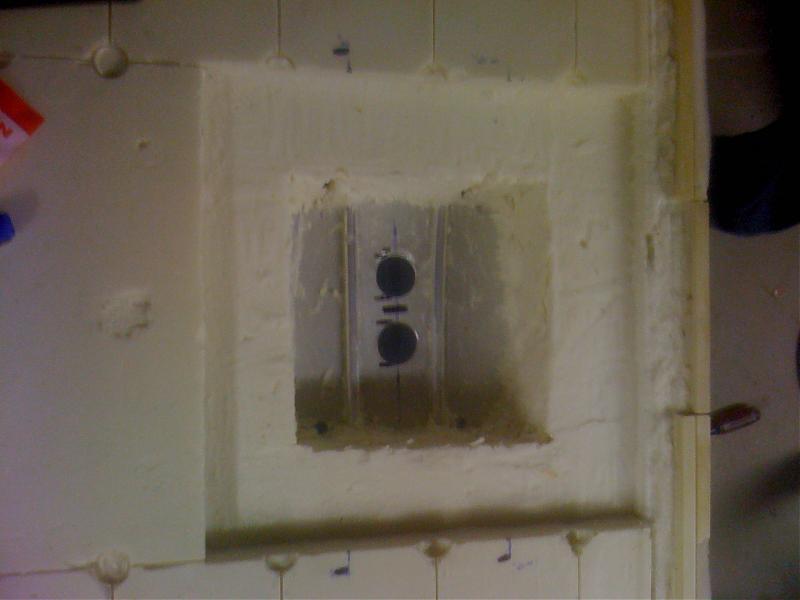
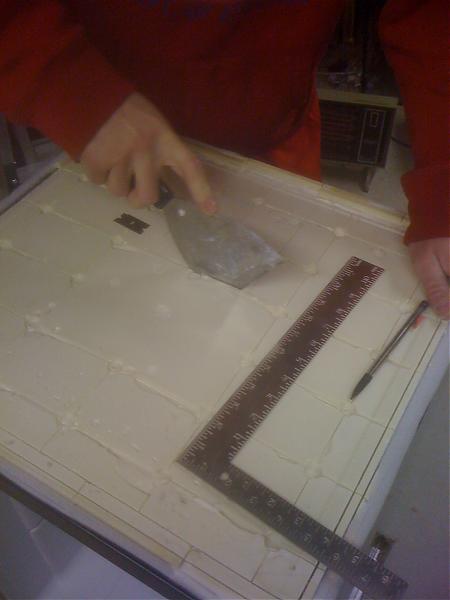
1) Just getting started, at this point we had removed the top and started removing foam to determine where the refrigeration lines were located. The top is very easy to remove, it is only glued on with the foam that is located below. You just need to be careful not too go to fast to keep from cracking it.
2) Using a rotozip set to the depth of the plywood used for reinforcing the tower area, we cut out the area in order for the plywood to sit flush.
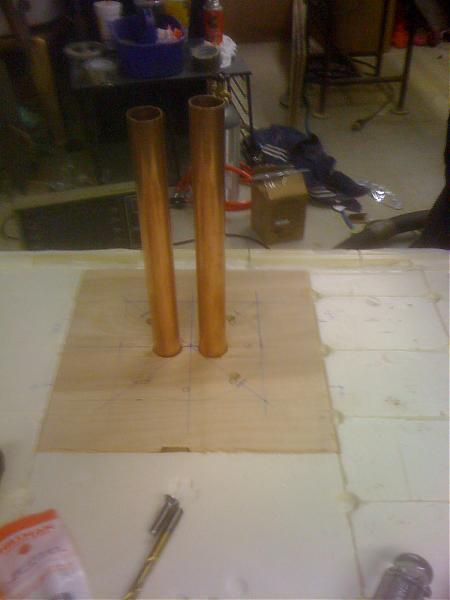
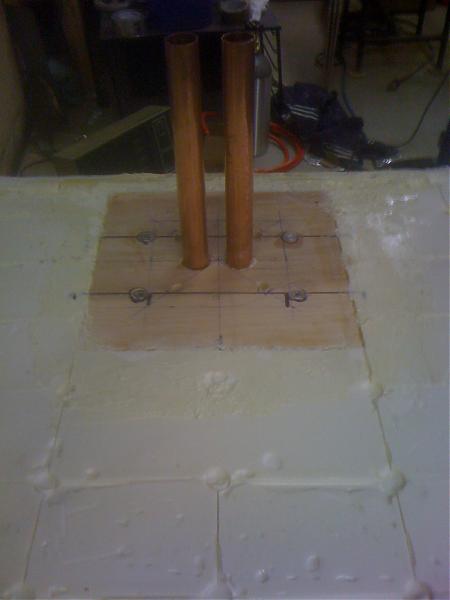
3) A picture just showing the finished recess for the plywood reinforcement and the holes drilled for the beer lines.
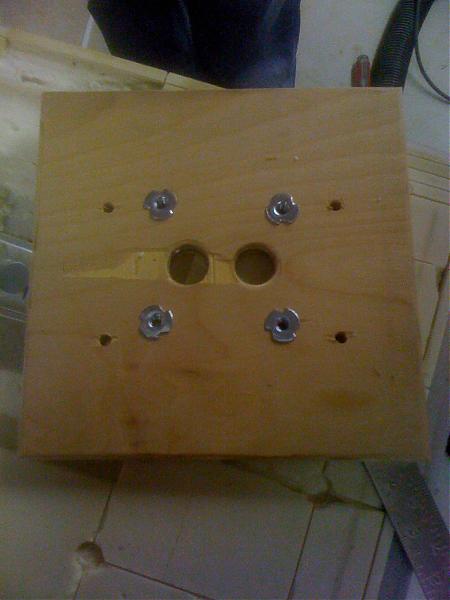
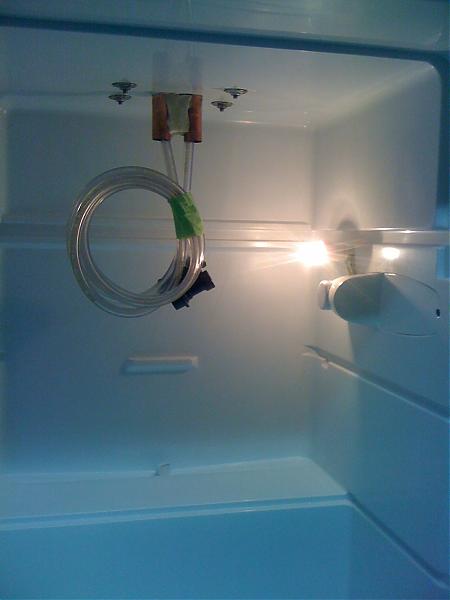
4) Here is a shot of the bottom of the plywood reinforcement, due to the tower mounting holes falling directly above refrigeration lines, we had to install some wood thread inserts, and relocate some additional holes for holding down the plywood.
5) Showing the final mockup of everything before moving on. We chose to use the copper piping, so that the beer lines could be removed at a later date if needed.
1.jpg


2.jpg


3.jpg


4.jpg


5.jpg
 
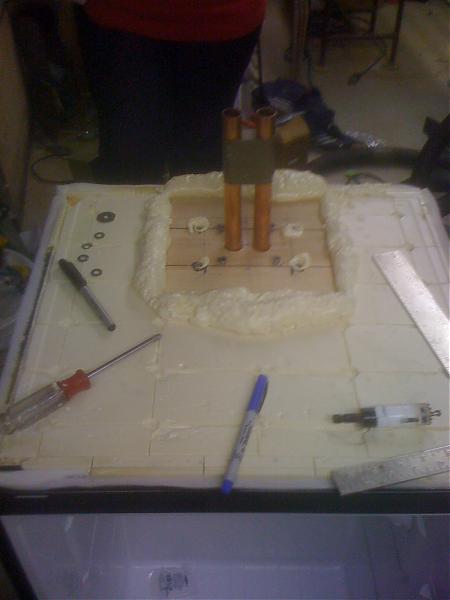
1) We installed the copper pipes down through the holes and filled the void with spray foam.
2) After filling the hole with the foam we installed the plywood and attached with the screws originally used for the tower mounting. (some flush 1/4-20 screws were bought from lowes to attach the tower to the kegerator via the wood thread inserts from the post above. In order for the screws to fit the base properly, I had to enlarge the countersinks in the tower base slightly)
3) We had to remove some of the ridges on the bottom of top (area above plywood) with a sander in order for it to sit level.
4) 2 Kegs would not fit in the fridge due to the thermostat, so I removed the light section from the assembly and flipped the whole thing over to relocate the thermostat to the aft side. Then we manufactured some pieces from .040 Lexan and glued in place with Goop bought at Dollar General (something as Shoe Goo) to fill all the voids.
5) Showing what was removed from the thermostat assembly, next to the finished product painted with Krylon plastic spray paint.

6.jpg


7.jpg


8.jpg


9.jpg


10.jpg
 
1) Finished Thermostat installed
2) Everything finished and plugged up, showing the new light location.
3) Kegs in fridge and fitting great.
4) Outside finished
5) Just another pic of the outside finished.

11.jpg


12.jpg


13.jpg


14.jpg


15.jpg
 
I like the way you did the thermostat relocation. I have the same fridge waiting to be converted now, but I didn't like how others just left it hanging. Yours is very neat and doesn't make me think I'd rip it off by accident. Very nice.
 
I like the way you did the thermostat relocation. I have the same fridge waiting to be converted now, but I didn't like how others just left it hanging. Yours is very neat and doesn't make me think I'd rip it off by accident. Very nice.

It worked out great, better than I expected really. I edited the post above to tell what I used. Let me know if you have any questions
 
So have you found that by providing a pathway (copper pipes) for cold air to get up into the tower, it keeps the lines and taps at a lower temp and gives you a less foamy setup? Will you be using a blower of any type in conjunction?
 
So have you found that by providing a pathway (copper pipes) for cold air to get up into the tower, it keeps the lines and taps at a lower temp and gives you a less foamy setup? Will you be using a blower of any type in conjunction?

not the OP dont know if he is going to but in my tower I just have the lines running thru the pipes no fan the copper conducts the cold up from the fridge into the tower and helps immensly. with the foamy first pour
 
not the OP dont know if he is going to but in my tower I just have the lines running thru the pipes no fan the copper conducts the cold up from the fridge into the tower and helps immensly. with the foamy first pour

Good idea. One reason you dont have such a bad pour is the height from the bottom of the keg to the top of the faucet is minimizing height increase by design. When designing for proper pouring, the largest usable tubing diameter works best for reducing turbulence and pressure loss, and small diameter is used for pressure drop in your serving line, but with resultant increasing turbulence in your line. Optimum design adds your pressure losses in your serving lines to roughly equal and offset your serving co2 pressure. But you still have to think of obstacles in your lines, such as corny keg couplers/fittings as generating turbulence. Until you really eliminate that, you will always have an amount of foaminess to your beer.

SO having said that, I have a chest freezer with a ring collar with a 8 tap ceramic porcelain mounted out of the front extension on the collar. My beer lines are approx 6 feet of 1/4 id beer line at approx 1.1 lb / ft loss. Call it 6.5 psi. I also have a rise from bottom of keg to faucet that costs about 1 lb / ft
the math adds up to 11.5 psi loss. Serving CO2 pressure is about 11-12 psi, and beer temperature is 40 degrees. My carbonation gain over a tank is minimal, it goes up as the tank gets emptier, meaning a half full tank after 2 weeks is less foamy than a half full tank after 4 weeks on tap. Kind of like more co2 gettting into short filled bottle carb'd beers.

So, once you have all that stabilized and operational so you can notice the differences, yes sending cold air into the feed tube to the tower will definitely reduce your beer temps at the higher altitides of the beer where offgassing is most likely to occur. Problem is, sweating of your tower will occur when you have enough chilling to do the job well...

Its always some tradeoff but work out your issues in this sequence and you will be well on the way to the best pour you can get. Until you add a stout faucet. Then theres more rules.
 
Great build and great pictures. I am in the middle of doing this build myself, and have a question. Why did you use the "T" nuts? I bought them to duplicate your build, but thought I could just use the screws that were supplied with my tower. I am using 3/4" plywood, and any excess screw length will just go into foam. So I just wanted to clarify. Also, did you use anything besides the foam to secure the plywood to the fridge itself? Thanks so much.
 
Thank you for your post. I'm attempting the same conversion. Would you mind providing some more detail on how you modified the plastic thermostat cover? I love your finished product. It looks great.
 
The white wire going to the thermostat is too short for me to be able to flip the thermostat to the back. I'm thinking about splicing in a longer length of wire. I too am interested in additional details on the fabricated thermostat/light assembly. It's hard to tell from the pics how you made it look so good.
 
I built this Frigidaire Keggerator and it lasted about a year and a half. I unplugged it for three weeks and it failed to cool when I plugged it back in. The compressor is running and I can hear freon moving through the coils. However, the output from the compressor is not cold.

Has anyone experienced this trouble or have some advice?
 
Back
Top