Butchhe
Well-Known Member
Chest freezer with removable lid on left and tap with plexiglass on right.
Very nice. It looks like you bought it at Ikea!

Chest freezer with removable lid on left and tap with plexiglass on right.


I started with 4 taps and added 2 more last week. It's never enough?
Did you start with 8/4 cherry or is that 2' 4/4 board to get the thickness?
I routed a 7/16" rabbet on the bottom of my collar so it slips on top of the freezer. Nothing is needed to hold it in place.


Welcome to the wonderful world of kegging!
Have you read the review on the need for a check valve to keep beer from back-flowing into the regulator?


")
Taps out the right side


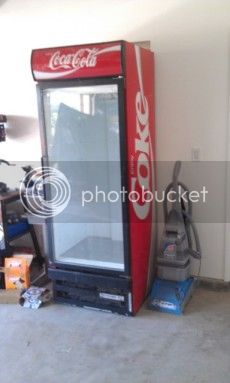
how about a future kegorator?
my grand parents coke fridge just stopped working and they offered it to me if i could make it run. Bottom half for kegging system, top half for bottle storage. Taps out the right side
how about a future kegorator?
my grand parents coke fridge just stopped working and they offered it to me if i could make it run. Bottom half for kegging system, top half for bottle storage. Taps out the right side

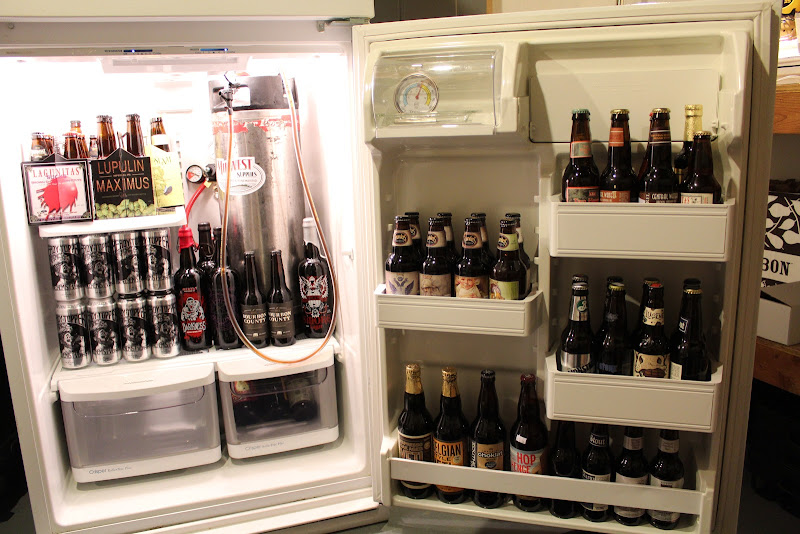
ja09 said:More of a beer collection than kegerator, still need to drill some holes and get that damn co2 outta there to clear some space
More of a beer collection than kegerator, still need to drill some holes and get that damn co2 outta there to clear some space
Additional benefit of premium regulators (Micromatic, Cornelius & Norgren) is that you can buy rebuild kits for them if needed.Premium regulators are not a whole lot more expensive. Here's the dual setup I was talking about:
http://www.micromatic.com/draft-keg-beer/regulators-pid-642-Battery.html
Ditto - check valves on both! I keep the CO2 outside the fridge and the distribution block inside. I use clear lines on the CO2 so that I can visually see if there was ever any kick-back.Many gas shutoffs are available with check valve built in. I use them on the regulators and my distribution manifold. Cheap insurance.

Additional benefit of premium regulators (Micromatic, Cornelius & Norgren) is that you can buy rebuild kits for them if needed.
Ditto - check valves on both! I keep the CO2 outside the fridge and the distribution block inside. I use clear lines on the CO2 so that I can visually see if there was ever any kick-back.
Taprite also has rebuild kits and if you email them with a problem they will usually send a kit for free. There is really no reason to spend the extra cash on a "premium" regulator. They all have rebuild kits and a cheap check valve will prevent most common problems.
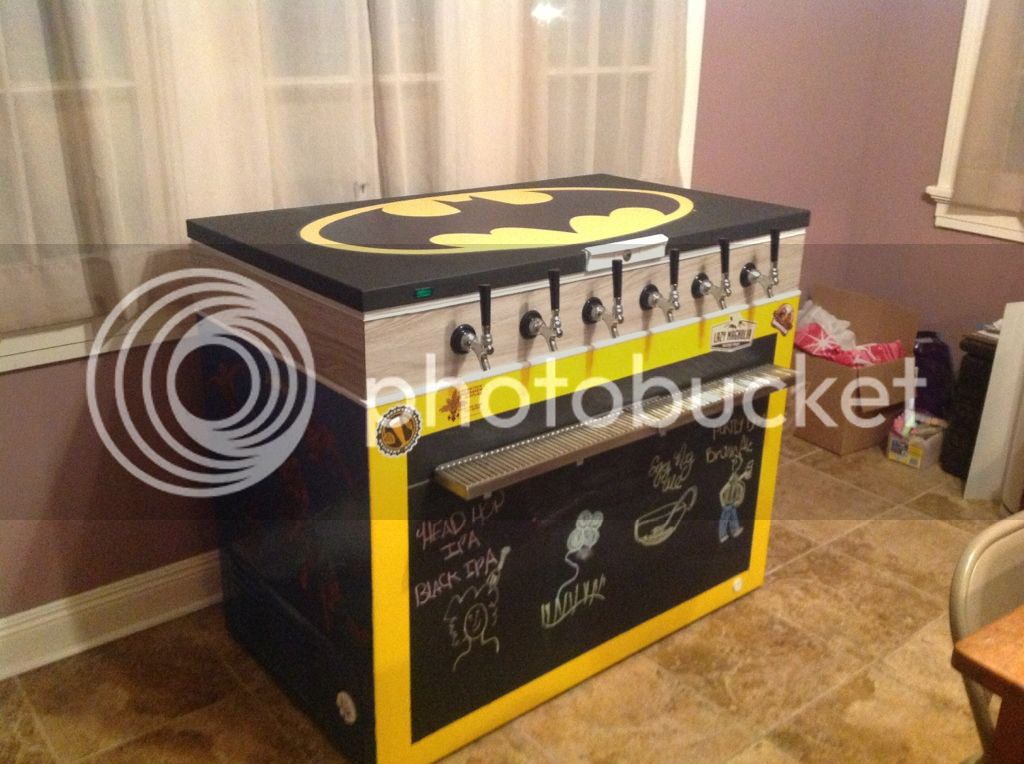

Might add some metal cornering and a gloss finish, but here you go
Might add some metal cornering and a gloss finish, but here you go
What did you use to attach your drip trays to the freezer? I was thinking self tapping screws 3/4" but didnt want to screw anything up.

phschimpf said:You can find this conversion elsewhere, but I did it differently because of the under counter application. I think this technique might be helpful to others in the same boat. What you are seeing is a loop of 1/2" copper pipe fed up thru the fridge into the counter top and into the tower. The tap line comes thru a T fitting in the copper pipe. The copper gets cold in the fridge and cools the tower, which comes insulated. It works very well (thanks to my brother for the idea). The advantages are:
1) you only have to drill a 5/8" hole in the fridge and countertop.
2) I think it's easier to line that up with the countertop than a piece of conduit.
I lined everything up by first making the cooling pipe, then marking where the T is in the fridge. Then I simply drilled up from inside the fridge. When I hit the underside of the countertop I removed the fridge before going the rest of the way thru the countertop.
This Danby will actually hold two corny kegs with a CO2 tank in the back on the shelf, but in that case you need to take off the door panel and replace it with flat plexiglass or something because as those pop bottle holder projections poke too far into the fridge to allow the second keg. But if you're happy with just a single keg you only need to remove the racks, and then put your CO2 tank on the right hand side. The door panel projections won't bother that. That's what I do for now. Maybe someday I'll add a second keg.
Enter your email address to join: