
skifast1
Well-Known Member
A post a while ago pointed me to http://www.djlarrylive.com (<--now broken) for a simple HERMS setup, so to prove imitation is the sincerest form of flattery I'm building almost the same system. These are just some in-progress shots to get the same thing Larry did:
Parts you'll need:
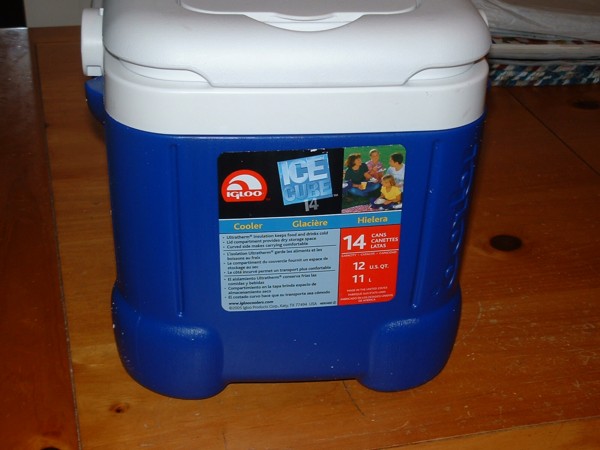
> 3-gallon cooler
> 1500W water heater heating element (got mine at True Value, but Home Depot has them too)
> Mounting kit for the element (usually hanging right next to them)
Tools:
> 1.5" hole saw bit (& drill)
> Dremel w/ side-cutting bit OR sharp utility knife/X-acto
Step 1: Find basic 3-gal cooler. This one came from Target
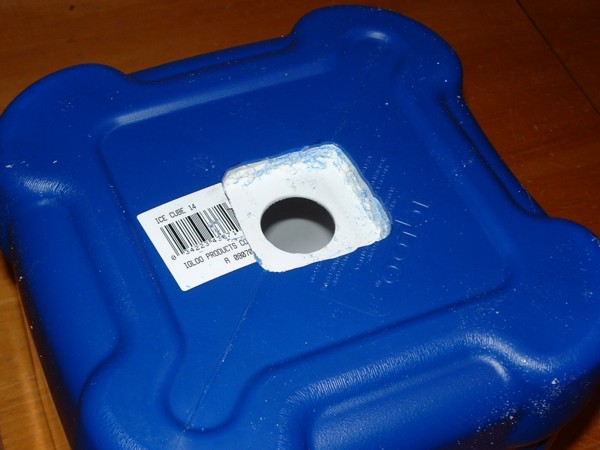
Step 2: Take the hole saw bit and go up right through the bottom of that sucker. Center the mounting plate over the hole you made and trace the outside. Use a dremel or similar tool to cut out the outer shell only. Don't go too deep into the foam or you'll go through the inner shell and you'll have to pitch the cooler (or use it as a planter). Use a flat dull blade to scrape out all the foam in the square hole you just made.
Step 3: Find something stiff (hey now) and poke a hole in the foam, going sideways from the square hole you just made towards the side of the cooler. You're basically making a channel between the inner & outer shells of the cooler for the wiring. Take a small drill bit and carefully make a hole on the outside about where you'd expect the end of the channel to be. Be extra cautious because the inner shell is really close to this corner and it's easier than you'd think to ding it. I did it once with the dremel bit and thankfully just got a little scratch on the surface (whew)
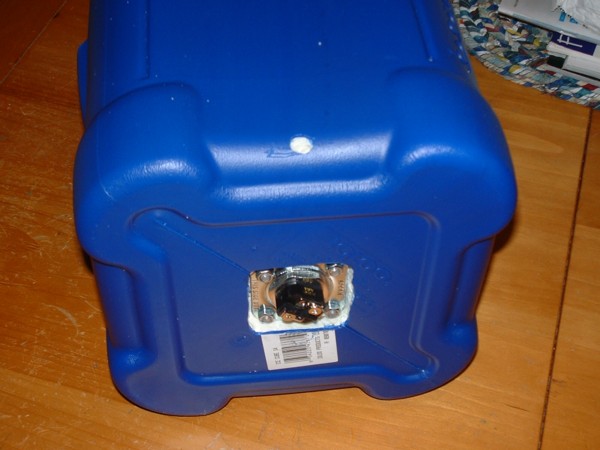
Step 4: Mark and drill for the bolts to mount the heating element (don't forget the o-ring & gasket), and tighten carefully so you don't crack the plastic. Edit: You may need to widen the hole very slightly for the mounting bracket; I did so by running a sharpie around the rim of the 1.5" hole I made originally and very carefully removing the width of the mark with the Dremel
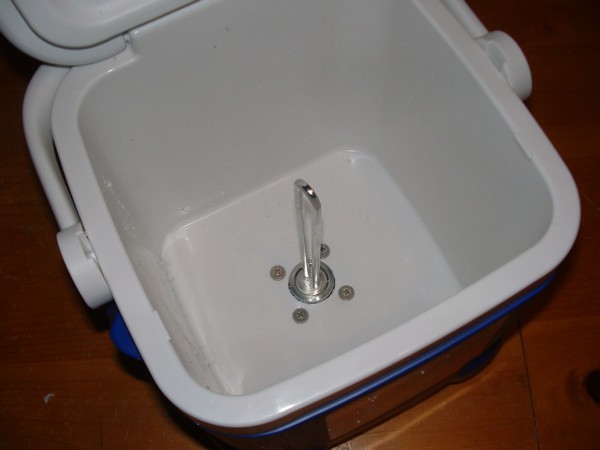
That's it - took all of about 45 minutes of careful marking & cutting. Only things left to do are put some rubber feet on the bottom of the cooler (the element sticks out a 1/2" or so), make a little cover for the square hole and wire it up. Drop in your recirculating coils and stir motor and you've got yourself a HERMS tank!
Parts you'll need:
> 3-gallon cooler
> 1500W water heater heating element (got mine at True Value, but Home Depot has them too)
> Mounting kit for the element (usually hanging right next to them)
Tools:
> 1.5" hole saw bit (& drill)
> Dremel w/ side-cutting bit OR sharp utility knife/X-acto
Step 1: Find basic 3-gal cooler. This one came from Target
Step 2: Take the hole saw bit and go up right through the bottom of that sucker. Center the mounting plate over the hole you made and trace the outside. Use a dremel or similar tool to cut out the outer shell only. Don't go too deep into the foam or you'll go through the inner shell and you'll have to pitch the cooler (or use it as a planter). Use a flat dull blade to scrape out all the foam in the square hole you just made.
Step 3: Find something stiff (hey now) and poke a hole in the foam, going sideways from the square hole you just made towards the side of the cooler. You're basically making a channel between the inner & outer shells of the cooler for the wiring. Take a small drill bit and carefully make a hole on the outside about where you'd expect the end of the channel to be. Be extra cautious because the inner shell is really close to this corner and it's easier than you'd think to ding it. I did it once with the dremel bit and thankfully just got a little scratch on the surface (whew)
Step 4: Mark and drill for the bolts to mount the heating element (don't forget the o-ring & gasket), and tighten carefully so you don't crack the plastic. Edit: You may need to widen the hole very slightly for the mounting bracket; I did so by running a sharpie around the rim of the 1.5" hole I made originally and very carefully removing the width of the mark with the Dremel
That's it - took all of about 45 minutes of careful marking & cutting. Only things left to do are put some rubber feet on the bottom of the cooler (the element sticks out a 1/2" or so), make a little cover for the square hole and wire it up. Drop in your recirculating coils and stir motor and you've got yourself a HERMS tank!
")
