
akthor
Well-Known Member
Ok so I scored my $25 fridge today. Got it home and in the basement. It works good but the outside is in some pretty rough shape.
I don't care about looks but I would like to paint it so you don't get rust all over you if you rub against it and to prevent any further rusting.
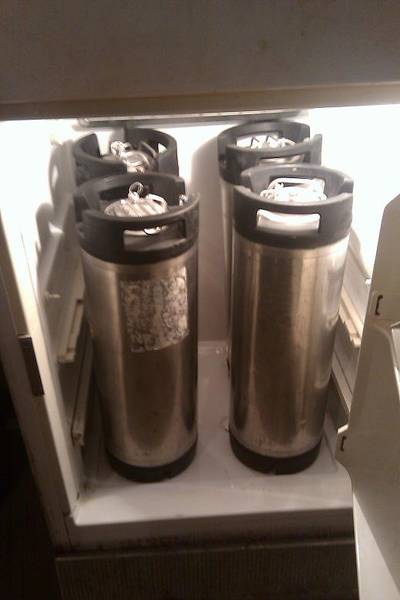
I am using this fridge to keep my kegs cold while carbing so I need to drill a hole in it to run the airline to the CO2 bottle that will sit outside the fridge. Where and how is the best way?
Can the fridge support 4 full kegs ok? Do I need to reinforce the floor?
Any other tips?

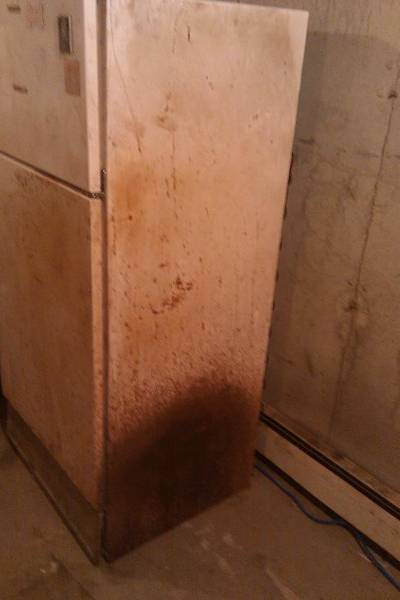

I don't care about looks but I would like to paint it so you don't get rust all over you if you rub against it and to prevent any further rusting.
I am using this fridge to keep my kegs cold while carbing so I need to drill a hole in it to run the airline to the CO2 bottle that will sit outside the fridge. Where and how is the best way?
Can the fridge support 4 full kegs ok? Do I need to reinforce the floor?
Any other tips?

