Freezer/Fermentation Cabinet and Controller

Homebrew Talk - Beer, Wine, Mead, & Cider Brewing Discussion Forum

Help Support Homebrew Talk - Beer, Wine, Mead, & Cider Brewing Discussion Forum:

This site may earn a commission from merchant affiliate links, including eBay, Amazon, and others.

aubiecat

Well-Known Member
Joined
Dec 27, 2011
Messages
1,195
Reaction score
136
Location
Alexander City
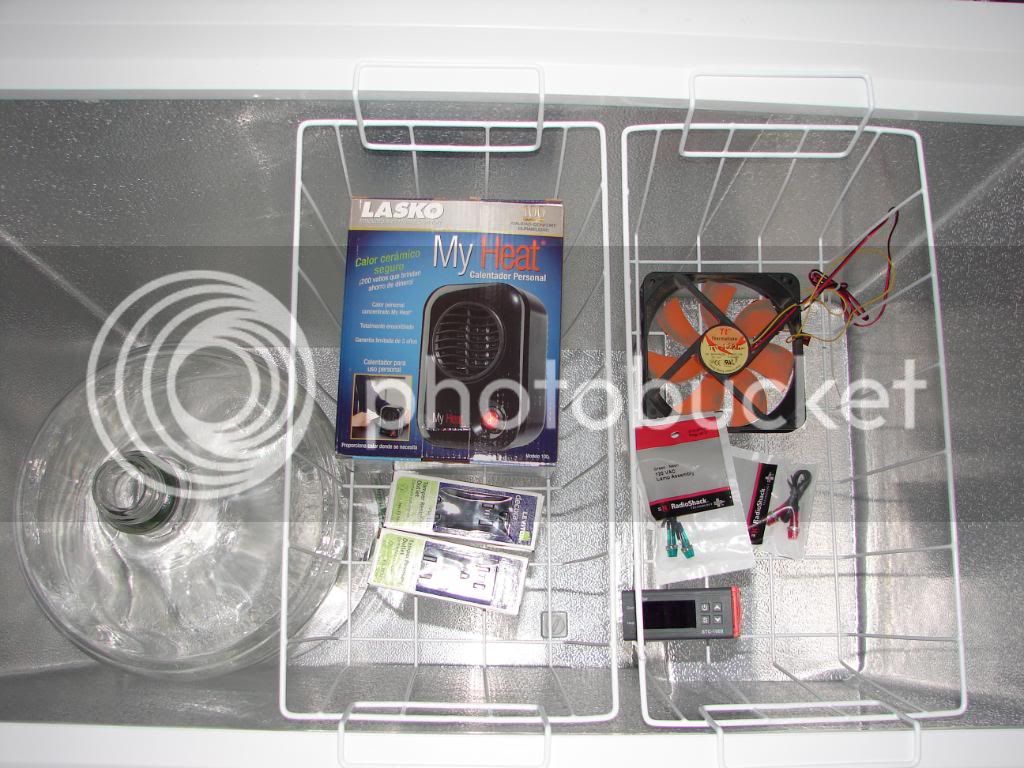
Got about everything I need to get a two carboy fermentation cabinet up and running. I noticed Sears had their 7.2 qu ft chest freezer on sale for $195.00 but they didn't have any in the small store here. So I printed the page from their website and took it to Home Depot. HD price matched their 7.0 qu ft model for me. :rockin:
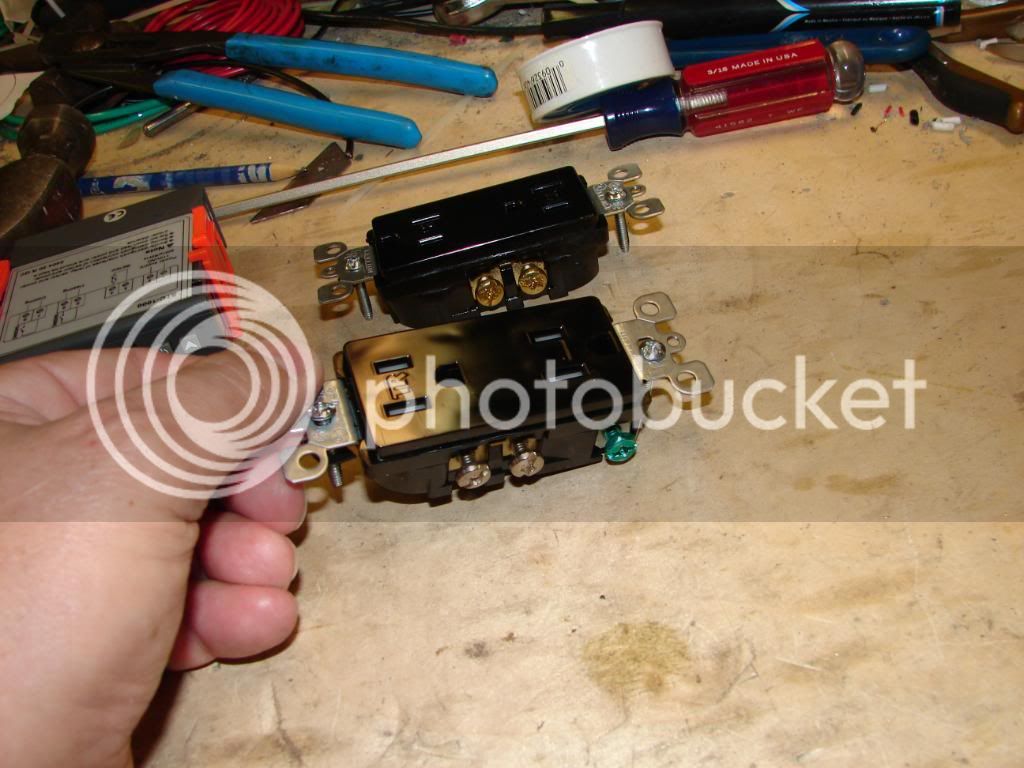
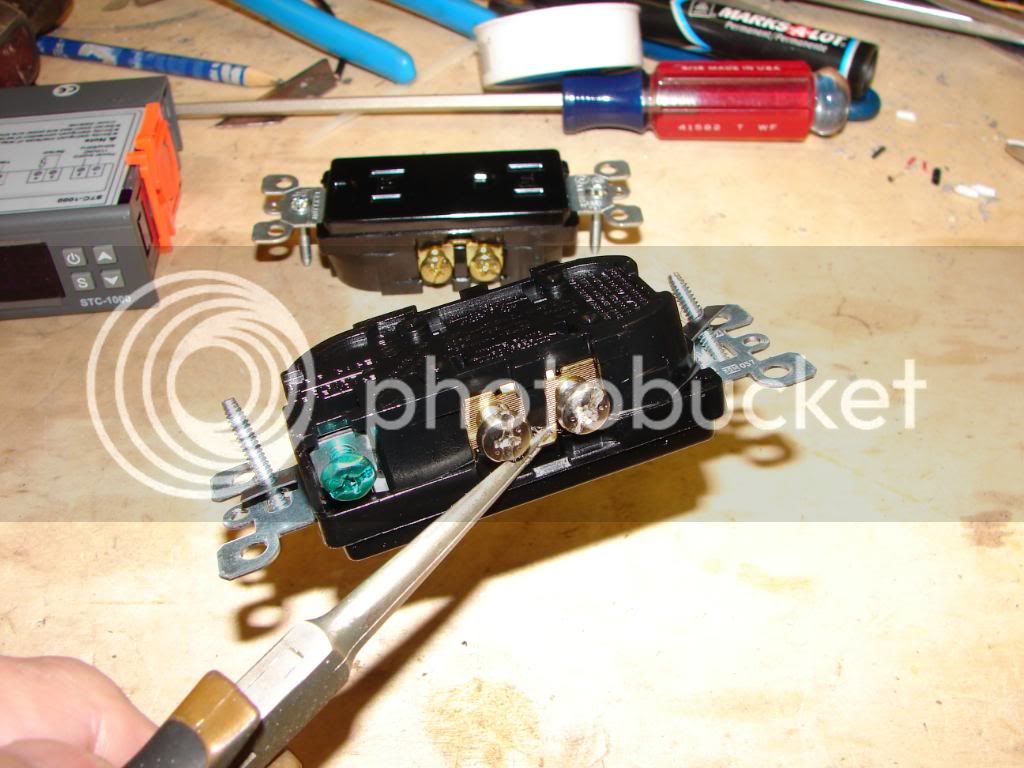
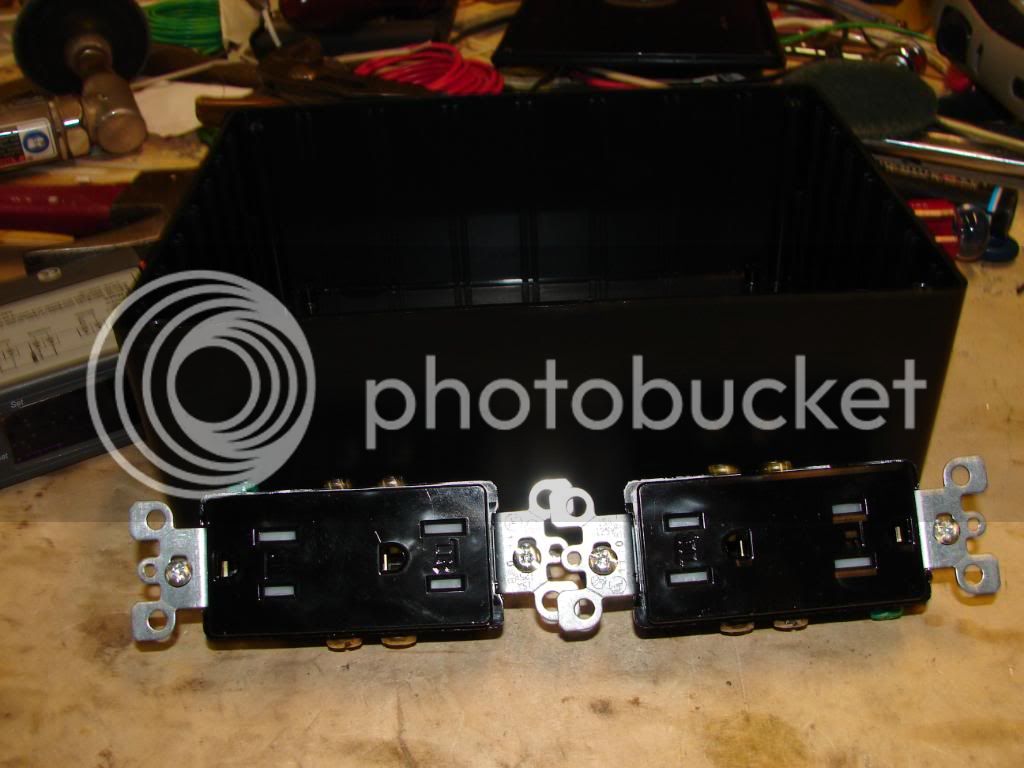
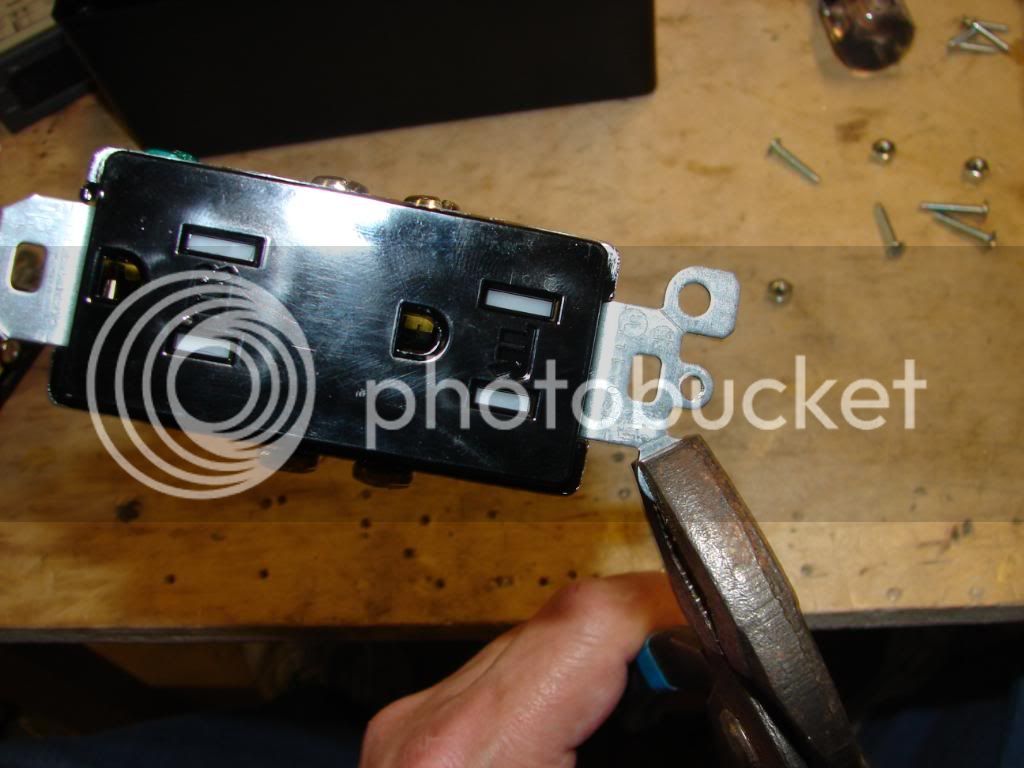
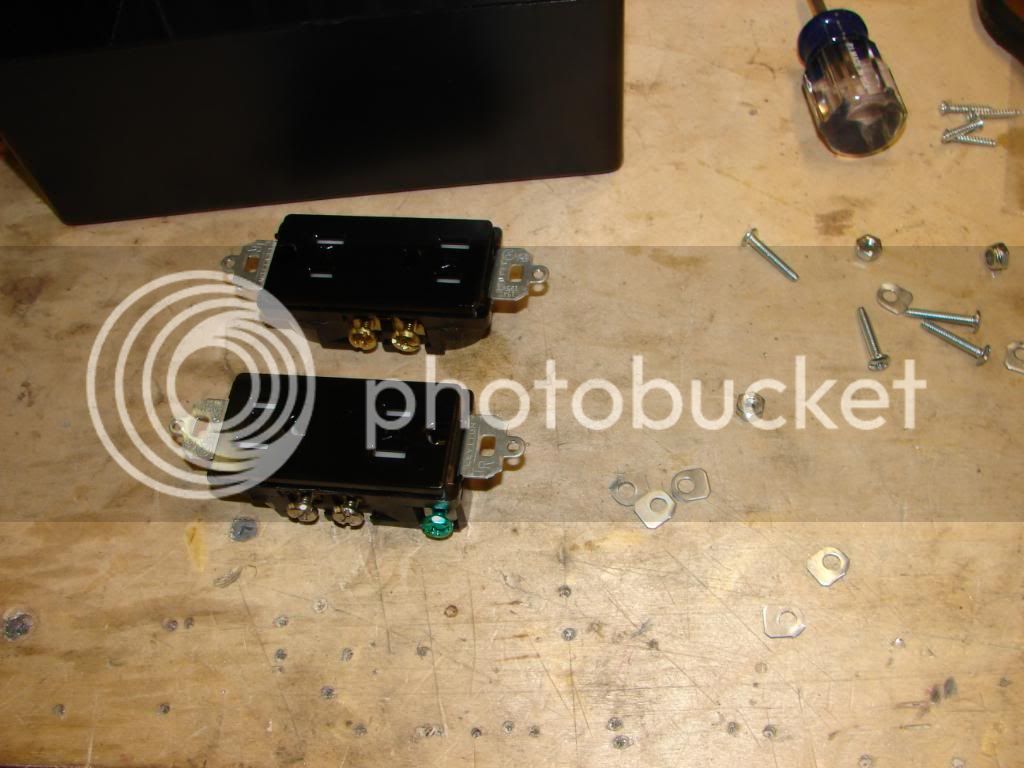
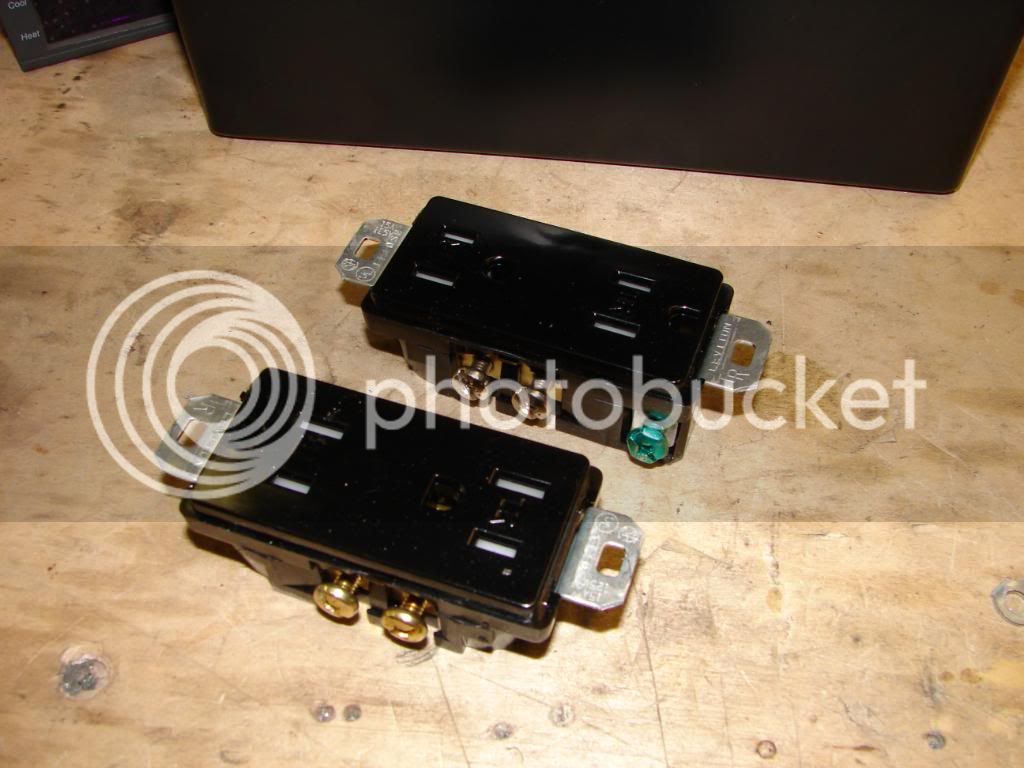
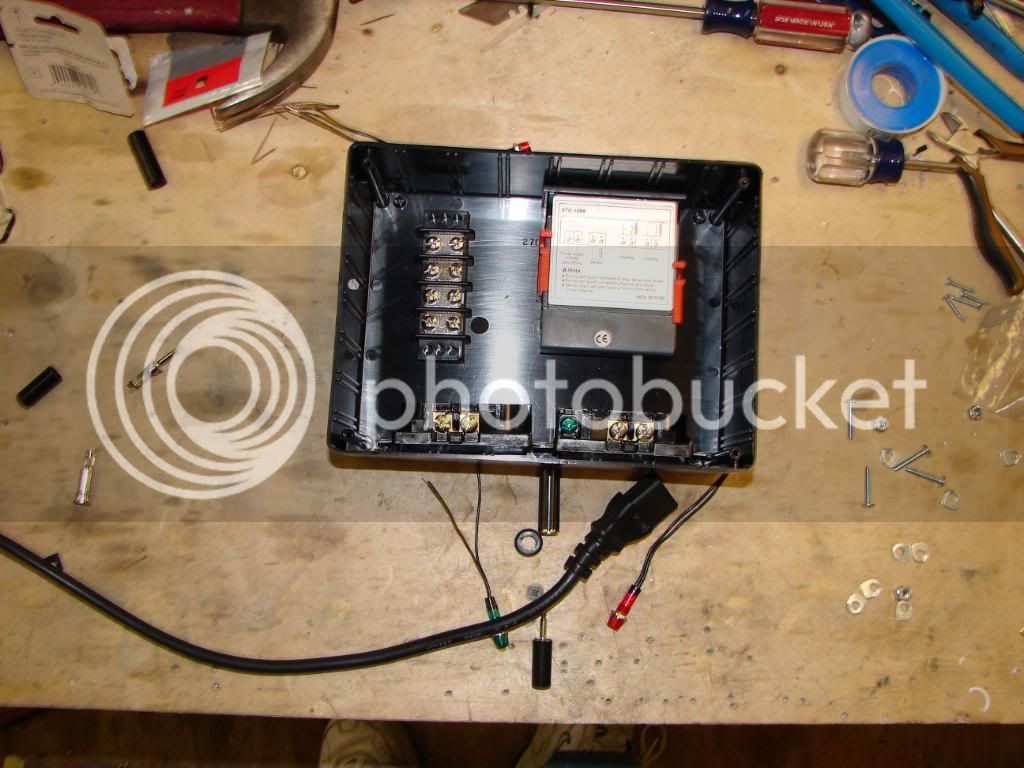
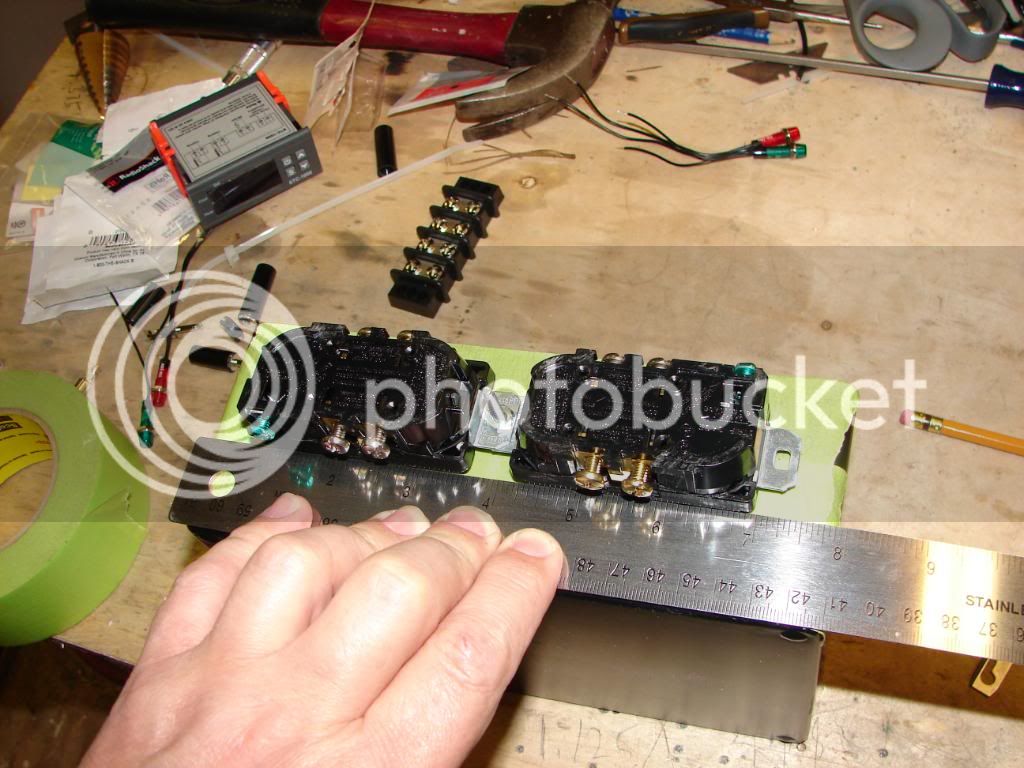
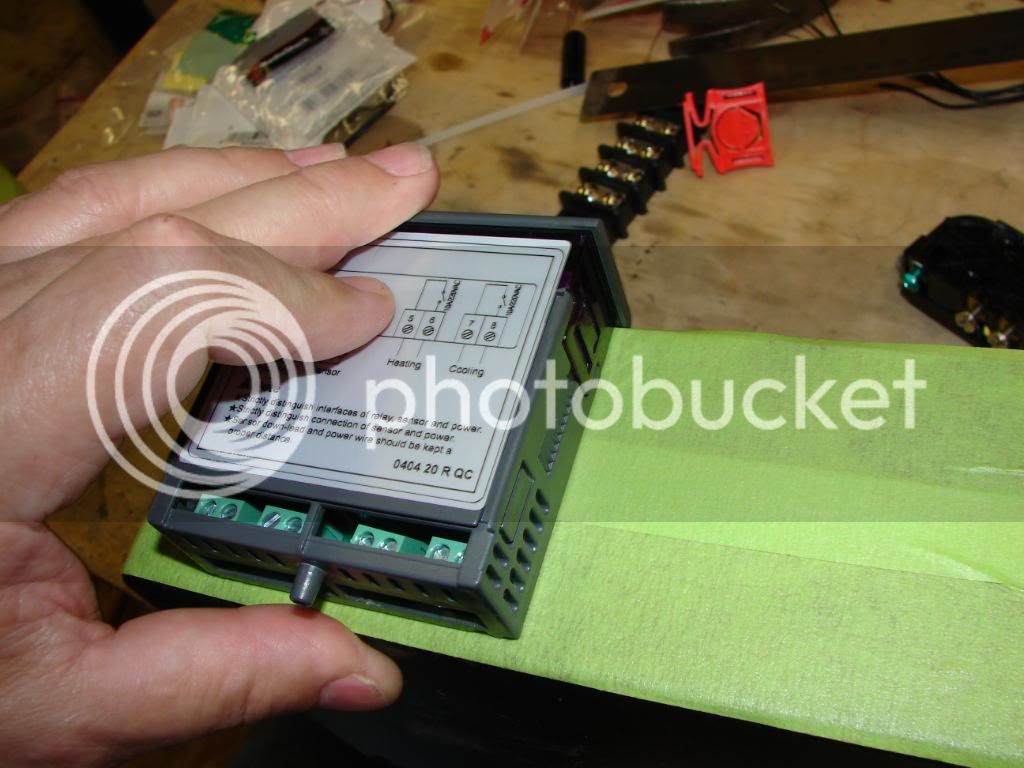
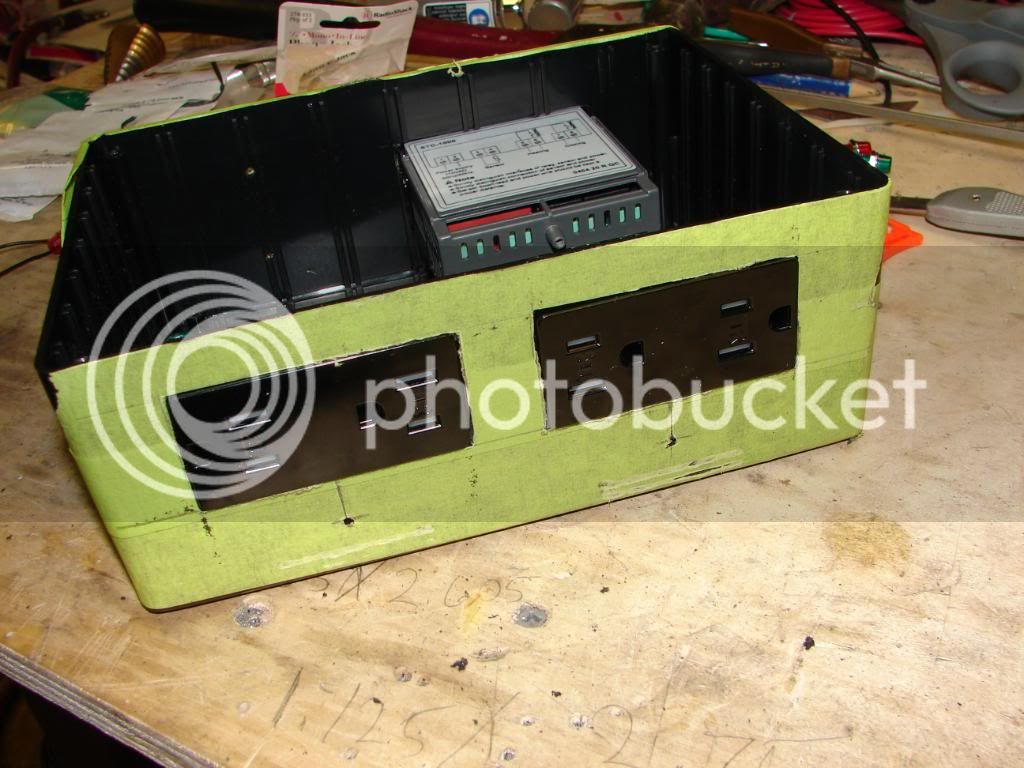
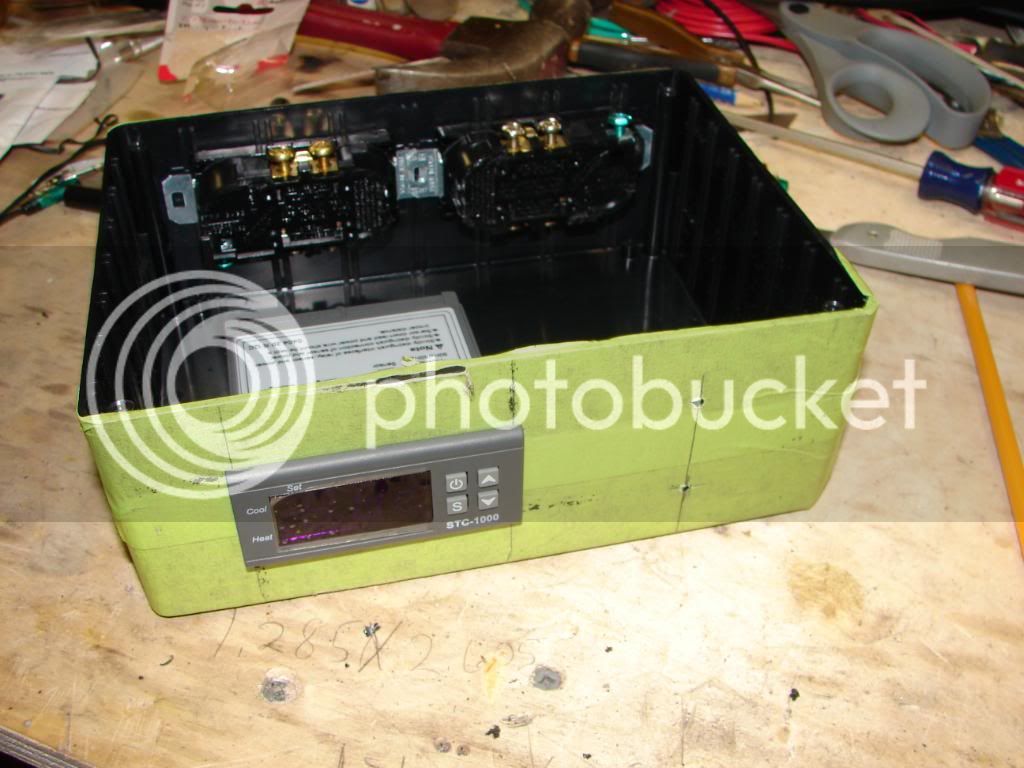
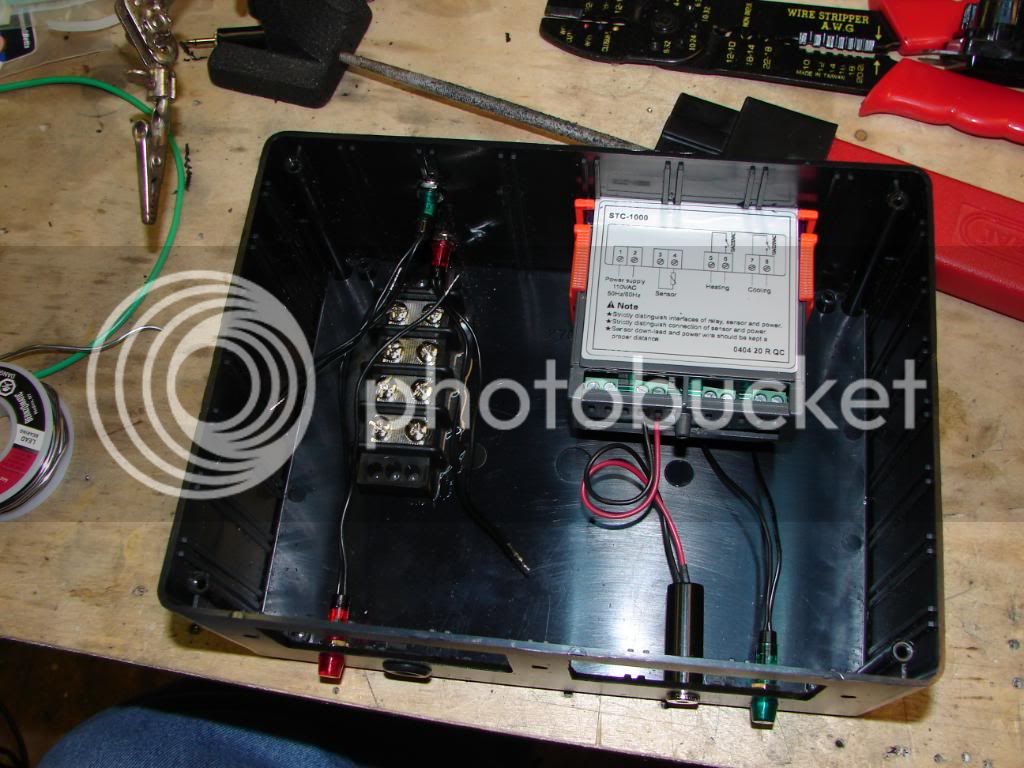
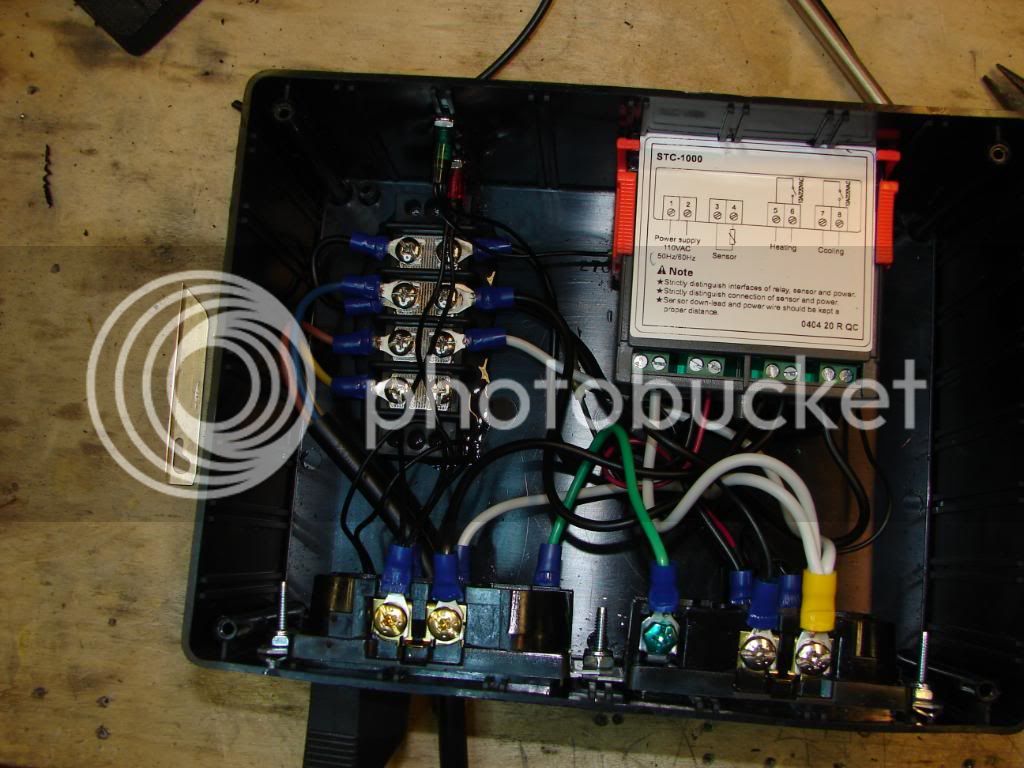
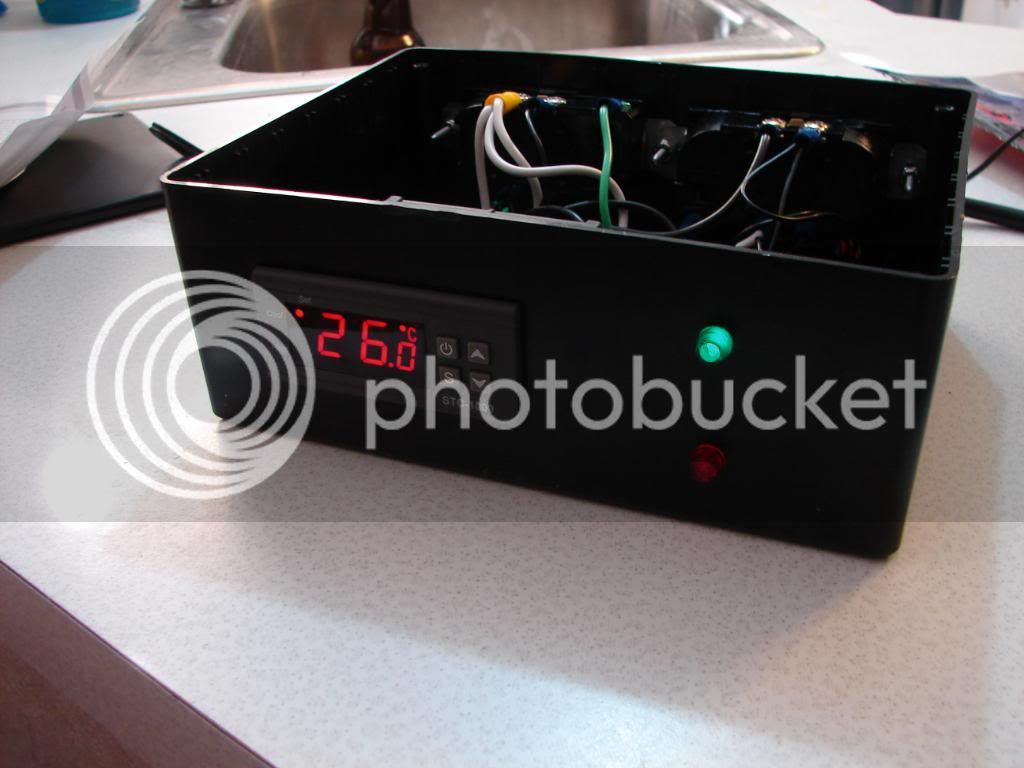
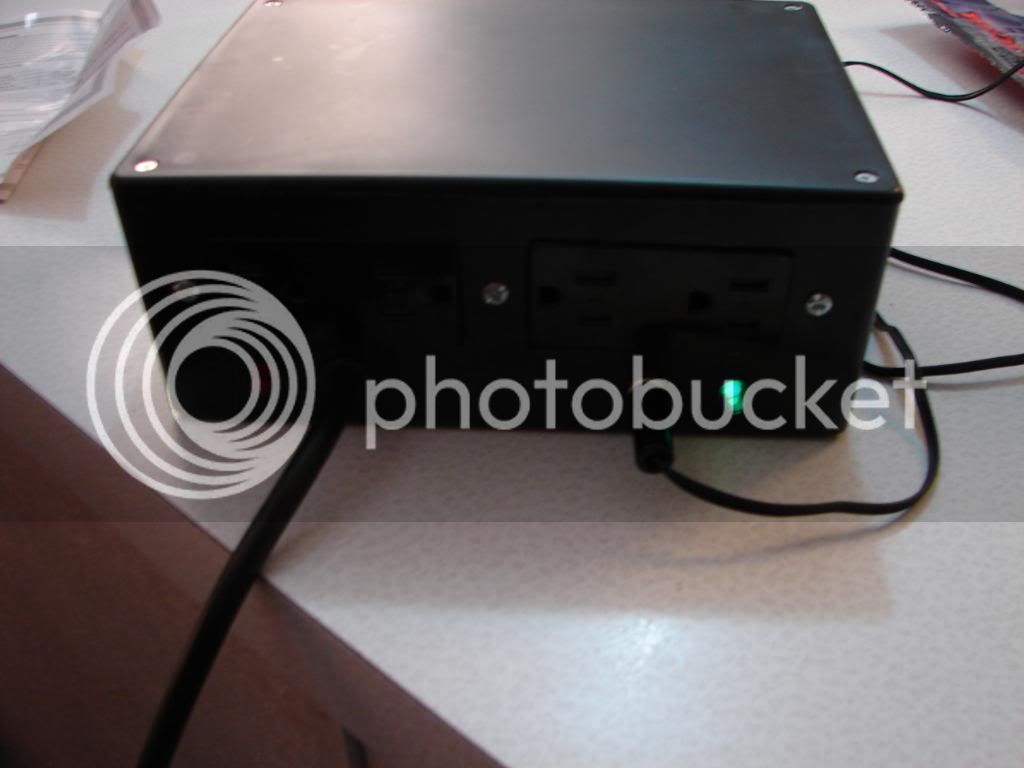
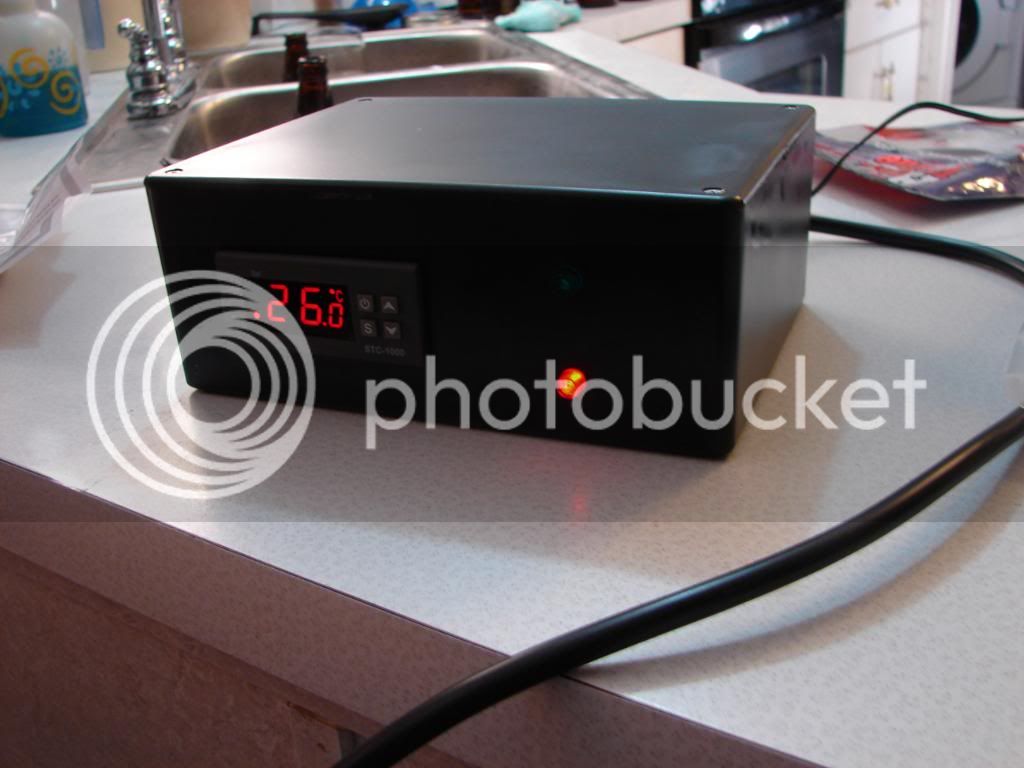
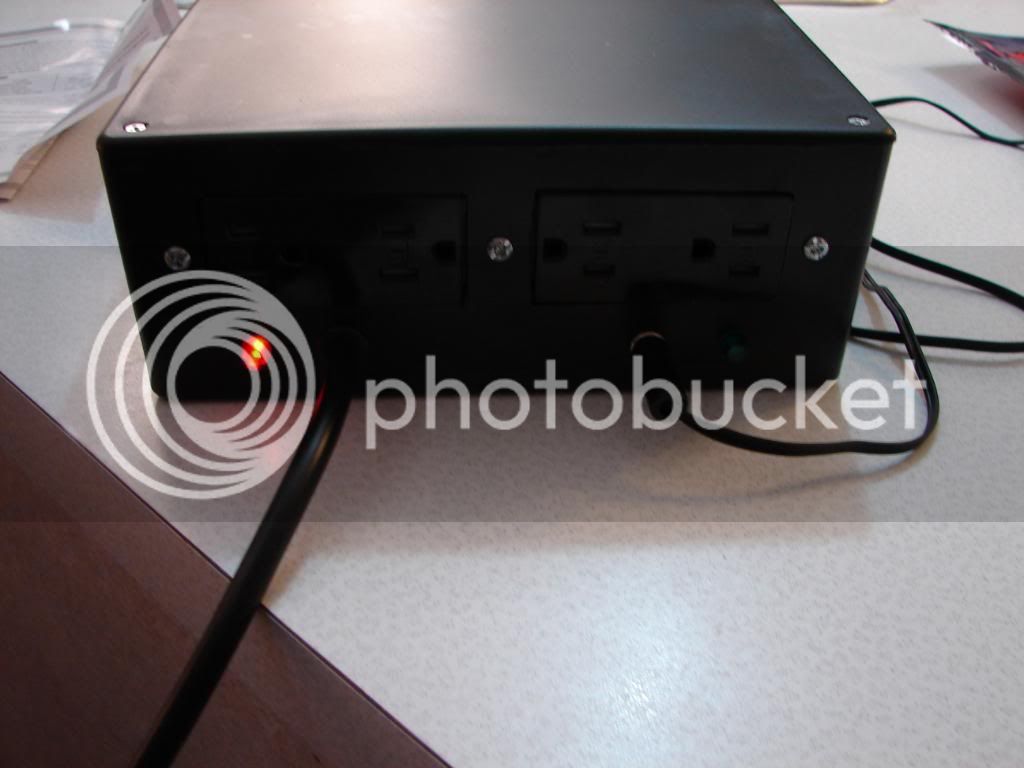
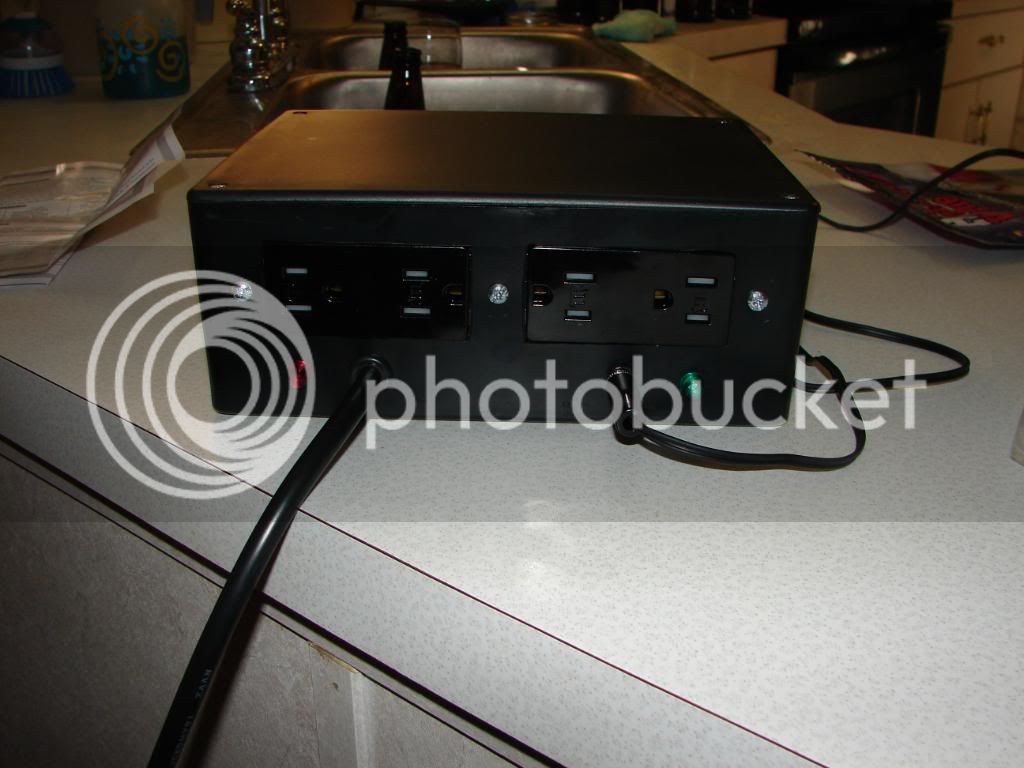
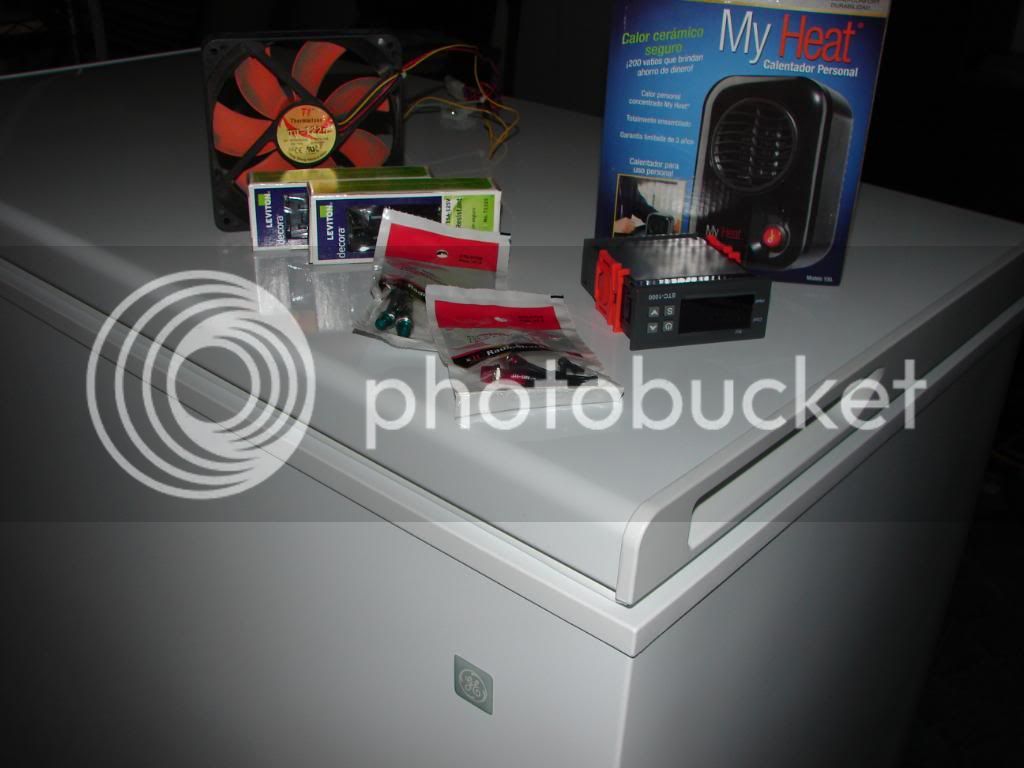
I want to make a separate control box instead of mounting the controller into the freezer should I decide to do something else with the freezer in the future. Heck it could end up being a keezer some day, who knows.
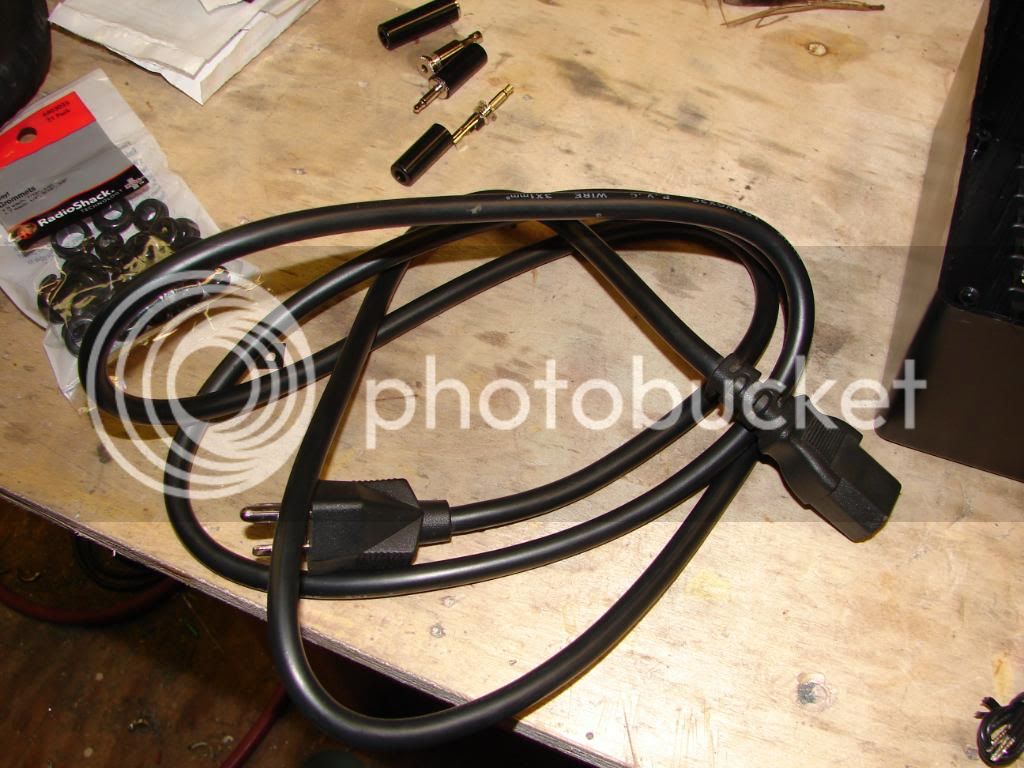
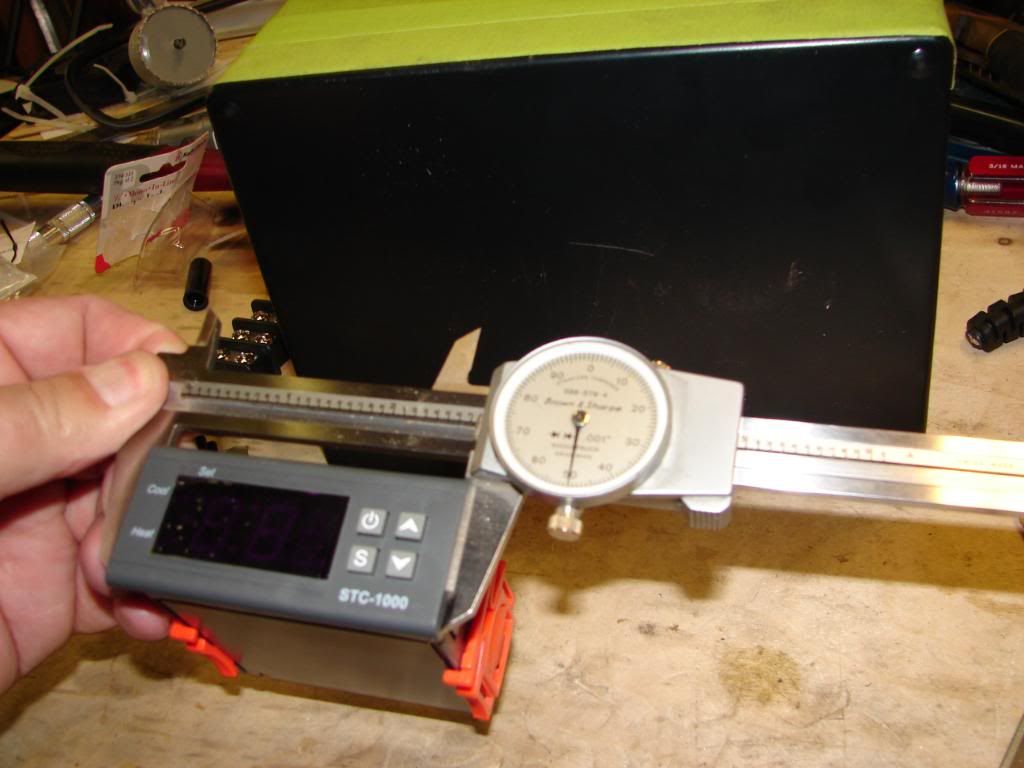
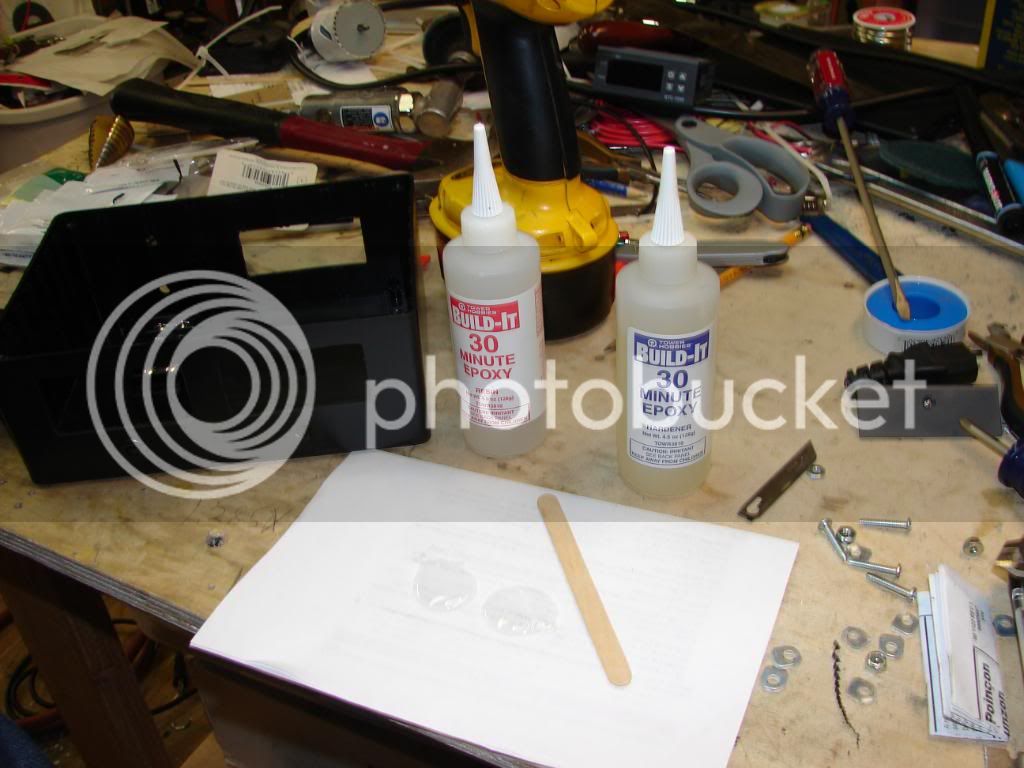
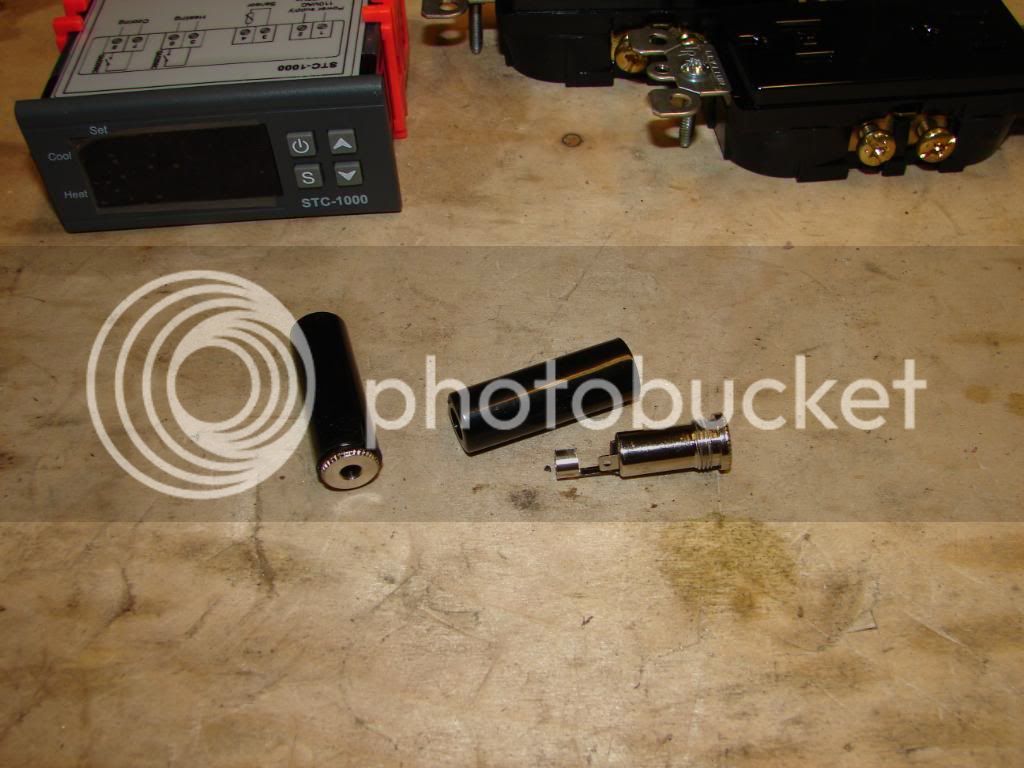
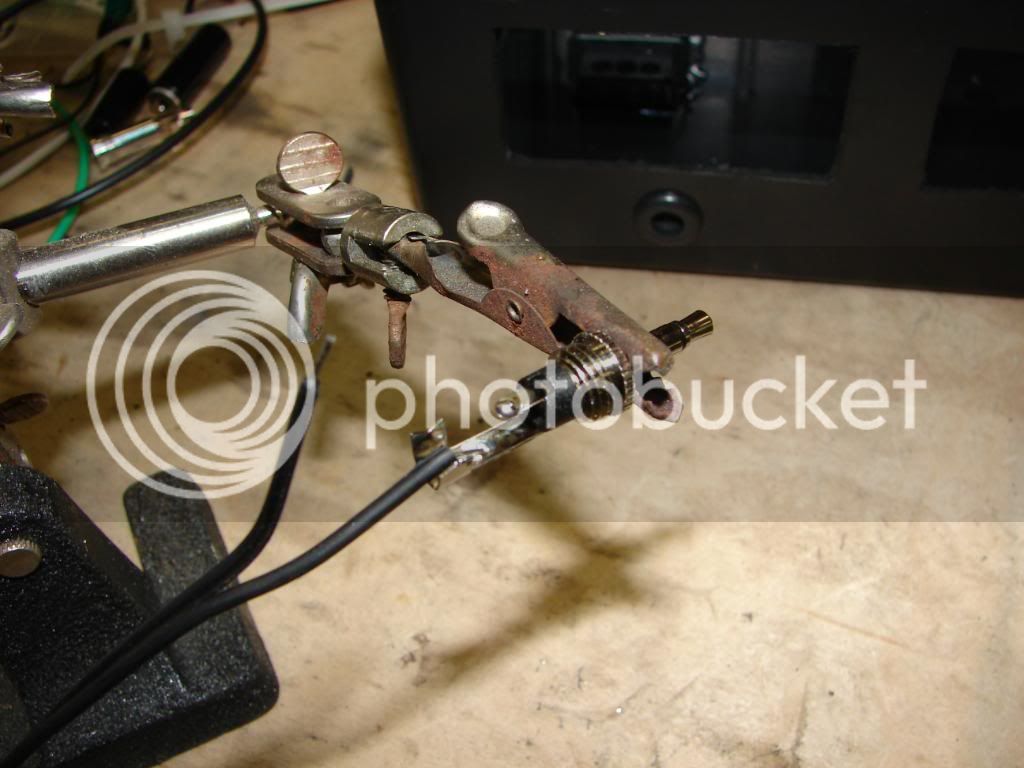
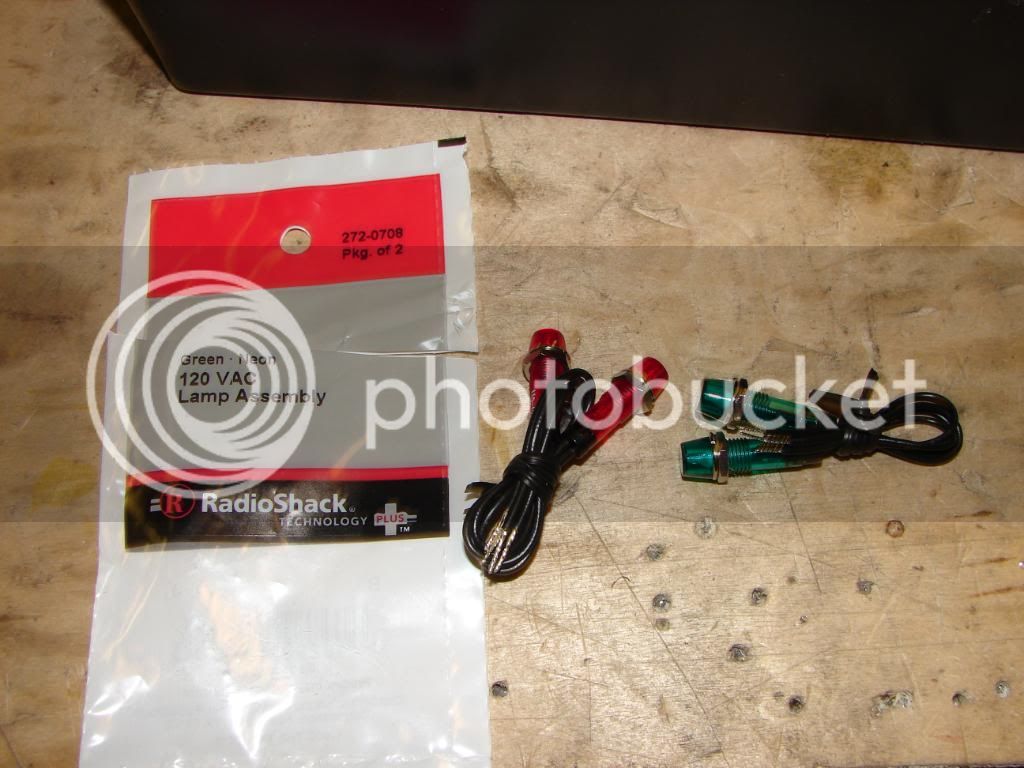
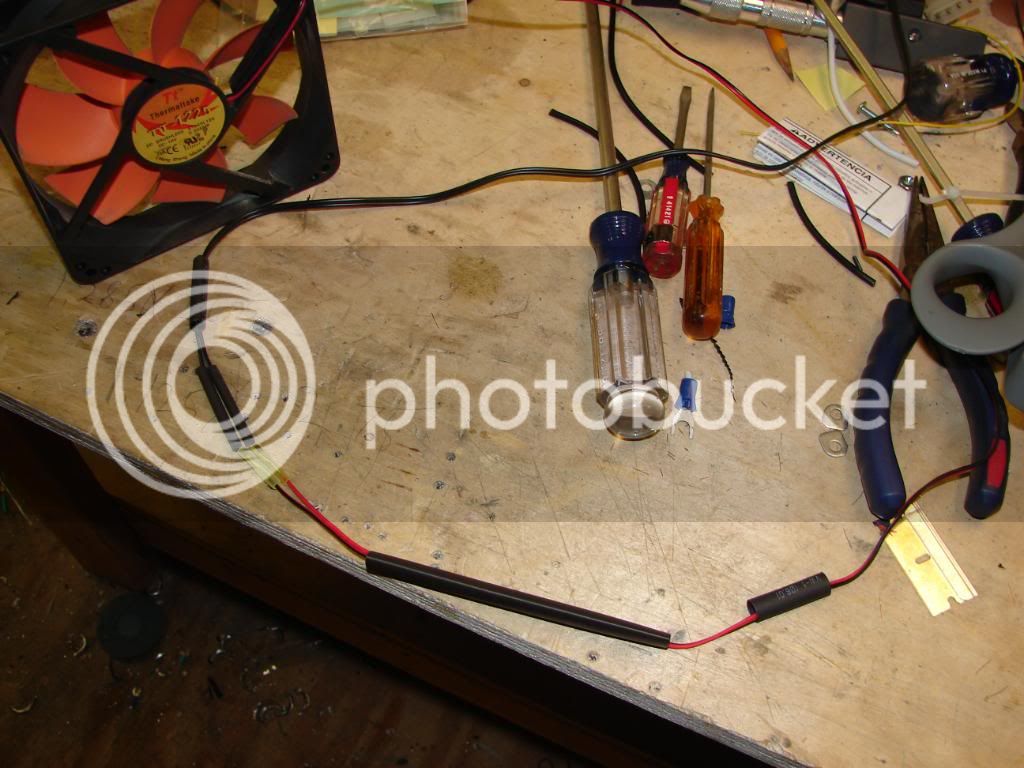
I still need a project box and a 1/8" plug to complete the control box. Don't know if I will need a fan in there but I have 1 or 2 laying around.
DSC00004.jpg


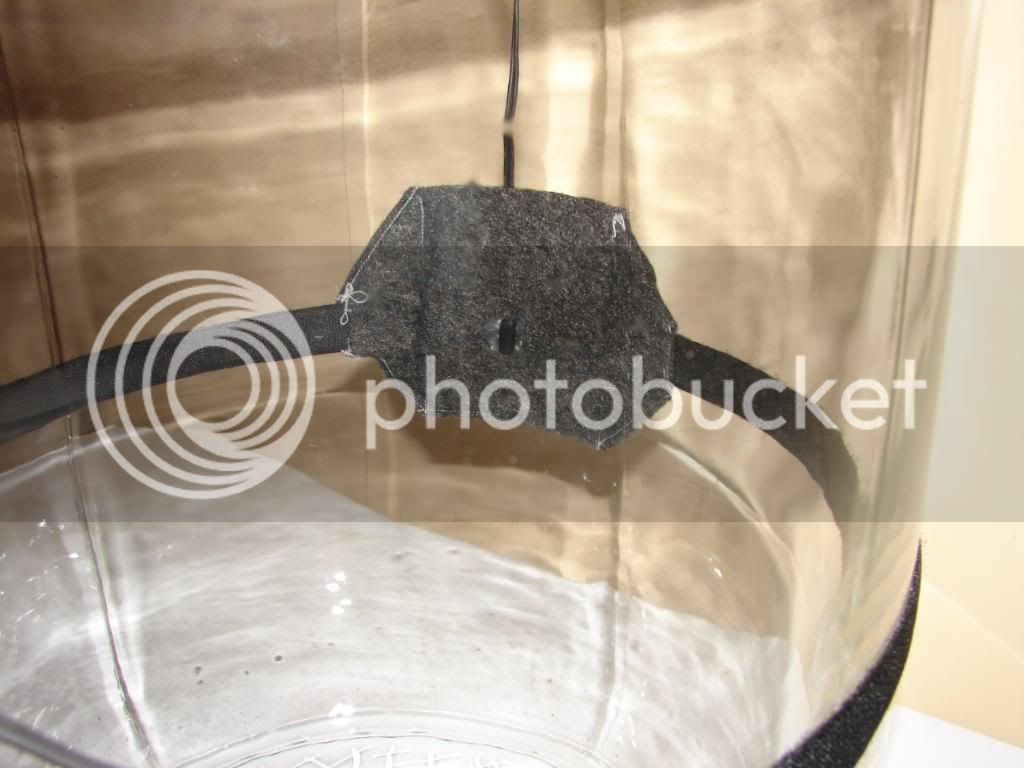
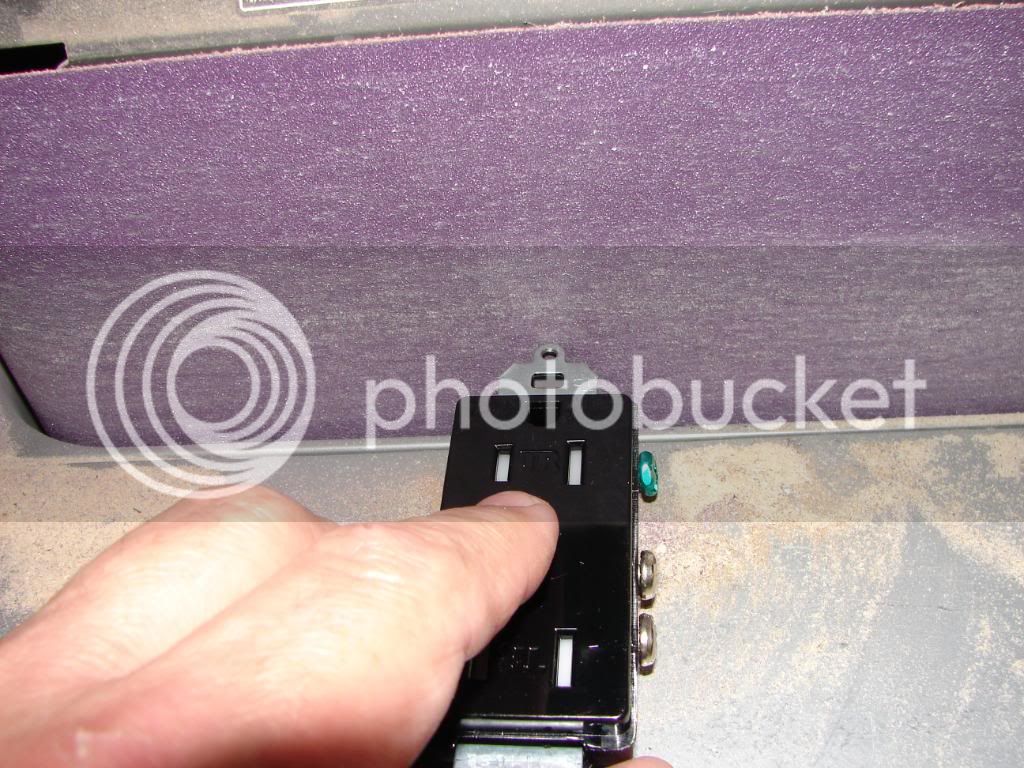
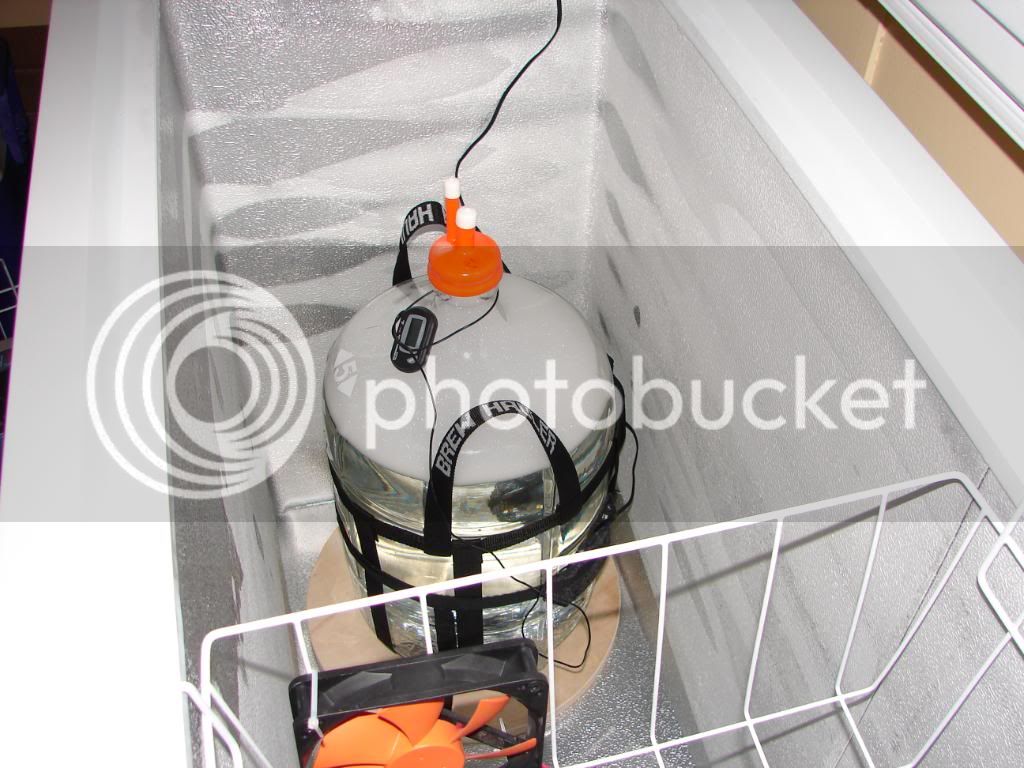
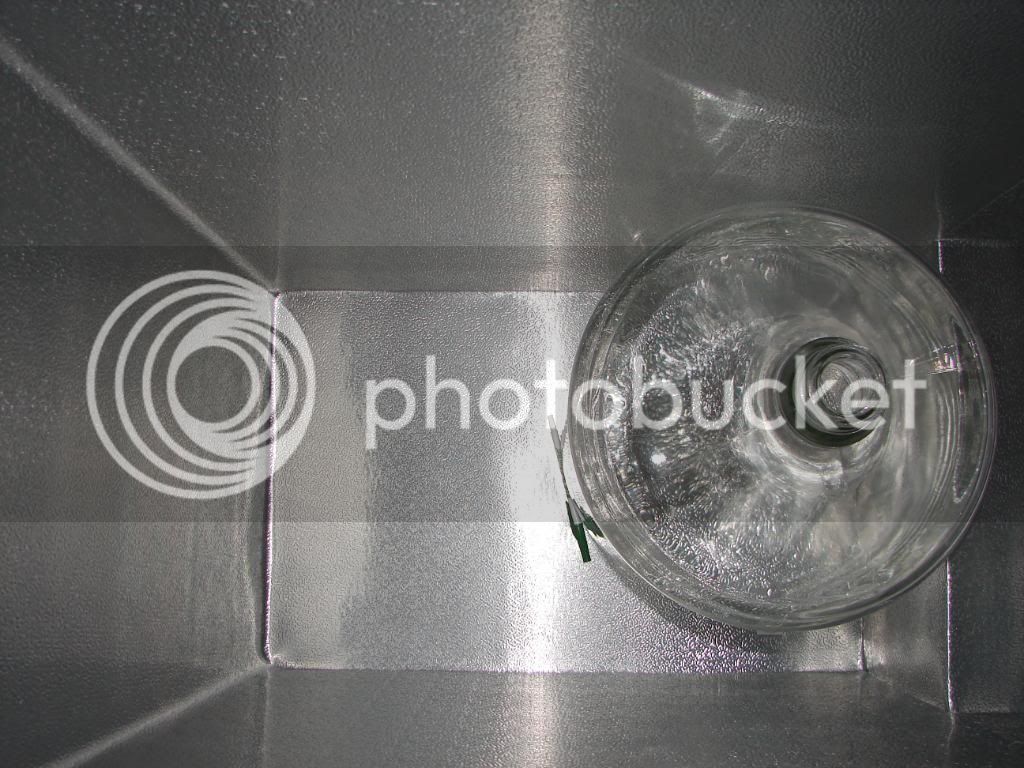
Checking the possible fit of two 6.5 gallon carboys, I only have one right now. It will be tight but they will fit.
DSC00008.jpg

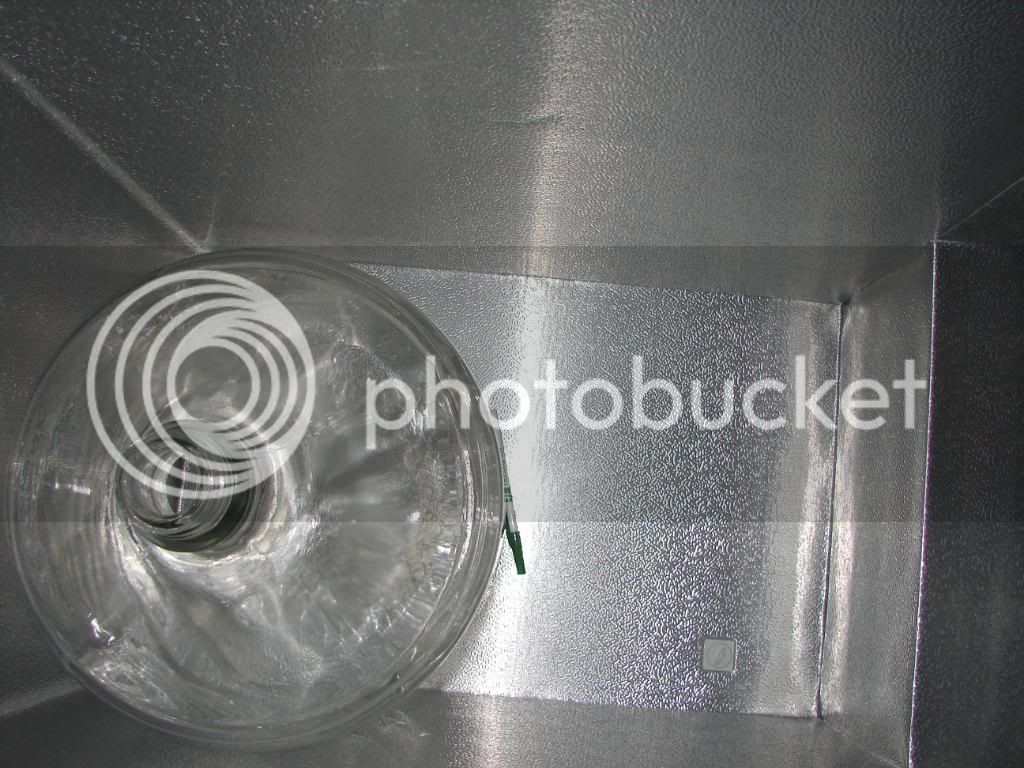
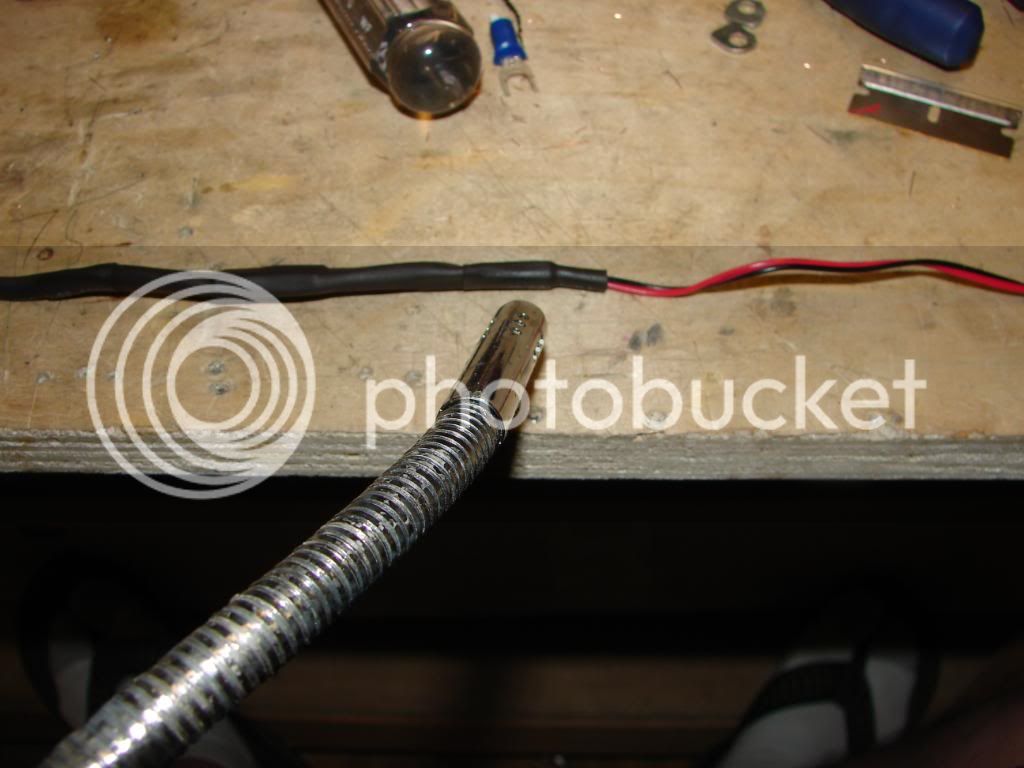
Using a pen as a marker, there will be just enough room. Whew! :D
DSC00007.jpg

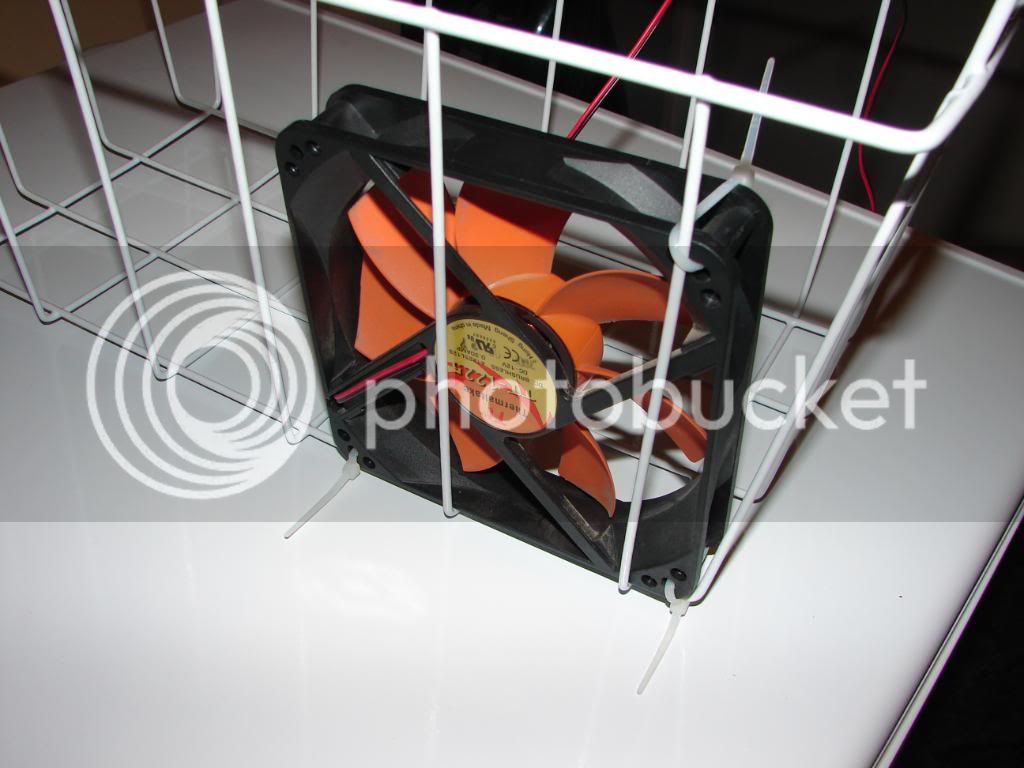
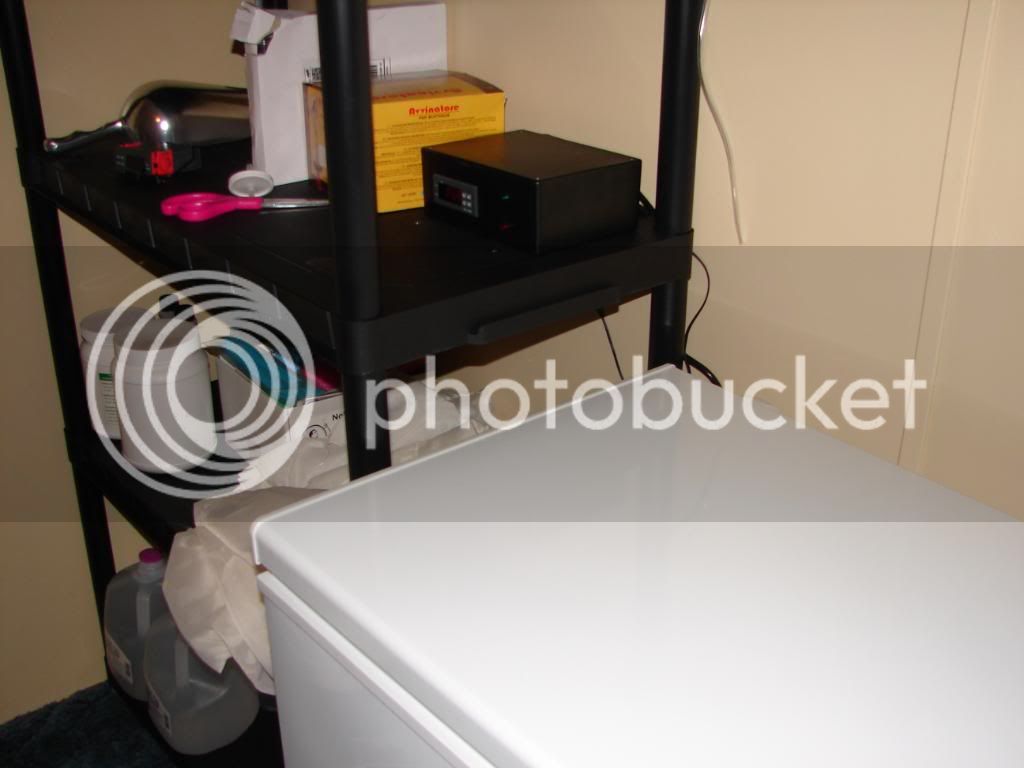
The baskets should come in handy for something.
DSC00009.jpg
 
Looks good! I suggest trying to use a 6.5 gallon (primary) and 5 gallon (secondary) in case two 6.5 gallons don't fit. I also have that eBay aquarium controller and they're nice. I'm thinking of getting another one for the kitchen (sous vide cooking), so I'd recommend the external box for it in case you use it for other things as well.
 
While I am waiting on the project box to come in I thought I'd put together something I have been thinking about for months.
After reading many, many threads on how and where to mount senor probes I thought maybe a sensor pouch with a strap might work.
First gathering up some things I had around house.
A soft bag that a replacement rear view mirror came in, some velcro strips, and some bubble wrap.
DSC00004-1.jpg


Cut out a square patch of bubble wrap that would fully cover the sensor.
DSC00005.jpg


Using the bubble wrap as a guide I sewed a square shape giving wide berth around the wrap.
DSC00006.jpg


I cut the square shape out and put the extra material to the side. I used white thread on purpose so it would show up well.
DSC00007-1.jpg


Sewing down both sides give me a perfect pouch for the bubble wrap to slide into.
DSC00008-1.jpg


I want to sew a few 45° seam on each side of the velcro so I use it as a guide from where to get me started.
DSC00009-1.jpg


I decided to tack the strap directly to the pouch so there would be even pressure right over the back of the sensor.
DSC00010.jpg


The sensor needs to have direct contact with the glass of the carboy so I cut a small window in the face side of the pouch.
DSC00012.jpg


It fits pretty well.
DSC00014.jpg


You can see the sensor has contact with the glass.
DSC00016.jpg
 
Finally getting around to finishing the controller for the fermentation chest. I used heyjaffy's thread as a guide.
I decided to use the rectangular outlets because cutting out the access holes would be easy to cut with a Dremel.
DSC00003.jpg


If you want to use just one outlet to feed the cooling and heating just break this tab off and wire each outlet separately.
DSC00005.jpg


I wanted to install both outlets in line on the back of the project box. The only problem is the mounting flanges are too long so I need to fix that.
DSC00006.jpg


First I broke off the tabs.
DSC00008.jpg

DSC00009.jpg


The threaded loops need to be removed so I ground them off with the belt sander.
DSC00010.jpg

DSC00011.jpg


Now that the tabs are all removed the outlets fit perfectly.
DSC00012.jpg


I dug up an old computer cord to power the unit with.
DSC00014.jpg


I want to use a grommet to hold the power cord so I bought a bag of assorted sizes for now and future use.
DSC00015.jpg


Did a preliminary layout of the parts.
DSC00016.jpg


Taped the face to make layout easier. I temporarily bolted the two outlets together so I get an accurate layout for the holes.
DSC00026.jpg
 
Since the temperature controller has a lip around it and makes it perfectly square against the side of the box. You can use it to help mark the cut out lines.
DSC00027.jpg


A funny thing about this controller is metric but the actual size of the case is dead nuts standard. 1 1/8" X 2 3/4"
DSC00024.jpg


The outlet holes needed a little cleaning up but the controller slide right in on the first try.
DSC00031.jpg

DSC00030.jpg


Went ahead and epoxied the terminal block to the project box.
DSC00032.jpg


While the glue is drying I pre-wired the outlets on the side I cant get to when they are installed.
DSC00033.jpg


Used the outlet, temporarily installed backwards, to mark the machine screw holes.
DSC00034.jpg
 
I am using an 1/8" plug and outlet for the temperature sensor.
DSC00001.jpg


The diameter is exactly 5/16", a common drill bit size.
DSC00002.jpg


Pre-tinned the plug and outlet. The wire is already pre-tinned so that made soldering the wire go faster.
DSC00036.jpg

DSC00037.jpg


The lamps are a hair over 1/4" to I used a 1/4" drill bit and a round file to open the hole up enough.
DSC00013.jpg


Got the temp. sensor outlet, controller and the lamps installed.
DSC00039.jpg


Wiring all done.
DSC00041.jpg
 
I'm using a 120mm fan and a 9 volt power supply to power it.
Solderless connectors and shrink tubing for an easy clean connection.
DSC00049.jpg


A lighter with a blow torch flame makes a great tool for heat shrink tubing.
DSC00052.jpg


Used on of the freezer baskets to mount the fan.
DSC00054.jpg


Using a 5 gallon carboy filled with StarSan to break the fermenter in.
DSC00055.jpg


I set the controller to 18.5°c, about 65°f, and it only took two hours to bring the carboy down from 75°f. The thermometer on the inside of the chest confirms the temperature is correct.
DSC1.jpg


The controller sits perfectly on the shelf next to the freezer. Now it's time to brew an Oktoberfest. :mug:
DSC2.jpg
 
Great system! looks awesome! i just bought a 5 cu. ft. freezer... looking to make a chamber so my brew isnt sitting on my dining room table in the winter and so i can lager in the summer... Do you have a wiring diagram for your system? I have a few different ideas, but I wanted to see exactly what you did first. Thanks!
 
Great system! looks awesome! i just bought a 5 cu. ft. freezer... looking to make a chamber so my brew isnt sitting on my dining room table in the winter and so i can lager in the summer... Do you have a wiring diagram for your system? I have a few different ideas, but I wanted to see exactly what you did first. Thanks!

This is the wiring diagram that I used to base my control box on. I will try to set up something tonight.
 
Great looking build. Cool idea to put the sensor right on the carboy. The mech E in me wonders what type of differential there is in there, but the unemployed mech E in me thinks its a moot point.
 
Great looking build. Cool idea to put the sensor right on the carboy. The mech E in me wonders what type of differential there is in there, but the unemployed mech E in me thinks its a moot point.

Thanks for the compliments guys.

I have wondered about the differential myself. I know the temp in center of the carboy during the peak of fermentation has to be higher. I think the temp probe belt rig keeps it as close as I can get it. I have considered putting two extra layers of insulation in there to better insure there is less influence from the air temperature on the sensor.

i wonder if it would be closer to temp if we put a gallon of water in the chamber and took a temp reading in the center of that. I'm no physicist, but it would all depend if the thermodynamics of both volumes... if the difference in temperature change between the two over time was miniscule, it might just work. Anyone wanna take a stab at those calculations? lol. SCIENCE! :rockin:
 
I have seen many people put their temp probe into a vile or some other container of water. After much reflection I decided that might not be the best way to go because, although much better than just mounting it out in the air, you aren't going to get the most accurate reading.
The container of water doesn't create it's own heat like fermenting wort.
It's akin to fermenting in a closet or basement where the temperature of the wort is going to be 5-10 degrees higher than the ambient air temp.
If you mount your temp probe on the side of the carboy, with some type of insulation backing, or better yet in a thermowell you will get a much more accurate reading.
 
I just built a fermentation chamber and am using the same temperature controller. I tried taping the probe to my carboy and covering tightly with thick insulation. However, every time I opened the chamber door, the temperature indicated on the controller would rise several degrees in a matter of seconds. That tells me my probe was measuring air temps, not wort temps. Last night I moved the probe into a growler of water. Now, when I open the door for a few seconds, the temp does not change. So, what do you recommend I do? Use it this way or try to find a better way to affix it to the carboy?
 
Here is my thought process... if you use the probe in a smaller volume of water, that water will change temps slightly faster than the full wort. so if you set a range on your temp setting to 5-6 degrees, it should keep your wort at a nice 3-2 degree range based on the thermodynamics of water that says that larger volumes of water will change temps slower than smaller volumes. does that make sense?

If all else fails I'll just drill a hole in my bucket and put in a temp probe. lol
That makes sense. Thanks!
 
I just bottled a belgian wit and bavarian hefeweizen that I had fermenting in my new fermenting cabinet for the last three weeks. I can tell a HUGE difference in the taste and quality over all the previous beers I have made.
I tasted each one and they were flat of course but both had the exact taste I was looking for when I made them. Damn if that hefeweizen doesn't taste very close to Sierra Nevada Kellerweis, which I love. I made a hefeweizen earier this year when I had no real control over the temps and it tasted like I dove into a lake of bananas.
This might be the single most important piece of equipment that I have added my whole brew equipment chain.
 
Just get some glass tube, melt the end shut, and put your probe in it. Suspend it down in the middle of the carboy for the ultimate temperature sensor. Shouldn't even be hard with one of those carboy cap things.

This is all very eloborate; I use a SOFC and with a simple thermostat and go by the fermometer sticker on the side of the fermenter....
 
Back
Top