
This is my 2nd ever build for brewing. I made a immersion wort chiller about a month ago. I didn't really have a budget because building something is just more fun and more rewarding than buying it.
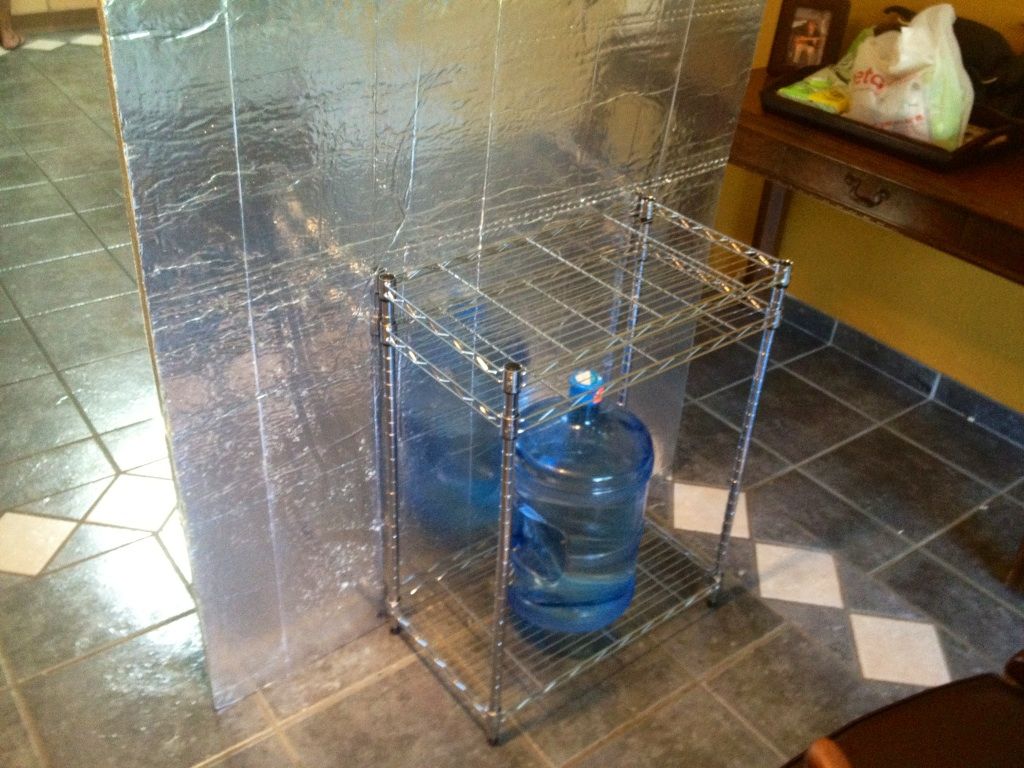
I found a mini fridge in the back room of my dad's house, so I gutted that and bought some wire shelves from Home Depot for 20$ and built around it.
Using a utility knife I started cutting the foam board and building around the shelves.
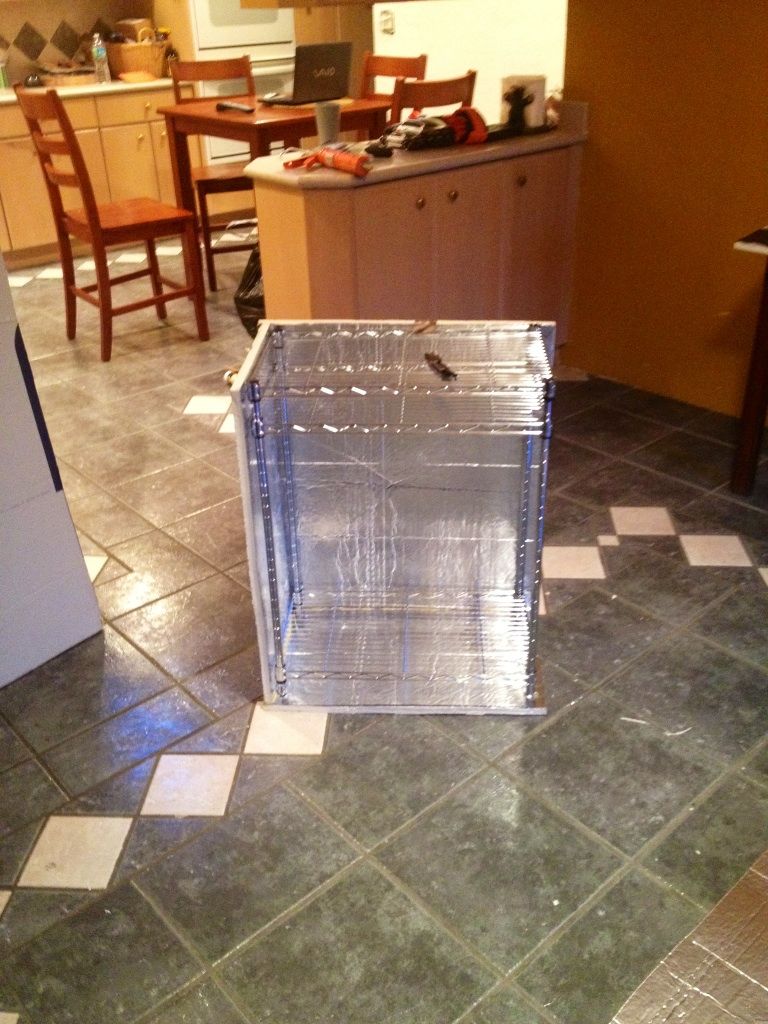
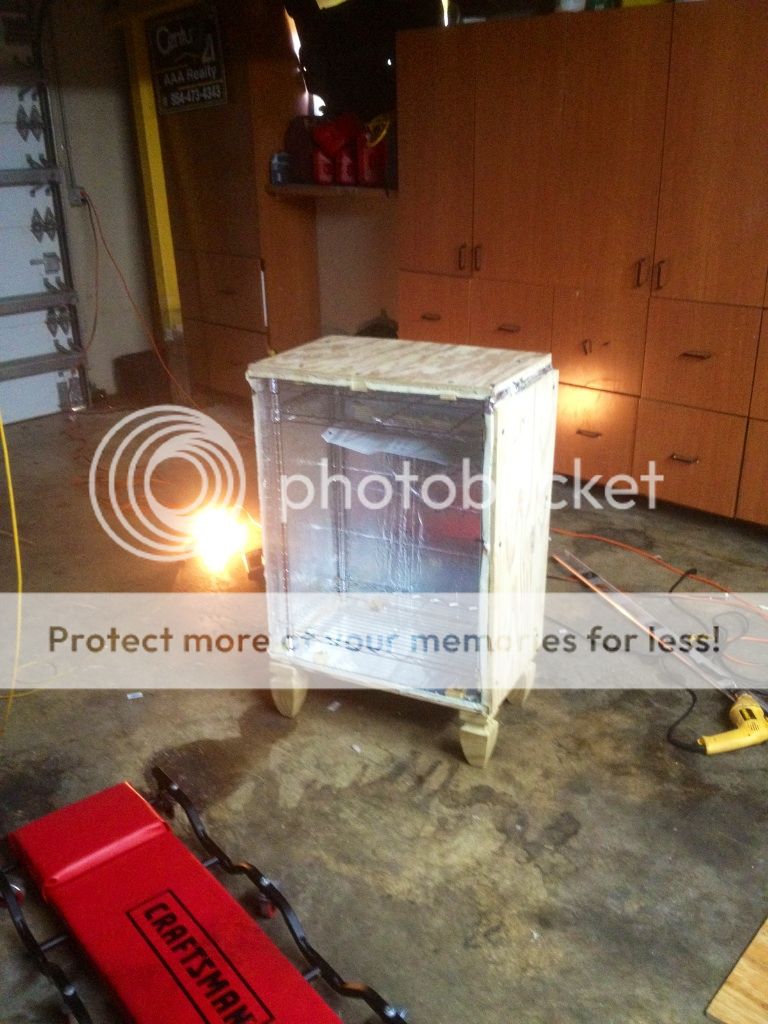
Finally finished building around the shelves, leaving the top and the door off.

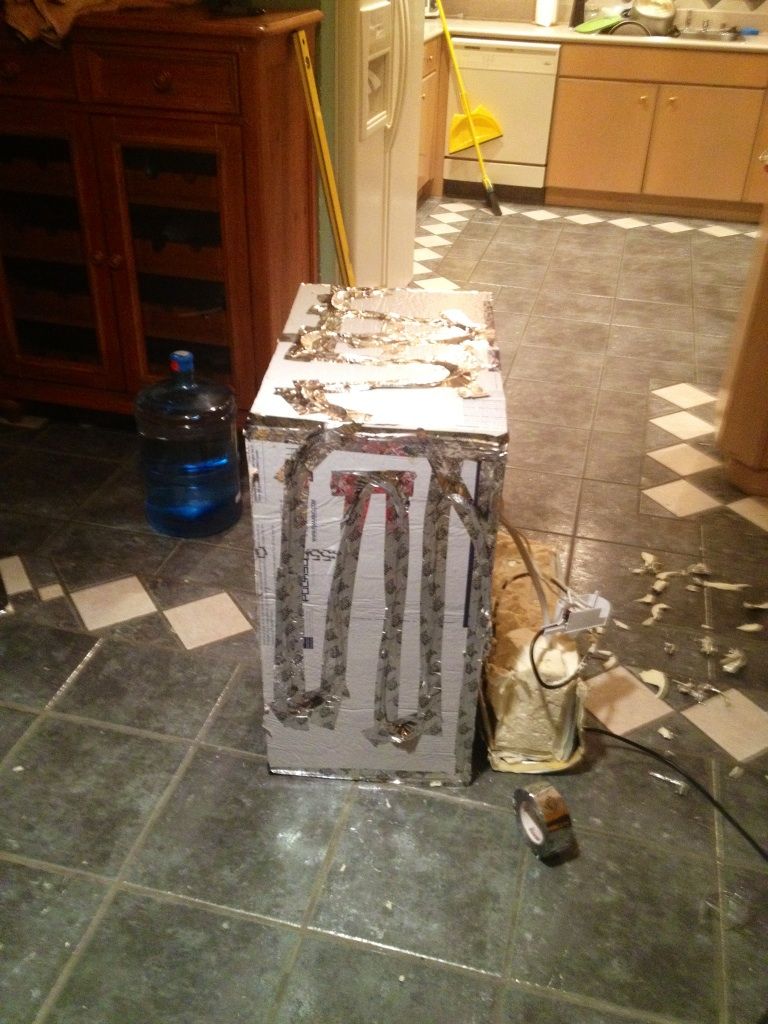
Using some insulation tape, I tapped all the coils to the foam board.
Yesterday, I picked up all the materials to finish the build from Home Depot. I had to go back later in the day to get different hinges because the ones I purchased were too small.
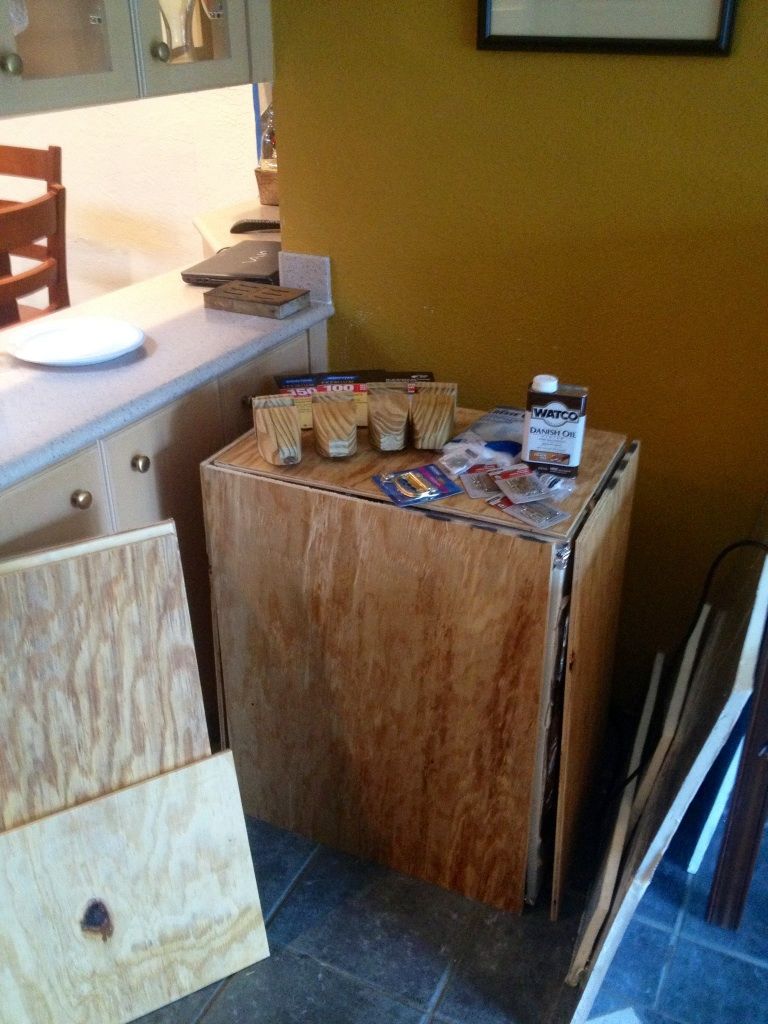
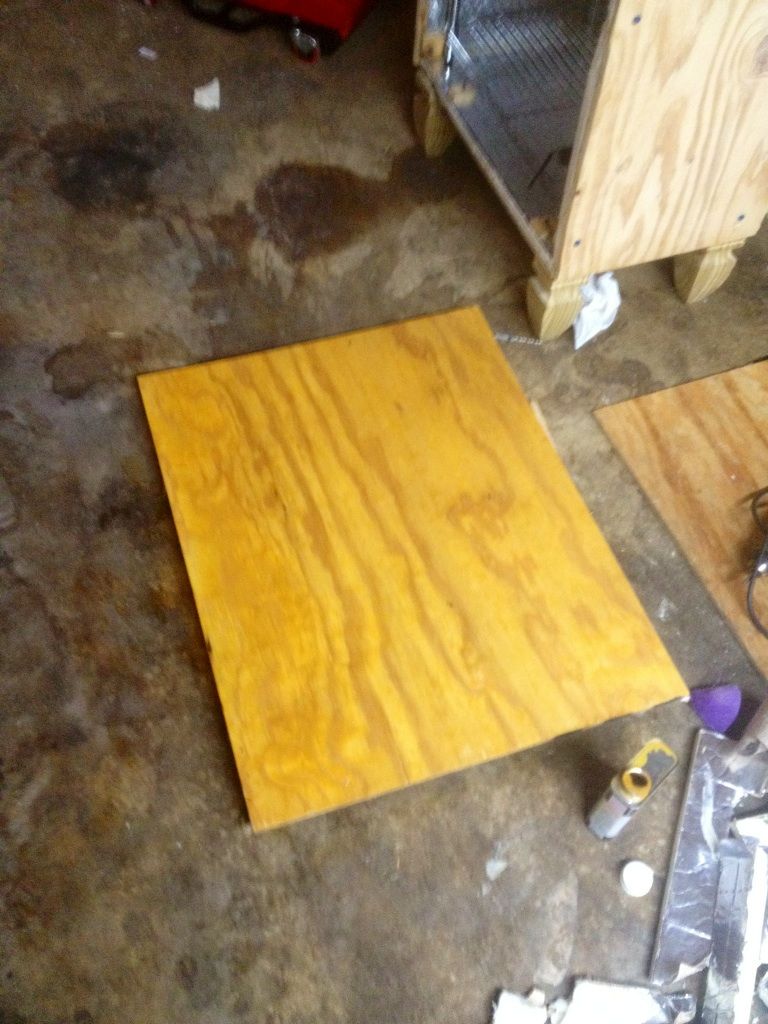
I sanded all the wood with medium grit and then used a fine grit to prep it for some wood stain.
I tried using Liquid Nails to attach the wood to the foam board, but the coils created too much separation and the caulking did nothing at all. I brainstormed for a little and decided to use little squares of plywood and drilled with a drill bit all the way through the plywood then foam board and into the plywood square and then drilled in a screw and the wood held perfect after that.
In about an hour I'm going to finish wood staining everything and the gaps between the wood, I used the Great Stuff foam sealant to close them and let it dry over night, and I will take a utility knife and cut it make it look like its a clean finish and sand it down with medium grit and fine grit.
Today the project should be finished, If i don't run into any problems. I have to put the hinges on the door, add the magnet door stop, and door handle. Finished pictures hopefully to come soon because I have to let my friend take it up in his car back to Savannah, because it wont fit in my tiny c230
I found a mini fridge in the back room of my dad's house, so I gutted that and bought some wire shelves from Home Depot for 20$ and built around it.
Using a utility knife I started cutting the foam board and building around the shelves.
Finally finished building around the shelves, leaving the top and the door off.
Using some insulation tape, I tapped all the coils to the foam board.
Yesterday, I picked up all the materials to finish the build from Home Depot. I had to go back later in the day to get different hinges because the ones I purchased were too small.
I sanded all the wood with medium grit and then used a fine grit to prep it for some wood stain.
I tried using Liquid Nails to attach the wood to the foam board, but the coils created too much separation and the caulking did nothing at all. I brainstormed for a little and decided to use little squares of plywood and drilled with a drill bit all the way through the plywood then foam board and into the plywood square and then drilled in a screw and the wood held perfect after that.
In about an hour I'm going to finish wood staining everything and the gaps between the wood, I used the Great Stuff foam sealant to close them and let it dry over night, and I will take a utility knife and cut it make it look like its a clean finish and sand it down with medium grit and fine grit.
Today the project should be finished, If i don't run into any problems. I have to put the hinges on the door, add the magnet door stop, and door handle. Finished pictures hopefully to come soon because I have to let my friend take it up in his car back to Savannah, because it wont fit in my tiny c230
