Last night my friends and I began constructing my single tier stand. Having read a number of other people's builds on here I thought it only right to document mine as well.
First off a big thanks goes out to SouthernYankee's build as I'm using his build as the starting blocks for what I plan to do.
Secondly, I admit I'm most likely winging it 80 percent of the time and the other 20 percent I'm drinking so questions to me might not be your best bet")
That said let's the pictures begin!
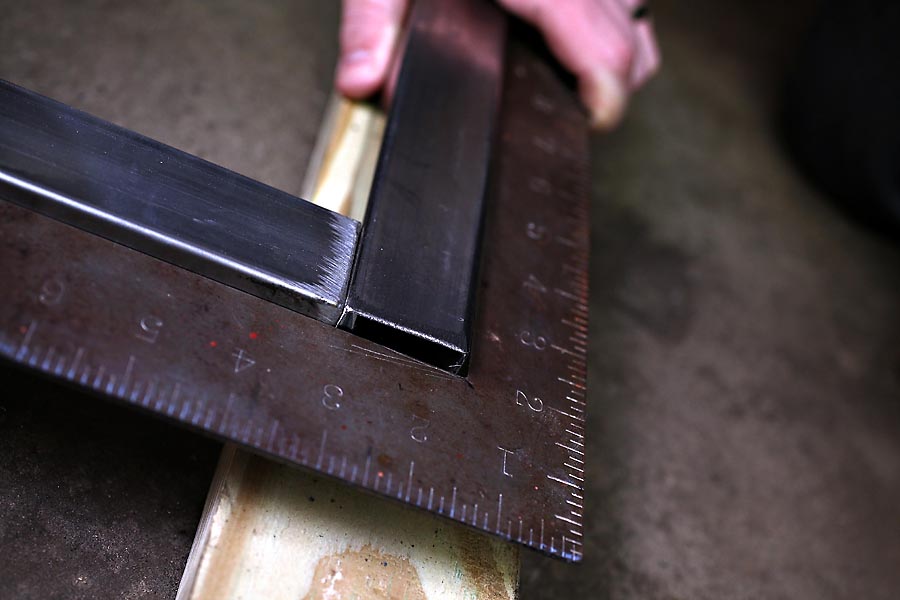
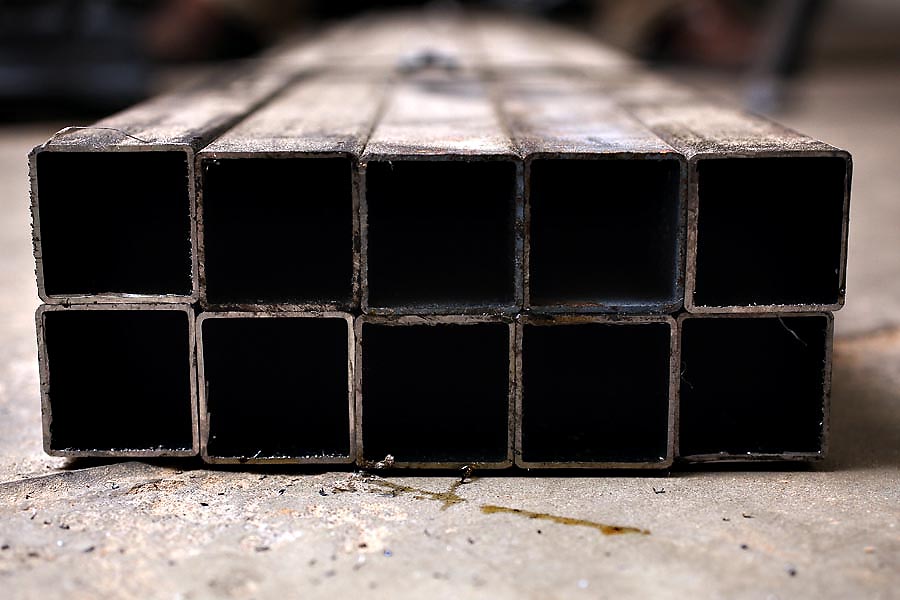
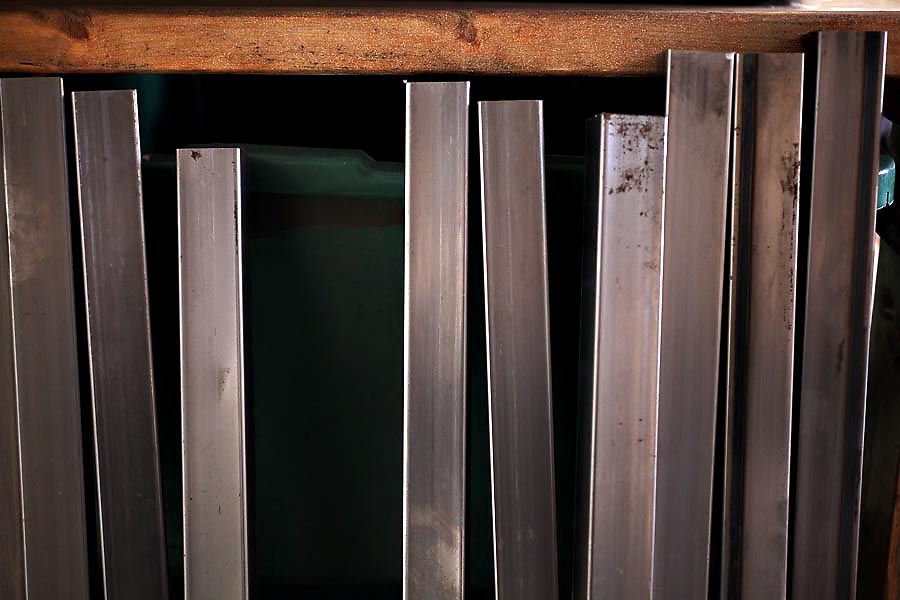
The metal: 1-1/2" x 1-1/2" 16g steel. Sixty feet cut into 5 foot lengths. Purchased locally from the Online Metal Store (but lucky for me they are local so no shipping costs)
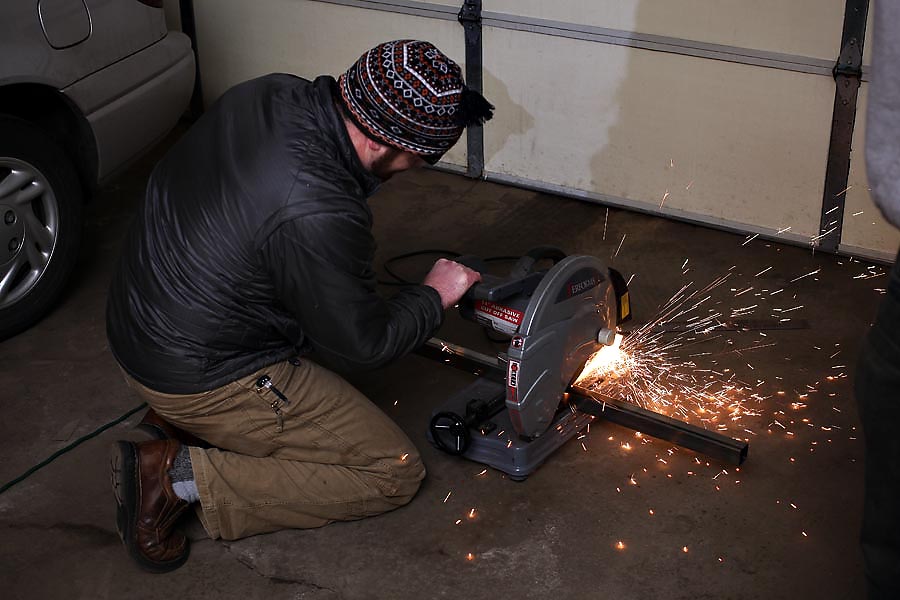
Measure twice cut once?
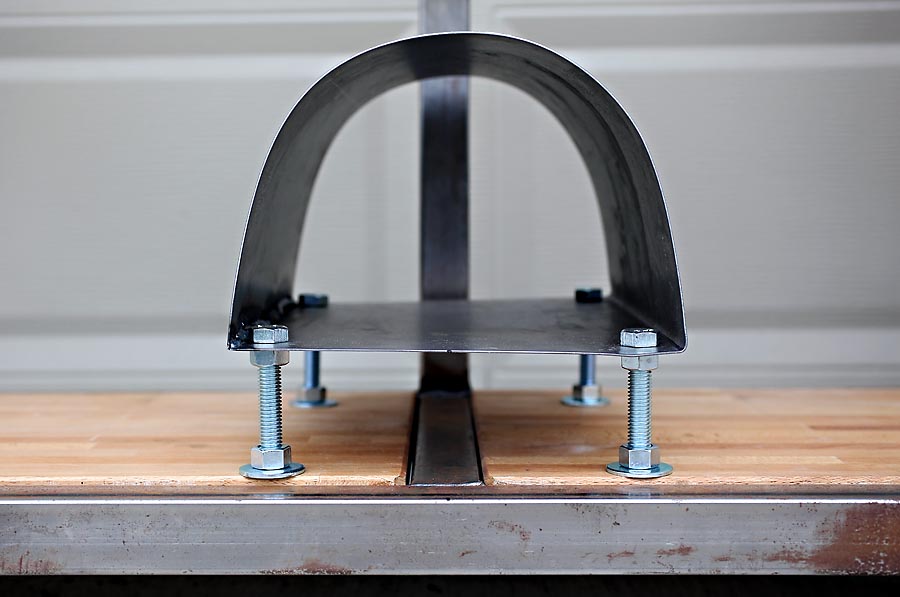
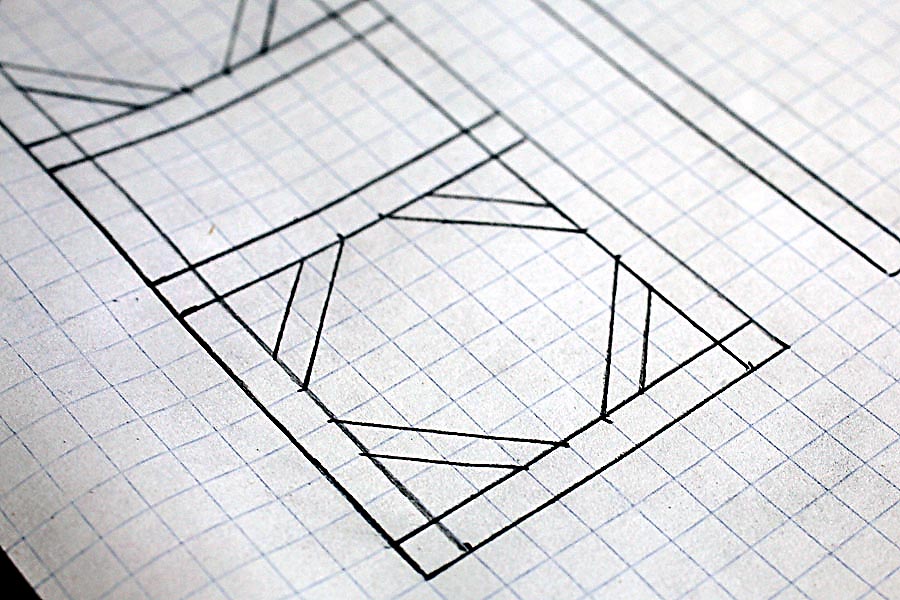
Thanks to SouthernYankee for the design
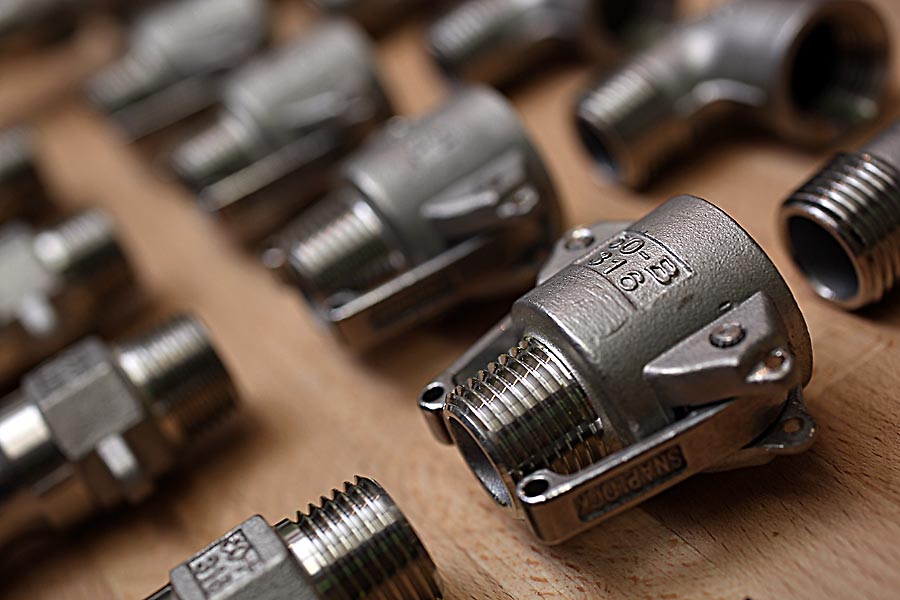
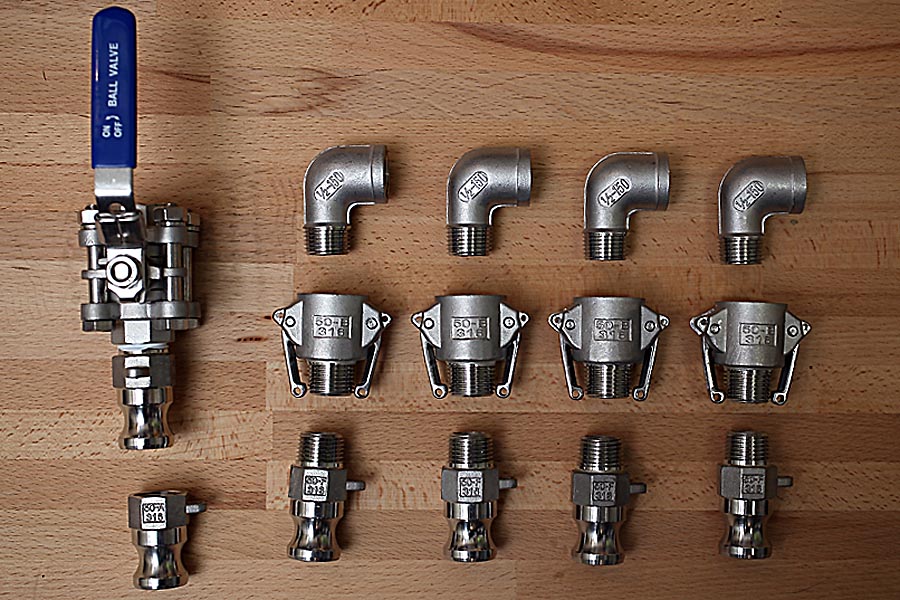
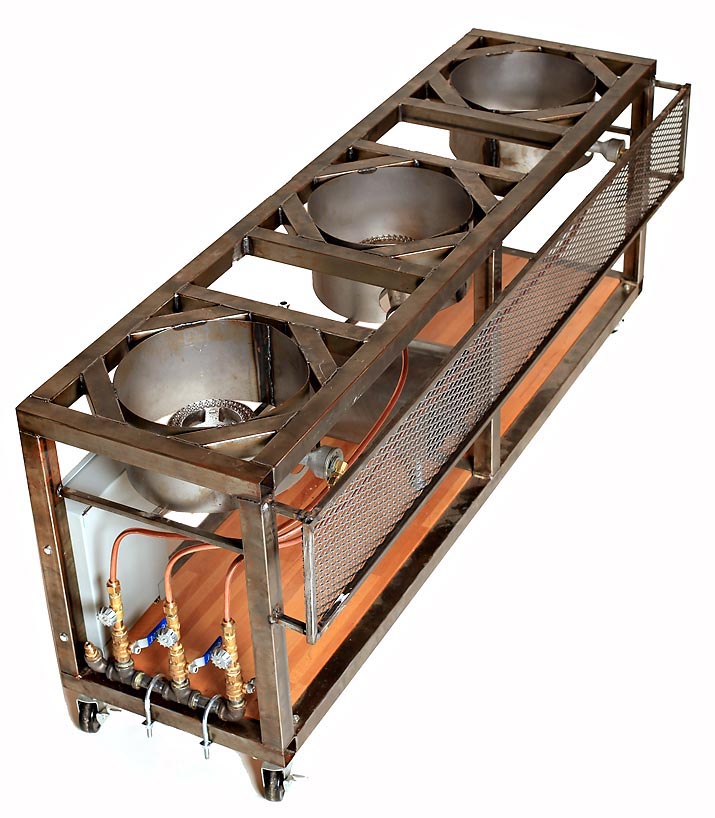
Now we're talking

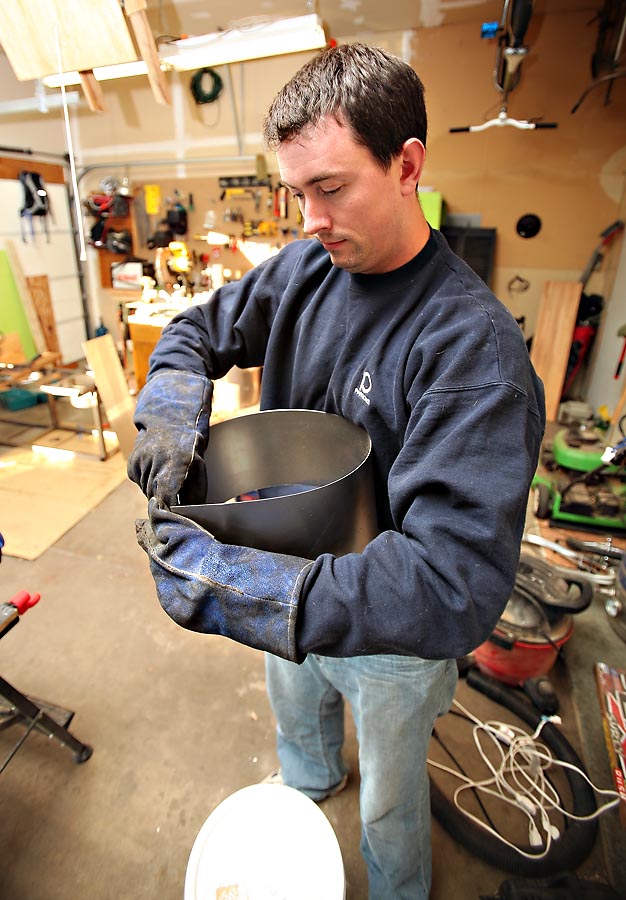
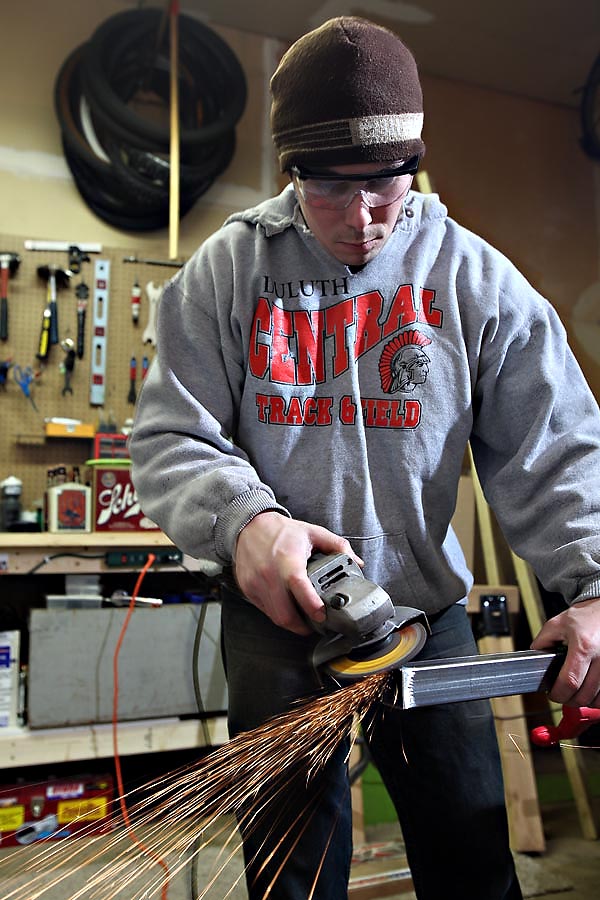
Cleaning up the edges
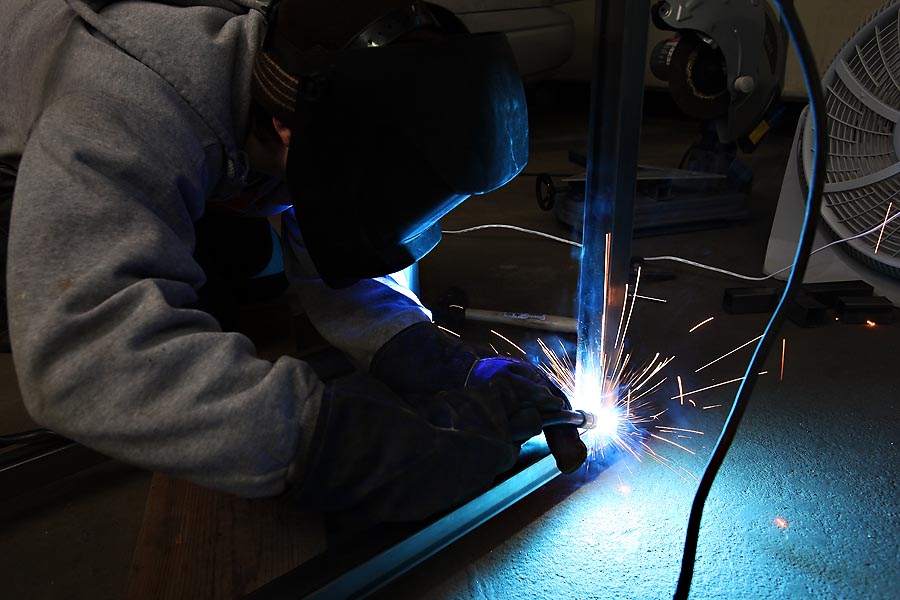
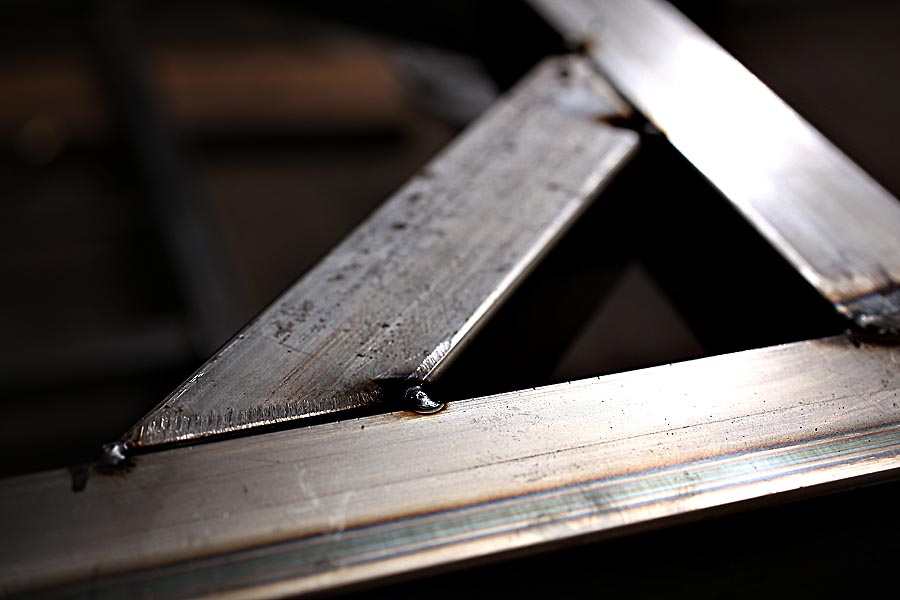
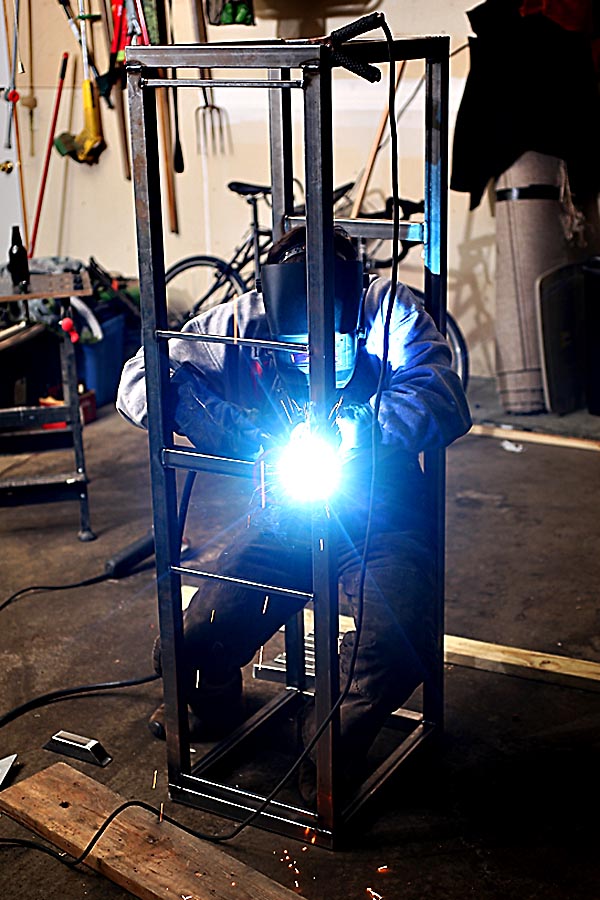
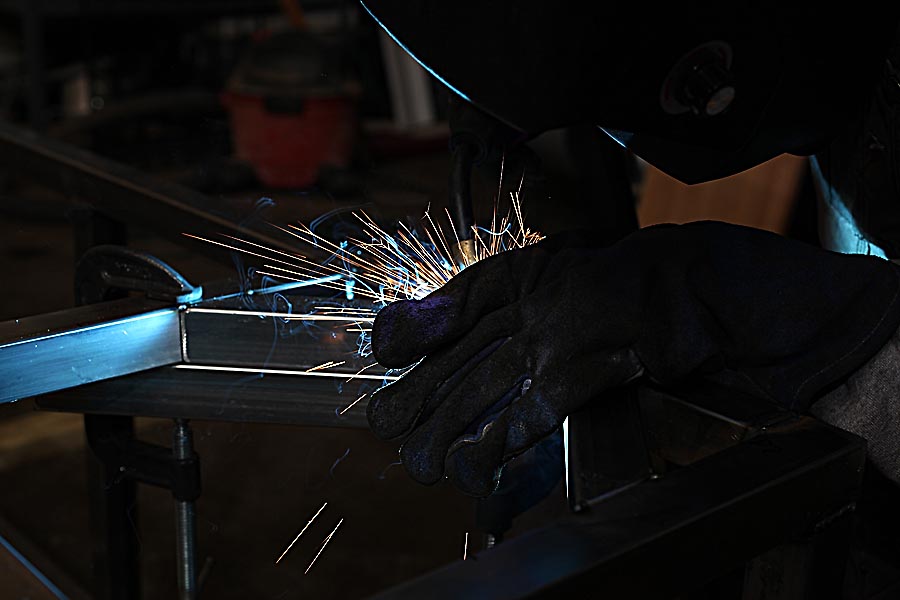
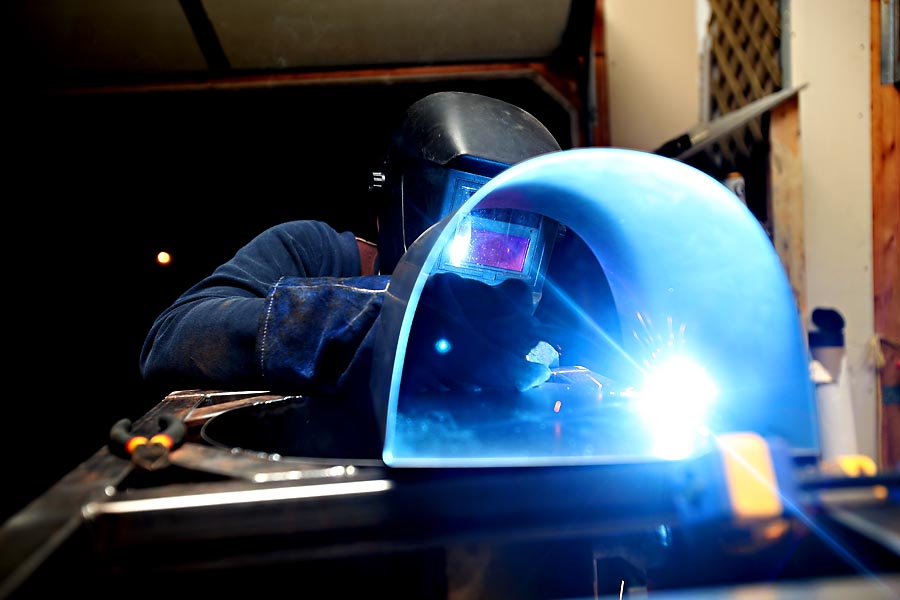
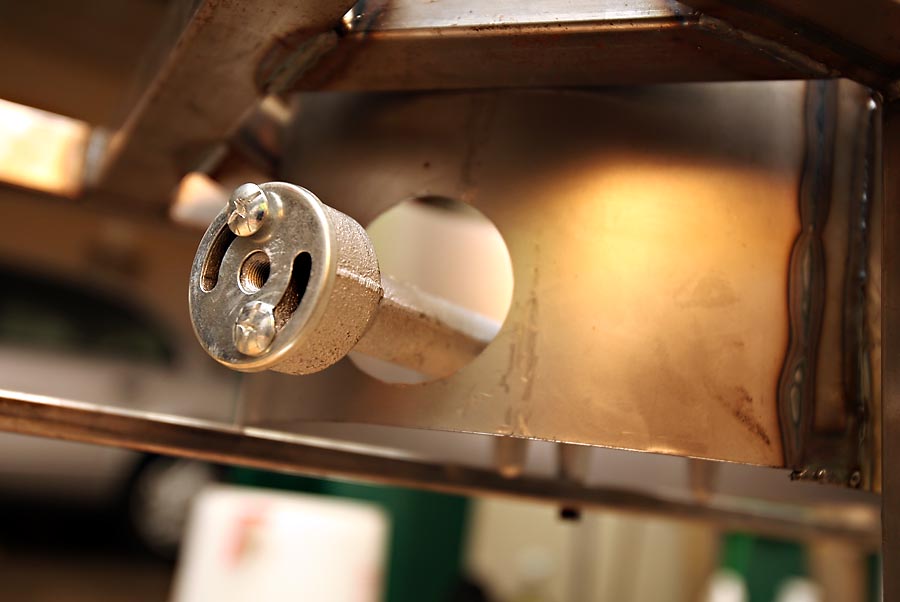
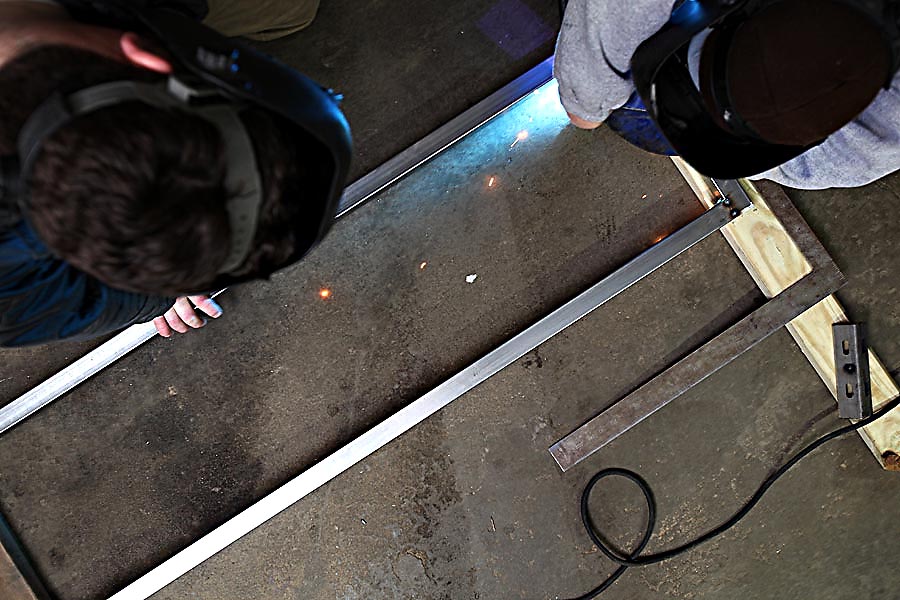
First Weld being laid down!

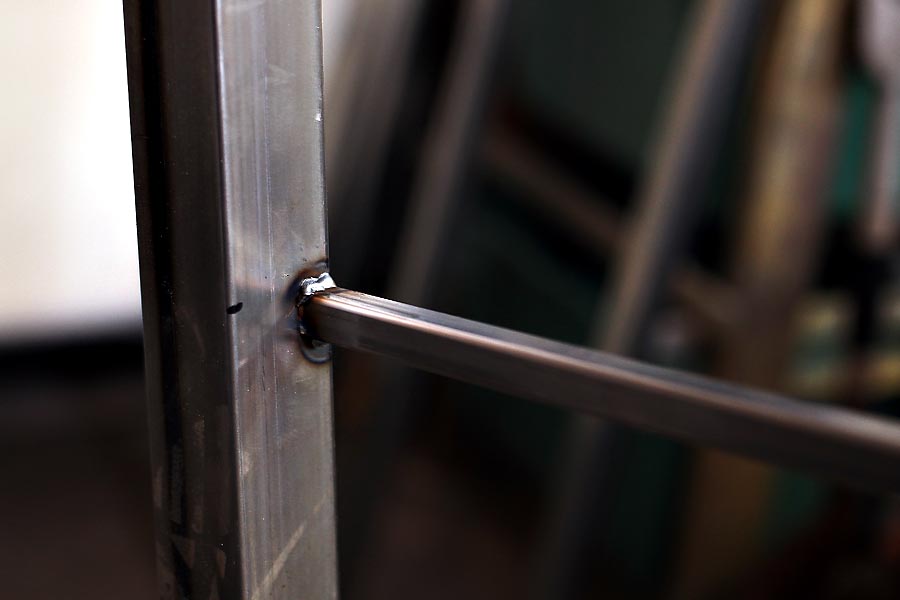
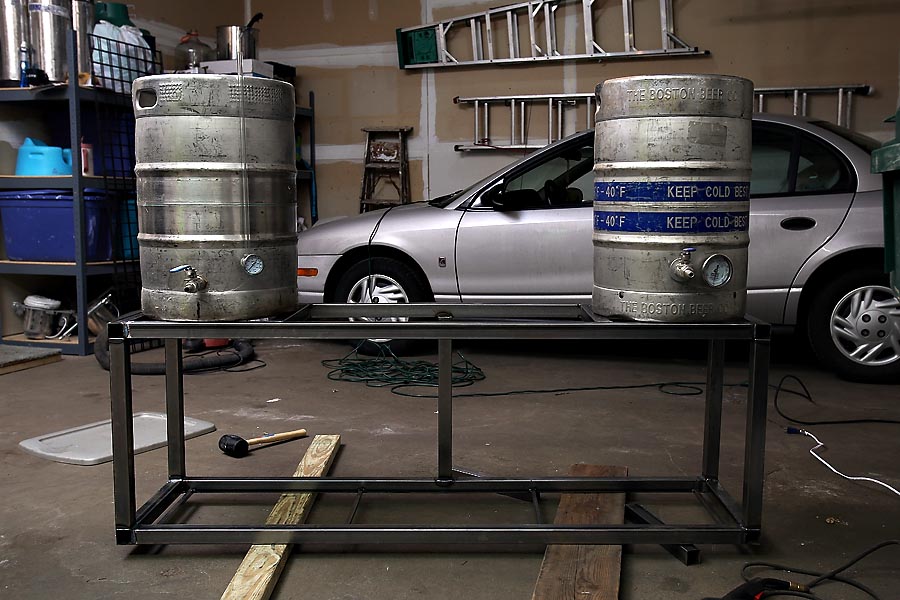
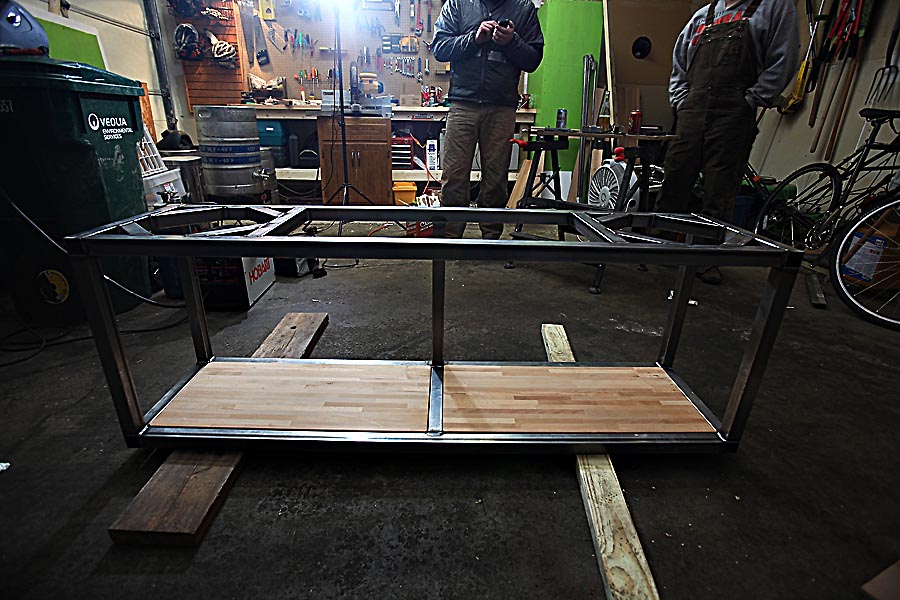
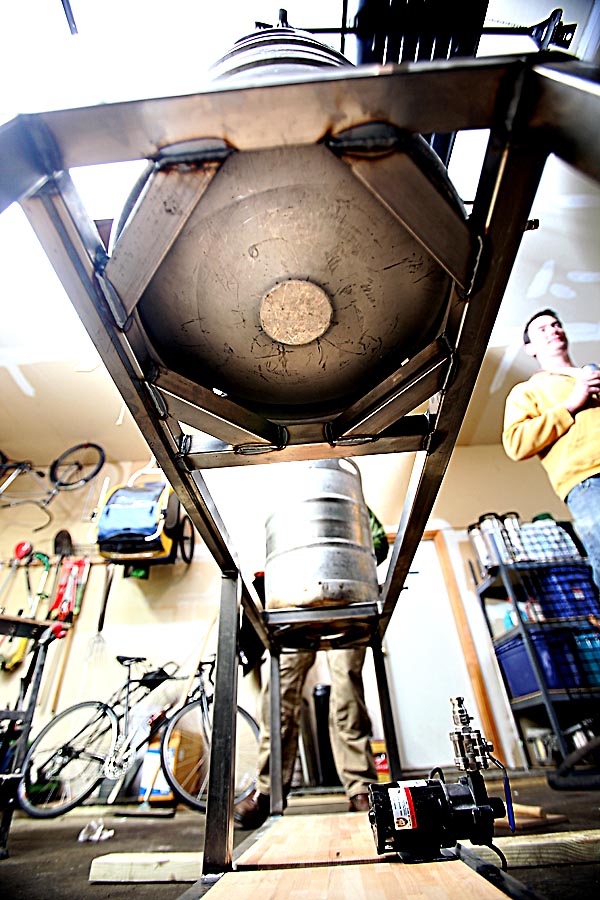
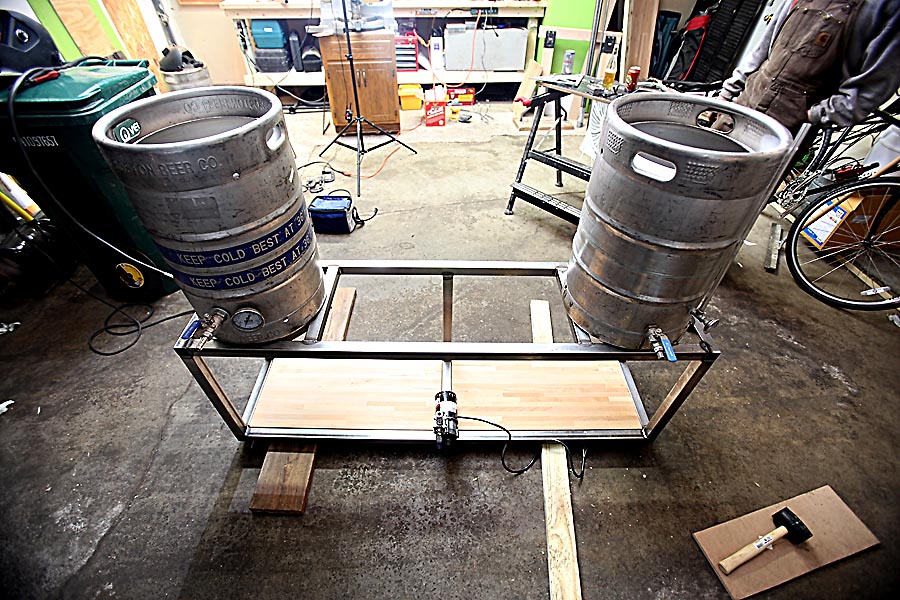
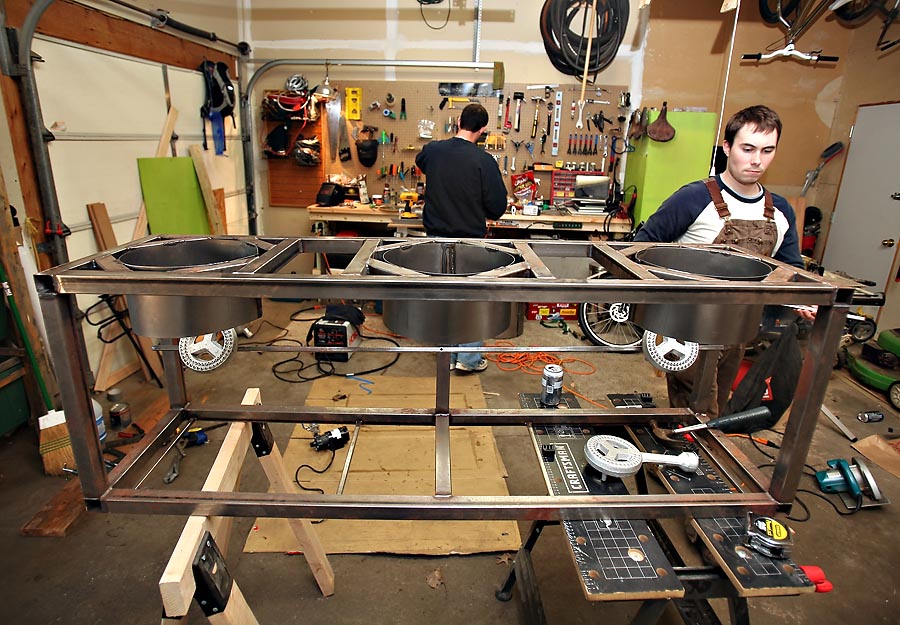
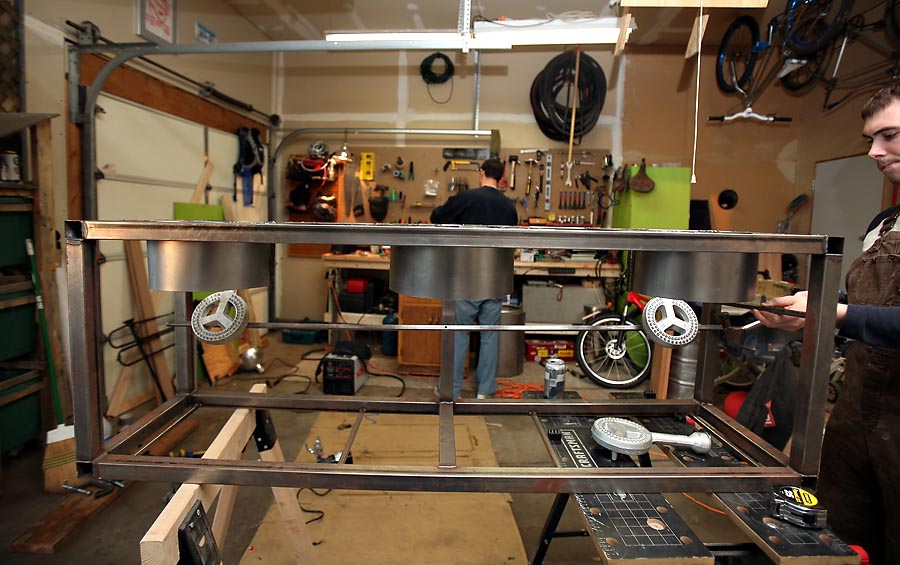
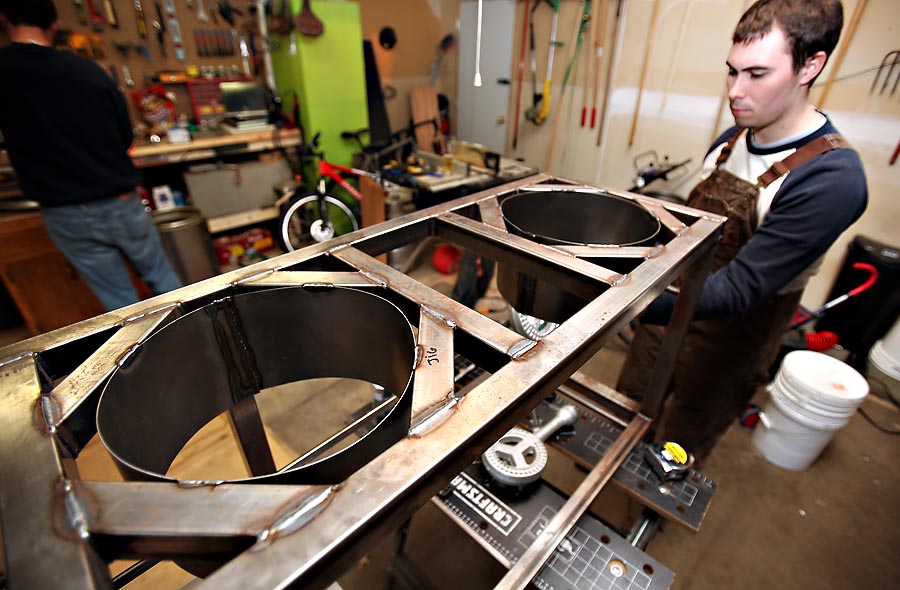
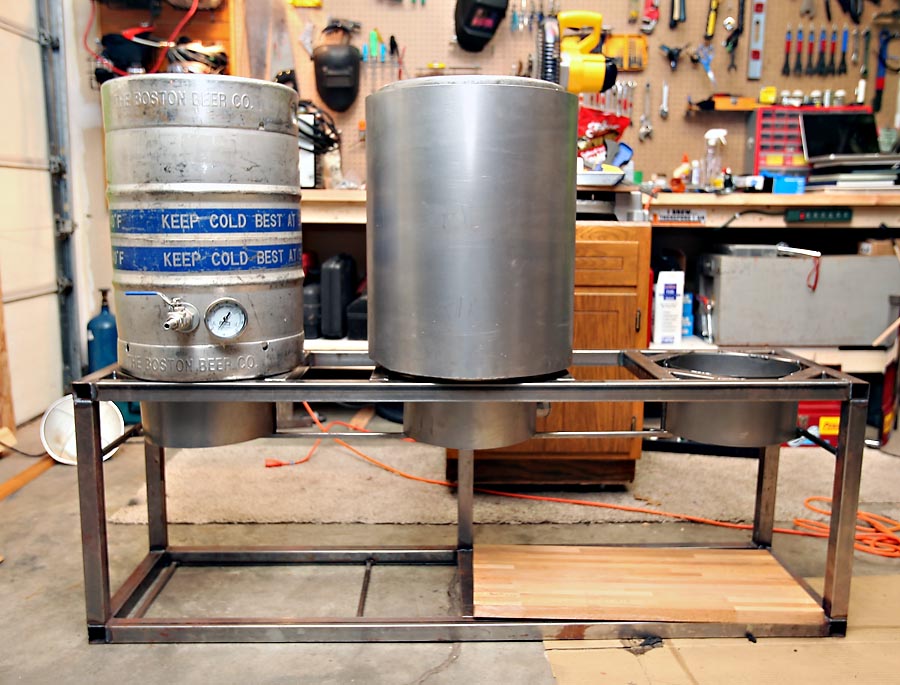
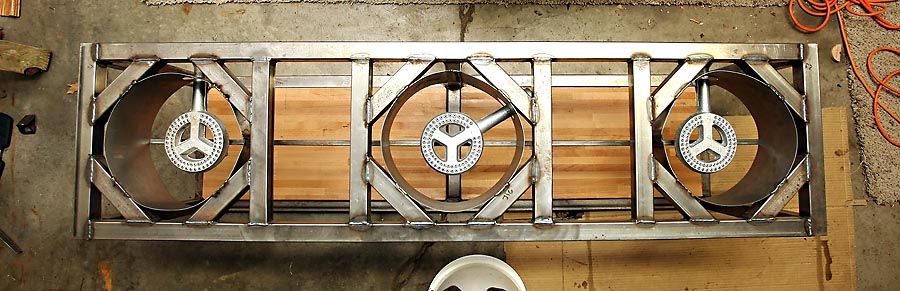
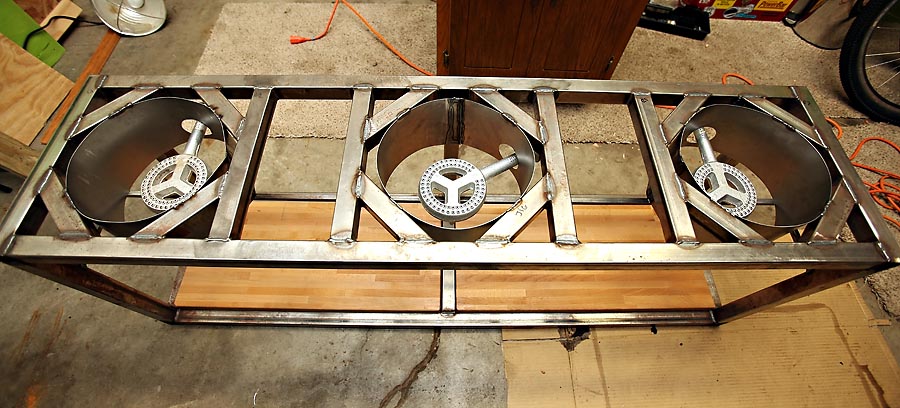
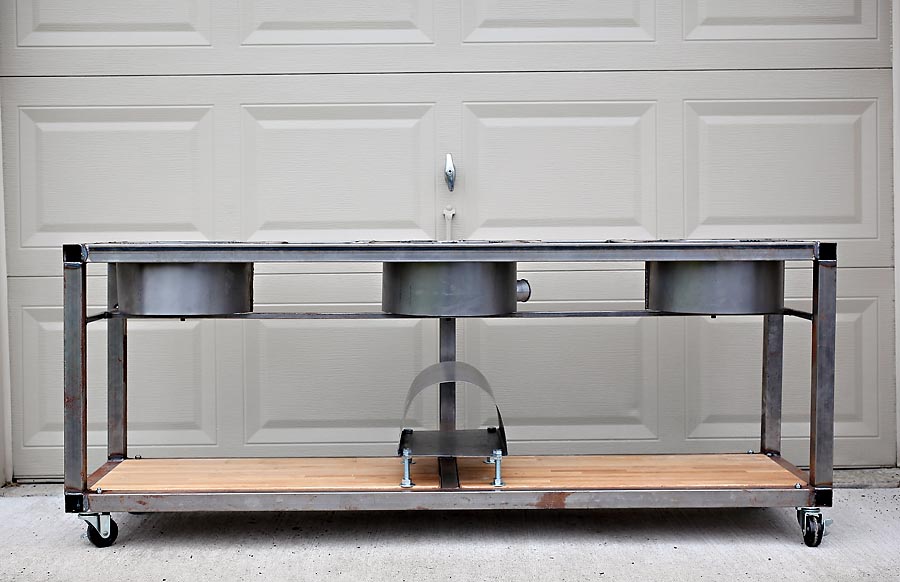
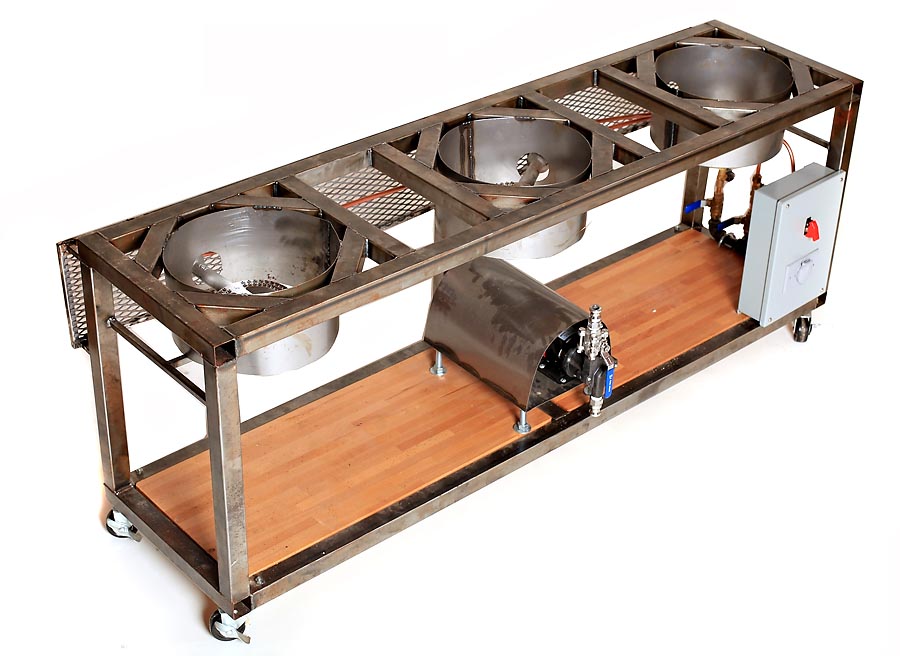
Taking shape
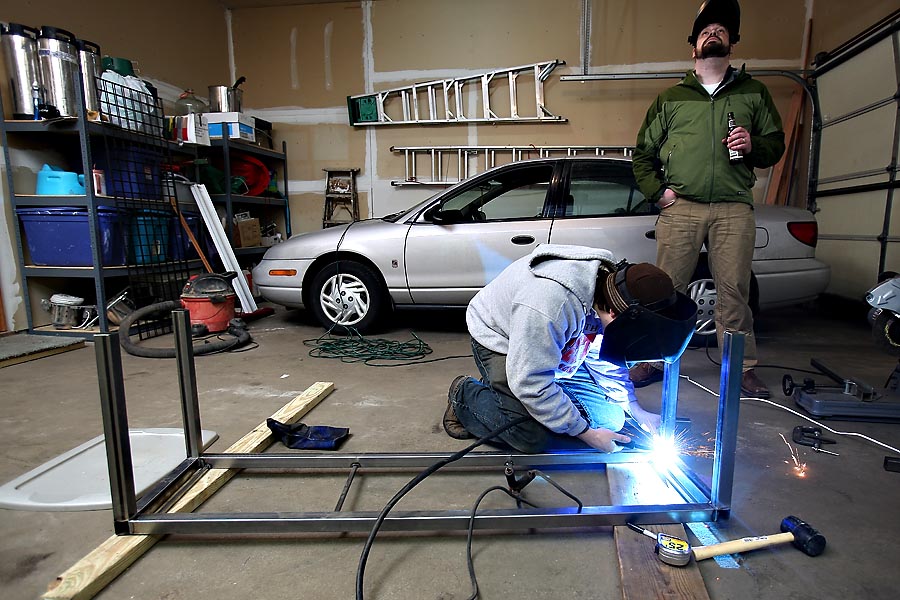
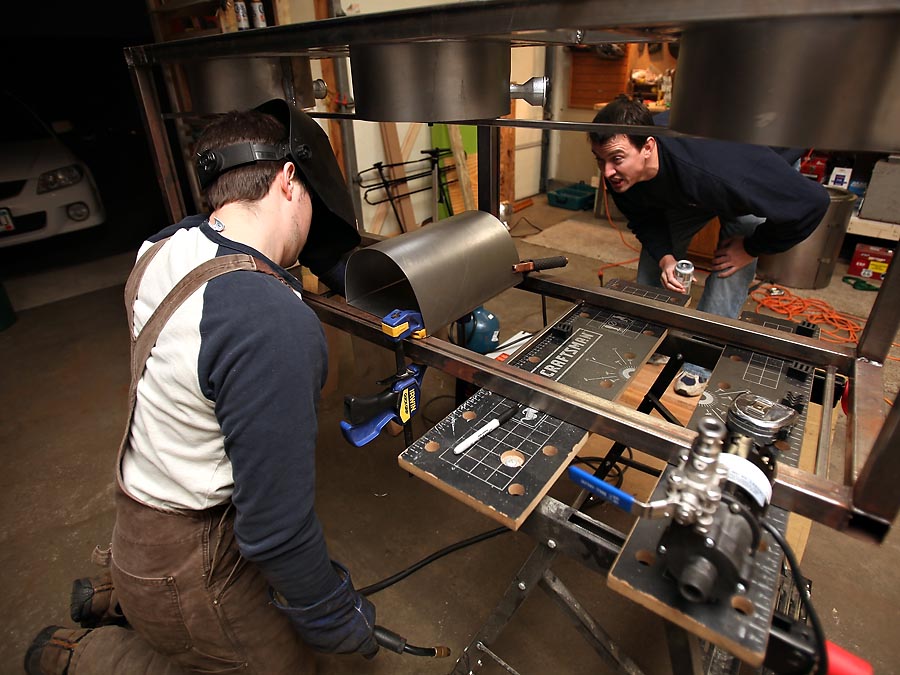
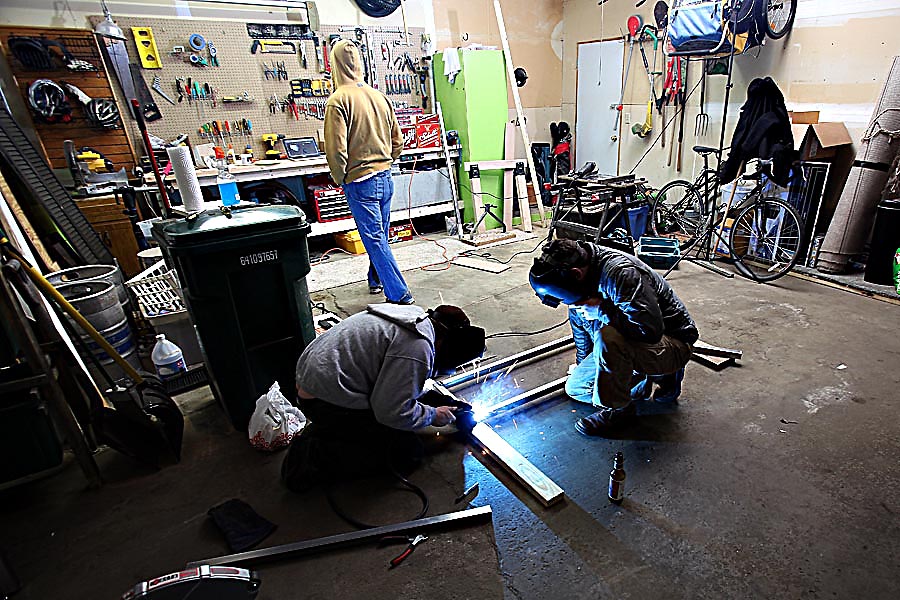
The workspace
First off a big thanks goes out to SouthernYankee's build as I'm using his build as the starting blocks for what I plan to do.
Secondly, I admit I'm most likely winging it 80 percent of the time and the other 20 percent I'm drinking so questions to me might not be your best bet
That said let's the pictures begin!
The metal: 1-1/2" x 1-1/2" 16g steel. Sixty feet cut into 5 foot lengths. Purchased locally from the Online Metal Store (but lucky for me they are local so no shipping costs)
Measure twice cut once?
Thanks to SouthernYankee for the design
Now we're talking
Cleaning up the edges
First Weld being laid down!
Taking shape
The workspace