TerapinChef
Well-Known Member
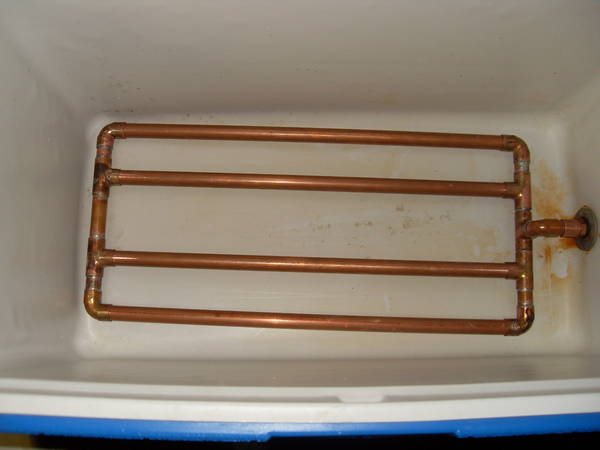
I got all of this good stuff at HD for $21. I had no idea how to solder copper pipe, had never really even worked with it. I bought the 1/2" copper soldering kit, 4 90's, 5 T's and a 10' piece of 1/2" copper Type M tubing. Roughed out a plan and started cutting, just finished soldering the ends together. I left the long tubes unsoldered until I get them slotted, and I'm thinking of soldering one end of each in a staggered fashion so that I can take it apart to clean it. Anyways, here it is.

Advice needed on the following...
-What's the best way to clean this when I'm done soldering? Oxyclean okay?
-How does everyone attach this to their bulkhead? I'm going through a rectangular cooler so it's of course weldless
-What's the best way to slot this thing? I was thinking of using a drill press to drill tiny holes instead of cutting the slots, but not sure if I'll have access to one or not.
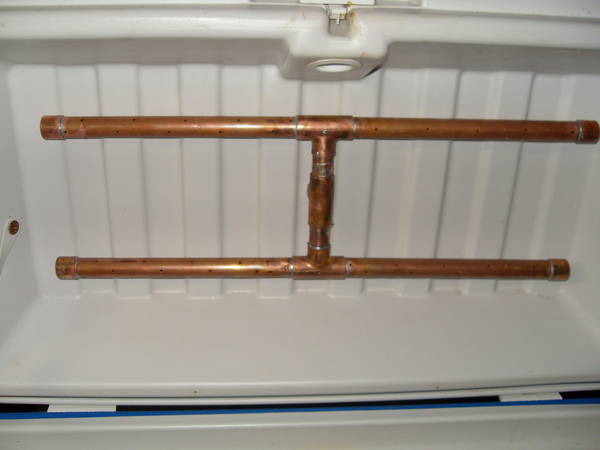
Also, I have about 32" of tubing left over. Here's what I was thinking...
Leftover Tubing Sparge Arm
A short piece comes through the cooler lid into the inside, to a T. Two short pieces come off the T towards the long sides of the cooler. Each ends in a T.
From there, I run two 8" pieces of tubing in each direction. These pieces would be plugged at the end and in some way opened up to allow water to come through (hopefully drilled, if that ends up working out above I'll just do it all at once) So it would basically look like a big "H".
As a reference, my system is a three tier stand gravity fed, running a 54Q Igloo Mash tun with a Keggle and IC. Let me know what you all think.
Advice needed on the following...
-What's the best way to clean this when I'm done soldering? Oxyclean okay?
-How does everyone attach this to their bulkhead? I'm going through a rectangular cooler so it's of course weldless
-What's the best way to slot this thing? I was thinking of using a drill press to drill tiny holes instead of cutting the slots, but not sure if I'll have access to one or not.
Also, I have about 32" of tubing left over. Here's what I was thinking...
Leftover Tubing Sparge Arm
A short piece comes through the cooler lid into the inside, to a T. Two short pieces come off the T towards the long sides of the cooler. Each ends in a T.
From there, I run two 8" pieces of tubing in each direction. These pieces would be plugged at the end and in some way opened up to allow water to come through (hopefully drilled, if that ends up working out above I'll just do it all at once) So it would basically look like a big "H".
As a reference, my system is a three tier stand gravity fed, running a 54Q Igloo Mash tun with a Keggle and IC. Let me know what you all think.


")