
play_it_leo
Member
Thanks for looking.
I am posting this more as a diary as opposed to a "how to" or "guide" because lets face it, there are better resources to describe the process. That being said, I hope some one can gain insight into the process I use, and maybe some others can offer suggestions on my technique.
Here's the recipe for reference.
Style: Stout
Type: Extract
IBU's: 56.43
------------------------------------------------------------------------
Volume: 5 Gallons
Color:***32.9 SRM**
------------------------------------------------------------------------
Orig. Gravity:
1.072
Est Fin. Gravity:
1.022
Est. ABV: 7.2%
------------------------------------------------------------------------
Grains & Adjuncts
1.00 lbs Crystal Malt - 90L
0.33 lbs Black Malt
0.33 lbs Roasted Barley
0.50 lbs Barley, Flaked (For Head)
Steeped at 150° for 40 min
2.75 lbs Dark Dry Extract
5.00 lbs Amber Dry Extract
*
Hops
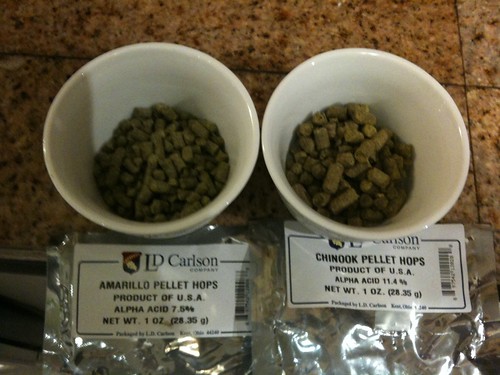
1.00 ozs Pearle - 60 mins
1.00 ozs Chinook - 60 mins
Yeasts
1.0 vile British Ale - White Labs WLP005
**
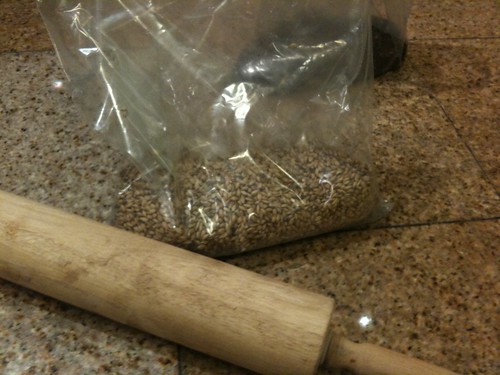
First off, the LHBS either didn't have a mill, or the check out girl was too lazy to look into it. Either way I left with unmilled grain. This store is actually a larger liquor store, with a home brew section, and there are better options in my area which I will utilize next time.
No mill meant I had to crush the grains with a rolling pin. I probably shouldn't have combined the roasted barley and the black patent in the same bag. The roasted was getting crushed much faster than the black, and in the end I think my color may have suffered. From now on I will only walk away from the LHBS with milled grains.
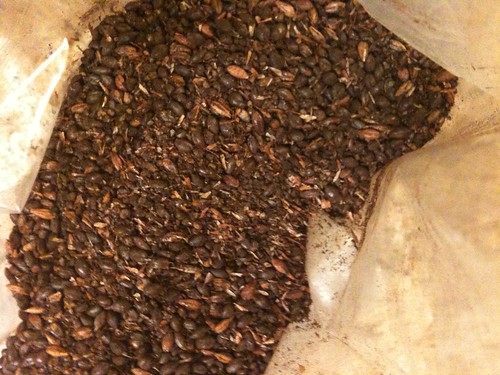
As you can see, some of the black was not even cracked. Whoops!
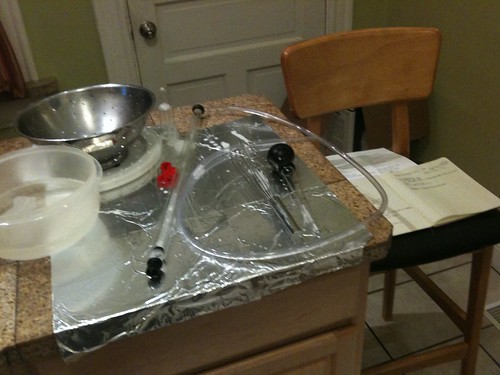
On to set up, and sanitization.
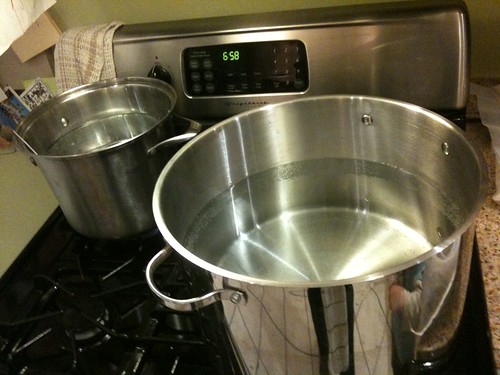
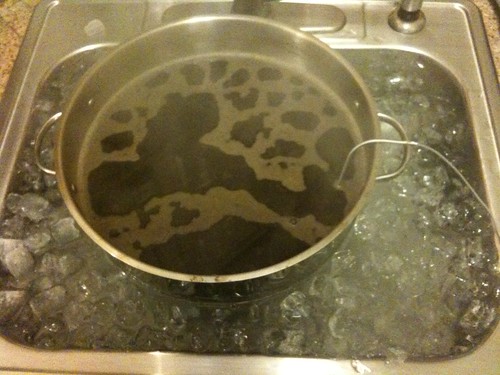
I utilize two pots, one for steeping and another for the brew kettle (20 qt.)
I heat the steeping pot to 160°F while the brew pot is also on the heat. By the time the grains are finished steeping the brew pot is almost at boiling and ready to add the DME and hops.
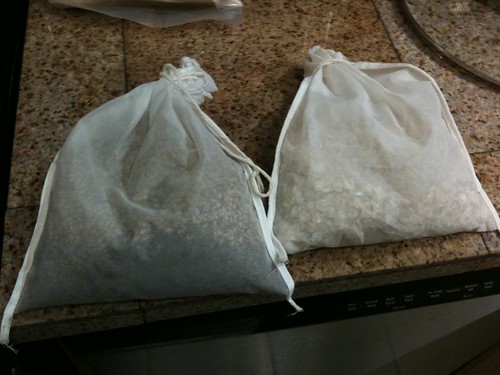
Grains in steeping bags ready to go.
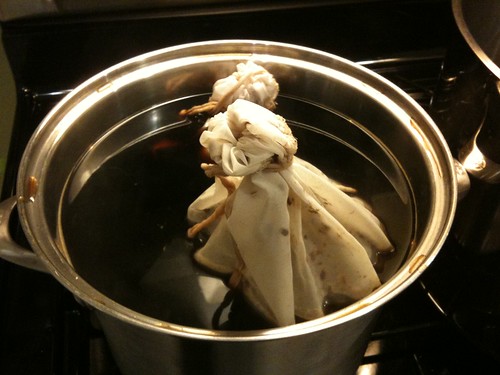
Steeping grains, almost finished.
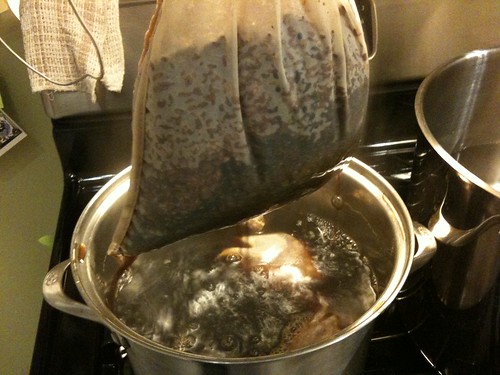
Grains ready to rinse. With a pyrex 1 qt measuring cup I removed 2.5 quarts of 165° water from my brew kettle, which was on the other burner heating up. I then sparged the grain directly into the brew kettle.
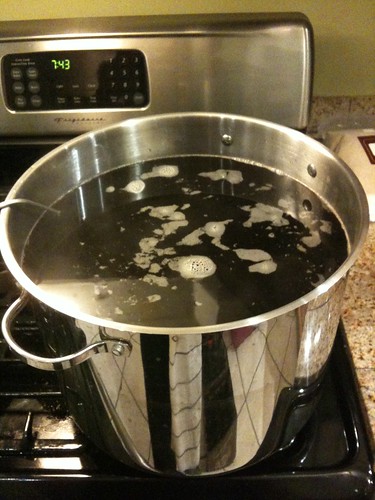
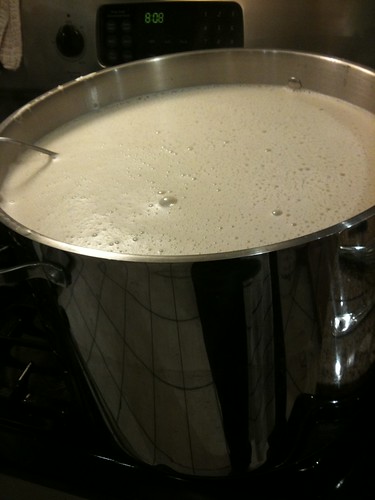
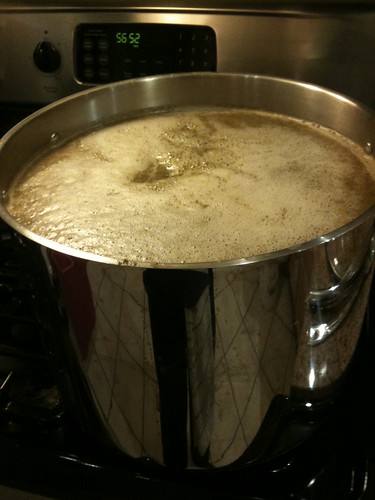
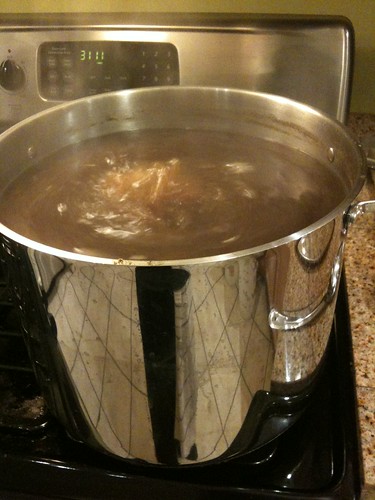
Wort after adding the steeped grain mixture and heating up for the boil.
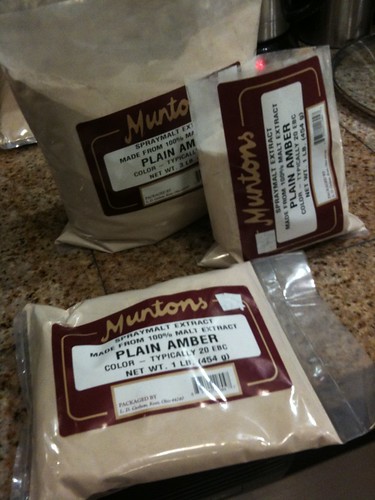
Dry malt extract ready to go in to the brew kettle.
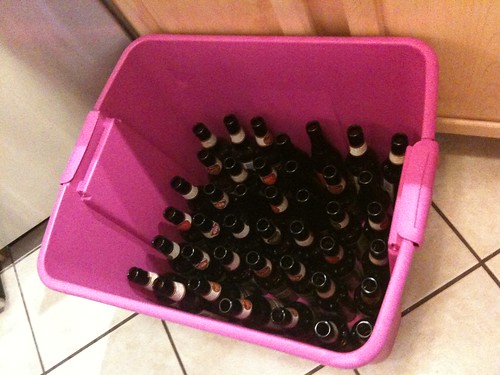
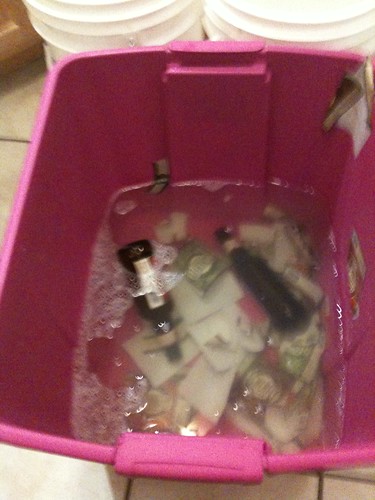
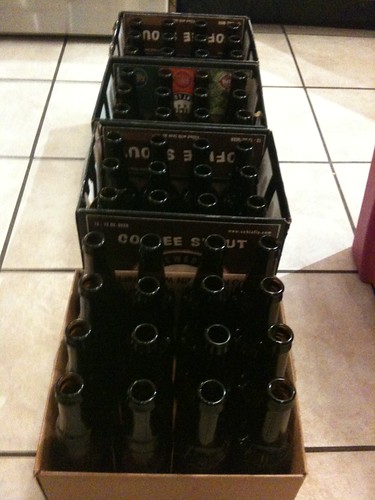
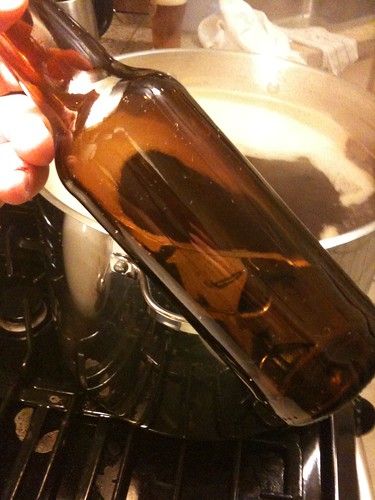
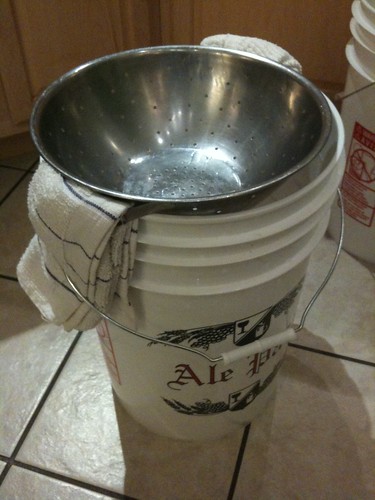
Before I started to brew I had gathered all my bottles and placed them in this tub. I filled it with hot water and OxyClean to strip the labels. During the down time of steeping and boiling, I worked on stripping the labels.
Continued in next post.
I am posting this more as a diary as opposed to a "how to" or "guide" because lets face it, there are better resources to describe the process. That being said, I hope some one can gain insight into the process I use, and maybe some others can offer suggestions on my technique.
Here's the recipe for reference.
Style: Stout
Type: Extract
IBU's: 56.43
------------------------------------------------------------------------
Volume: 5 Gallons
Color:***32.9 SRM**
------------------------------------------------------------------------
Orig. Gravity:
1.072
Est Fin. Gravity:
1.022
Est. ABV: 7.2%
------------------------------------------------------------------------
Grains & Adjuncts
1.00 lbs Crystal Malt - 90L
0.33 lbs Black Malt
0.33 lbs Roasted Barley
0.50 lbs Barley, Flaked (For Head)
Steeped at 150° for 40 min
2.75 lbs Dark Dry Extract
5.00 lbs Amber Dry Extract
*
Hops
1.00 ozs Pearle - 60 mins
1.00 ozs Chinook - 60 mins
Yeasts
1.0 vile British Ale - White Labs WLP005
**
First off, the LHBS either didn't have a mill, or the check out girl was too lazy to look into it. Either way I left with unmilled grain. This store is actually a larger liquor store, with a home brew section, and there are better options in my area which I will utilize next time.
No mill meant I had to crush the grains with a rolling pin. I probably shouldn't have combined the roasted barley and the black patent in the same bag. The roasted was getting crushed much faster than the black, and in the end I think my color may have suffered. From now on I will only walk away from the LHBS with milled grains.
As you can see, some of the black was not even cracked. Whoops!
On to set up, and sanitization.
I utilize two pots, one for steeping and another for the brew kettle (20 qt.)
I heat the steeping pot to 160°F while the brew pot is also on the heat. By the time the grains are finished steeping the brew pot is almost at boiling and ready to add the DME and hops.
Grains in steeping bags ready to go.
Steeping grains, almost finished.
Grains ready to rinse. With a pyrex 1 qt measuring cup I removed 2.5 quarts of 165° water from my brew kettle, which was on the other burner heating up. I then sparged the grain directly into the brew kettle.
Wort after adding the steeped grain mixture and heating up for the boil.
Dry malt extract ready to go in to the brew kettle.
Before I started to brew I had gathered all my bottles and placed them in this tub. I filled it with hot water and OxyClean to strip the labels. During the down time of steeping and boiling, I worked on stripping the labels.
Continued in next post.
")
