Show us your sculpture or brew rig

Homebrew Talk - Beer, Wine, Mead, & Cider Brewing Discussion Forum

Help Support Homebrew Talk - Beer, Wine, Mead, & Cider Brewing Discussion Forum:

This site may earn a commission from merchant affiliate links, including eBay, Amazon, and others.
ImageUploadedByHome Brew1404743356.997892.jpg work in progress, excited!!!!
 
BFD Brewhaus converted to natural gas - no more 20 lb LP cans...
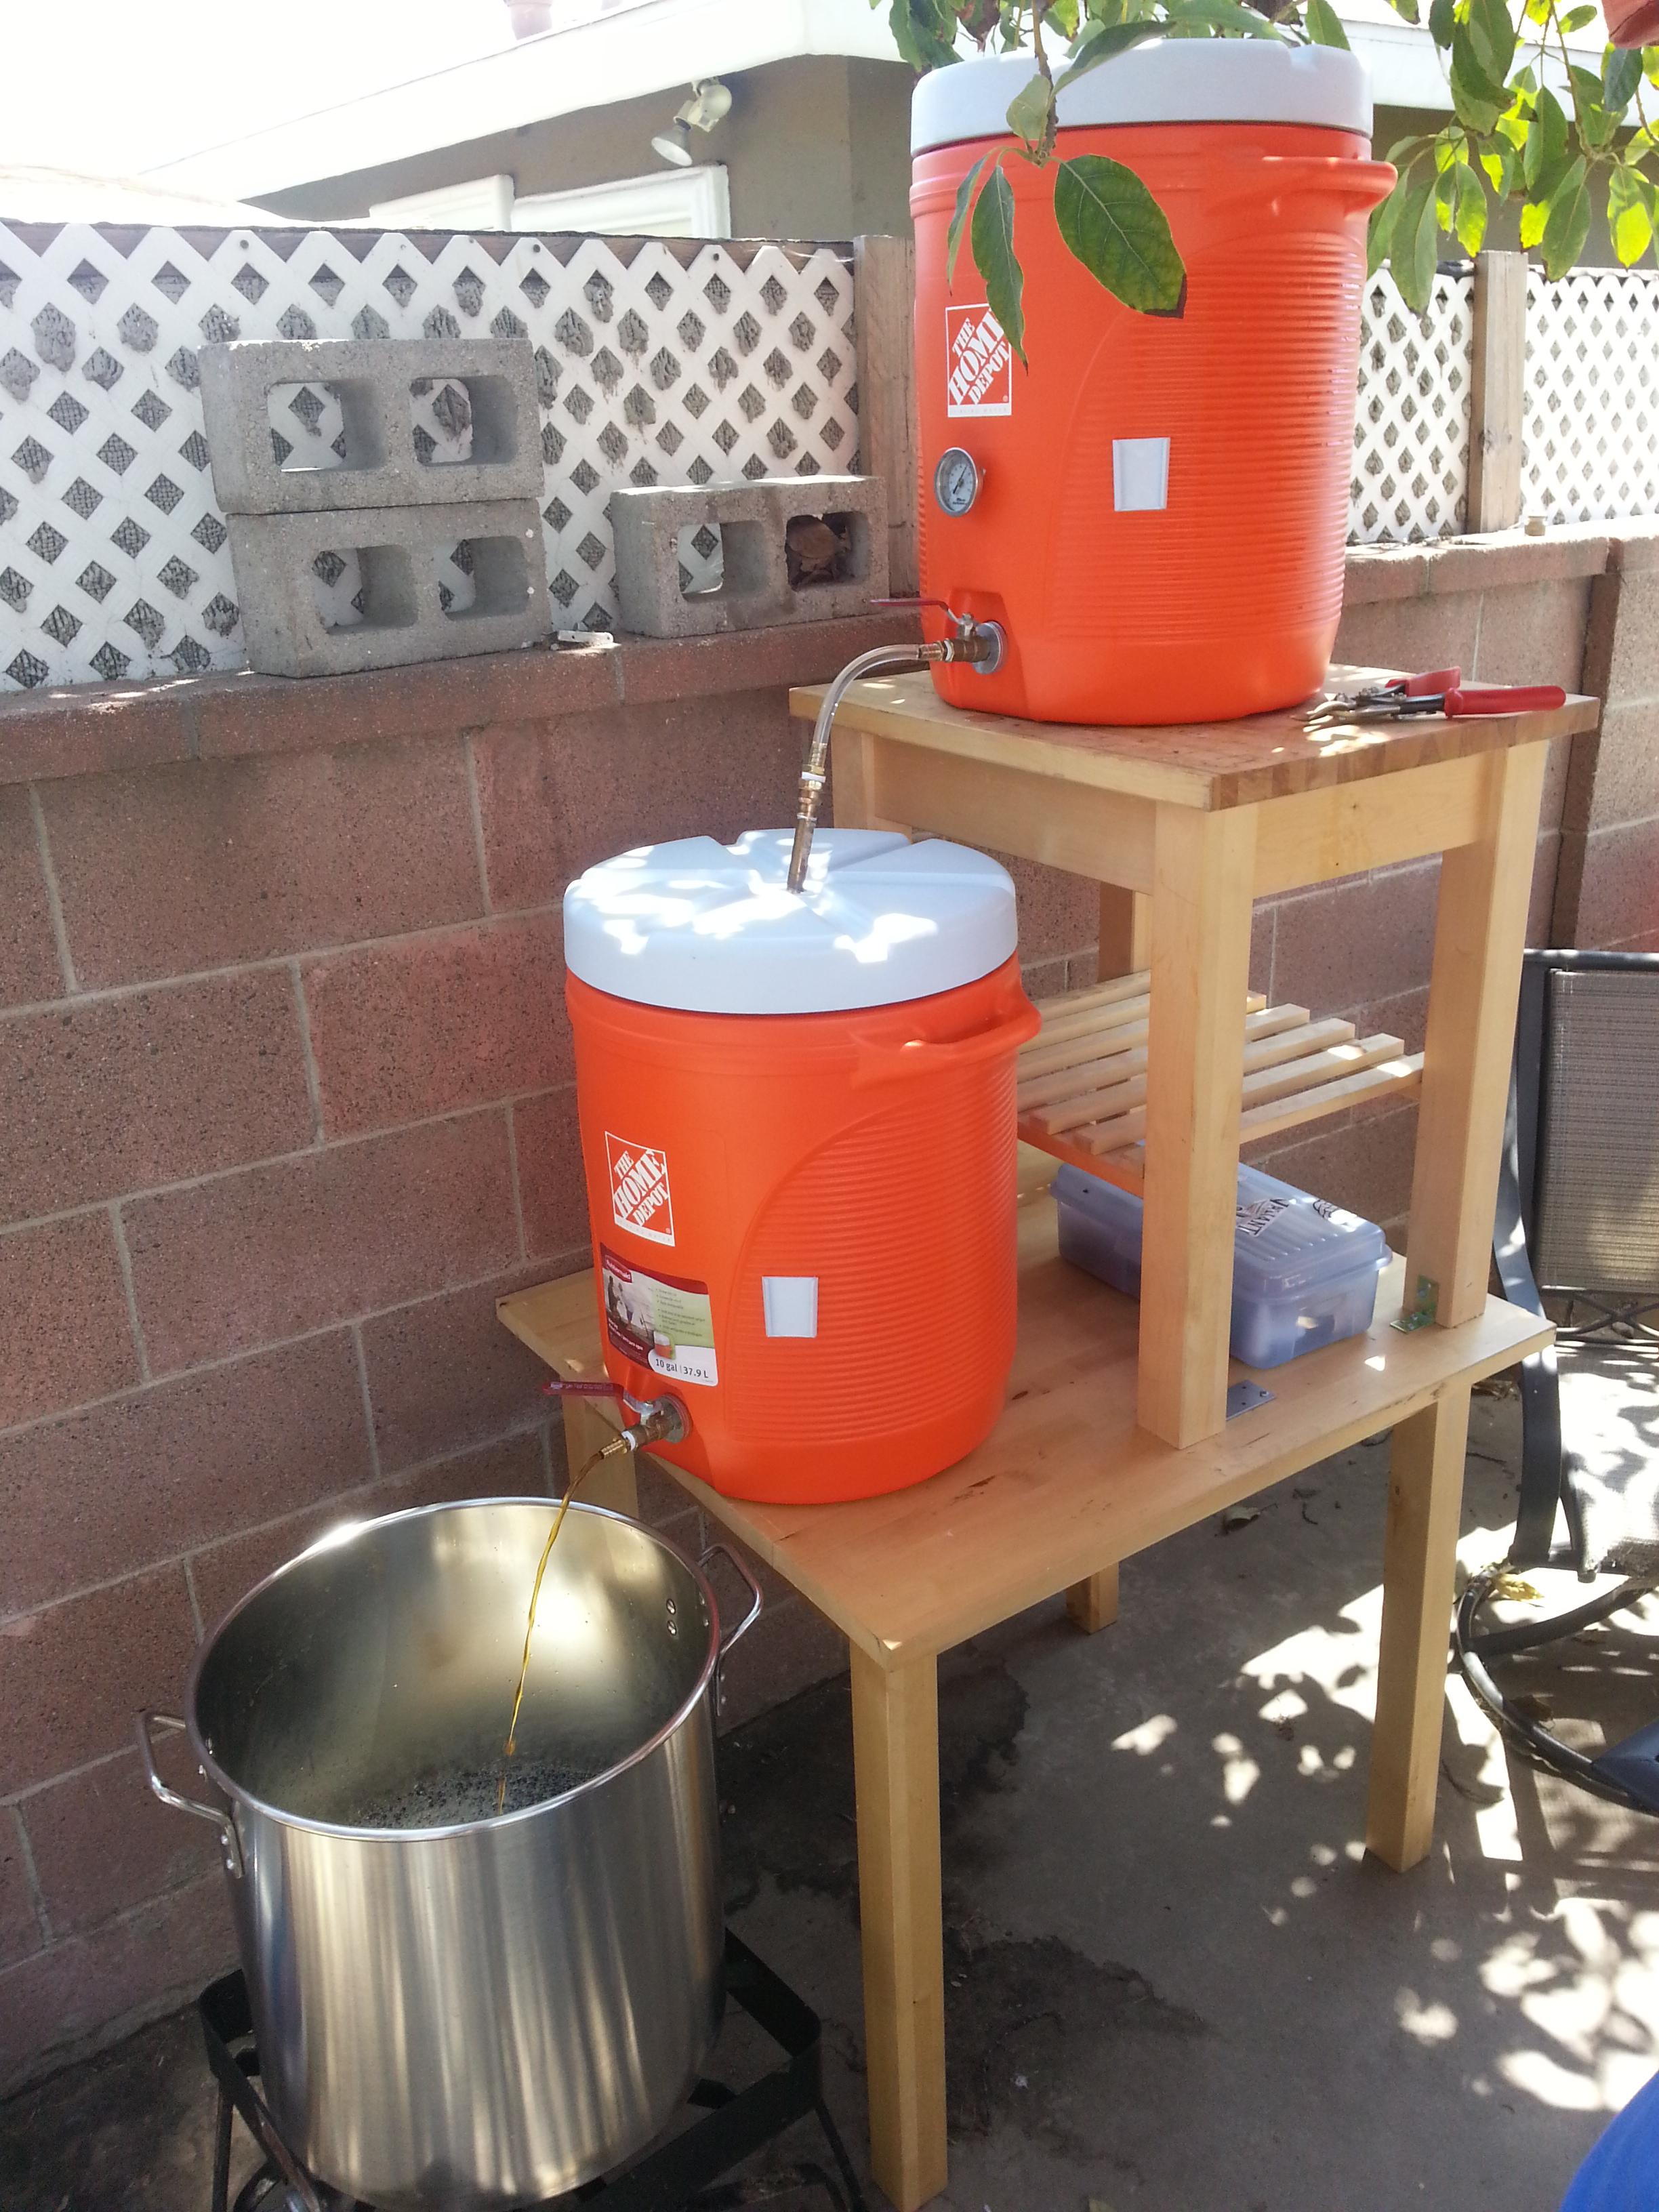

That's what I like to see! I love it when people post lots of pictures of their brewery. It helps when I'm thinking about my own. Thanks and nice setup. I just converted to NG too. Haven't brewed on it yet but I have a brew day scheduled for next Monday. Maiden voyage on the new gas setup.


Sent from my iPhone using Home Brew
 
ee397763-d4f4-40d7-9066-de1df8f97b12.jpg

Been modding it again to add a grian mill into the stand and rebuild the controll panel to be a panel not a toolbox.
b8064902-ca2c-4009-ac69-8d7978252980.png

1c9e6589-cdea-48af-a645-fec173dd567b.jpg

97f11e5a-ebb1-4fee-8b10-8fa698493812.png

d9036eb3-eddf-4e92-a206-cf628c5e965f.jpg

683d6219-6c95-4cd1-8f94-b67b5eae99b0.jpg
 
WOW, been a long time sence looking at this thread. Tried to pick up where I left off somewhere around posting my stand, got a little farther than half way through! Some very nice stands here.
I have updated my stand, maybe next brew day I will have to add an updated pic.
Keep up the great work!
 
Here is mine. It is a 30 amp 1/2 barrel eHERMS that was all custom built by me. Every vessel is bottom drain. Also have an RO unit attached to my brewstand. I just sent it in to have it powder coated to finalize it. It has been a dream to use.

1405388235862.jpg


1405388253124.jpg


1405388293705.jpg
 
Getting near the end of my build. Started working in the inline mini xlr connectors for my temperature sensors. Gonna run a test brew this weekend. I'll have more pics when I finally get done with the rest of it.

ImageUploadedByHome Brew1405640787.136646.jpg
 
I like the mini XLR connectors on the temperature wires. I might have to steal that idea to clean up my mess of wires. Looks great!
 
I hadn't even finished my setup and I was sick of all the wires on the end if brew day trying to clean up.
 
I got the mini connectors off eBay. I used 4 wire 22 or 24 awg alarm wire. I use the fourth wire and solder it to the clamp for strain relief. Then I heat shrink over that and the wire. Test it for shorts then I jam silicon caulk down in the connector and the outer screw on shield and when it dries it's water right and it ain't gonna pull apart that easy. ImageUploadedByHome Brew1405705515.155421.jpg
 
My soldering skills must be improving. I'm finished re-wiring my rtd probes and all of them are working. Yay!
ImageUploadedByHome Brew1405705890.562585.jpg
 
Just finished my three tier gravity brew sculpture. I installed three 60,000BTU burners with the lower burner completely removable for extract brewing. I brazed all the heat shields in place and added casters for ease of movement. Will add a propane bottle shelf later.

image.jpg
 
This is my prototype. Going to start 10 gallon batches soon. I got one chugger pump. ImageUploadedByHome Brew1406519491.720119.jpg


Sent from my iPhone using Home Brew
 
That is a killer nice setup. Pro.. Nice job..
Cheers..


Sent from my iPad using Home Brew

Thanks! I still need to modify the stand a little bit, a little more work on the tippy dump, and then I really need to get it powder coated. My high temp looks pretty horrible on it.... all scuffed, scraped and scratched.

Thanks for the kind words!
 
Is that just plain old pine or some other wood? And what are you using to hold the kettles and the burners in place?
 
Yep it's top choice pine that has been waterproofed. As for the burners and kettles I kept it simple....angle iron set into a notch on top of the 2x6 for the kettles and I mounted a strip of 1x3 lower and inside the 2x6 which I notched and set two more angle iron into. Then I simply set the burner on top of the lower set of angle iron. Since the piping is ran directly through the 2x6 it firmly secures the front of the burner, then I took rebar ties and tied down the back of the burner to the iron. Solid as a rock. Lastly Painted all the metal with high temp paint.
 
Back
Top