Rebuilding My Brutus Hybrid Into a Kal Clone

Homebrew Talk - Beer, Wine, Mead, & Cider Brewing Discussion Forum

Help Support Homebrew Talk - Beer, Wine, Mead, & Cider Brewing Discussion Forum:

This site may earn a commission from merchant affiliate links, including eBay, Amazon, and others.
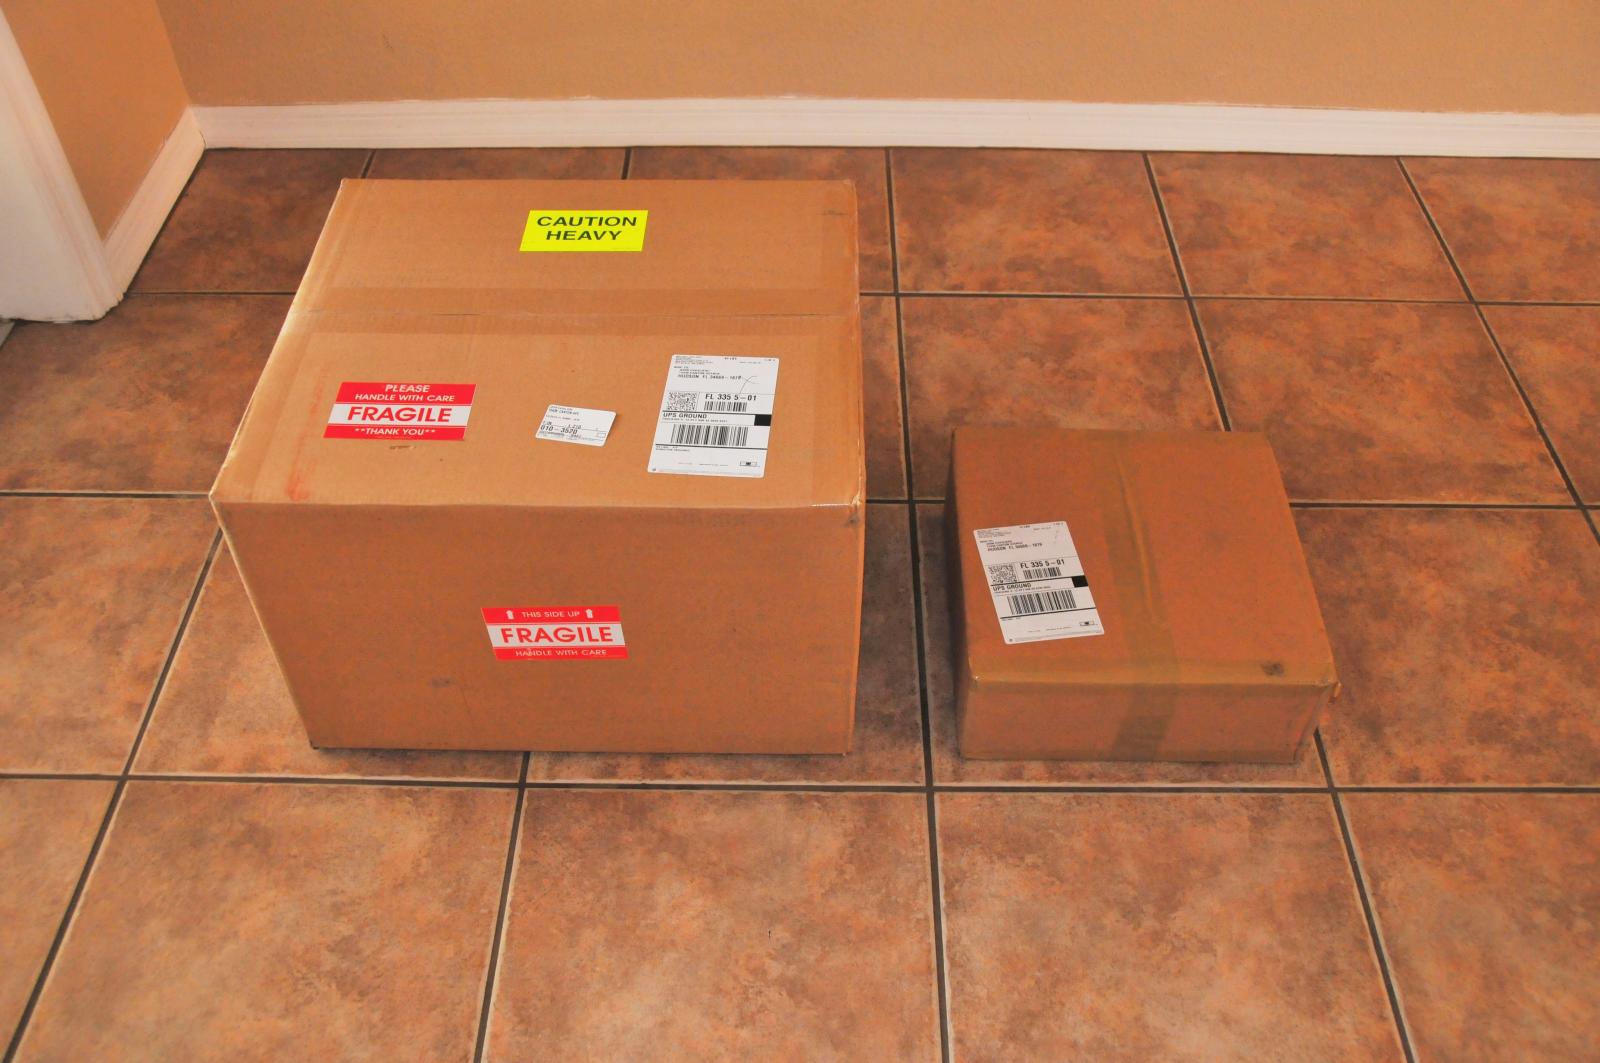
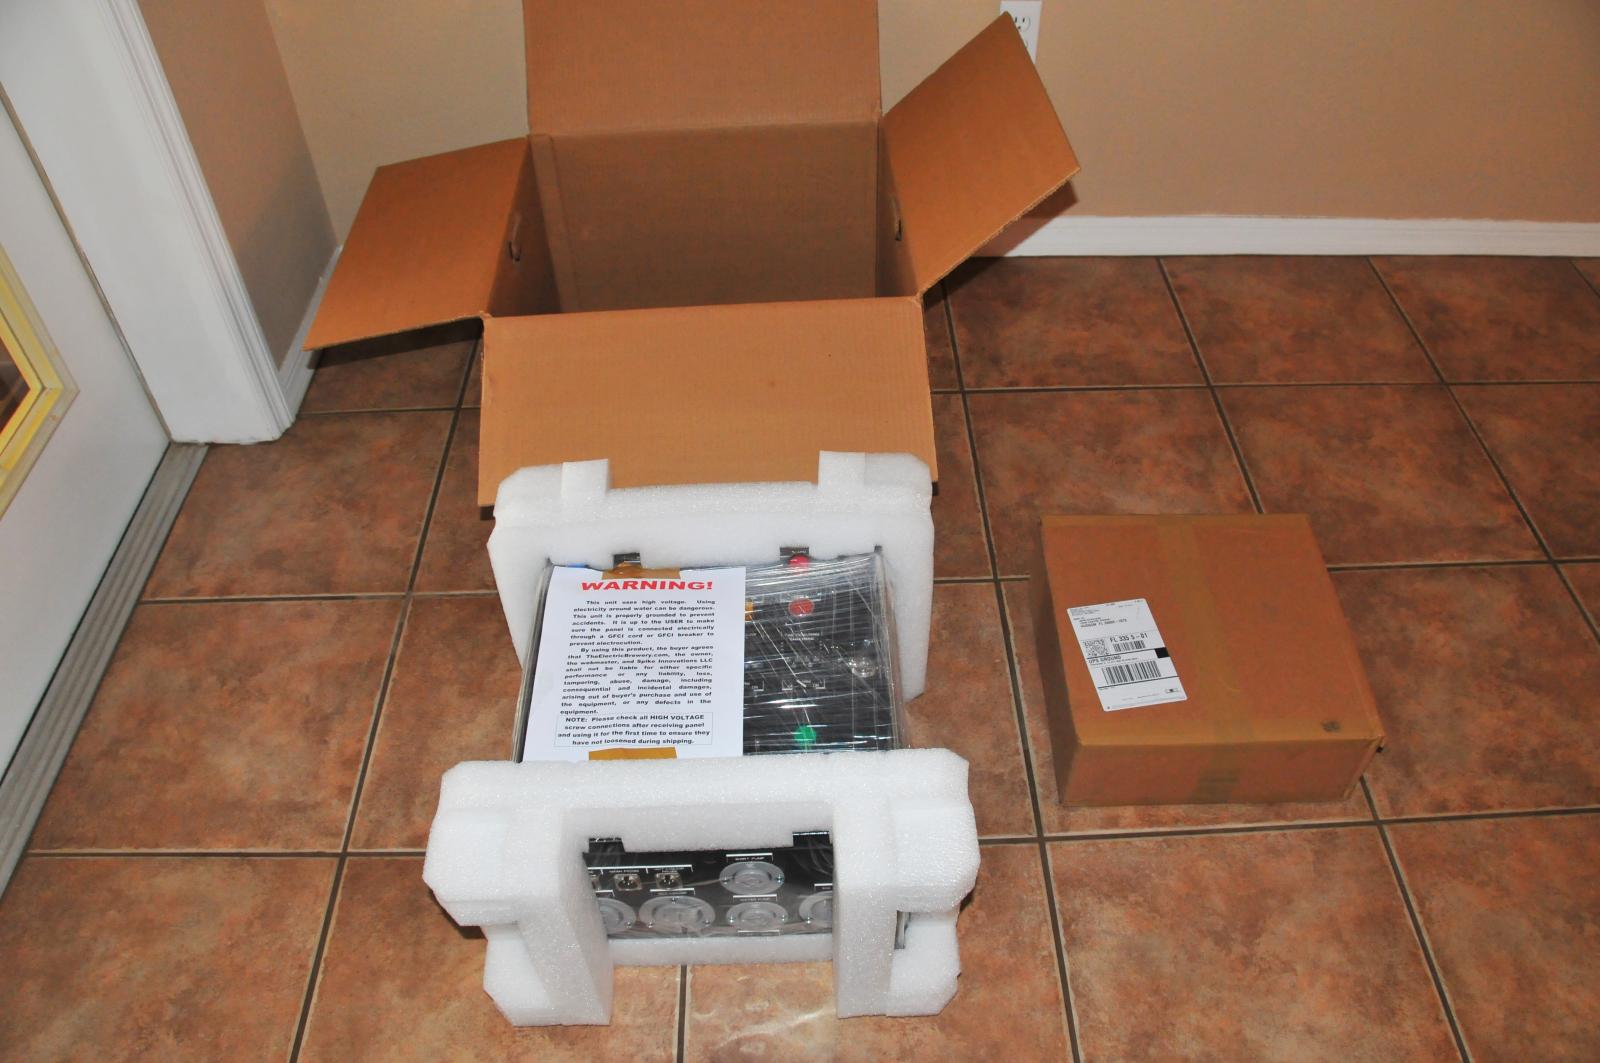
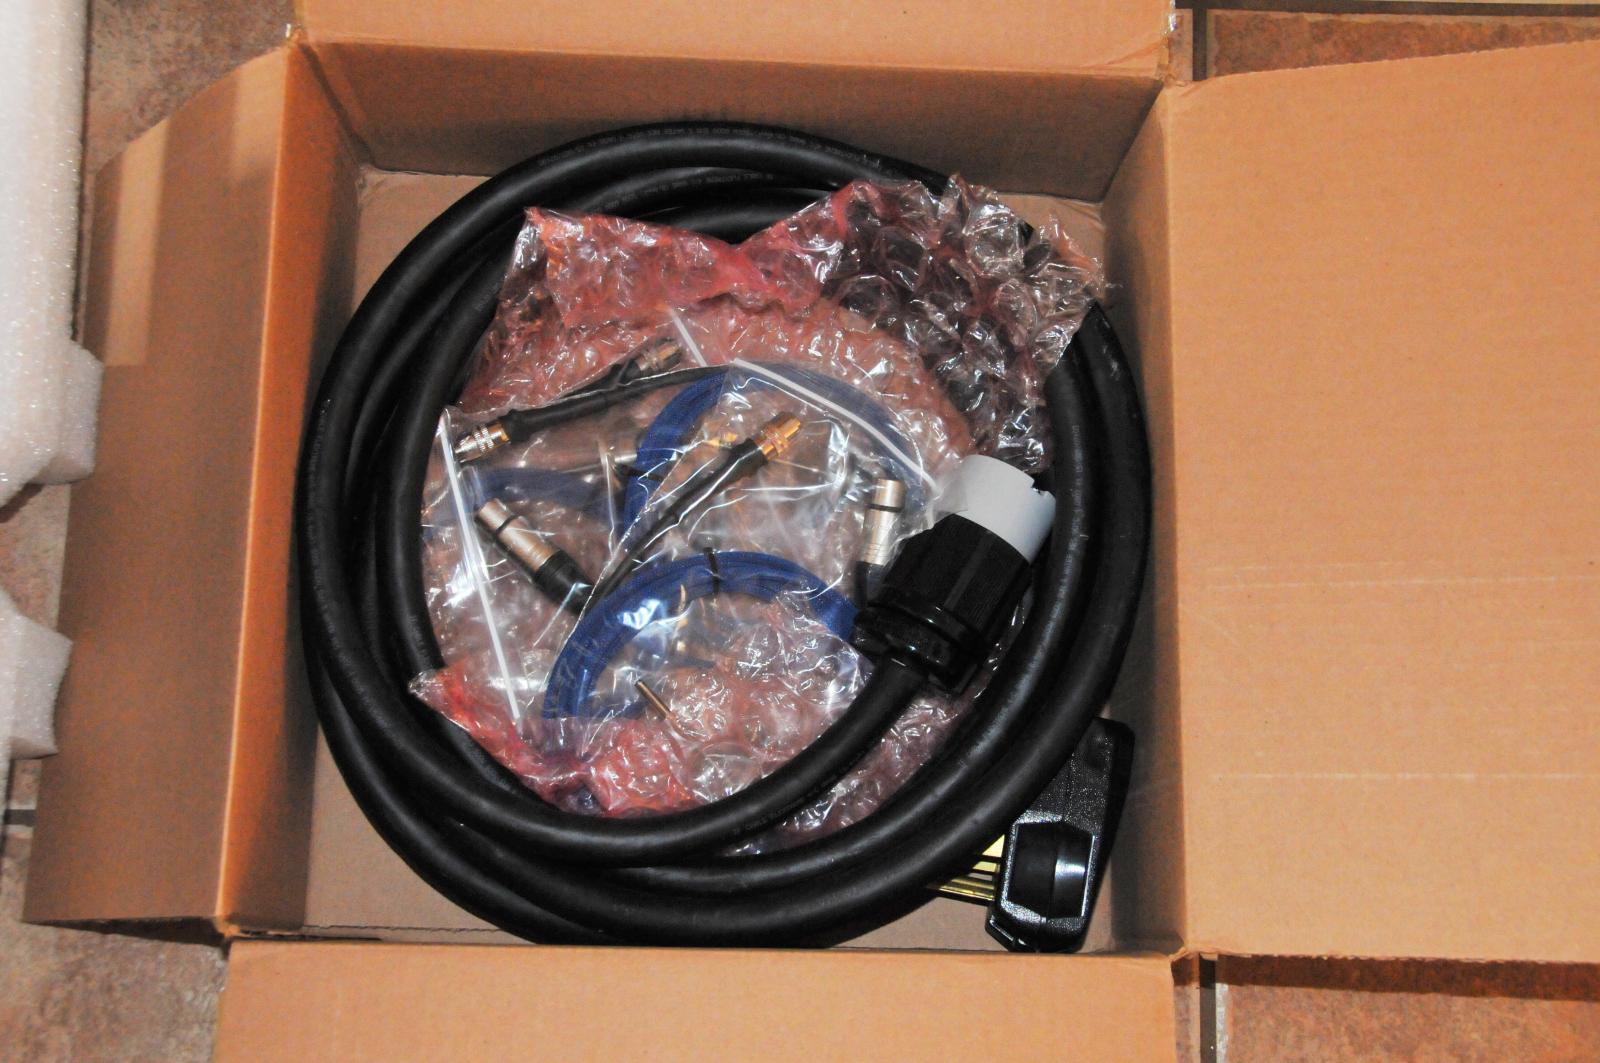
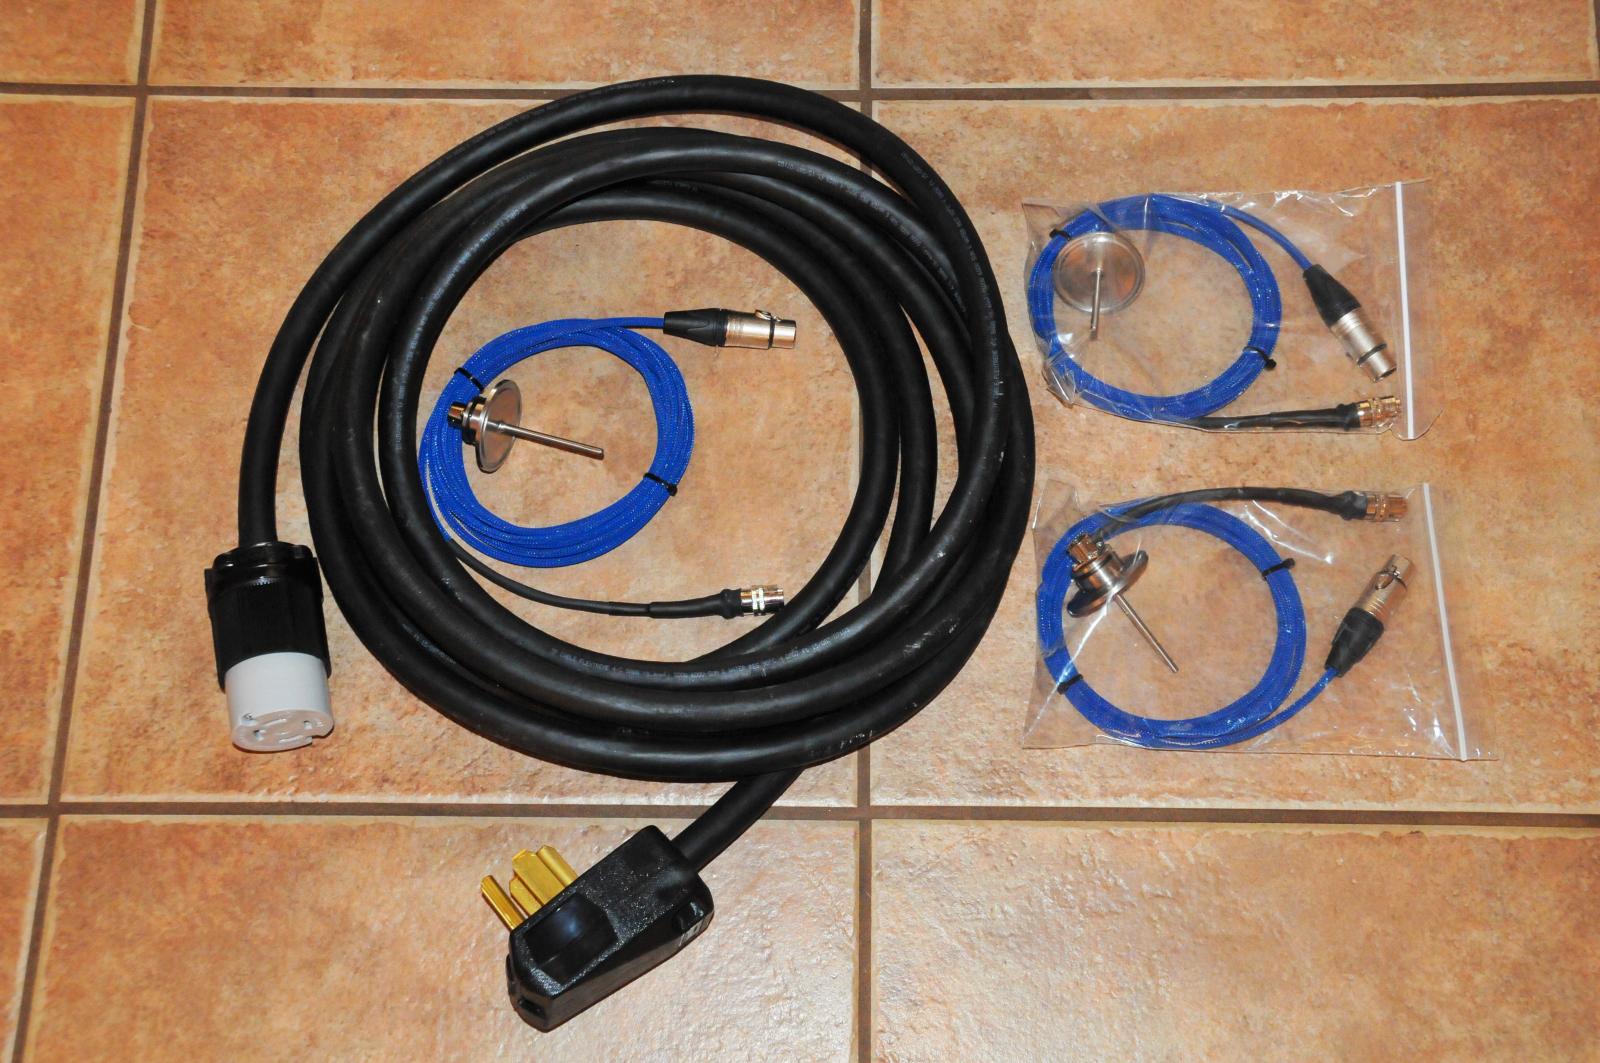
I just got an e-mail this afternoon from Spike Innovations and they are shipping my control box, temp probes, and power cord today! It should arrive on Wednesday 11/25/15 (the day before Thanksgiving). Looks like I'll be breaking in the new system and brewing that weekend!! Thanks Mike and Kal, it will be Christmas at my house a month early this year!
Woohoo! Pictures or it didn't happen! (err, wait...) ;)

Kal
 
I remember when all my stuff starting arriving; it was like opening Christmas presents... only better!
 
I know really it's like I'm a kid again. I also am like best friends with the UPS guy now, he comes to my house more than my sons!

John
 
DSC_5775.jpg
DSC_5777.jpg
DSC_5778.jpg
DSC_5783.jpg
DSC_5784.jpg
DSC_5785.jpg
DSC_5786.jpg
DSC_5792.jpg
DSC_5794.jpg
DSC_5796.jpg
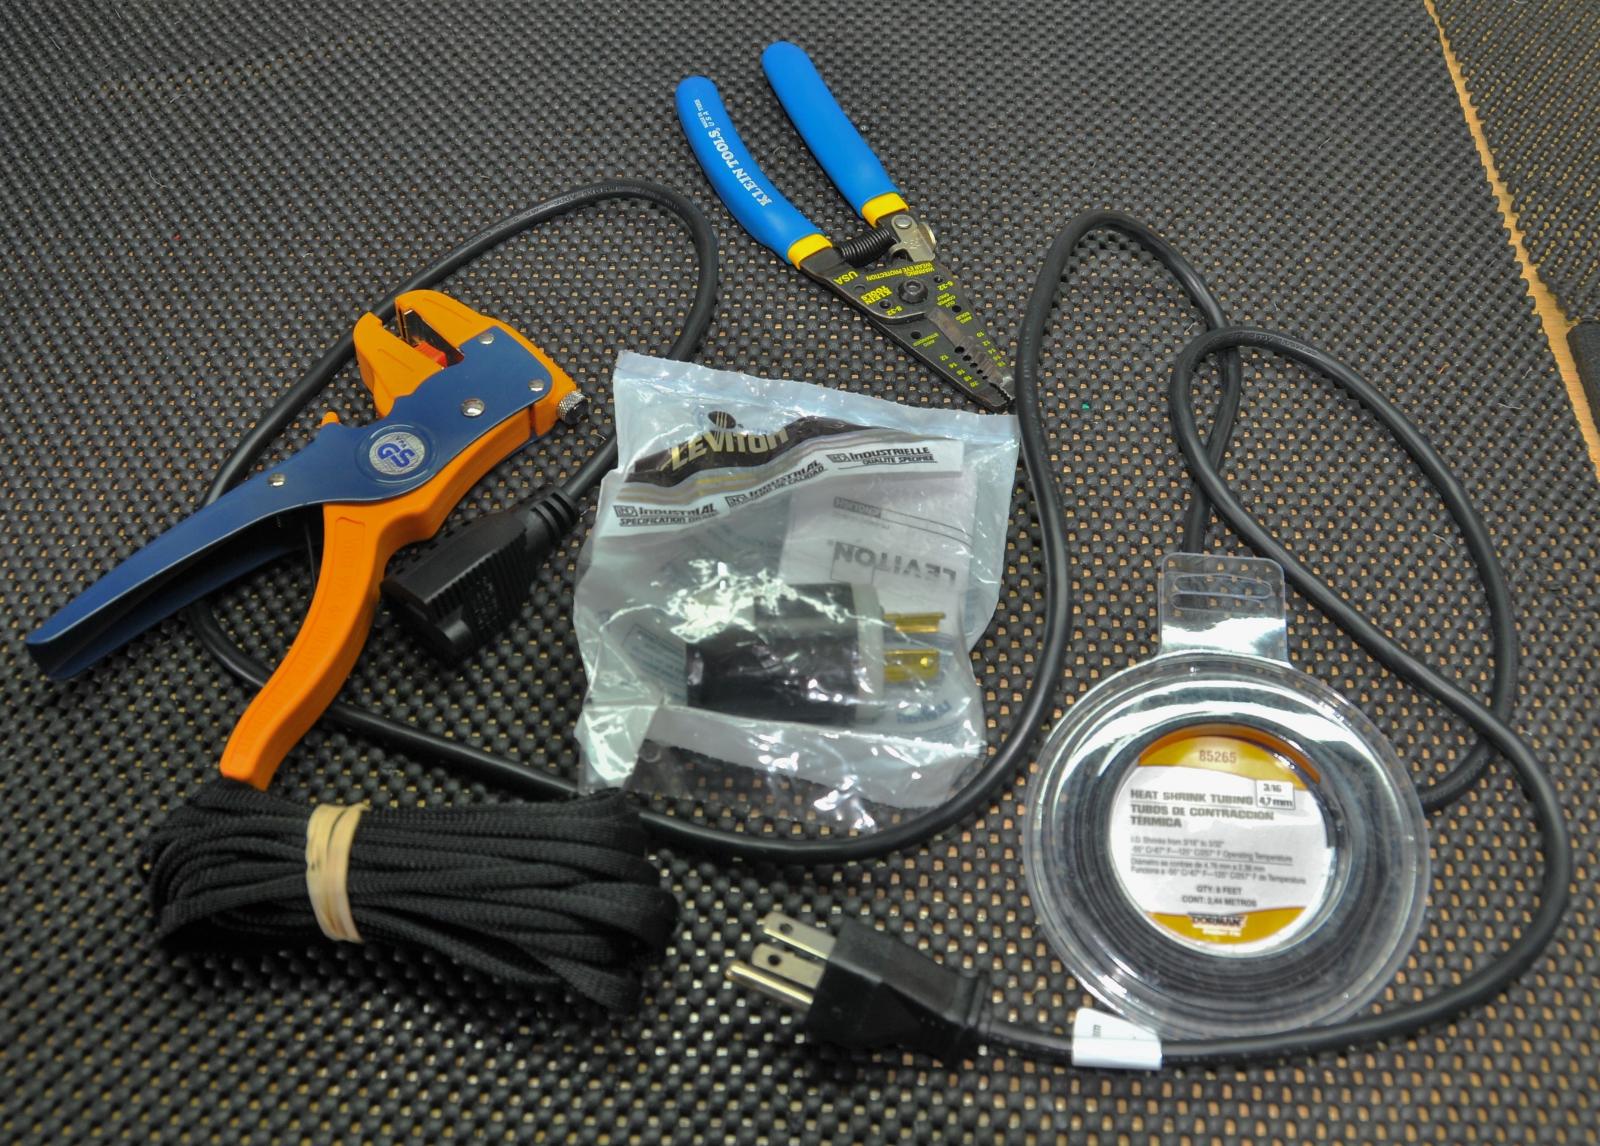
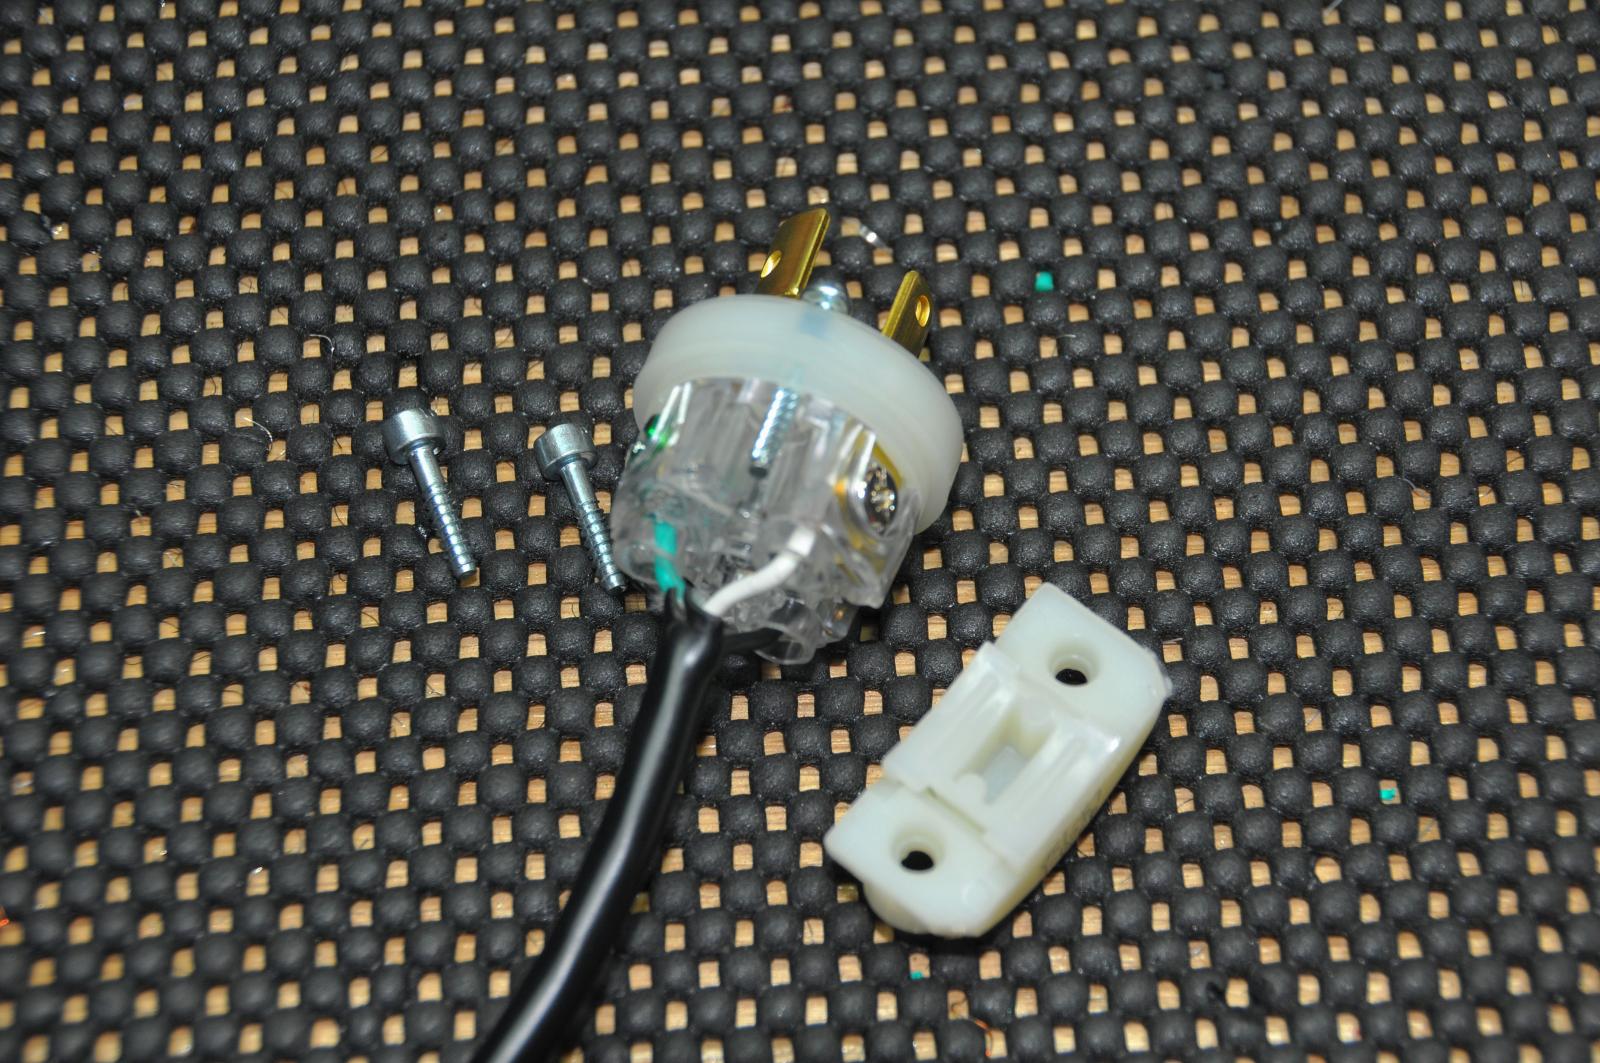
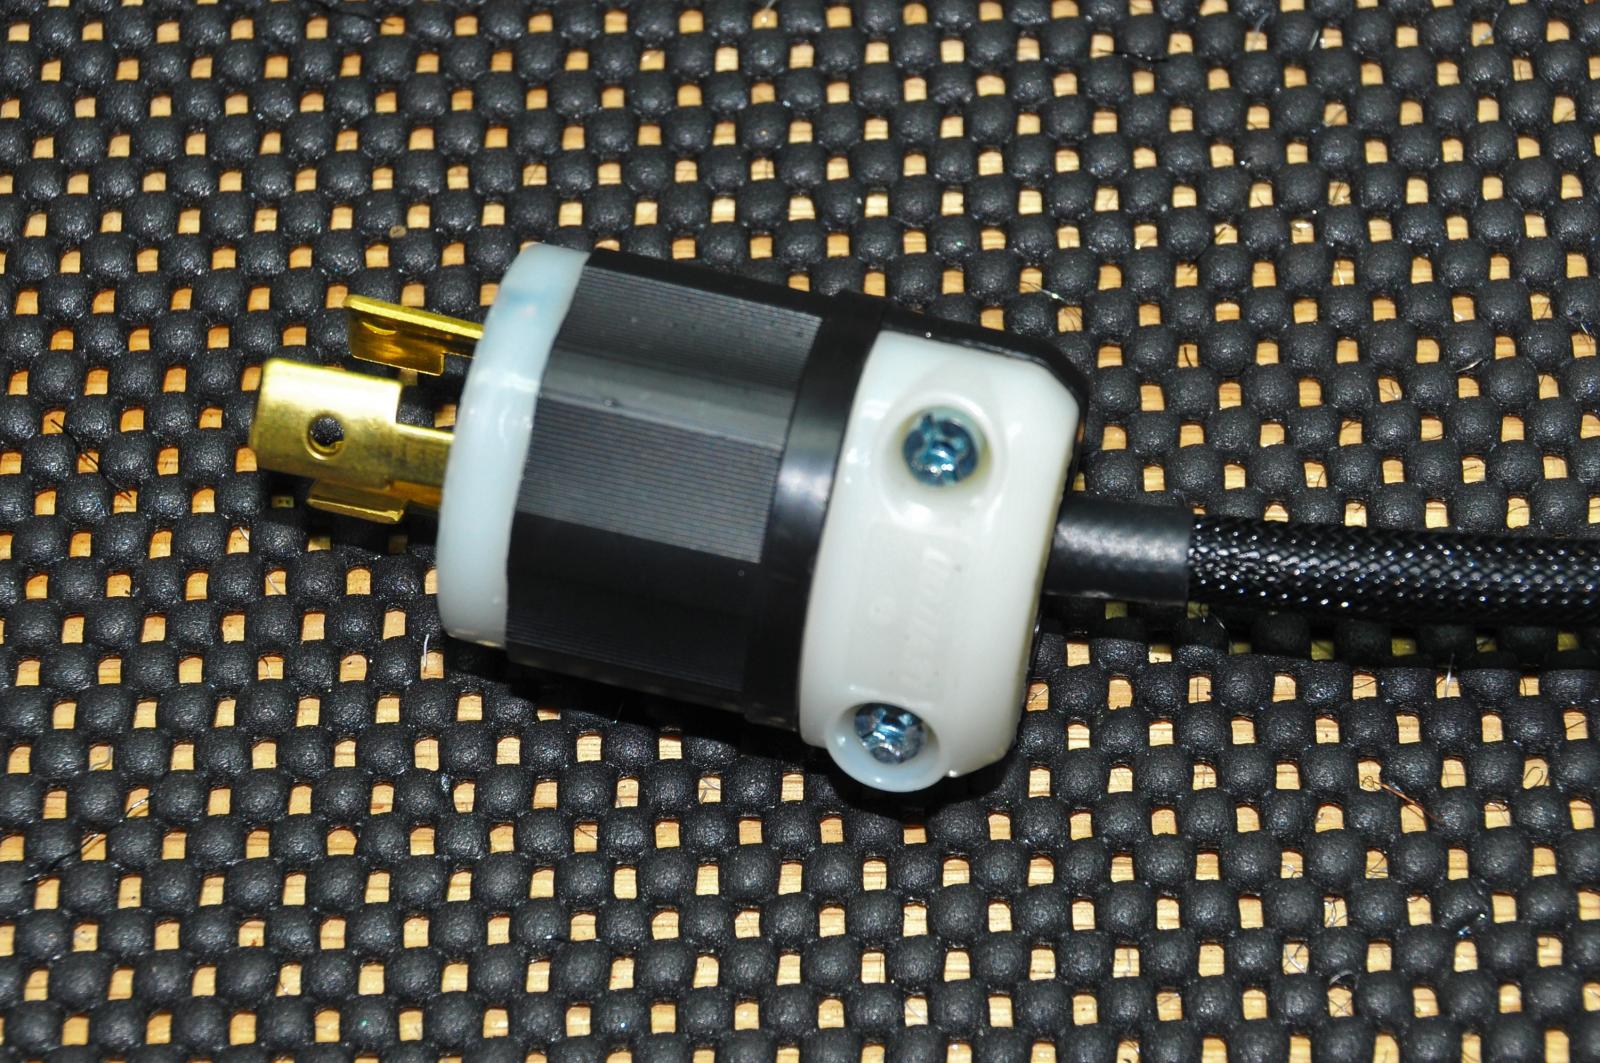
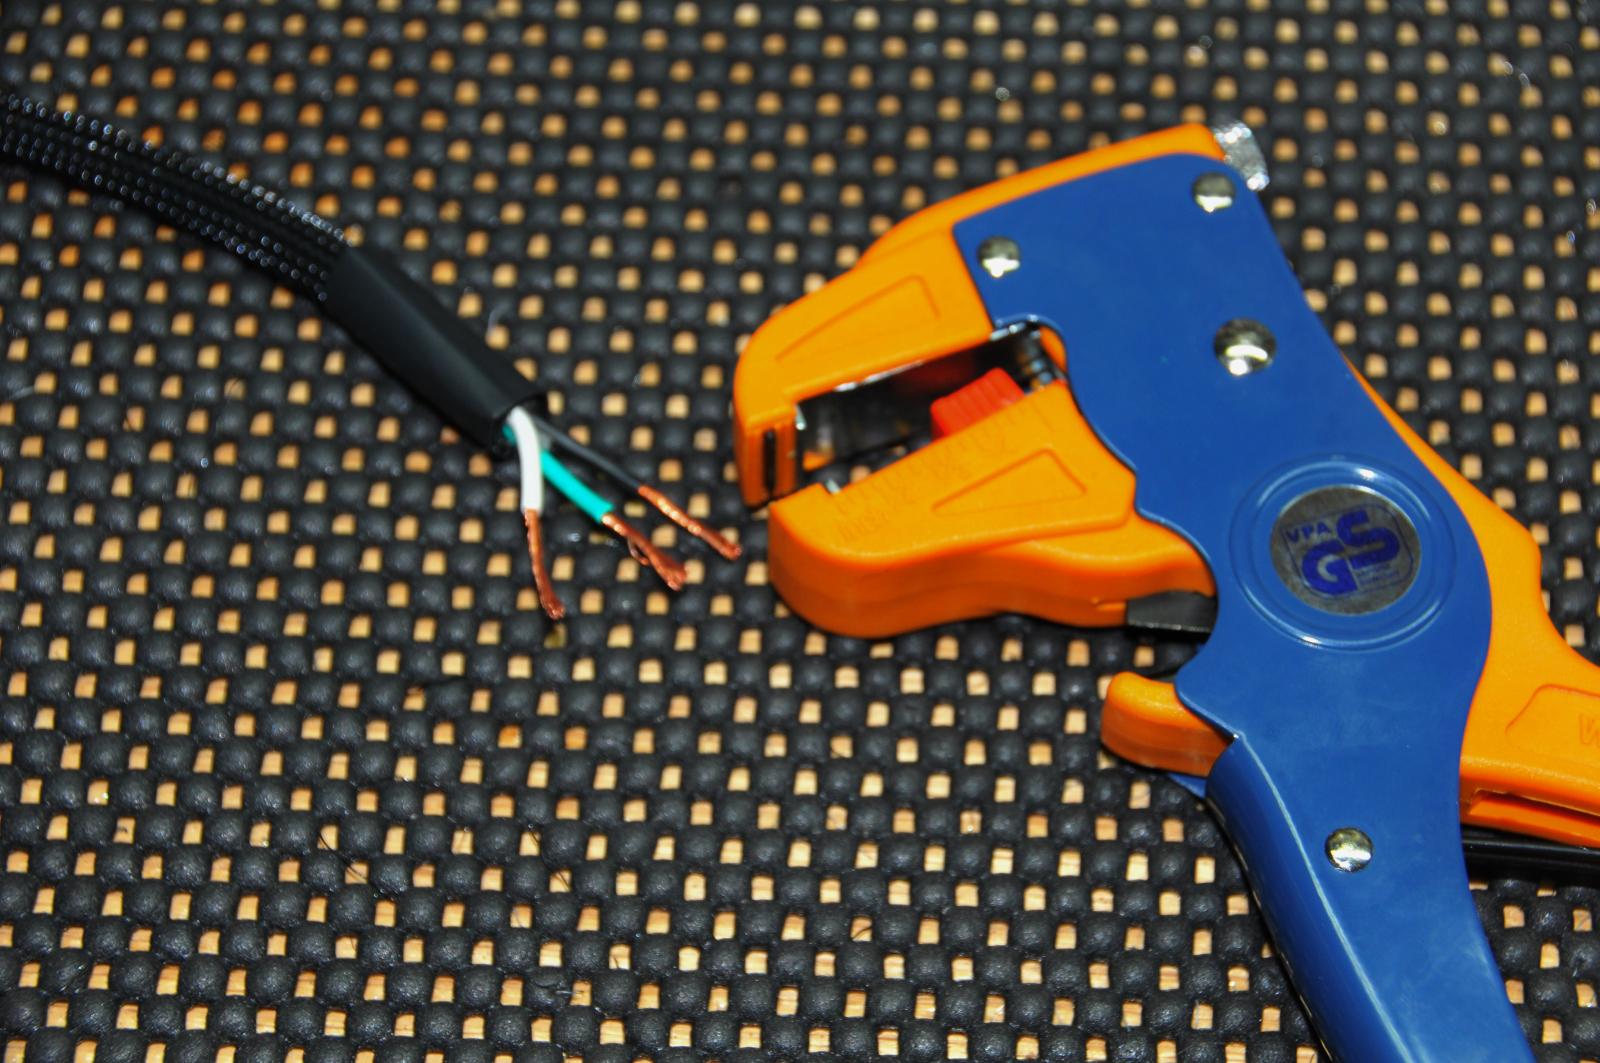
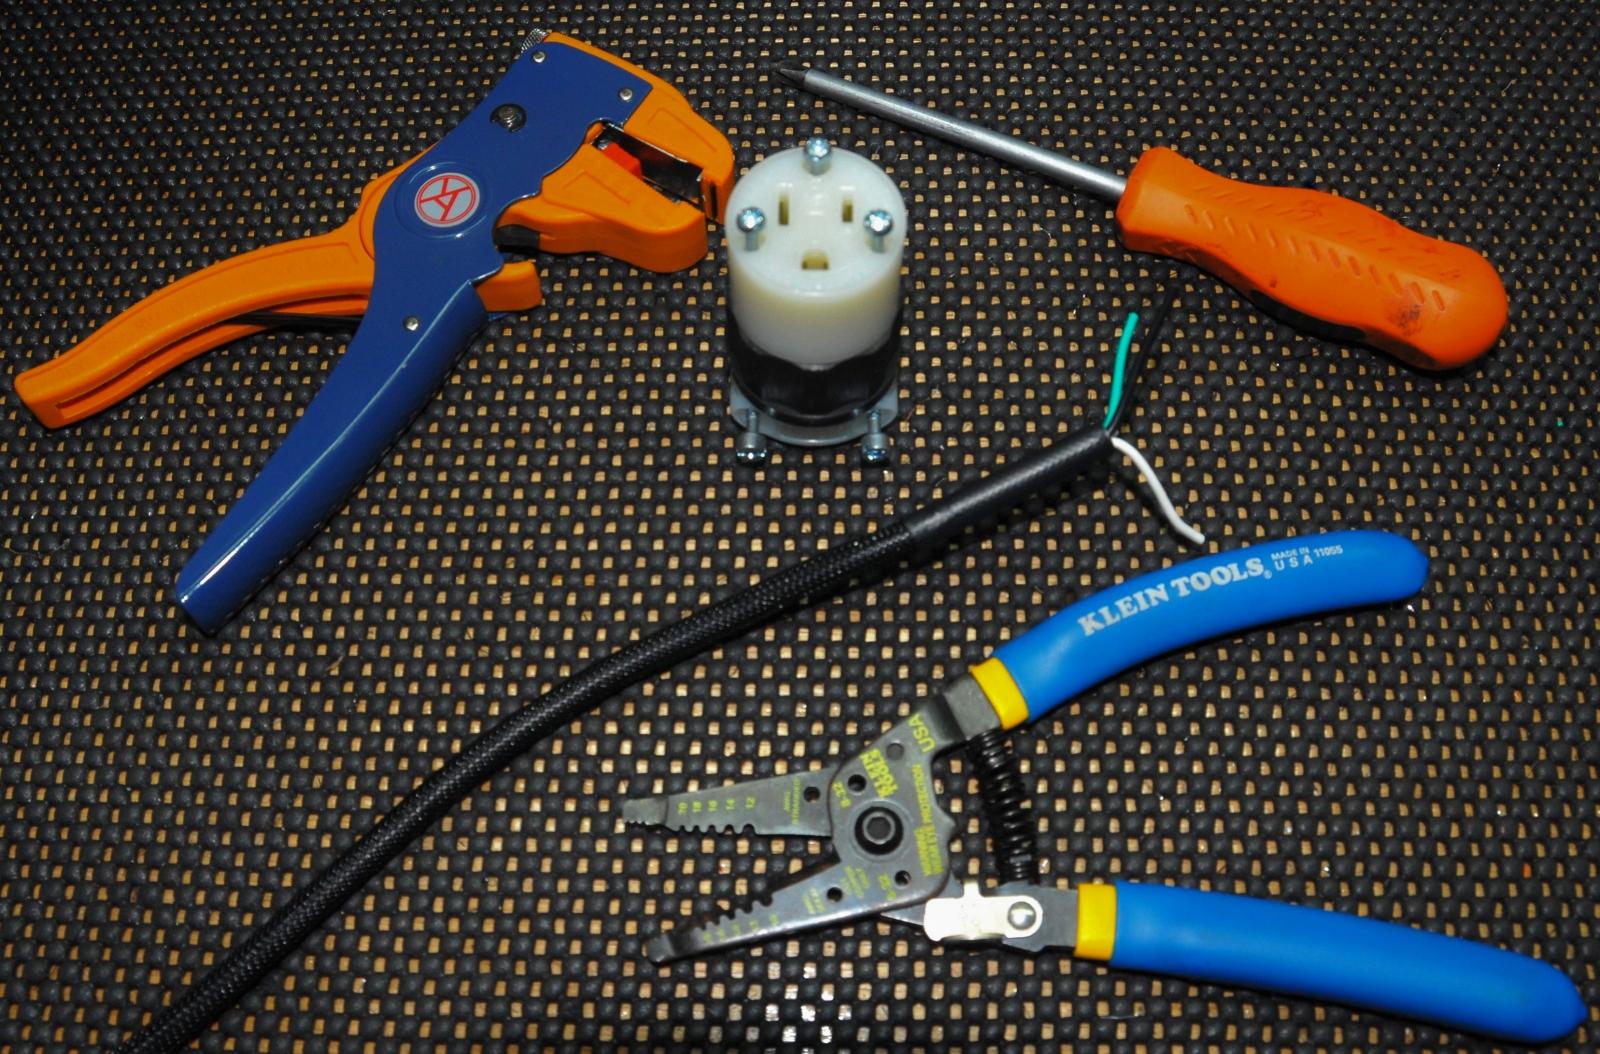
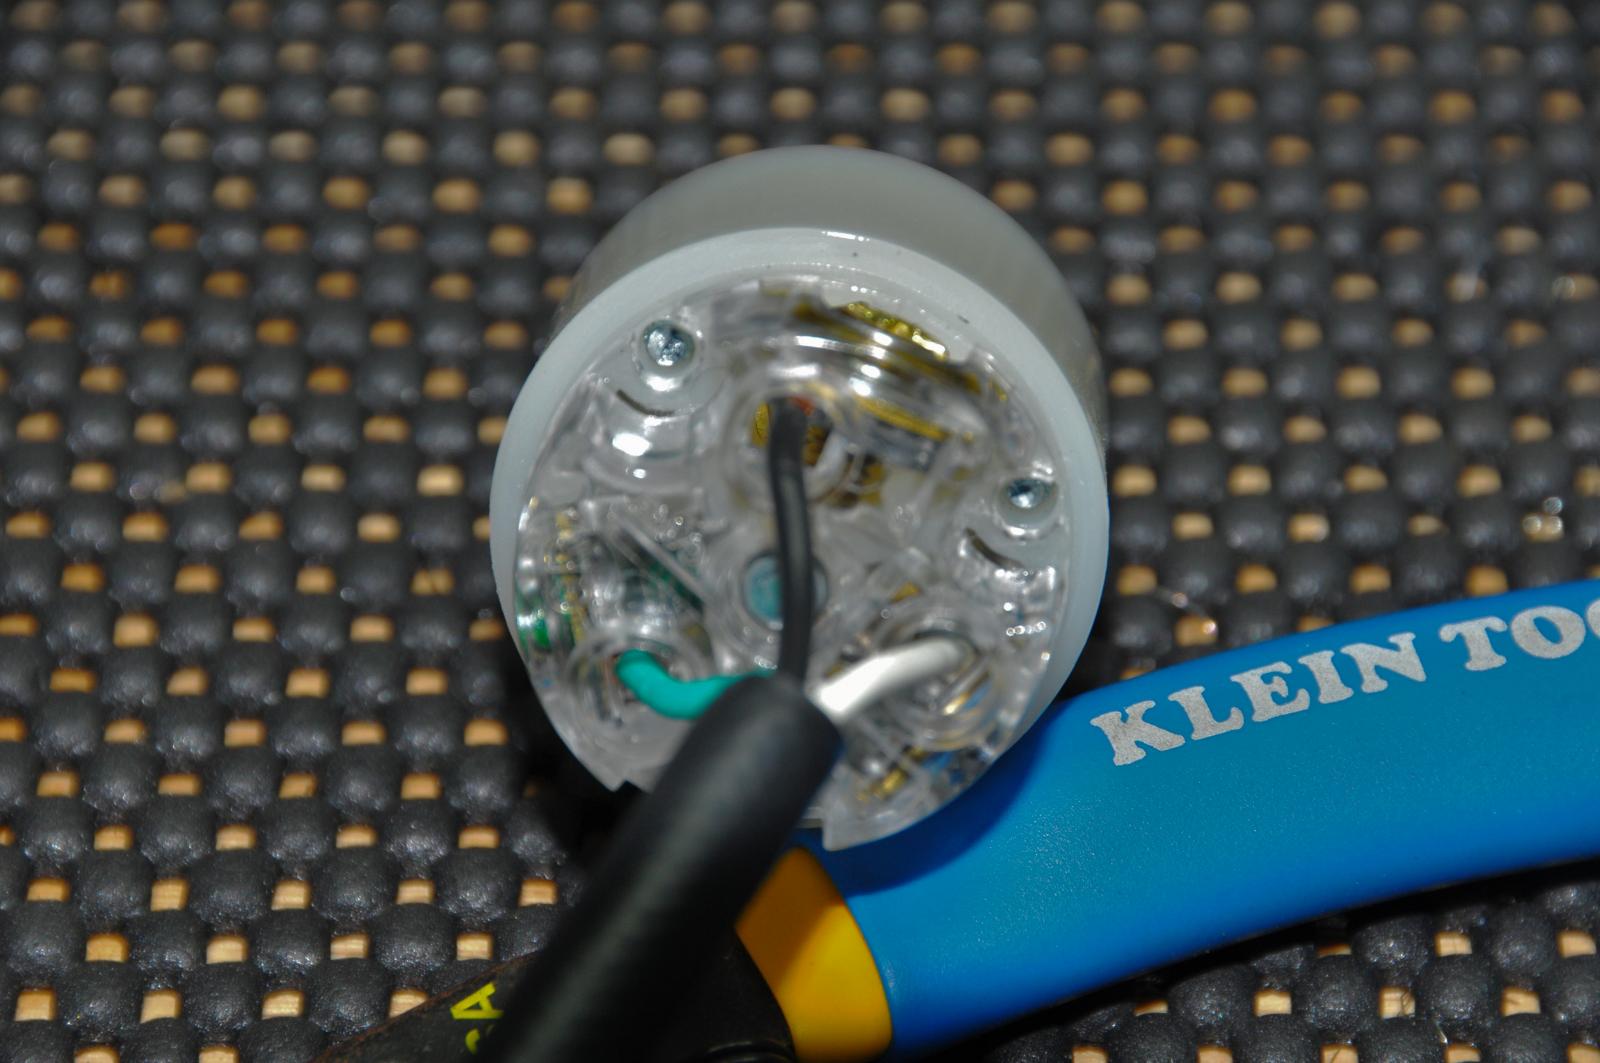
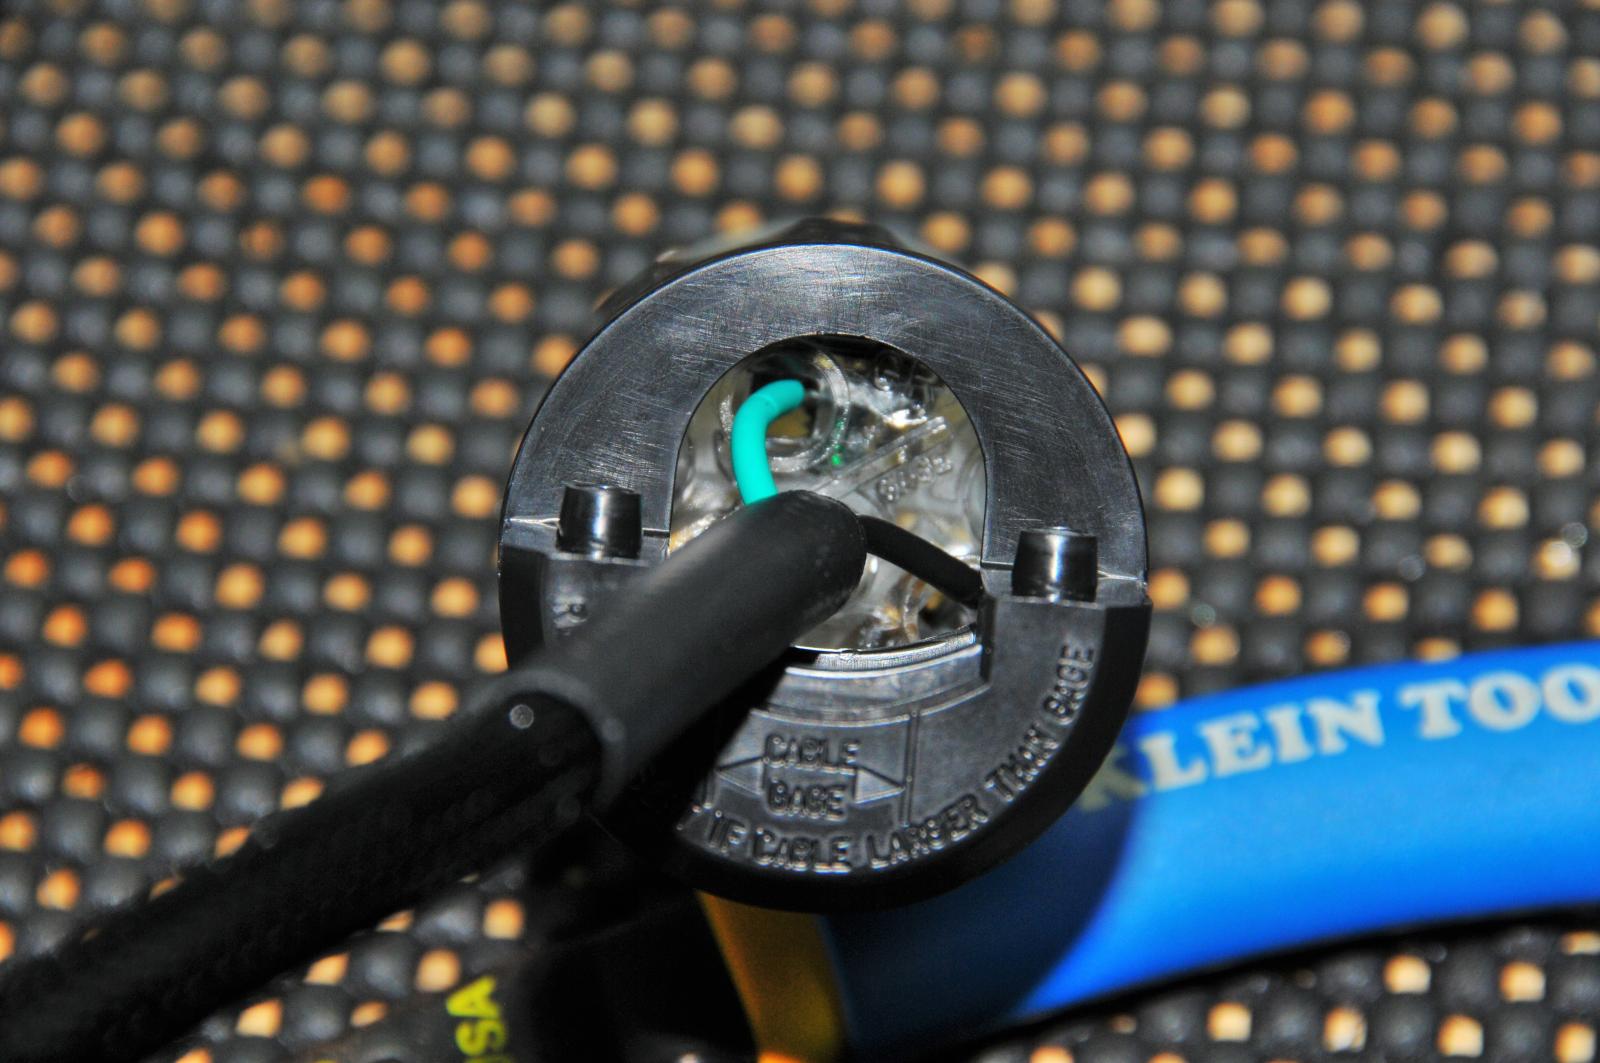
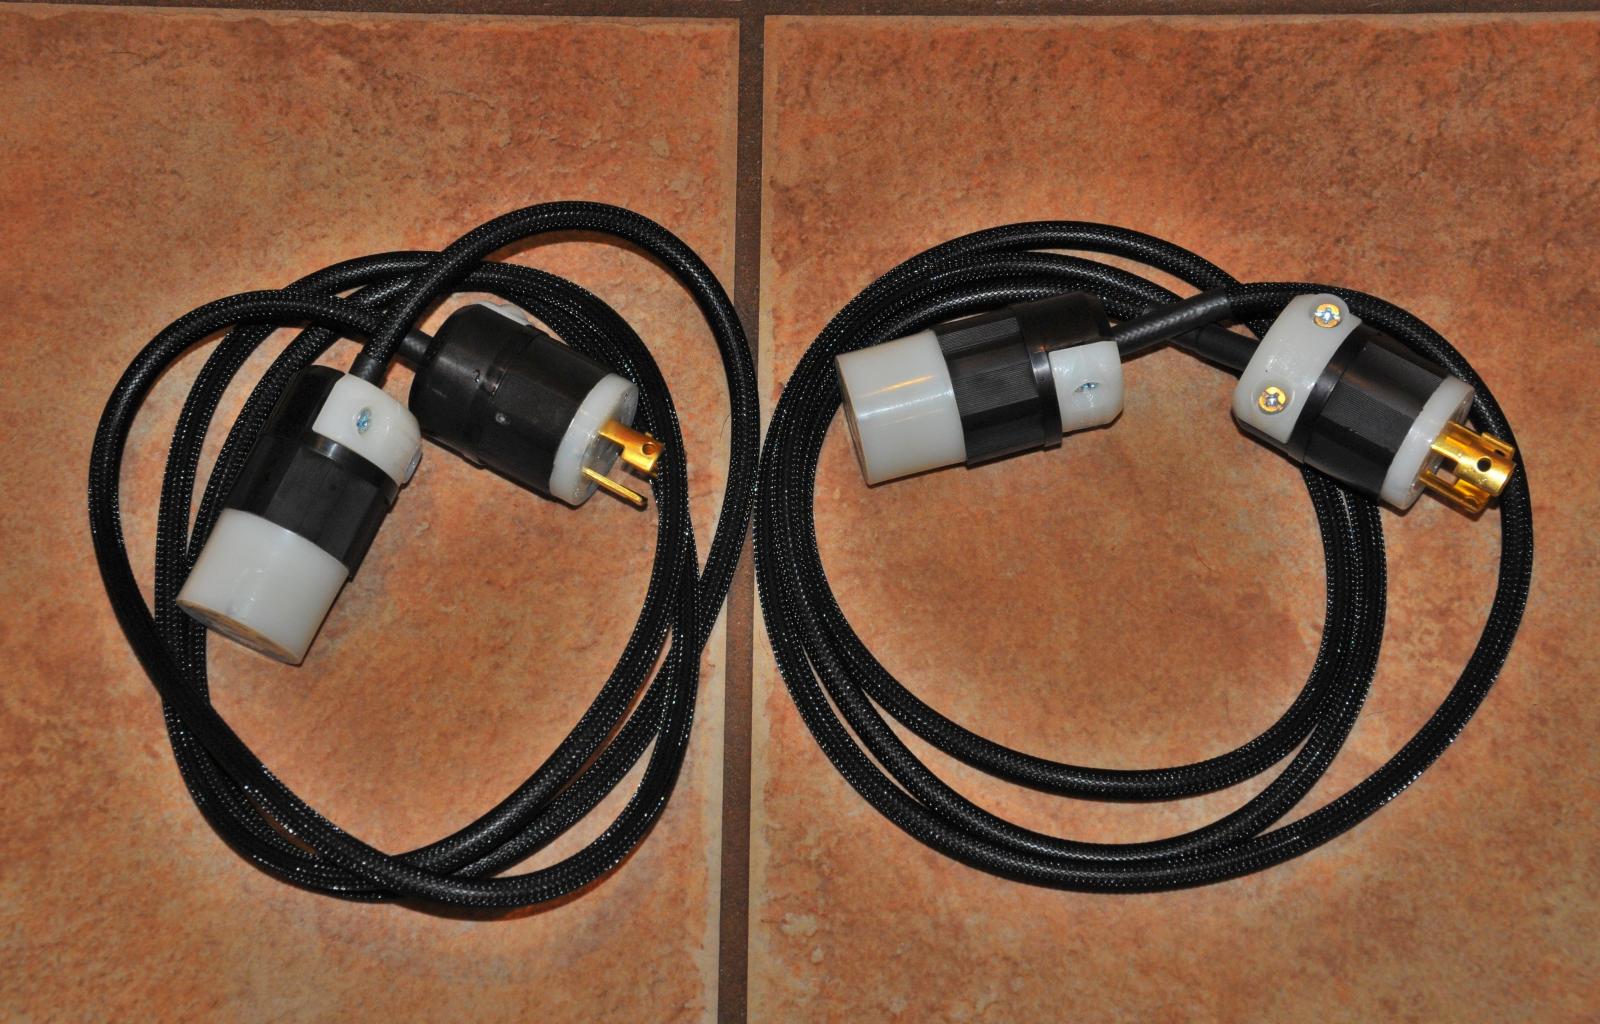
So after kicking it around I decided to take Roadie's advice and use two small extension cords to extend the length of my March pump cords. I already had cut off the original plugs and put on Leviton flat plugs and stainless braid for the other build I was making. So I left those plugs on and got matching Leviton female ends, and then got the correct twist lock plug ends to go into Kal's control box. I got two six foot extension cords which were 18 gauge. I also put on some black sleeving to make it look nice (why not right) and black heat shrink to keep it in from unraveling and hold it in place.
 
Last edited by a moderator:
The finished plugs.
DSC_5788.jpg


DSC_5800.jpg


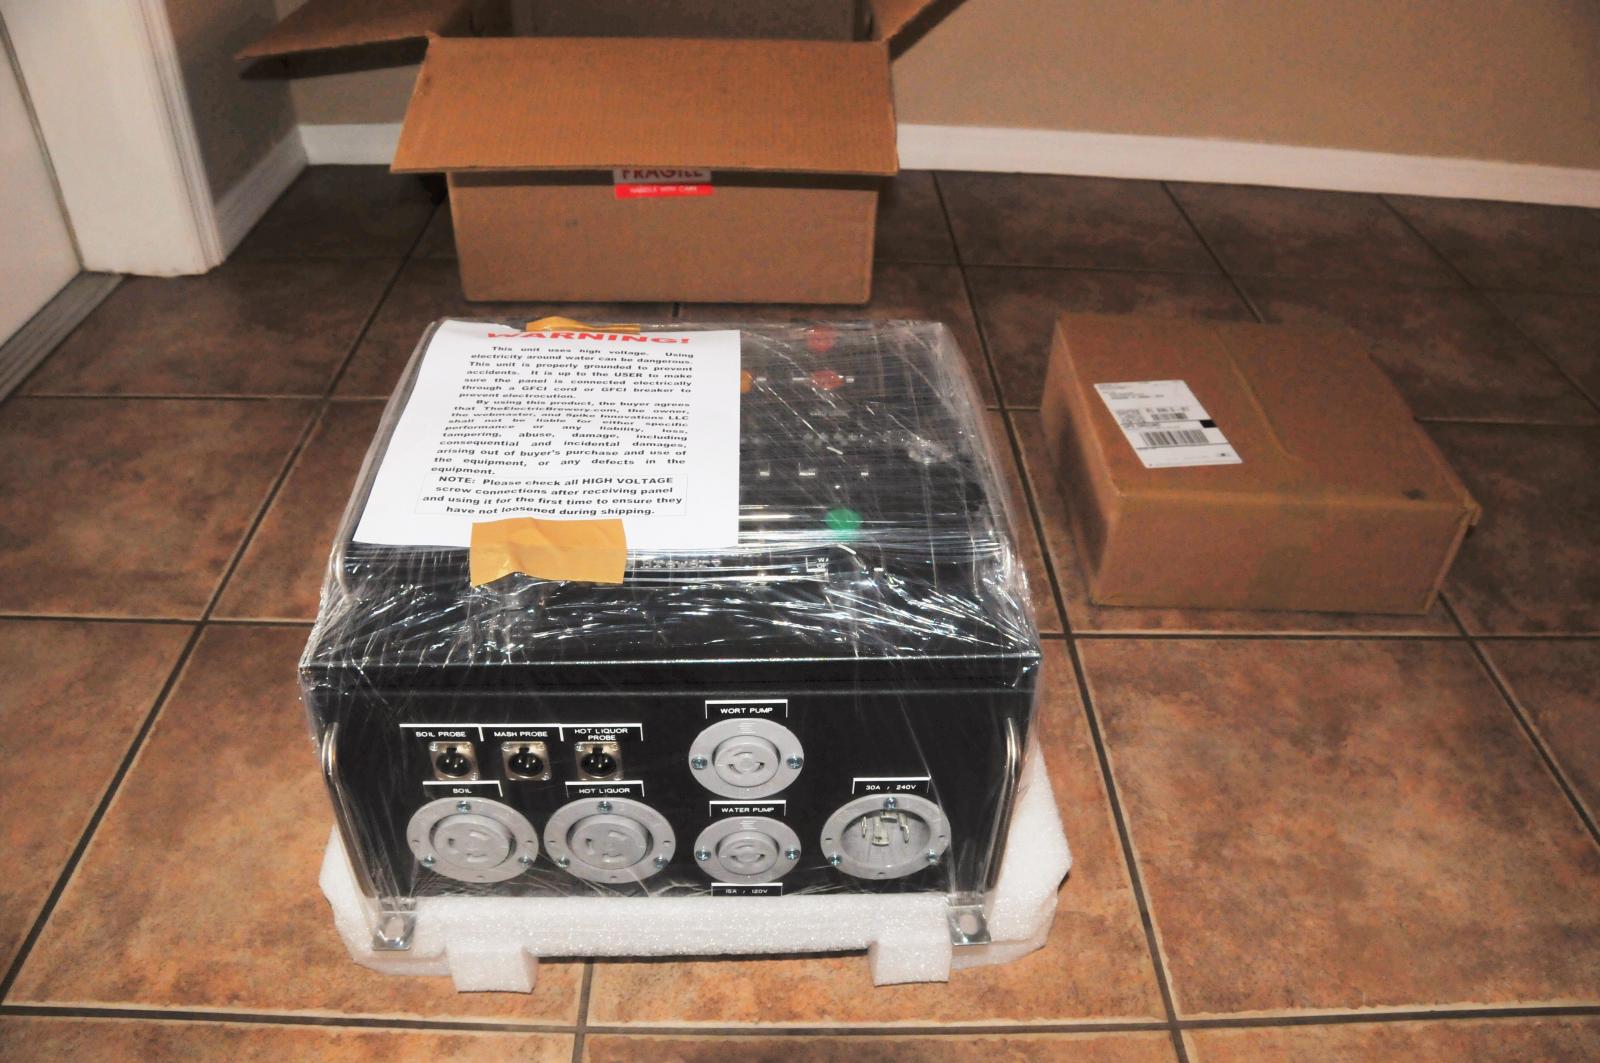
Kal's control box comes Wednesday so stay tuned for unboxing photos!
 
Last edited by a moderator:
Nice job on the pump cords. I think you'll be glad you did it that way down the road. Control panel arrives tomorrow? Score! And here I was just excited that the sharpening stones for my new Gyuto would be here on Wednesday. Your control panel puts that in perspective!
 
Nice job on the pump cords. I think you'll be glad you did it that way down the road. Control panel arrives tomorrow? Score! And here I was just excited that the sharpening stones for my new Gyuto would be here on Wednesday. Your control panel puts that in perspective!

Thanks man! Yes sir tomorrow is the day! I'm happy your getting your sharpening stones, it's the little things too that count also!

John
 

I don't know. I reckon once it's all complete you get it wrapped in a giant mylar argon-filled pouch and preserve your unsullied creation in its pristine state.

Future generations of semi-amphibious Floridians can view it in awe and wonder, "what magic or other-worldy visitors had a hand in its birth".

I vote Mylar pouch and get back to stove-top brewing.


Seriously though. Learning so much from this thread. Tremendous pictures. Thanks @jcav Can't wait to see this beaut in action.
 
Thanks Gavin, hopefully this Sunday I will do the maiden voyage on her and see how well she makes wort! It's funny I started with the stove and extract and then quickly got into partial mash in 2002 and kept expanding from there. Man when I think of all the money I have spent since then, is this a crazy hobby or what. Once you get into brewing it's easy to get completely obsessed as evidenced by the kagillion brew rigs all over this forum. Man I love it though, brewing is in our roots, it's our heritage, totally American. All the pilgrims and forefathers brewed. I am very eager to get into it at a more advanced level and hopefully turn out some great beers!

John
 
DSC_5871.jpg


DSC_5873.jpg

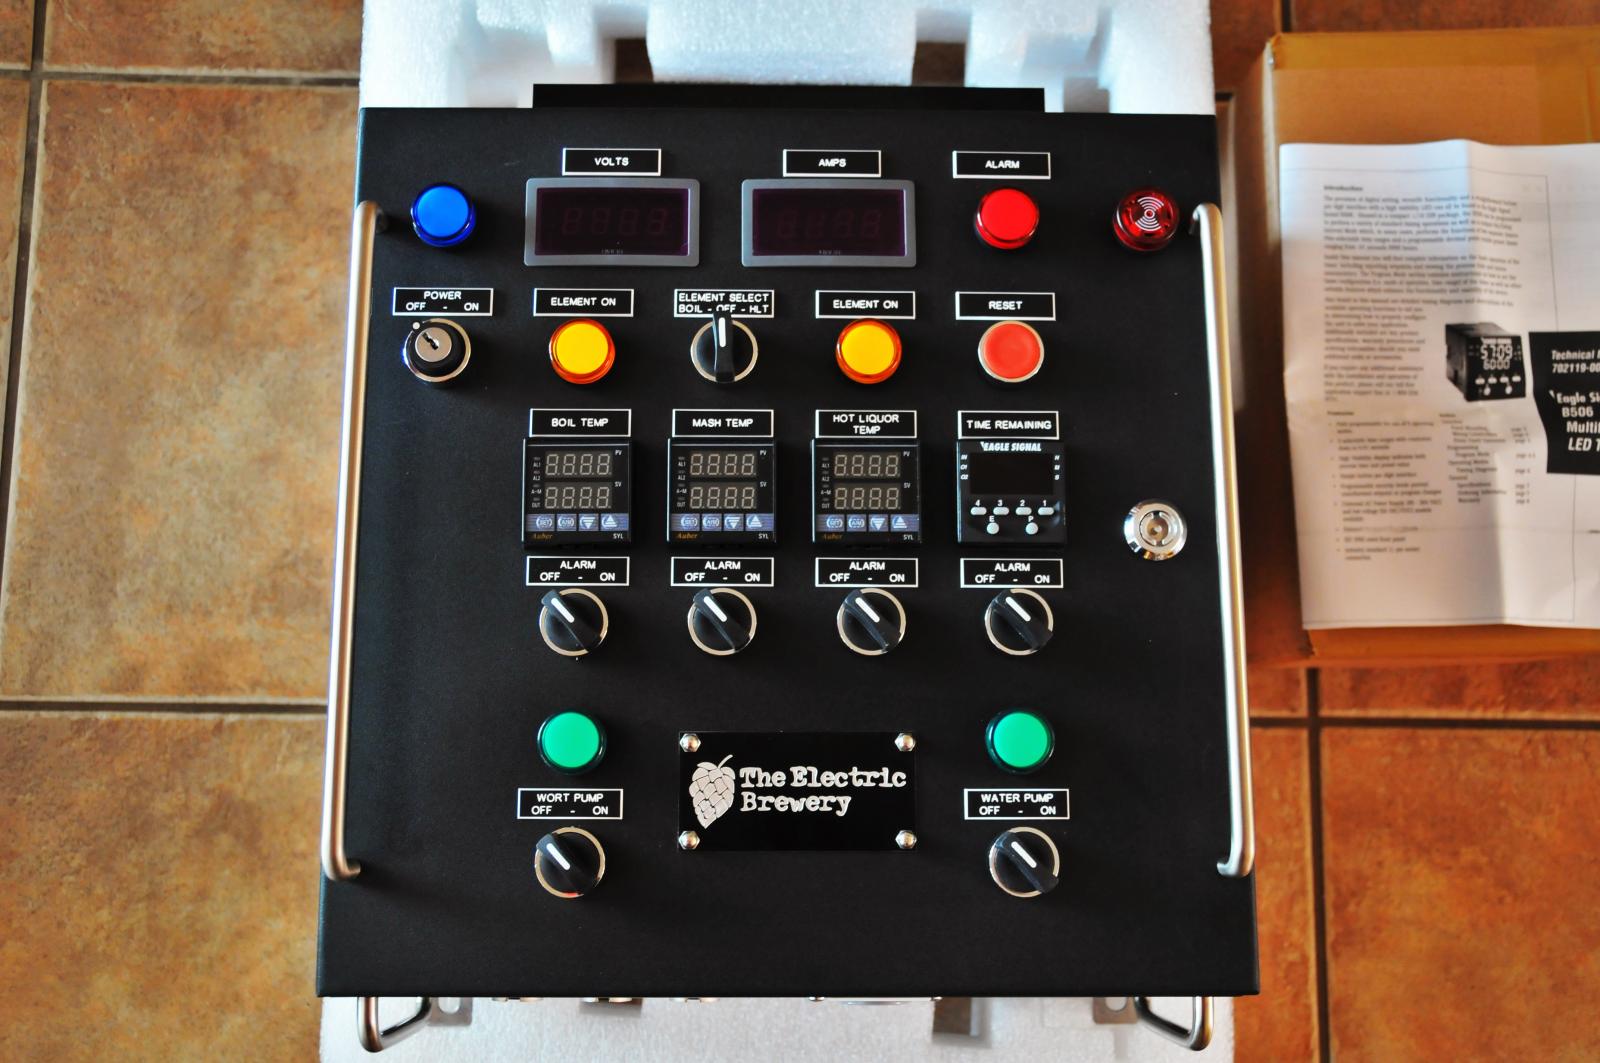
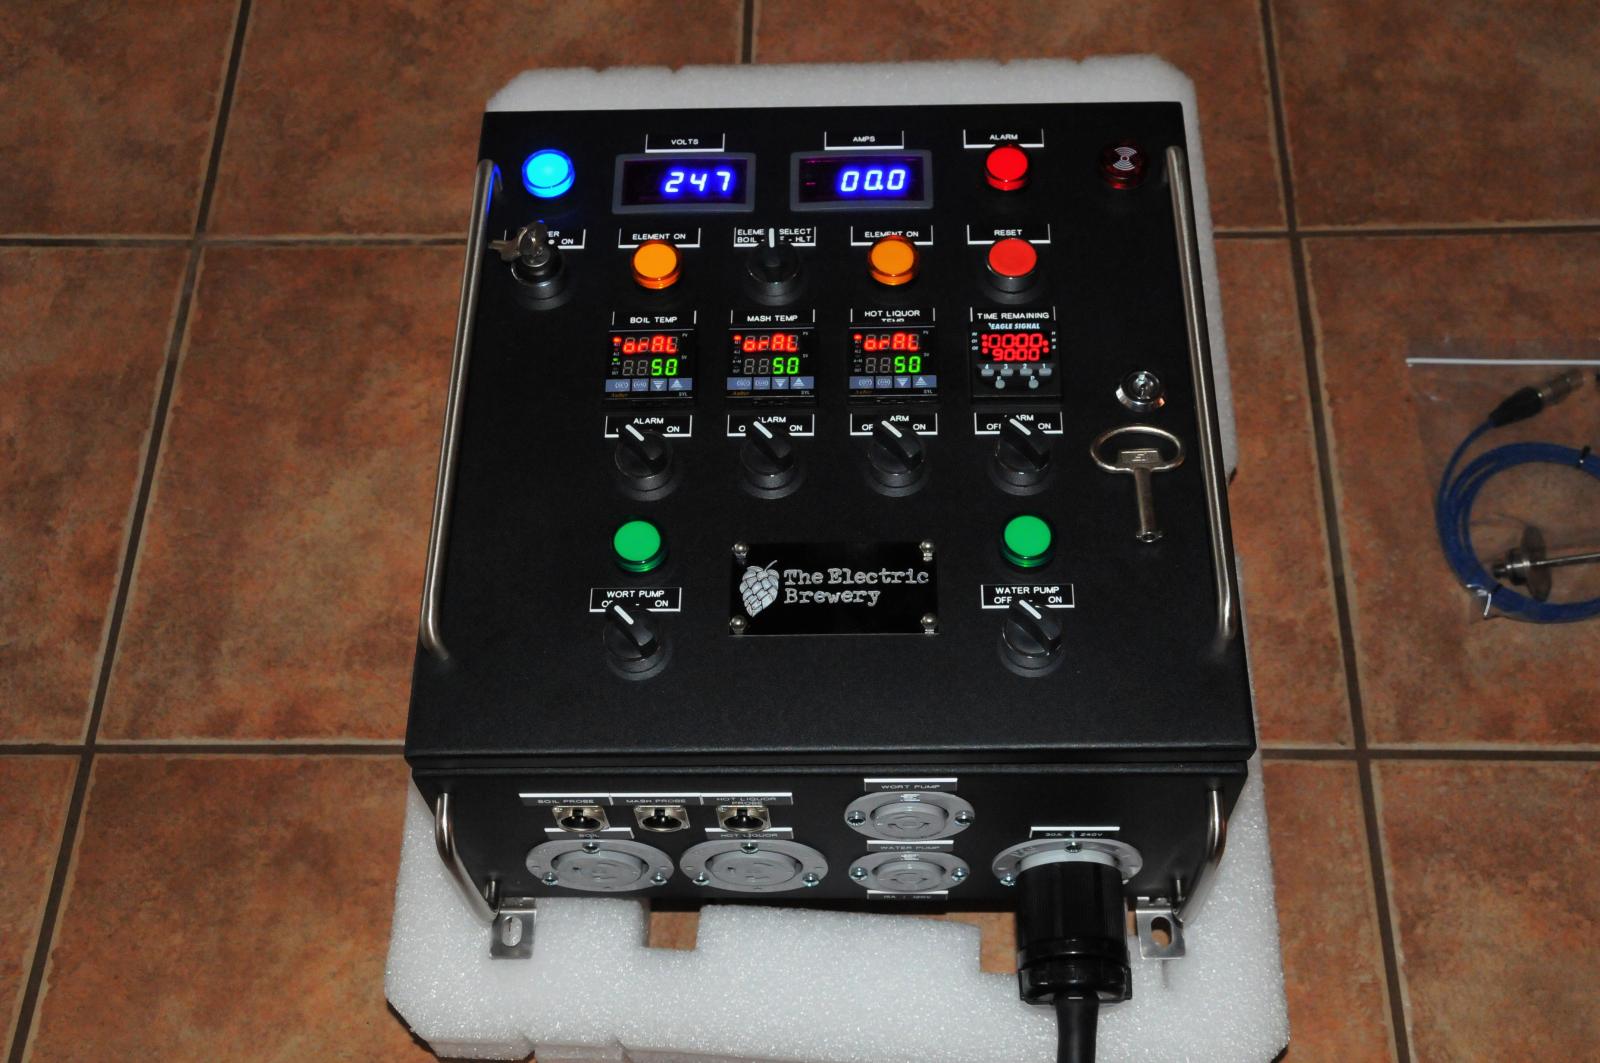
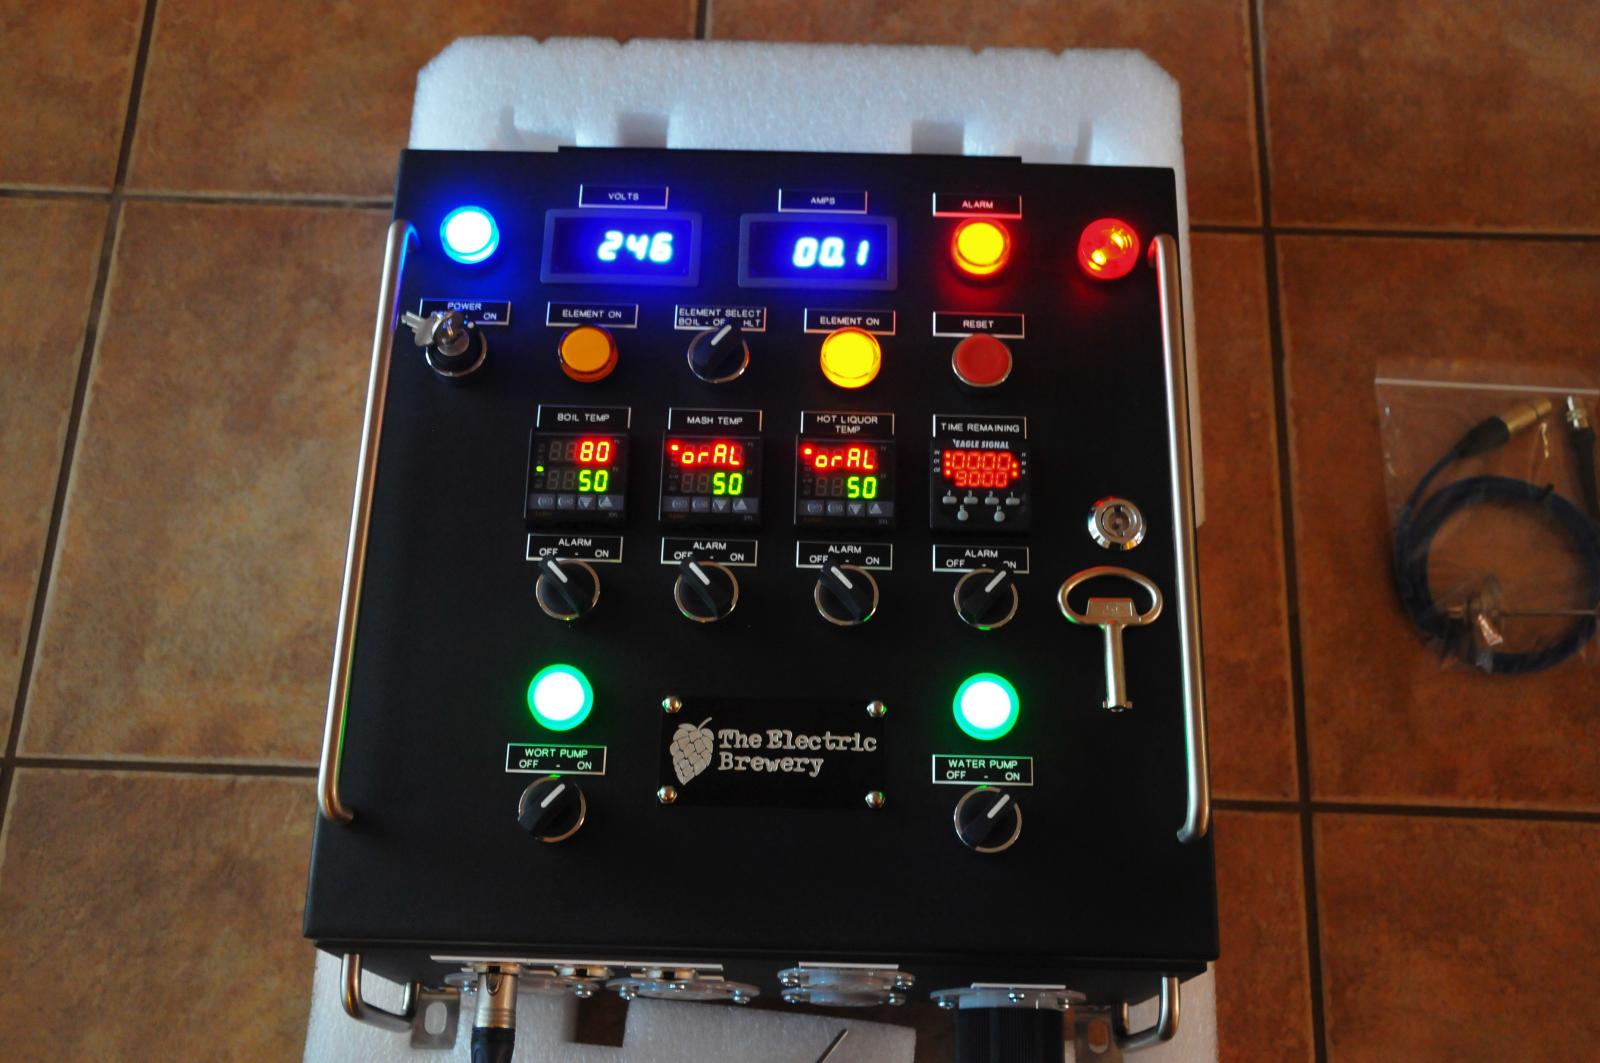
And we have contact, powered right up! Kinda like a Christmas tree!
DSC_5883.jpg


DSC_5889.jpg


DSC_5891.jpg

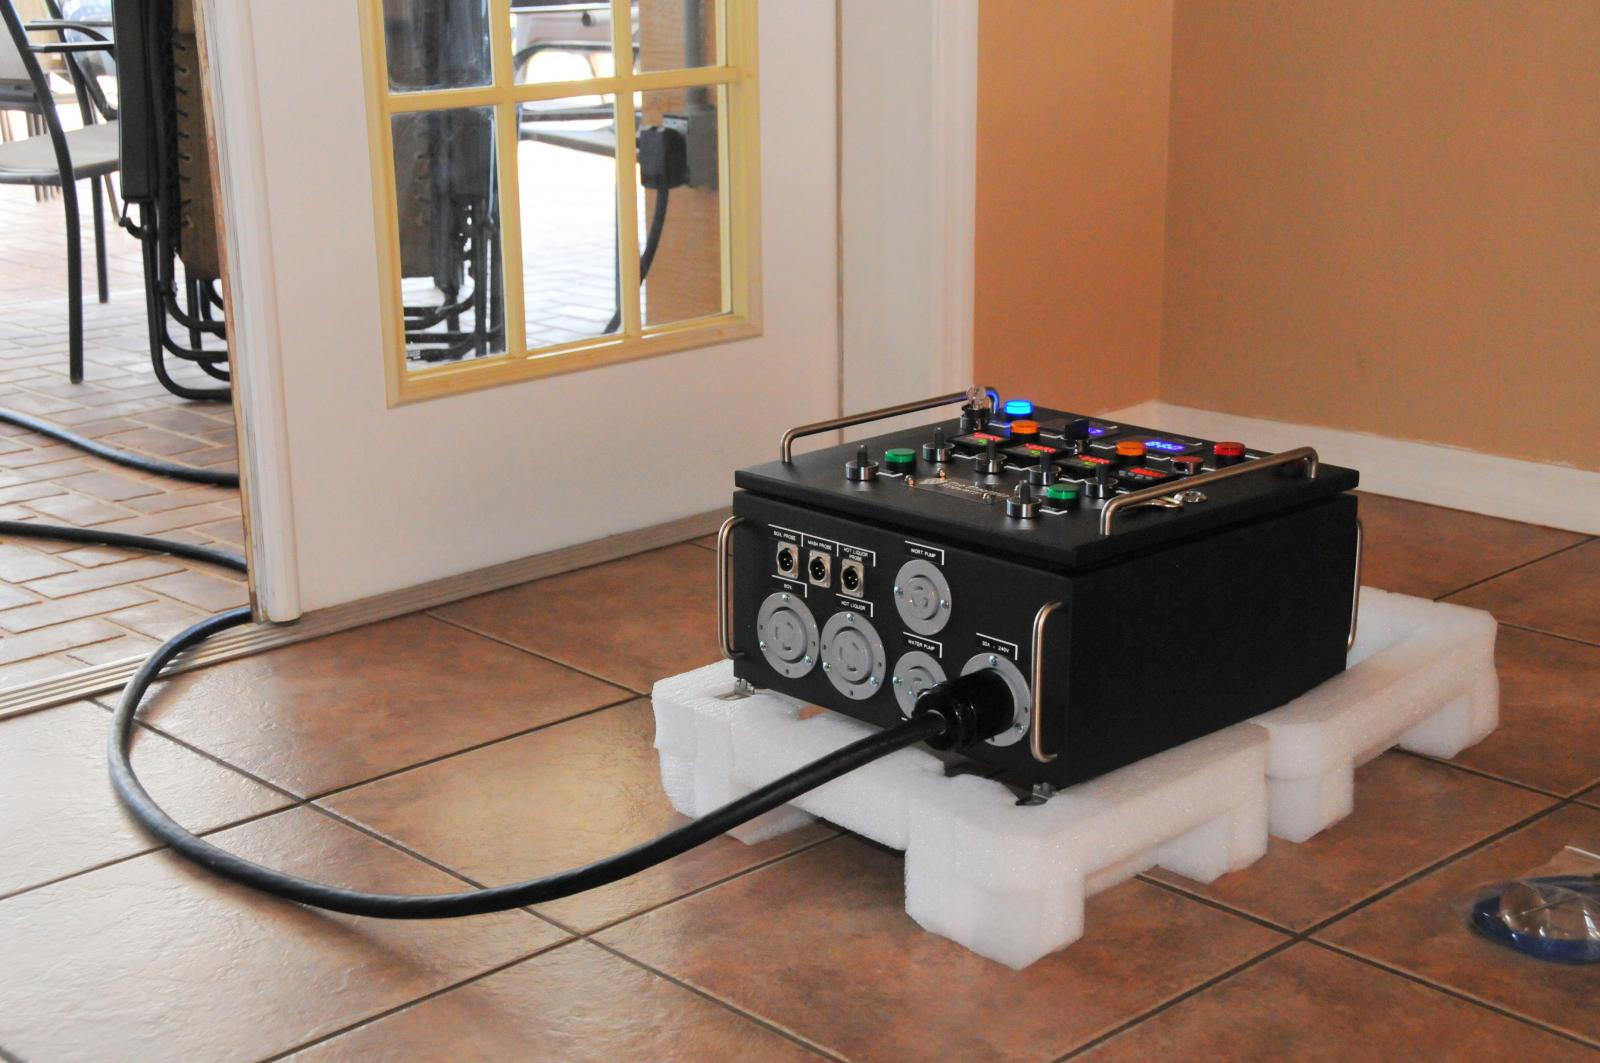
I had to take the cover off of my outlet box. I will put it back on after I brew for protection and take it off when I brew, as the plug is too big in the 90 degree position for it to fit under the door. Not a problem....
DSC_5892.jpg


DSC_5894.jpg


DSC_5895.jpg


DSC_5893.jpg


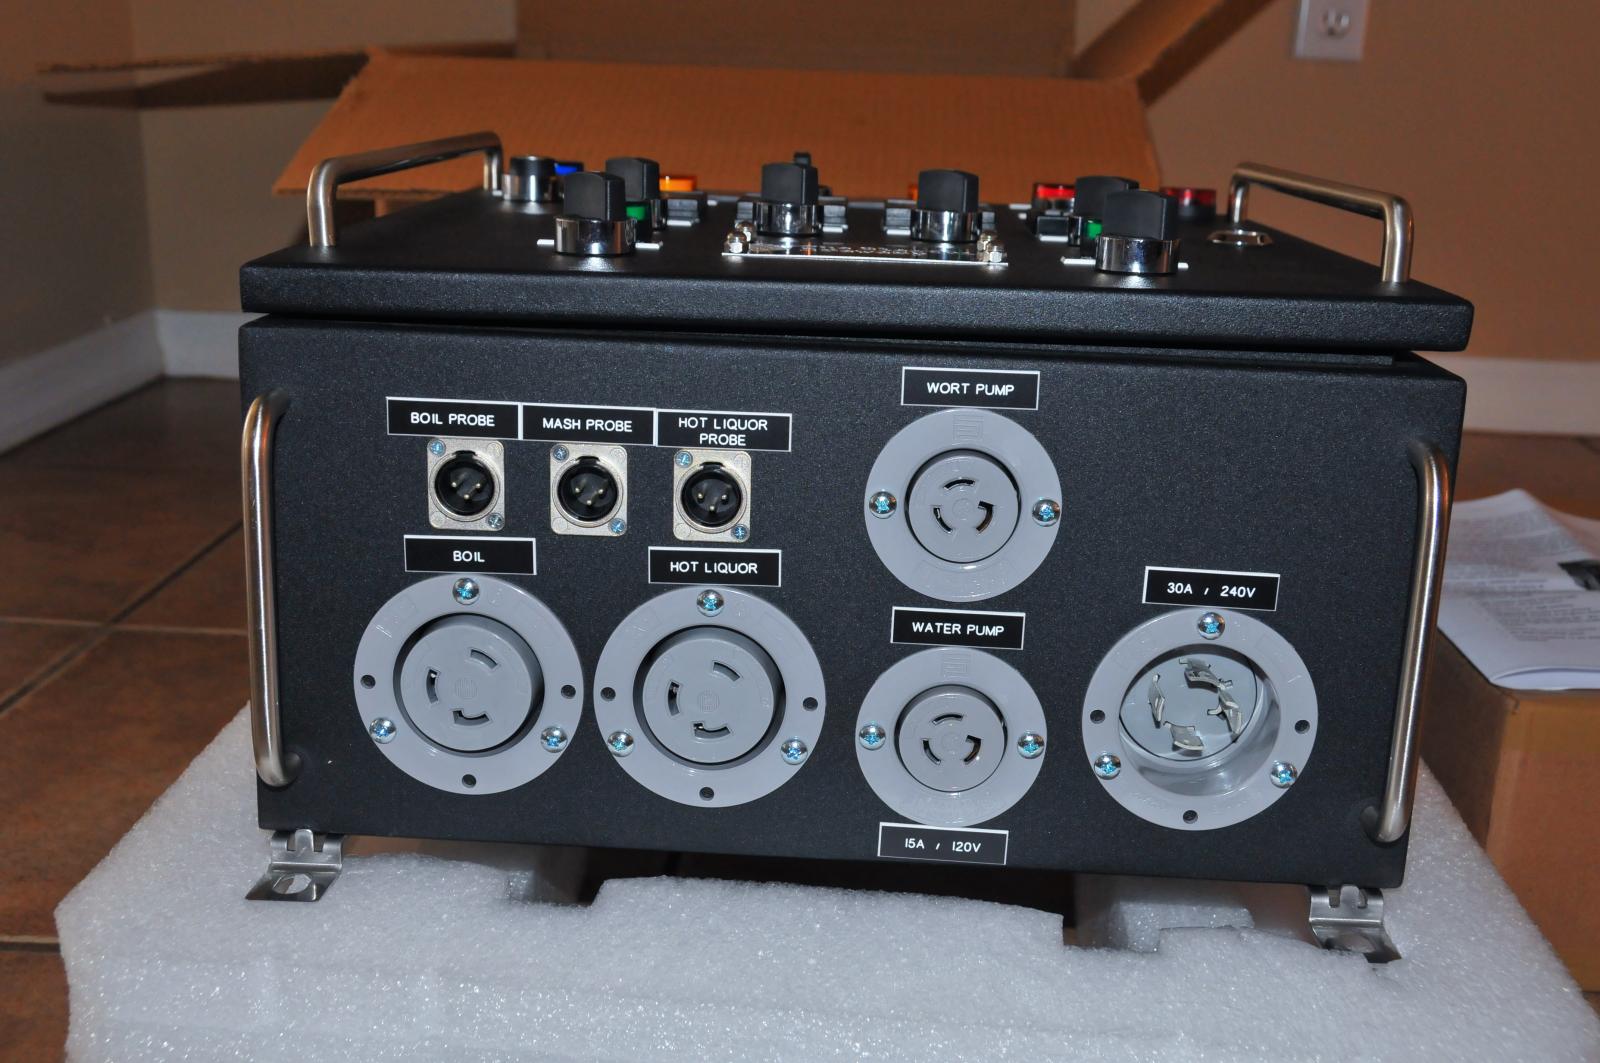
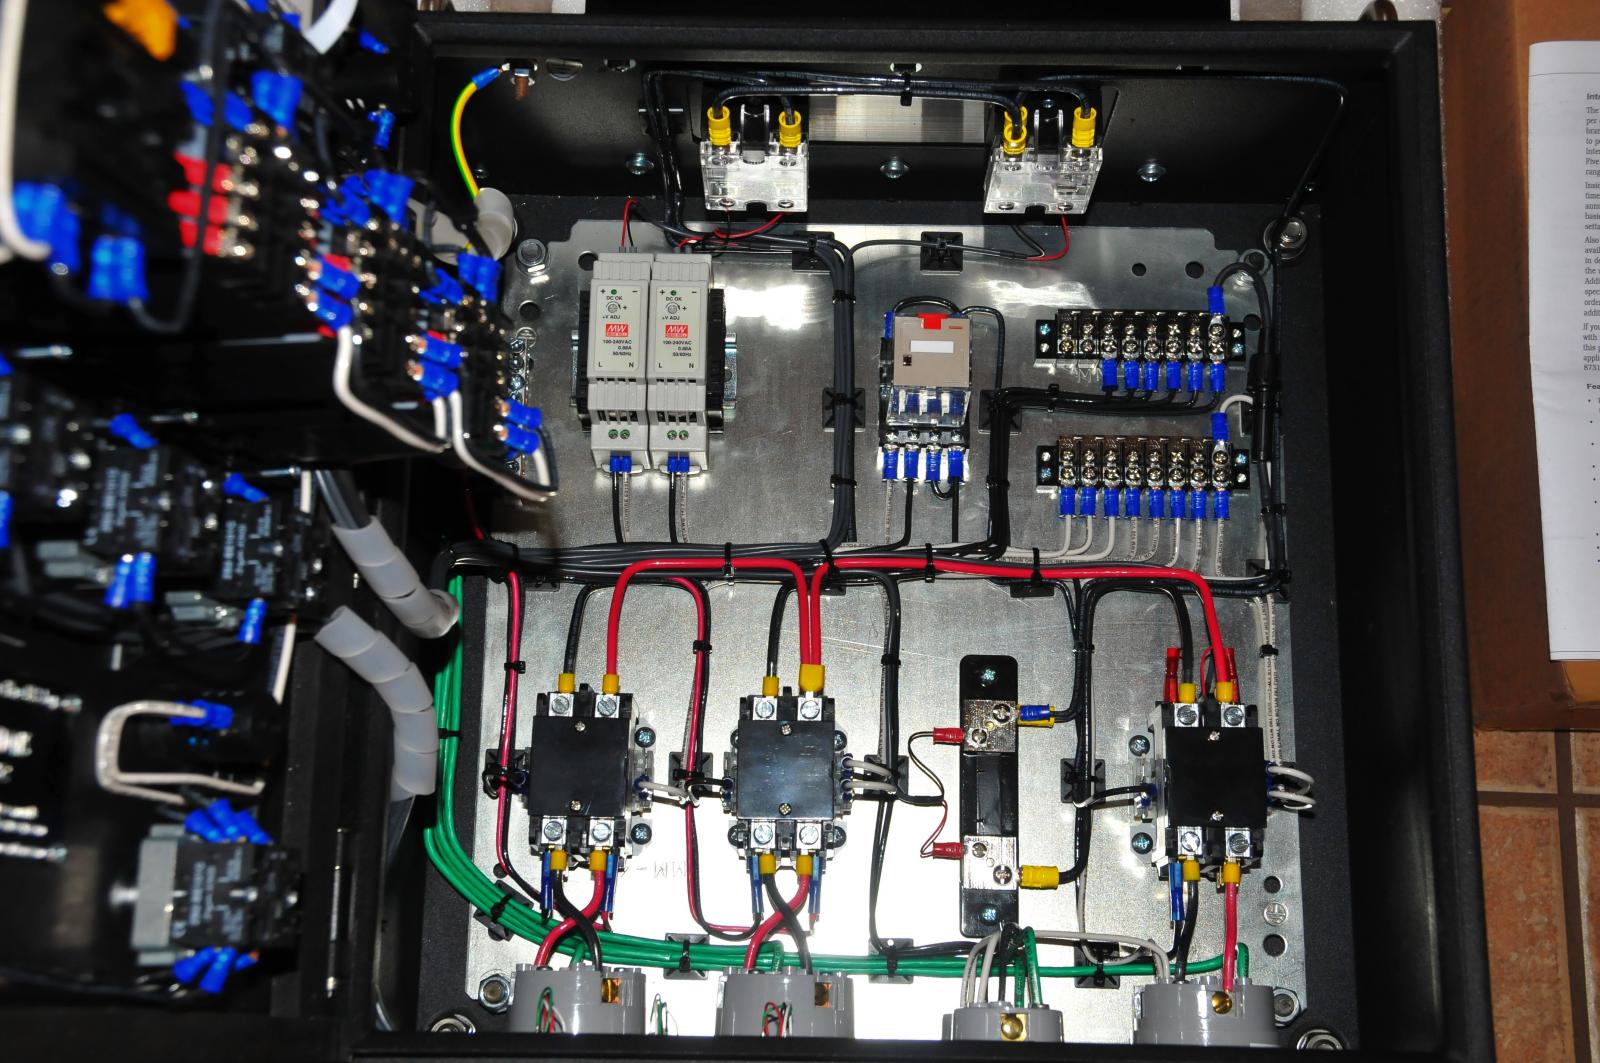
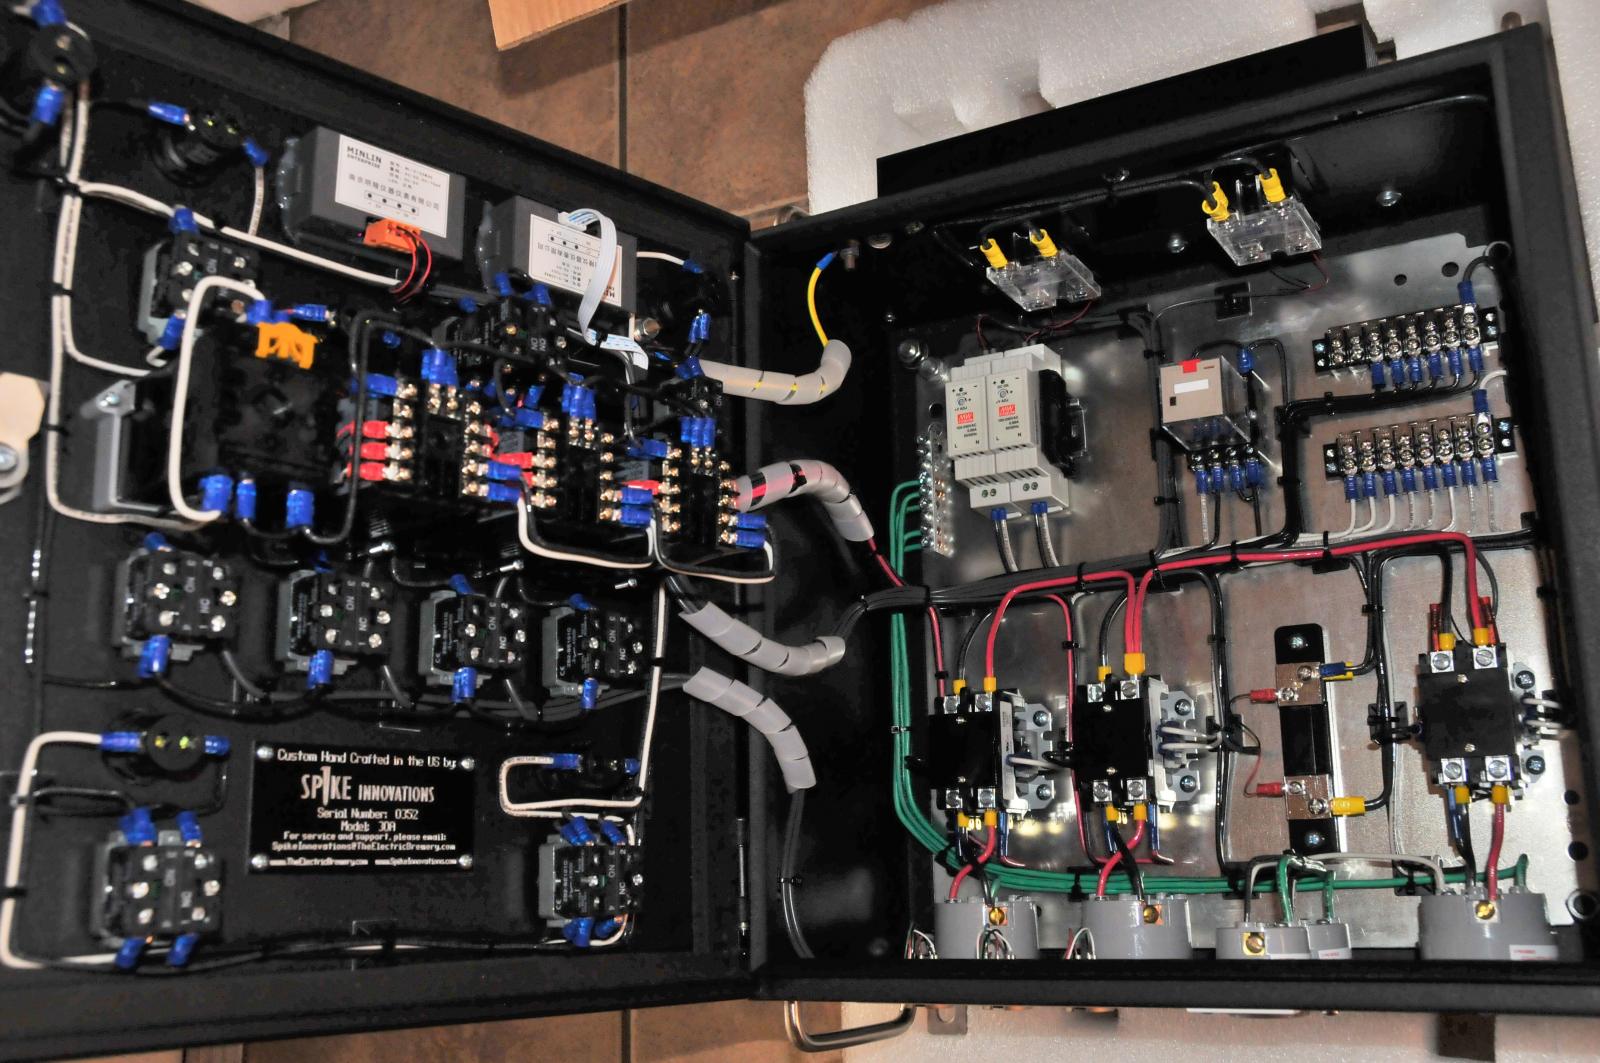
I have a stainless steel stand on casters that I made for my other box that I will mount this box to. Kal you are the man! I can't get over the quality of the box, the texture of the powder coat is awesome, the wiring is so clean and tight, and you even used high quality Neutrik XLR connectors for the temp probes. Mike you did an outstanding job assembling this control box and it really is a pleasure to do business with company a solid as you guys. It is hard to lay out this kind of cash for a product unseen on the internet, but if anyone out there is considering purchasing this control box and is on the fence, I can highly recommend it and I'd say go for it, the pictures do not do it justice and you really have to see it in person. I am very happy I went this route and had Kal and Mike build this for me. Now I have to calibrate the probes, do some tests and do a test run, and then I hope I can brew on Sunday!

John
 
Last edited by a moderator:
Kal you are the man! I can't get over the quality of the box, the texture of the powder coat is awesome, the wiring is so clean and tight, and you even used high quality Neutrik XLR connectors for the temp probes. Mike you did an outstanding job assembling this control box and it really is a pleasure to do business with company a solid as you guys.
I'm glad your happy John and that it all arrived safely!

Now I have to calibrate the probes, do some tests and do a test run, and then I hope I can brew on Sunday!
Please make sure to heed the warning on the big label that came on the panel and double check all high voltage screw connections inside the panel with a screwdriver (basically make sure any big fat wire attached with a screw is tight).

There shouldn't be any issues but it's a double check we like people to do - just in case.

Happy brewing!

Kal
 
I'm glad your happy John and that it all arrived safely!


Please make sure to heed the warning on the big label that came on the panel and double check all high voltage screw connections inside the panel with a screwdriver (basically make sure any big fat wire attached with a screw is tight).

There shouldn't be any issues but it's a double check we like people to do - just in case.

Happy brewing!

Kal

Will do thanks for the reminder! You must get a lot of satisfaction out of not only inspiring so many out there to build your creation, but also in being able to offer the control box and other products to those who would rather purchase it, or who just don't think they can pull it off and build it on their own. You have built an incredible business out of something you love to do and that is half the battle in being happy in this crazy world. Thanks again and Happy Thanksgiving Kal! :mug:

John
 
Magic.

I want one.

I have no doubt that if and when I build a 3v electric setup I'll be getting that beautiful control box built by @kal 's company. Looks so clean and neat. Money well spent.

Brew some fecking beer! Or Mylar pouch. Don't completely discount that option.
 
Help all you electronically savy brewers out there. I mounted the control box to my stand and it looks sweet. So right now I am heating water in the HLT and testing it out. I am calibrating the probes also against a Thermapen thermometer. The problem I'm having is when I turn on the boil element switch it throws the breaker in my electric panel in my garage immediately. The HLT element is running fine and doesn't trip the breaker. I am going to take out the boil kettle element and put the HLT element in the boil kettle and see if that trips the breaker. Do you think it's a short. I don't have a leak but I am going to open it all up and check out the wiring. Any suggestions on what to look for. I would like to get this issue resolved as I want to brew on Sunday but I have to take care of this before I can brew anything......

John
 
Disregard I fixed it! I took off the tri clamp and exposed the wires to have a look. I must have bent the wires too hard when I was tying to cram the tri clover cap on in order to get the clamp around it. It was a major pita. Well I guess the bending was a little to extreme and it spilt the wires and almost half of the copper wires were connected to the ring terminal and the other half had split off. The crimp was still holding all of the wire but only half of it was still attached to the cord itself. So I guess the breaker saved my ass and tripped right away before something bad could happen. The heat shrink wrap also was a little burned in that area where it spilt. I took a pic, I might upload it later to share so someone else may avoid what I did. I am so happy it's fixed, and I am on the way to a boil and testing it as we speak! Man I am learning a lot from this build......

John
 
Your right Brundog it was scary. I am glad the breaker works! I used my hand held automatic ratcheting crimper and it did it's job and crimped the heck out of the ring terminal. The crimp actually held, the copper wire before the crimp was what broke in half. I must have stripped a little too much insulation on the wire when I was making the cord and wiring the element. The bare copper before the crimp was what gave. All is well now though.....

Well with all the family in town I was not able to brew. I had some tests I wanted to do and I calibrated my temp probes against a Thermapen. I also wanted to see how to set my HLT to get my mash temps reached and maintained correctly. I had to do an auto tune on my pid as the pid wanted to overshoot 4 degrees to high. Once I ran the auto tune the pid learned my system and it only took about fifteen minutes. That auto tune really worked and now the HLT stays at the temp I set it at and doesn't over shoot or undershoot, very accurate and very impressive. I do have some heat loss in the mash tun and the water test in the herms coil did not keep the mash tun up with the HLT temp. I have to increase the HLT 2 degrees to reach the mash temp I need. Not an issue at all, this is just how my system works, on my back porch, in my neck of the woods, unique to my system. But once there the pid will maintain it very nicely and this is what is so great about brewing with electricity, the pid can pulse the electric element to keep it at the set temp you want, and boy does it ever! This is what I wanted to know before I brewed and I didn't want to be tweaking and playing around when I was trying to focus on brewing.

Technically when the temp was fluctuating I did use a Thermapen to check the mash tun water and the Thermapen was giving a reading that was .5 degrees over, which would round up to the next degree so technically the temp was the next degree higher, but the pid didn't round up, so it was like the pid was saying 151 but the Thermanpen in the mash was saying 151.5 to 152 degrees, so the mash was really 152 degrees. This is so close I have to remind myself I am not splitting hairs or atoms for that matter, I am making beer and this is close enough, and as long as I know what the pid is telling me I can understand how it correlates to the correct temp I have set.

Also the water pressure coming out of the herms coil is not as strong as the HLT recirculating pressure. I assume this is because there is no restriction on the HLT pump, but the pump running the mash tun and pumping through the herms coil which is 1/2 inch outside diameter tubing and 50 feet long, is slowing down the flow even running the pump wide open. I guess this is normal, and if not and I should have a faster flow out of the herms coil someone let me know so I can investigate the hold up.

I also ran Oxyclean through the whole system (my can of PBW was hard as a rock :mad: and I couldn't use it) heated to 154 degrees and I rinsed and rinsed like crazy through all the vessels and tubing lines to clean it out. Looks like I will be brewing next Saturday.

John
 
So did brew day happen?

Hey Roadie, I brewed yesterday! It went very well for the first time on my new system, with just one snag. I brewed Lil' Sparky's Nut Brown Ale as I wanted an easy recipe and wanted something along this style and this one got a lot of good reviews. I followed Kal's step by step brew day and it was a great guide and very easy to follow and implement.

I adjusted the RO water and added calcium chloride, I also used a little lactic acid and hit my ph and pretty well at 5.3. I later used lactic acid in the sparge water and the ph was 5.6, which was excellent. So far so good until after I douged in. I started my wort pump and some pieces of grain came through the tubing and I saw it go into the herms coil and then come out. The flow then stopped and I didn't have any wort recirculating back into the mash tun. So I bled the line with my bleeder valves but that was not the problem as the pump was primed fine. I tried everything for more than an hour trying to get this blanking pump to work. I even drained the herms and blew it out with my shop vac and then started again. The pump just barely trickled wort through it even though it was wide open. I had to keep opening and closing (to varying degrees) the butteryfly valve on the mash tun out, and this would make the pump surge a little more and wort would flow a little better. I then took off the pump head and there was grain in the impeller, which probably was the problem. I cleared the grain and the rest of the day went better but the pump still lags behind and is not as strong as the water pump. These both are March pumps with the bigger impellers but they are inline pumps. I am ordering the center inlet heads to see if I get better flow and see if the grain doesn't get hung up.

I still hit my numbers for my pre-boil gravity which I couldn't believe, since the grain was sitting in the mash tun for over an hour at about 110 degrees since I had no heat flow from the herms coil to heat it up, when the pump shut down on me. After I fixed the pump even though it was slow the control box took over, and kept the mash at 152 degrees for one hour effortlessly, and then I mashed out and I boiled for one hour. Kal's control box is quite the piece of equipment and I am so happy with this purchase and it worked flawlessly.

Do you have any issues with grain getting in your pumps after doughing in? I have a Sabco false bottom which is a very tight fit and I do not think I have any channeling, however some of the fine pieces of grain and bits of husk or whatever do seem to get through the very small holes in the false bottom screen. Not much but I guess enough to clog the pump. I milled my grain at just a hair bigger than .045 so the feeler gauges slid in and out easily, which is plenty coarse like Kal recommends. I need some suggestions to remedy this pump problem. Hopefully the center inlet heads will just force these little pieces through without hanging up in the impeller compartment. Otherwise I might have to buy the March center inline pump, which is like $395.00 ouch! And this might not solve the problem. In the end I am really glad I was able to try her out and make some beer, it's been a long time coming!! Once I get the pump problem solved it will be really cool! :mug:

John
 
Well not horrible. I have the SS center-inlet Chugger pumps and while I don't have issues with the grain getting stuck I do have issues trying to recirculate the BK wort over about 180 degrees even though they are rated for higher temps. The water pump works like a champ without any issues whatsoever. I have even switched the pumps but then the other pump doesn't want to pump the >= 180 wort either. Because of this I basically do a hop stand where I add hops as the temp drops with the lid on the BK instead of trying to recirculate. I've thought about either upgrading pump size or switching to a different brand to see if that solves the issues but haven't done that yet.
 
Hey Roadie thanks for telling me about your pumps. Yea the water pump works like a champ. I got the center inlet heads today and I will try them out and do a test this week. I made a starter for my Nut Brown Ale the night before I brewed and the fermenter was bubbling 8 hours after I pitched the yeast, so I was very happy about that and at least I made some beer! I will track down this pump problem, I came all this way on this build and I will figure out the pump issue.

I have an idea what it could be..... My Sabco kegs originally came welded with half inch connections for their siphon and I think that is the problem as the steel tube is probably 3/8 inches. The rest of the build I added the one inch tri clover fittings but the siphon and tri clover fitting for that was 1/2 inch. I had them weld the 1 1/2 inch tri clover cap to it, as they would not do a larger siphon. So this is a small restriction at the very start of the sucking process for the pump, pumping out of the keggle. The returns also have small 1/2 inch tube welded to the top of the keggles and I had them attach larger tri clover caps to the ends, to accommodate the larger tri clover fittings. If the center inlet pump heads do not solve the problem, I will drill holes and install a 5/8 inch siphon and attach the one inch tri clover ball valve and fittings to that. I can also enlarge the returns if I have to and this should hopefully end the problem. We will see. I will report back. I am anxious to get it fixed so I can brew a lot more and enjoy this great hobby!

John
 
Hey John I wonder if you are having the same decoupling problem I did? The pumps can handle some bits of grain and restrictions should only reduce, not eliminate your flow. I am sorry to say I do not think the larger inlets will change the situation. Decoupling happens when the pump is running but little to no flow is coming out. When you shut it off the motor spins freely for a while, then near the end engages ("clicks") the impeller. Starting it again works, if only transiently, before decoupling again. The decoupling can happen from wedged grains in the pump, as this is its intended safety goal, so maybe this was a one time deal.

Where in CFL are you? I am in Wellington.

-BD
 
Hi BrunDog, interesting about the decoupling. I didn't hear a click noise when the pump re-engaged, but then again I may have missed it also. There were some grains inside the pump head and in the impeller and near the opening for the out side of the pump, so hopefully this was the problem. I got the center inline heads and they seem to have a bigger channel where the impeller forces the liquid out, compared to the smaller opening on the out of the inline head I have. So hopefully this will help force out the small pieces of grain when I dough in and first start the pump to recirculate into the herms coil. Maybe I should try doing this slowly at first and then open the pump wide open after the recirculation has been going for a few minutes. I hope the smaller siphon isn't the problem but I don't have an issue changing it out at this point. I just want the thing to WORK! Wellington is nice, you are a little far from me, I live in Pasco County. I lived in Pinellas for years and then we bought some property in Pasco and have been here about 18 years now. We raised some horses when the kids were young so it was very nice to be able to do that. I was just so frustrated when I commented on your thread about you coming over to fix my pumps, but if you were closer it would be pretty cool and you could check out my system. Heck we could do a brew day! Thanks for the insight, hopefully it was decoupling and as long as I can keep the grain out of the pump head, it will work much better. I still think after I get it fixed that the pump going through the herms coil might have to be a stronger model, in order to pump through the 50 foot coil and through the hoses and into the mash tun...... Just my opinion or my frustration.

Thanks again,

John
 
Good luck with the pump. Mine has been working with some other water testing but the failure happened during the brew, where the fluid was at boil temp (whirlpool). So we will see. If it happens again I will call Chugger then look to repair/replace. Again, I don't think yours is inlet or outlet related. Usually problems are cavitation related. It is possible to create a cavitation with fluid at boiling temp with a restricted inlet as the suction can lower the boil temp slightly and create bubbles. But if you don't see bubbles and you know the lines are bled of air, something else is going on. With restrictions alone you would get some flow, not no flow.

Dude I would totally come for a brew day! Perhaps if I am working up there which I do on occasion. It's always fun to learn new ideas especially on others' systems!
 
Love those Kal panels from Spike..but looking i cant help but wonder why they twisted the black and red wires going to the element sockets? I mean it doesnt matter which one goes where to the element so i wonder why they cross them over eachother to put Red on the left instead of just going straight in like with the main power input connector.
 
That's good info BrunDog, I guess the no flow is cavitation related then. We'll see with the new pump heads if this is minimized or not. I hope you get your pump situation squared away as well. Give me a shout or pm when your up my way!

John
 
Love those Kal panels from Spike..but looking i cant help but wonder why they twisted the black and red wires going to the element sockets? I mean it doesnt matter which one goes where to the element so i wonder why they cross them over eachother to put Red on the left instead of just going straight in like with the main power input connector.

That's a good question Fuzze, it must be for a reason, or just the way they like to install them....It's fine with me though it works great!

John
 
Back
Top