oldstyle69
Well-Known Member
Nice.


Any more ladder rigs out there?
Folding rigs?
Any more ladder rigs out there?
Folding rigs?
Running of my houses natural gas, and there's a giant vent hood (air/moisture tight) with a hydroponics vortex fan venting gases and moisture. Nobody upstairs could smell the boiling wort.
I see what you did there... Is that a chevy wheel under your Boil Kettle? !!!! :rockin:


Could you describe how the vent system is constructed?


")
Score! I'll have make friends with some of the plumbers around here and see what I can find. Did you cut with a saw, grinder, torch, plasma, something else?


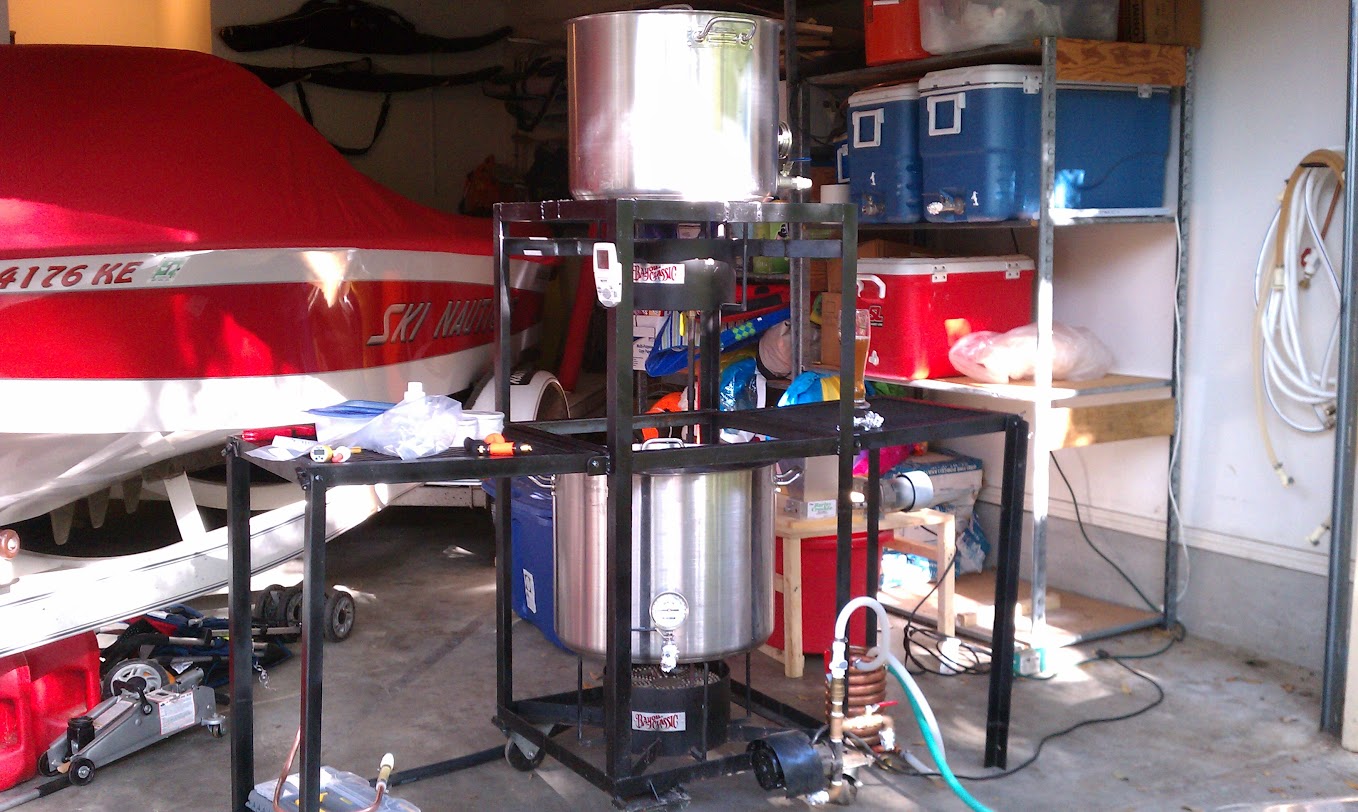
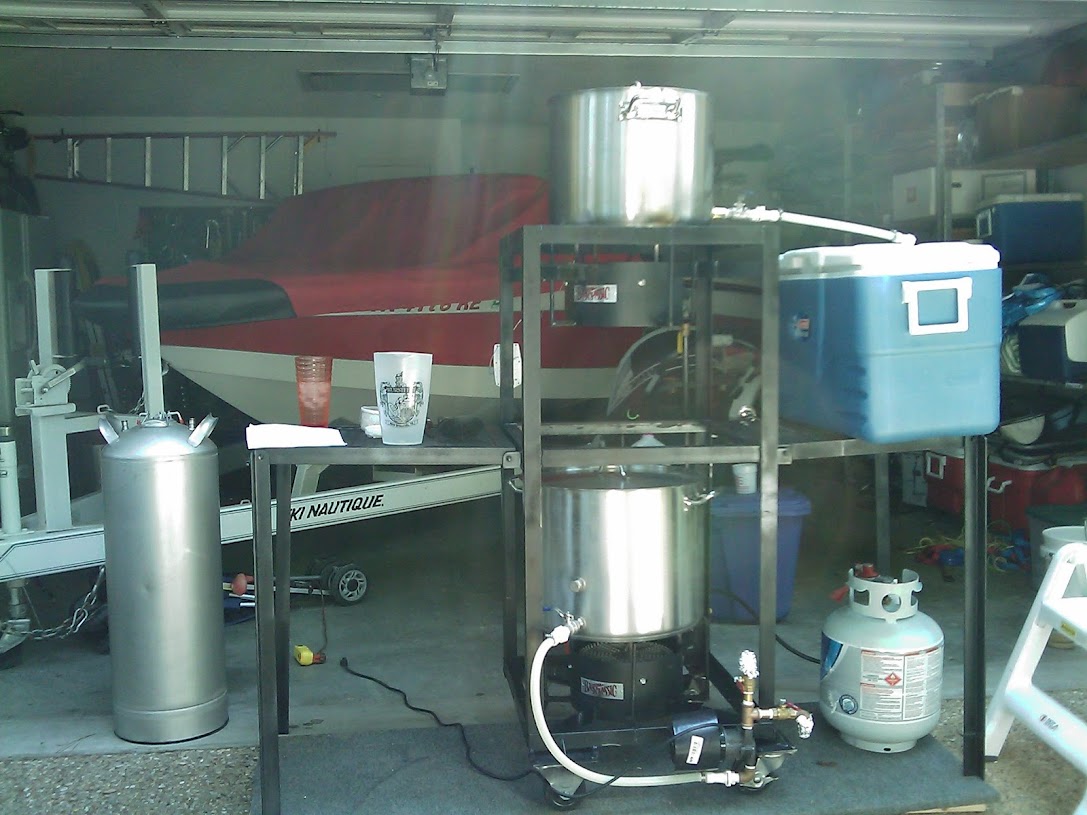
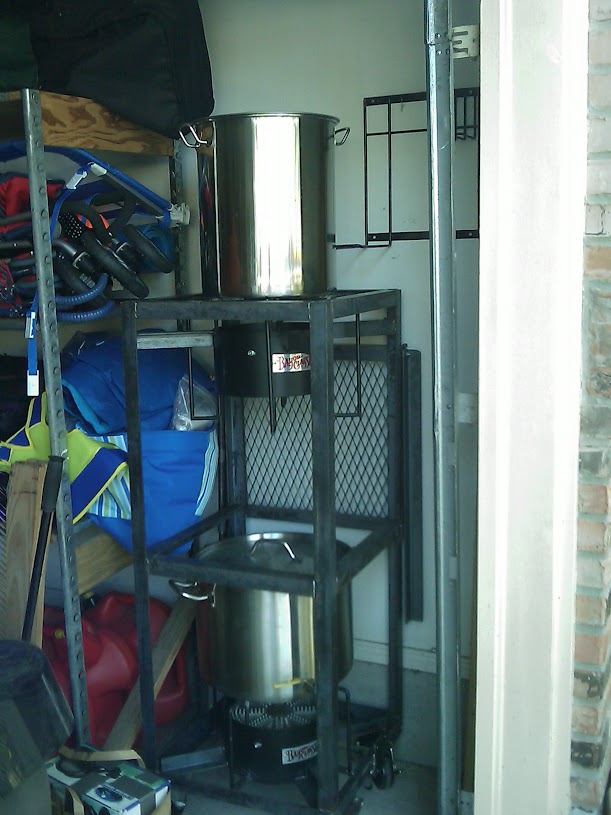
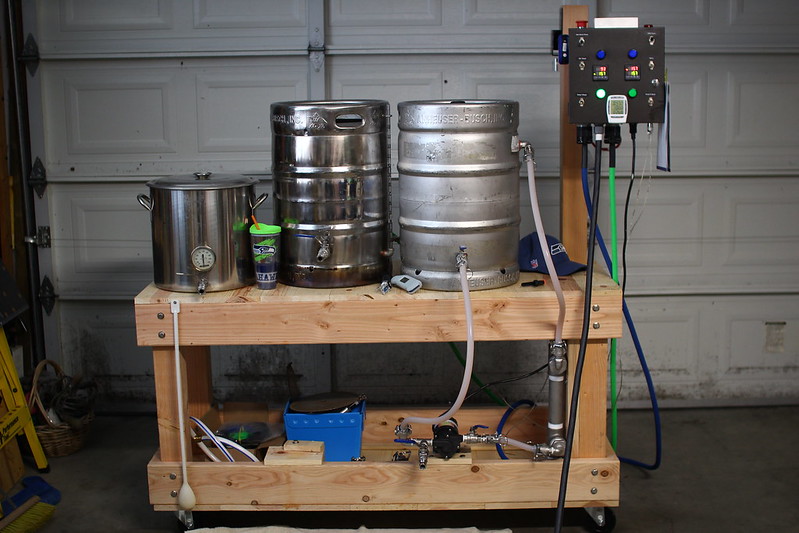
My rig:

Here's quick video, if you want to have a look. I didn't have the time to edit it, but it's still easier to see how it goes than explain it. Works quite well even without the lid. http://www.youtube.com/watch?v=VO8IlvWlKIYCould you describe how the vent system is constructed?
Sahweet! Love how it vents to the back.

Here's quick video, if you want to have a look. I didn't have the time to edit it, but it's still easier to see how it goes than explain it. Works quite well even without the lid.]


Terrific! Very helpful. A simple elegant solution. Hard to believe a computer fan can move that much air.
Looks almost as much snow and cold as here in Minnesota.
 .
. 

Is the toaster for sale?


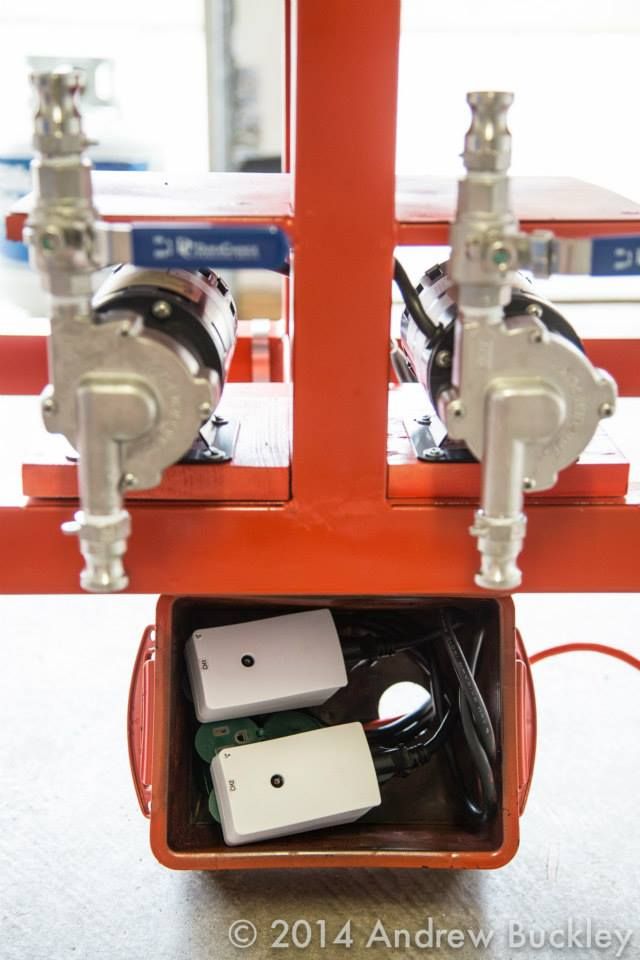
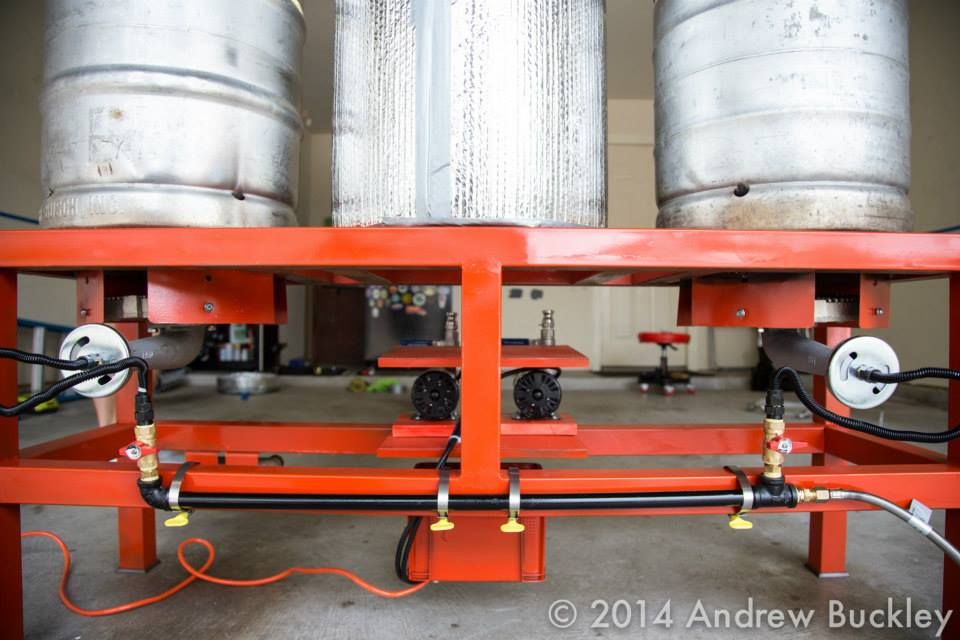
Just started brewing on the big pots. Still needs some refinement.
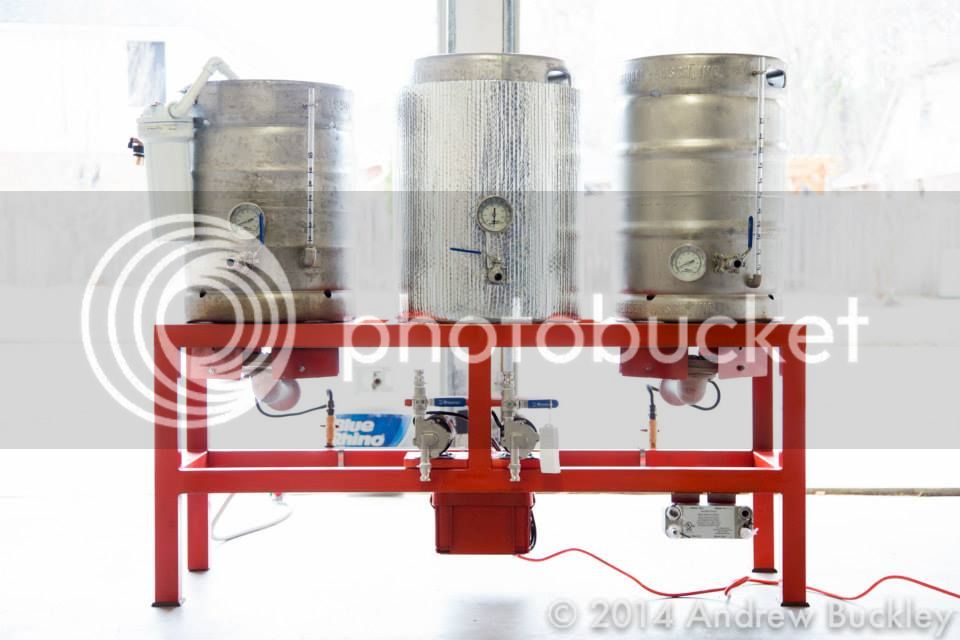
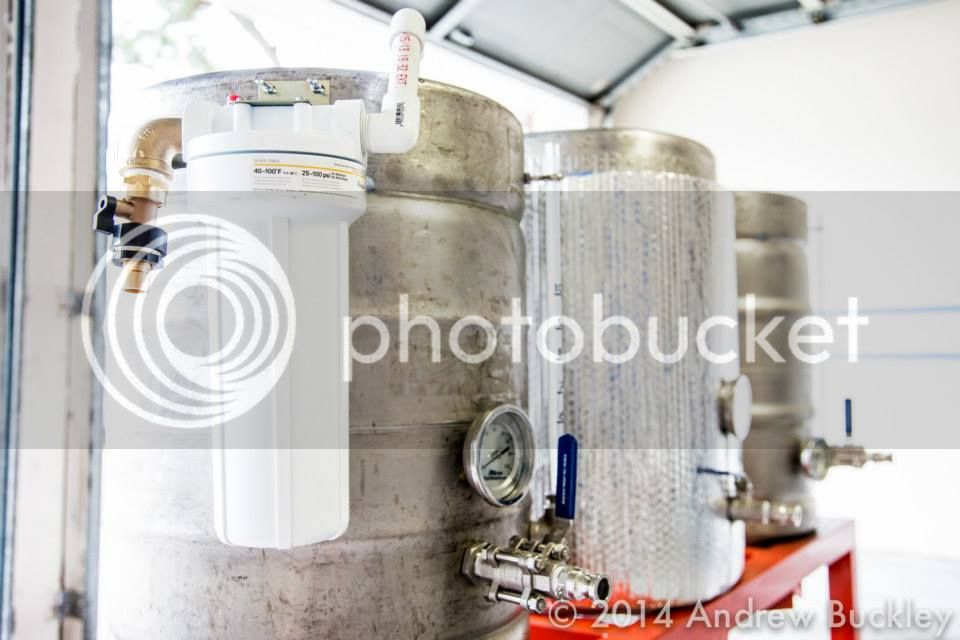
40 gallon steam kettle converted to direct fire.
30 gallon steam kettle with 12" domed false bottom.
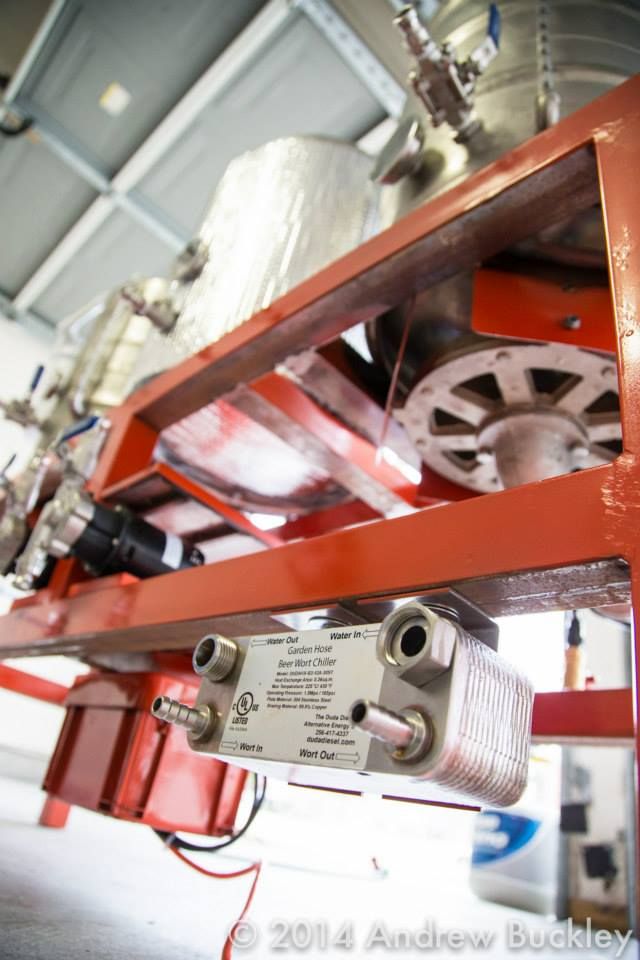
Big-ass heat exchanger from dairy tank for chiller.
Enter your email address to join:

