Thanks for all the ideas and inspirations guys!
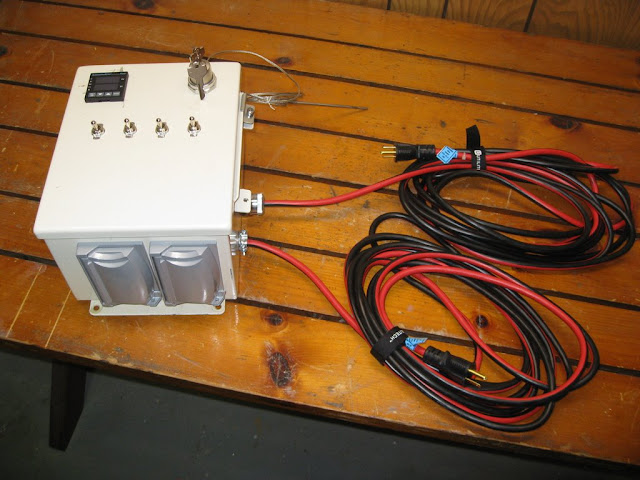
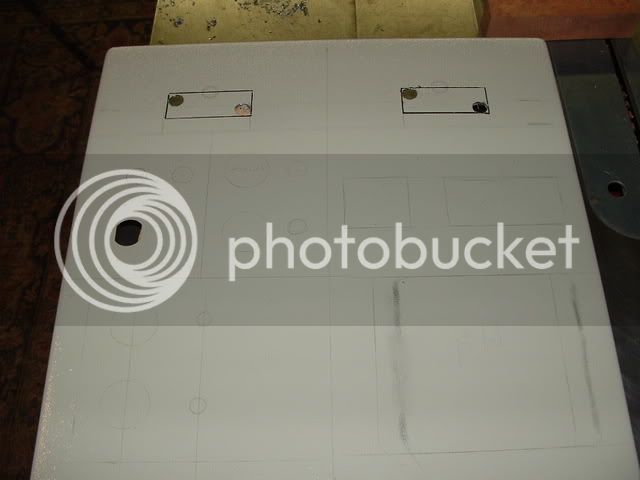
I've gotten most of my parts in now and am trying various layouts in my 16x16x8 control panel. Here's what I'm thinking so far:
Once I figure it all out I'll be ordering the plastic labels.
I'm thinking black labels with white writing, and the case will be painted black as well.
Some comments as I'm sure people will have questions:
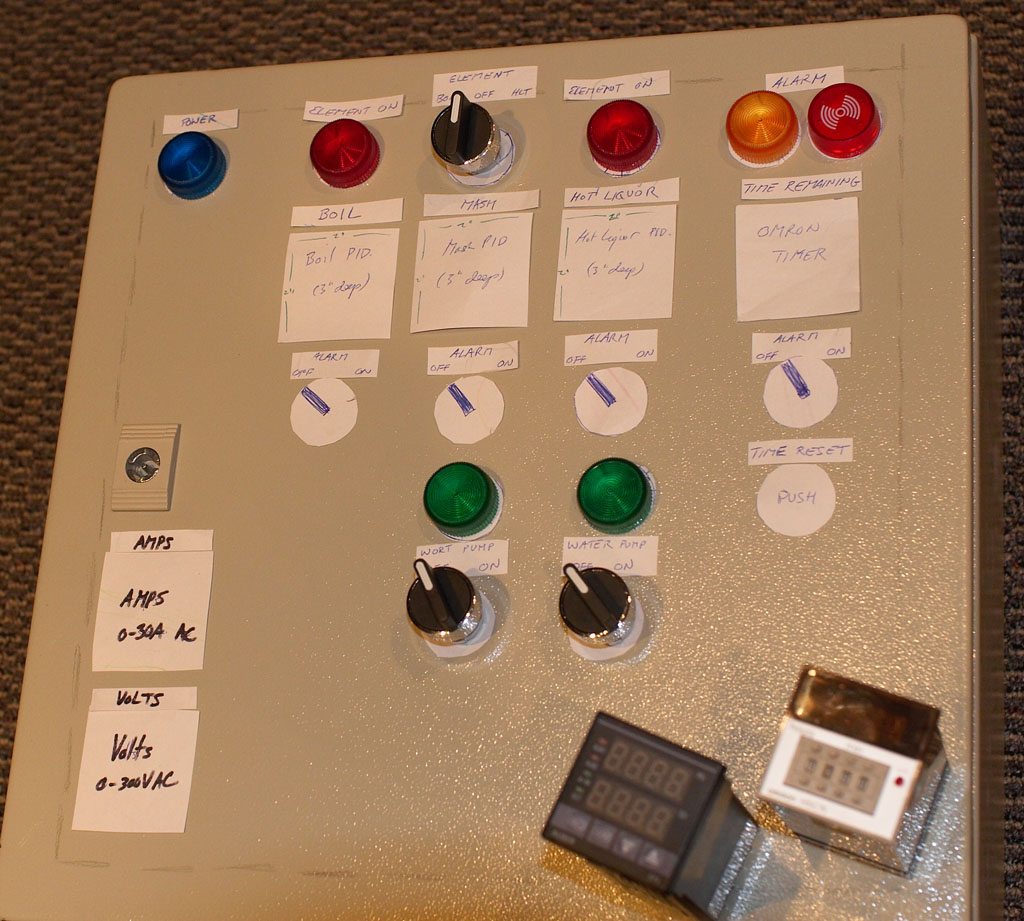
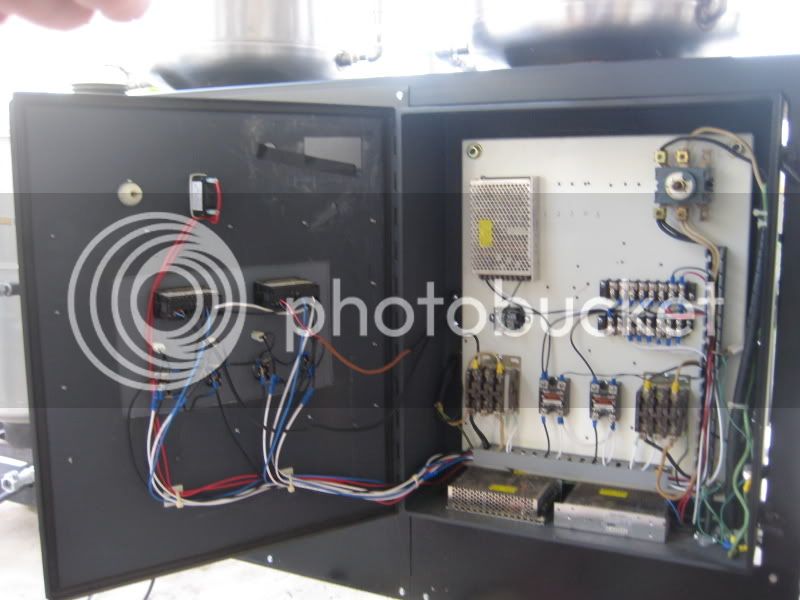
What are the 4 alarm switches for? They control the alarm light and buzzer in the top right and will be wired in parallel. The idea is that only one swtich will be 'on' at once. The 3 PIDS and Omron countdown timer all have alarms in them which I figure I might as well put to use. The coundown timer can tell me how much boil time I have left and possibly when to add hops. The boil pid can be set to warn me right before it hits boil. The HLT one can be used to tell me when strike temp is reached, and the mash one, well, I'm not sure yet. We'll see.
")
One benefit of having dedicated PIDS for everything is that you don't have to reprogram the alarm points or anything as you work through the process of brewing. Set it once and forget.
I found a small analog ammeter and voltmeter on ebay that are 1/16 DIN size (same size as the PIDs and timer) that will go in the bottom left. Not sure I like that position but they need to be not front and center so I'm not really sure where to place them. Here's what the ammeter looks like:
In retrospect something digital may haven been better but they're all a lot larger - 70mm wide as compared to 48mm for the PIDs and timer. To me it seems odd that an ammeter and voltmeter (which are complete fluff and not needed) would be larger than the important controls in the box so I got these two small (inexpensive) 1/16 DIN ones.
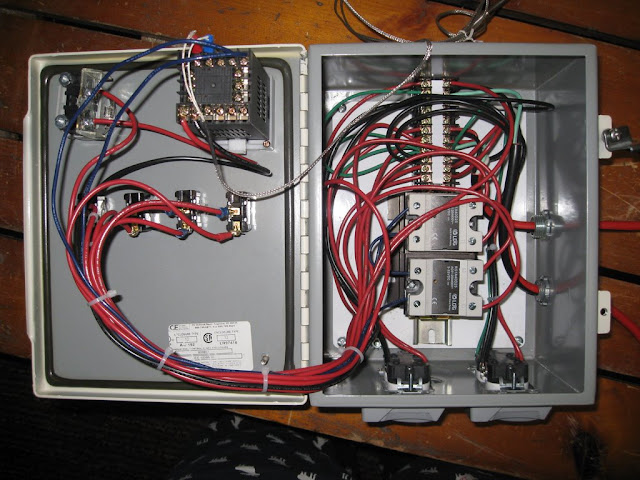
I've got a switch above the Mash PID to select which of the two elements will be on since I'm making this a 30A max setup so that it can travel. This'll control a couple of SPDT 30A relays to make sure that BOTH legs of each element are off when needed.
Everything else should be obvious.
I dunno. The more I look at it, the more I don't like this layout. Gotta rethink it a bit more.
Kal

 I also think using fermcap goes a long way in terms of safety and cleanup.....boilovers simply don't happen when you use it in the boil.