nostalgia
Well-Known Member
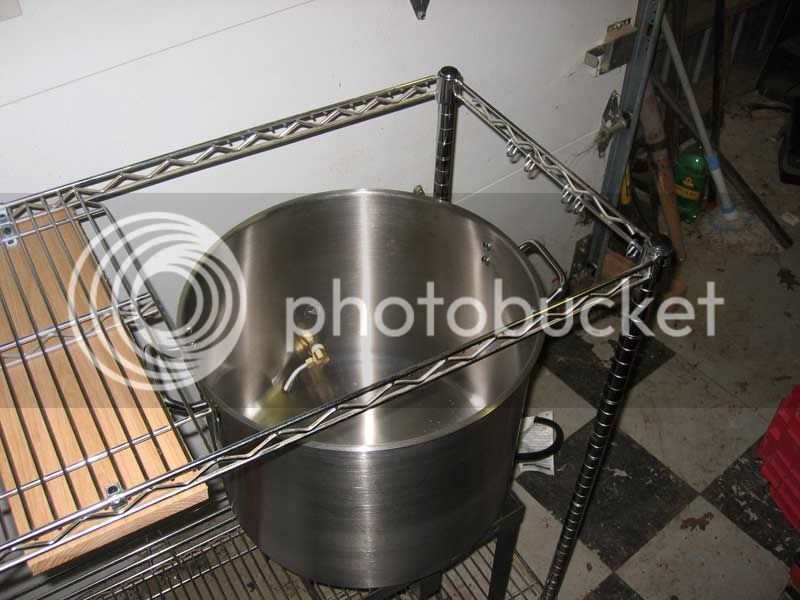
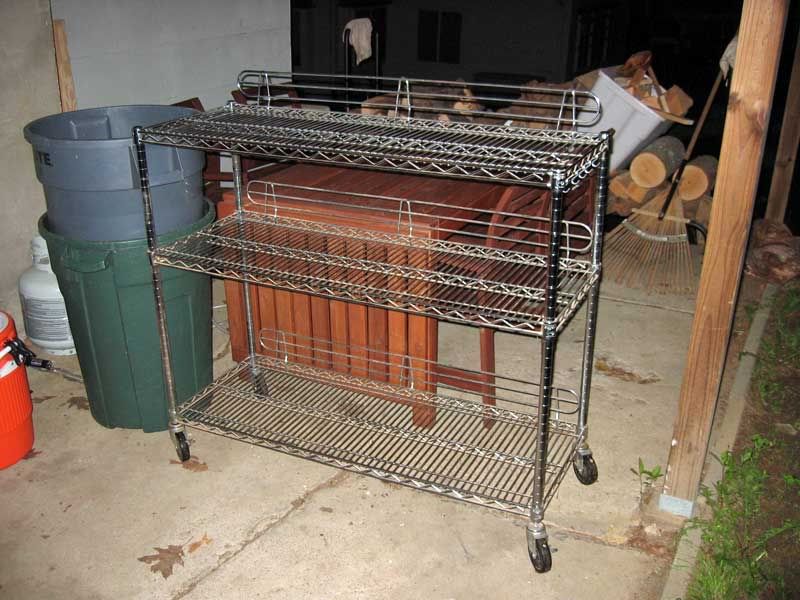
Rather than build a rig/sculpture from scratch, I figured I'd re-use one of those heavy duty NSF wire racks. I picked mine up from Costco. The shelves are good for something like 500#. It also makes a nice, compact rig. The shelving is 48x18".
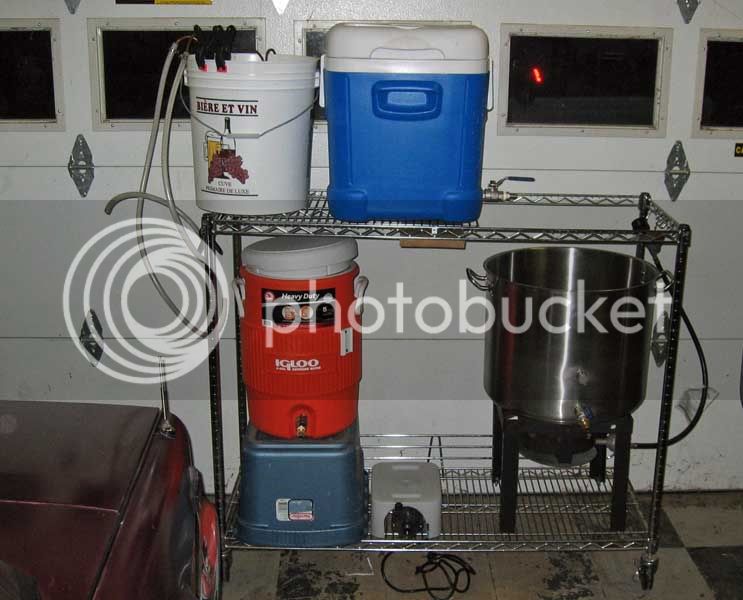
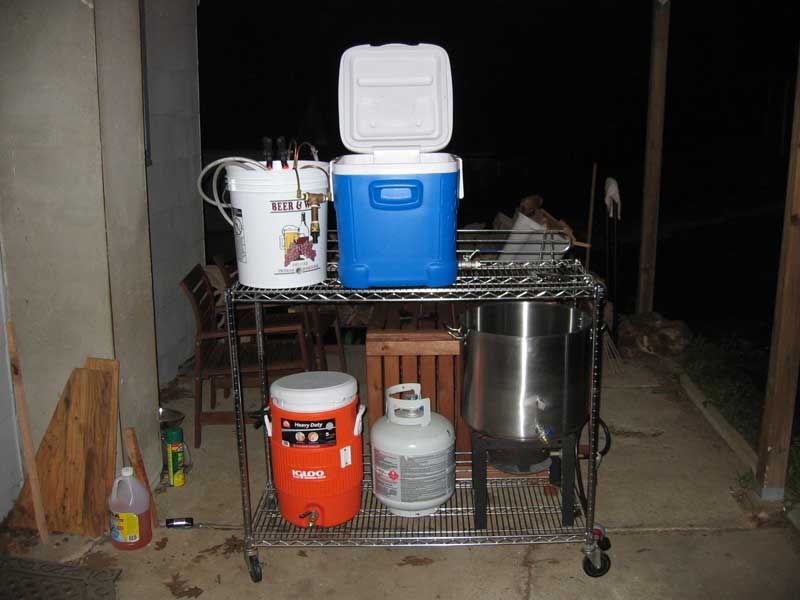
And here it is with everything in place. Perhaps obvious, but my blue cooler is the MLT (52qt) and the orange cooler is the HLT (currently 5g to be upgraded in the future). The pot is the 15g boil kettle from Morebeer.
The orange cooler will be raised up to give it some height off the pump to help it prime. The propane tank will not stay on the shelf during operation; it's only there for storage.
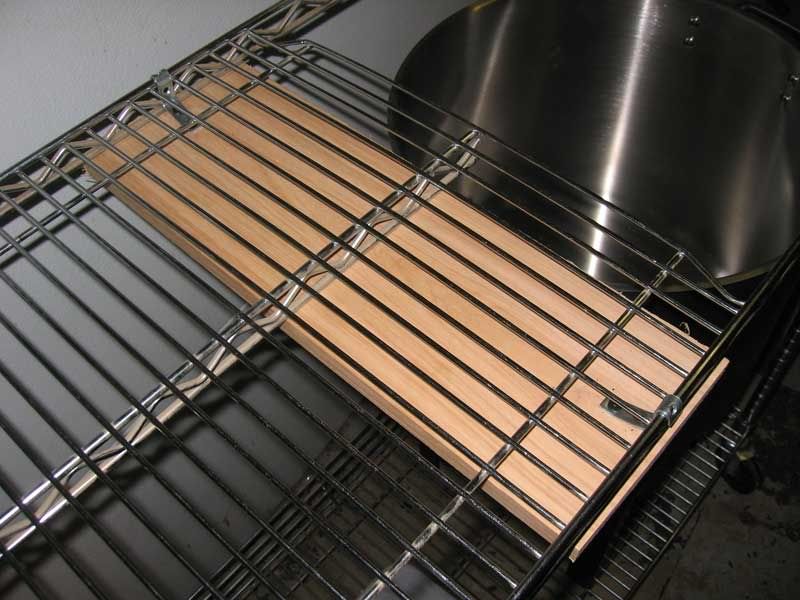
I will also be cutting away the shelf over the BK so I can get a spoon in there if I need to stir. As a bonus I will be leaving the center support of the shelf so I can hang my hop bag from it. And of course the burner will be properly secured to the shelf so we don't have any mishaps.
Comments and suggestions are welcome!
-Joe
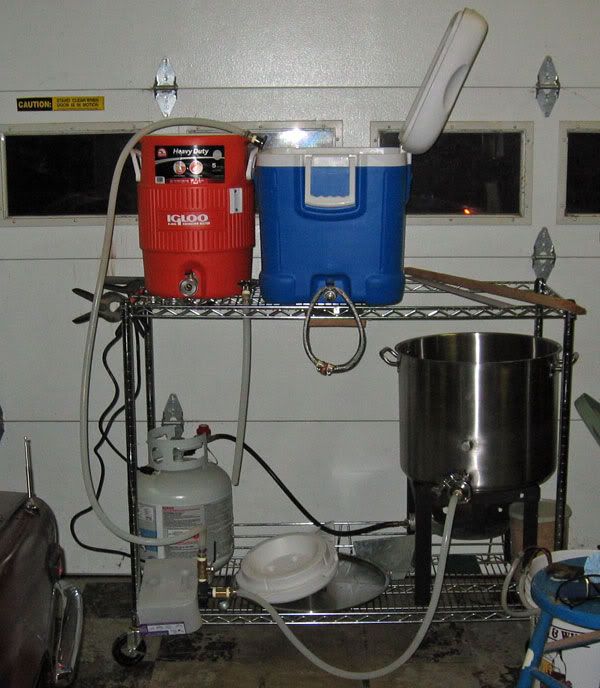
And here it is with everything in place. Perhaps obvious, but my blue cooler is the MLT (52qt) and the orange cooler is the HLT (currently 5g to be upgraded in the future). The pot is the 15g boil kettle from Morebeer.
The orange cooler will be raised up to give it some height off the pump to help it prime. The propane tank will not stay on the shelf during operation; it's only there for storage.
I will also be cutting away the shelf over the BK so I can get a spoon in there if I need to stir. As a bonus I will be leaving the center support of the shelf so I can hang my hop bag from it. And of course the burner will be properly secured to the shelf so we don't have any mishaps.
Comments and suggestions are welcome!
-Joe
") No worries, I can still clip my hop bag to the side supports. I will have to shore up the shelf a bit when I cut the support out, but shouldn't be a problem.
No worries, I can still clip my hop bag to the side supports. I will have to shore up the shelf a bit when I cut the support out, but shouldn't be a problem.