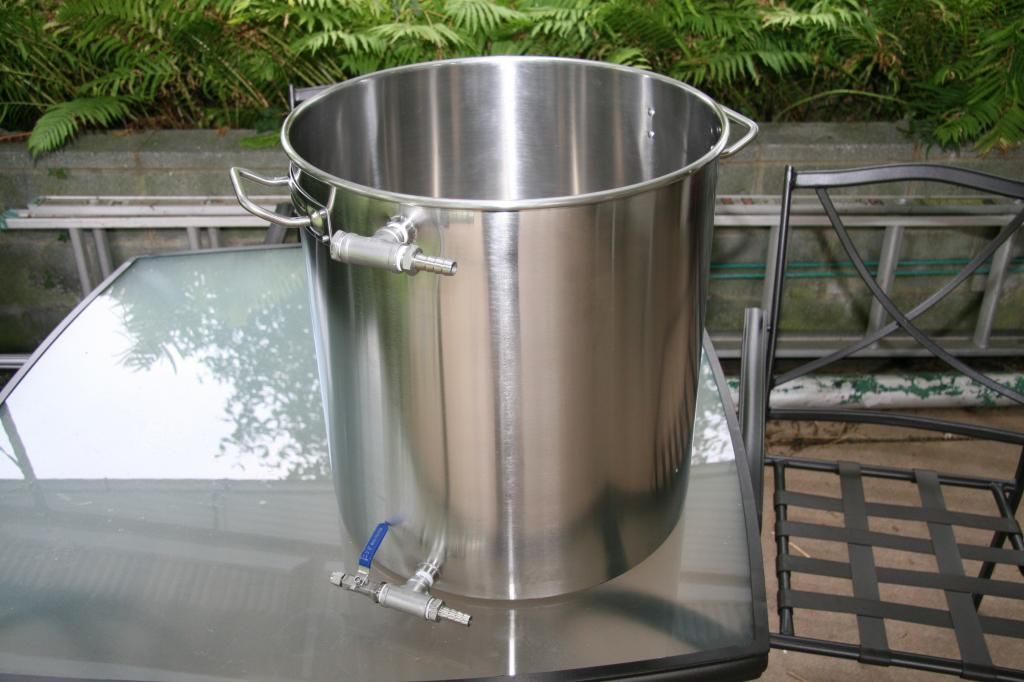
I had all of those problems! My pre boil volume was huge to begin with (14.5 gallons in a keggle!), so the hop spider made the first 15 minutes of the boil a nightmare. I think with half the boil volume it would have worked great, though. What was your boil volume? Luckily my new BK is huge at 25 gallons. I shouldn't have any problems with boil overs in it. I plan to clamp the spider to the side of the BK to keep it from bouncing around.
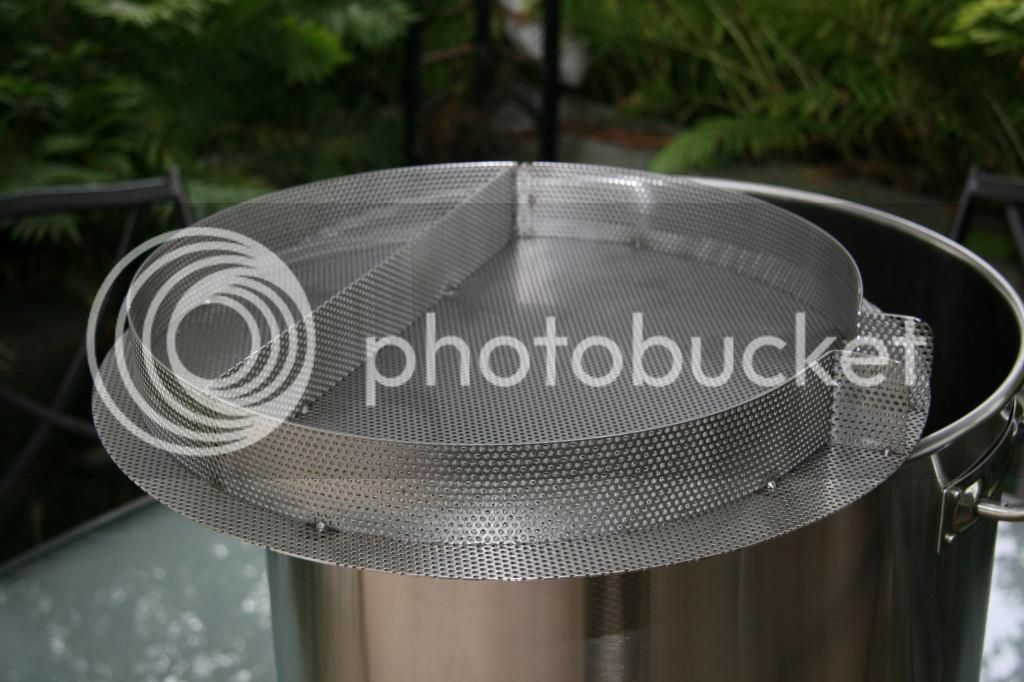
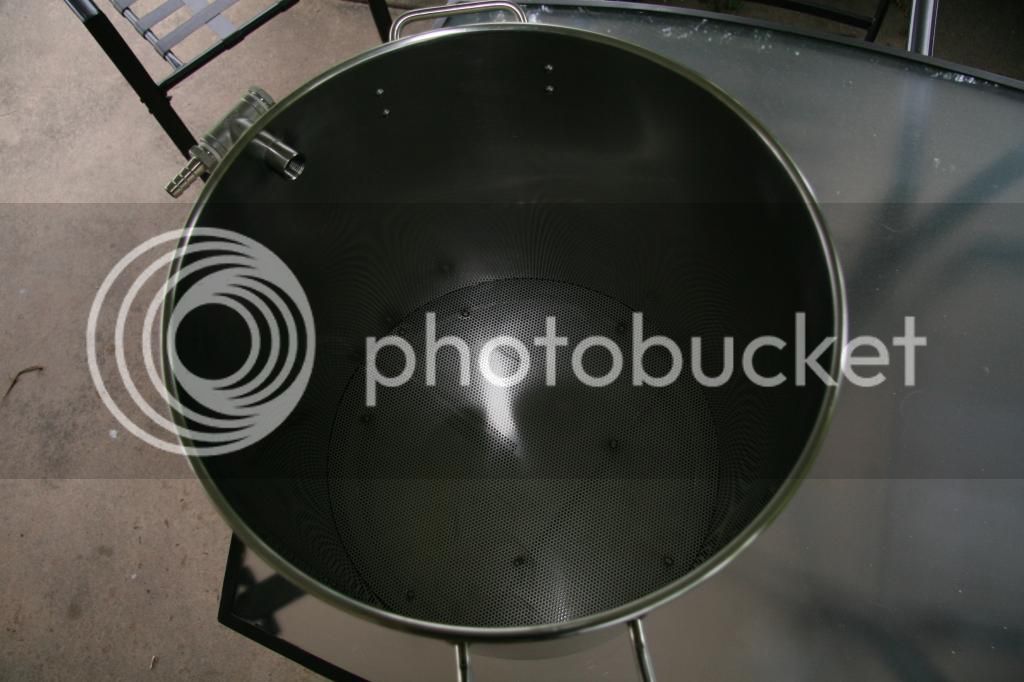
I did a water test with a few ounces of whole hops in the new BK with the hop spider and it seemed to work perfectly. I put the hops in the kettle, not the spider, so I could see circulation. About 75% of the boil went directly up into the basket (which will promote utilization in the basket) and the remaining 25% went into the liquid around the basket which kept everything circulating very nicely. My thought is to put pellets in the spider and whole hops in the kettle since the bazooka tube seems to handle them fine. Hopefully the spider doesn't let any pellet debris out and clog the bazooka...


")