Cpt_Kirks
Well-Known Member
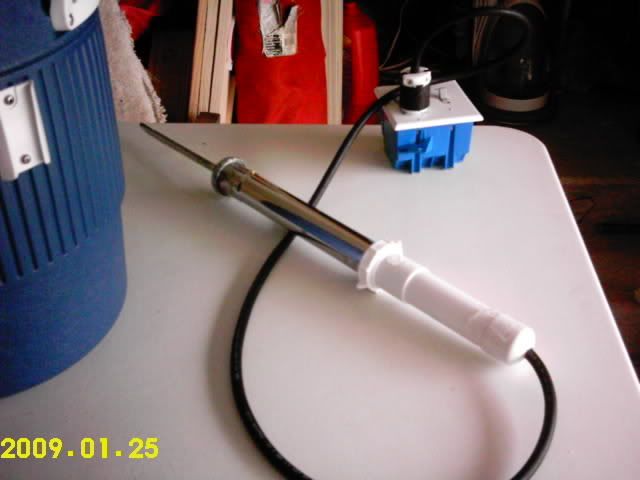
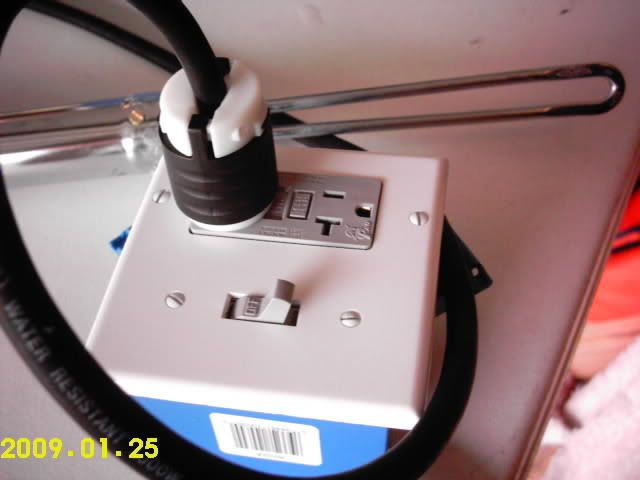
I finished my 2kw heatstick today, so I went ahead and made a 10ft extension cord for it. I used a 20 amp GFCI and a 20 amp light switch. I mounted them in a dual outlet box. Now, I can turn it on and off without unplugging.
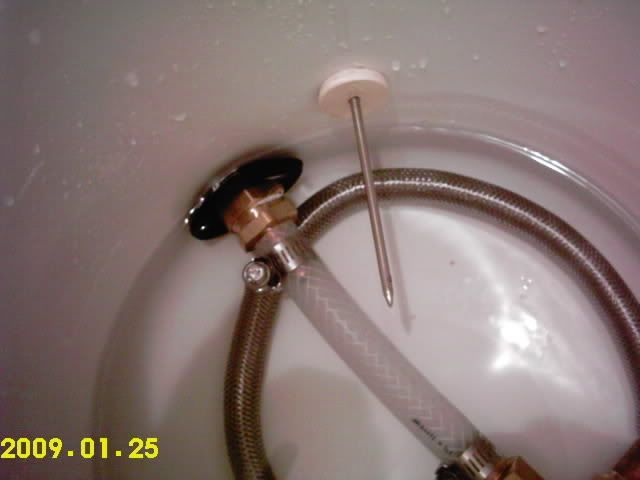
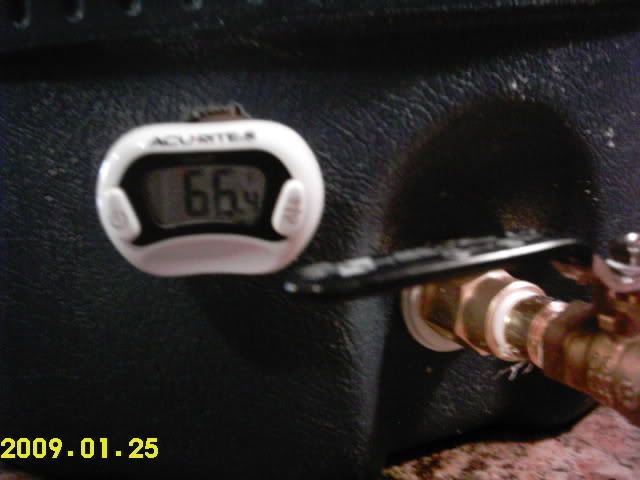
I also added a digital thermometer to my MLT, using the "Pol Stopper" method.
Used the MLT with cold water in it to test the heatstick. I raised about 2.5 gallons of 57* water up to 81* in about three minutes, so I guess it worked.
Most importantly, I am still breathing!
:rockin:
I also added a digital thermometer to my MLT, using the "Pol Stopper" method.
Used the MLT with cold water in it to test the heatstick. I raised about 2.5 gallons of 57* water up to 81* in about three minutes, so I guess it worked.
Most importantly, I am still breathing!
:rockin: