zGrubermeister
Active Member
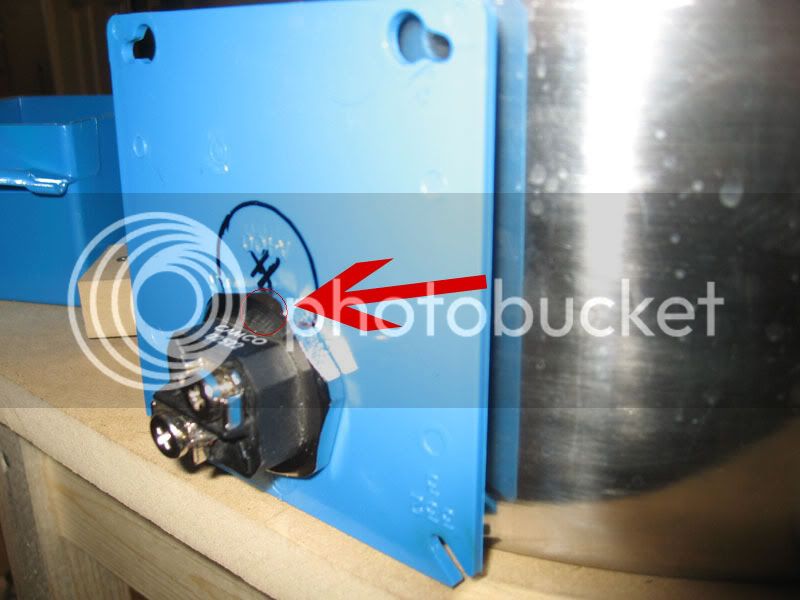
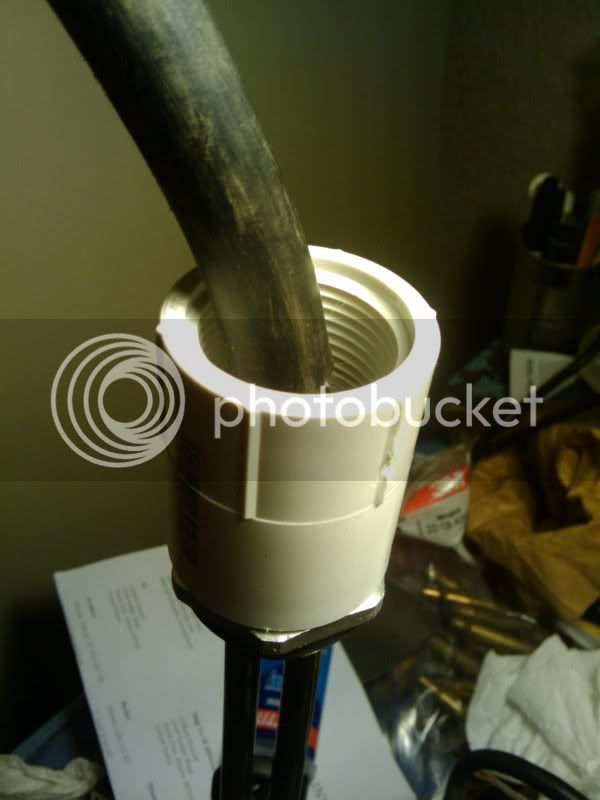
Would the element/brew pot be sufficiently grounded if I epoxied my ground wire to the spot show in the picture below? I think it would be but I'd like additional opinions. Thanks.

Since your element is connected to your kettle, why not ground the kettle?
Even at metal to metal contact be it similar or dissimilar metals each and all create resistance at the contact point. To reduce these added resistance connections element to kettle then kettle to crimp fitting to ground wire was the suggestion to ground the element directly. Less connection points to fail. I don't recall reading that your an electrician from your postings.

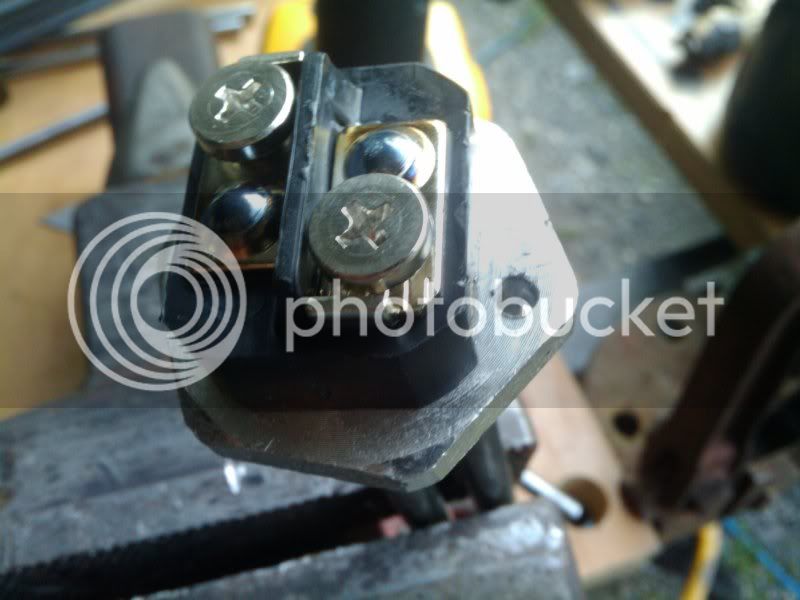
Add a washer flush to the top surface of the nut with a quick Mig weld then thru bolt with a 10-32 or 10-24 screw. Use a crimped lug and ground wire. The elements grounded directly to itself vs relying on the element contact to the kettle plus a hole in the kettle to ground.
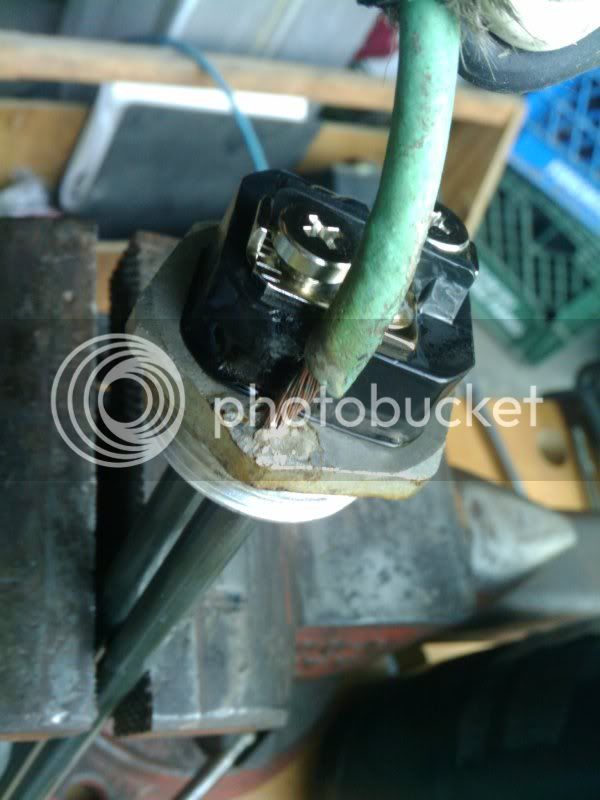
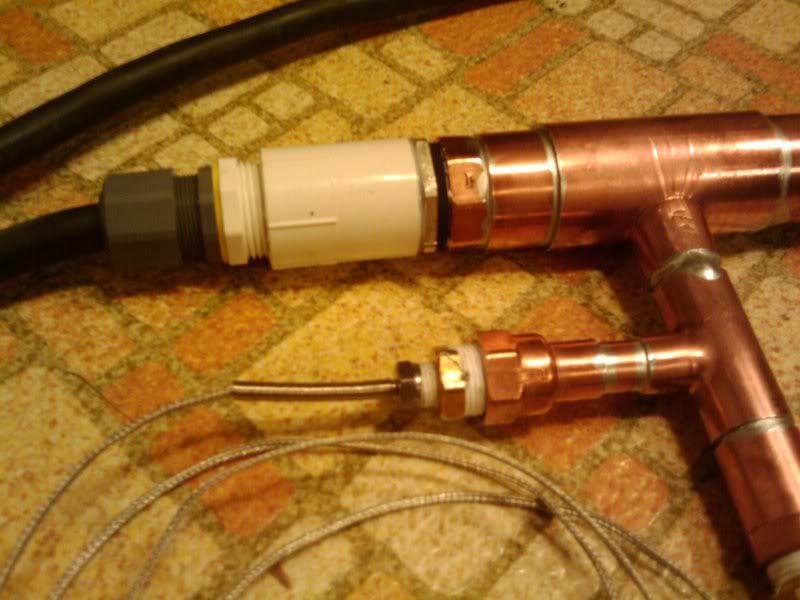
I drilled and tapped a 4-40 screw into one of faces of the flange bolt right where your arrow points. I took the ground wire and soldered a tab to it that i could screw in.
Easy and looks great.
Dan

Should the element fail and go to ground it will go hot to the elements outer shield that's welded to the base first then travel to the kettle. Stop it at the most direct source which is the elements base. Early retired wireman here due to a back injury so i'm out of the game only a 29 year IBEW member.
If you look at home depot or lowes you can get a reducing washer. They are cheap. Like 2 bucks for three of them.
It will be in the electrical isle with all the metal box connectors. I went with a 1.5" to 1". It gave me plenty of room around the edge to drill a hole and connect the ground to a screw. Put the washer between the element and your kettle. This will then touch your kettle and your element effectively grounding both.
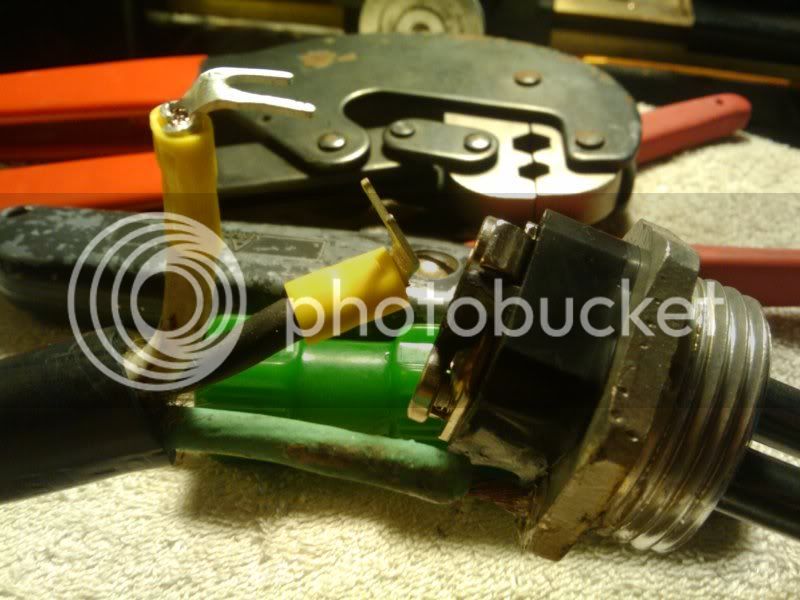
If I remember, I will get a picture of mine tonight.
Like whats been posted before, drill and tap a small threaded screw hole then screw a crimped on eye connector to the element. For a quick fix I would of placed a washer on the surface away from the sealing surface and welded a washer on that hangs past the side of the nut with a quick tack by the Mig welder. A 1/2 second job with no heat damage to the element. Add a short screw lock washer and nut.
A picture would be great, thanks.


Enter your email address to join:
