Brew room on a budget

Homebrew Talk - Beer, Wine, Mead, & Cider Brewing Discussion Forum

Help Support Homebrew Talk - Beer, Wine, Mead, & Cider Brewing Discussion Forum:

This site may earn a commission from merchant affiliate links, including eBay, Amazon, and others.

crypt0

Well-Known Member
Joined
Sep 14, 2009
Messages
180
Reaction score
1
Location
Kitchener
I'm building a dedicated brew space in my basement cold room, and I figured I would document/photograph the process, hopefully to help others who are thinking of a similar setup.

Also it should be noted that I'm not the handiest guy in the world, so if I can do this, it means pretty much anyone can.

Goals:

- Brew in place
- Clean in place
- Replace propane burner with an Electric setup
- storage (all gear in one area instead of all over the basement and garage)
- portability -- if I move, I want to be able to take this stuff with me.
- Minimal modifications to the room itself (with the exception being the shelving I want to install - that will be permanent)
-----------------------------------------------
Budget: <$1000 all in. I don't count my time.

To contrast, my current process involves pulling everything out of the basement/garage, my mashing is done in the kitchen. I feel like half my brew day is spent dragging equipment and buckets of wort around the house.

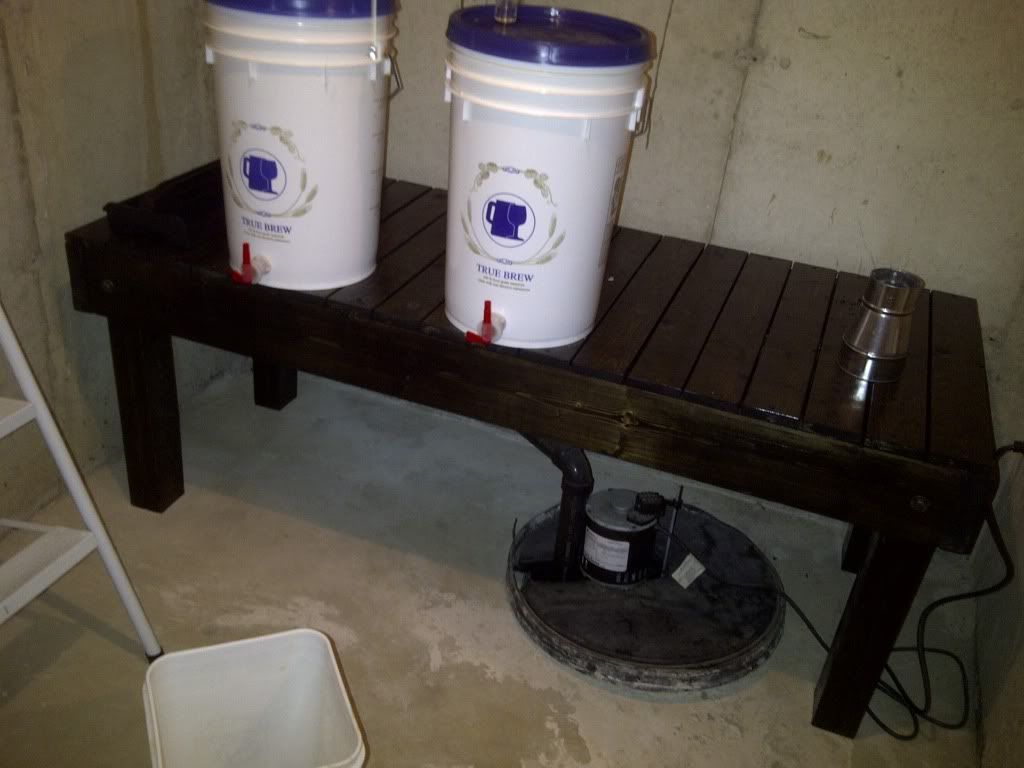
The cold room had been filled with mostly boxes and random storage. I cleaned out the room, and started thinking of a good layout. The room is 7' x 10'. Theres a sump pump in the corner, which is pretty unsightly and will be covered/hidden by the brew stand.

On the other side of the room, I'd like to build in some shelving to keep all my brewing related stuff in one area (as well as other legit cold room stuff :) )

Here's a high level plan for the room:
BrewRoom.jpg


Above the brew stand I'll be putting in some ventilation. there are a couple 4" existing vents for the cold room, one is partially blocked by the sump pump, one is free, but isn't very round.. I'll have to run a 3" pipe through the 4" hole for venting steam outdoors.

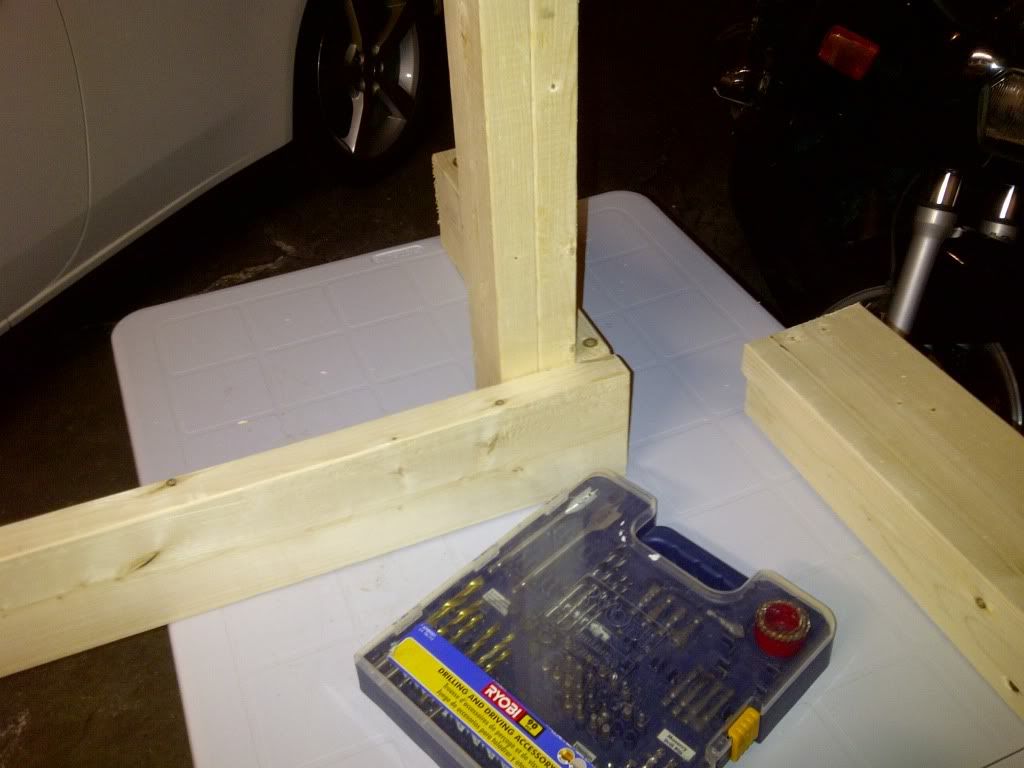
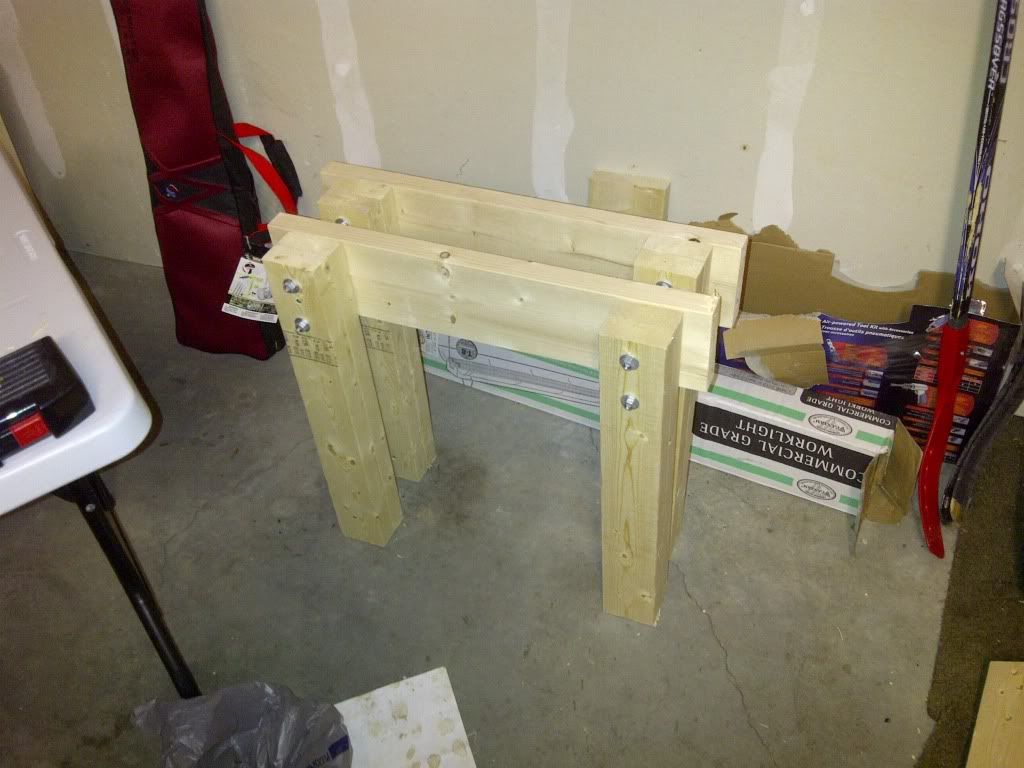
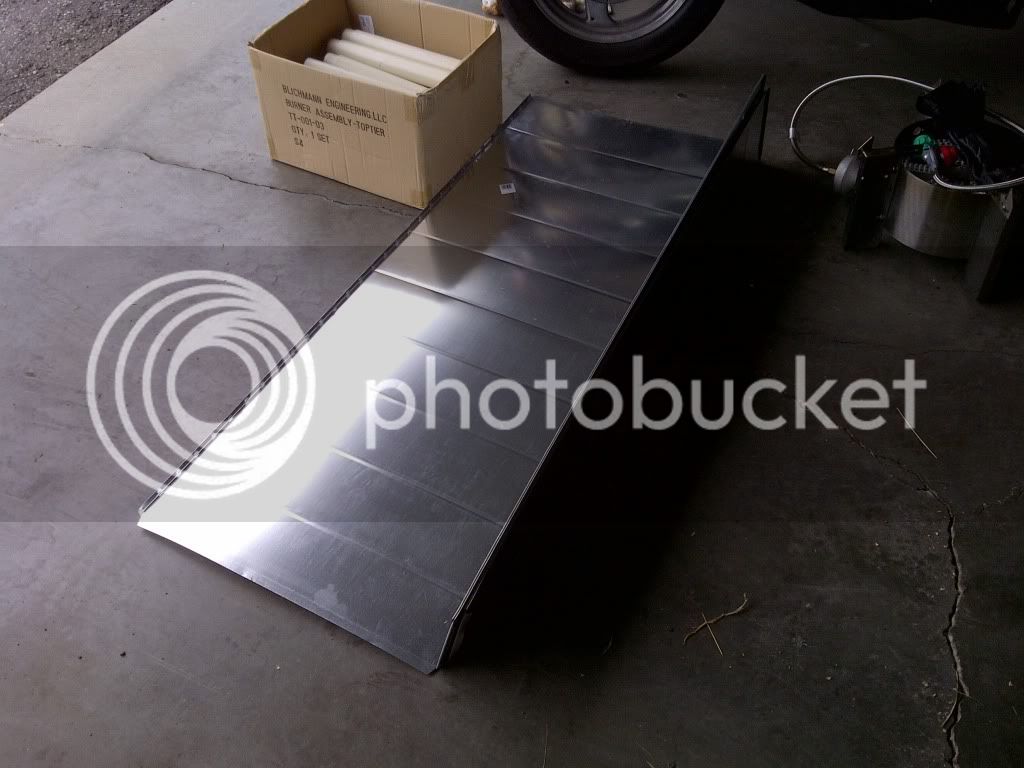
I've got some work done already, more pics coming to show progress!! :rockin:

RUNNING TOTAL: $0
 
Good luck! I wish I had a basement to do this in.

+a bazillion

I have a raised ranch and both levels are finished from end to end and side to side. I'm lucky that there was a separate space on the lower level for my two brew fridges, keezer and a custom brewing cabinet, but it has a parquet wood floor and again everything's finished so totally incompatible with fire, steam and random drippage.

It all adds up to being relegated to brewing in the garage or out on one of the decks. Not a problem from say May to October but it gets frickin cold from November through April out there.

I'd love to build out a finished room on the upper level with an actual "basement" below. Might happen at some point...

Cheers!
 
Back in August, I started work on my brew stand. I'm doing one similar to Kal's build (http://theelectricbrewery.com/brew-stand). Originally, I was actually planning to use propane/natuarl gas indoors, but the more I looked at electric builds the more I think it makes sense to use in the home vs a gas setup.

I Took some photos of the brew stand build, but not the level of detail that Kal shows. I modified my stand design somewhat:

- I found Kal's to be higher then I liked - I have fairly low ceilings in the cold room. My stand sits 24" off the floor.

- The bottom shelf would have interfered with the sump pump/plumming, so I eliminated that shelf altogether.

Here are a couple pics of the brew stand coming together. I borrowed a mitre saw to do all the cutting, what a great tool.

I forgot to keep my receipts for materials purchased, but my total for the lumber, nuts/bolts/washers/screws, stain, and polyurethane was in and around $200. Keep in mind I didn't price shop at all, just showed up at Lowes and purchased the parts. Nearly $100 was spent on the screws/nuts/bolts/washers alone.

I used the minwax ebony stain and mixnwax semi gloss polyurethane.

Here's some pics of the stand coming together

Waterloo-20110811-00026.jpg

Test fitting the legs and the top shelf

Waterloo-20110812-00027.jpg

Here are the finished ends

Waterloo-20110816-00029.jpg

Here's the bench put together after one coat of stain. I was worried it wouldn't come out as dark as I'd hoped, but after a couple more coats, I was really happy with how it turned out. It has a really nice, rich, espresso/coffee like finish.

Waterloo-20111101-00093.jpg

Test fit in the cold room - Perfect. As you can see, the sump pump is largely hidden by the brew stand, but still fairly accessible in case of an emergency. The stand does not interfere with any of the plumming going from the pump to outside.

That's 10 gallons of my Mill St. Tankhouse Ale clone conditioning on top of the stand.

Again, thanks to Kal for his documentation. Man is this thing ever tough!

Running Total: $200
 
Subscribed! I'm getting ready to start my basement brew room build very shortly. I love the idea of the lower table. I purchased a couple of stainless steel tables, one very heavy duty. I plan on cutting the legs down on the one to use for my keggle stand. At it's current height, the tops of my keggles are at neck height. Kal's table design is too high for my purposes as well. I think the 20 gallon Blichmann's that he uses are wider and significantly shorter than 15.5 gallon kegs that I'm using. Ideally I would want the tops of the keggles about 12" lower than where they currently are.

Great work so far. Keep the pics a coming, because I'm going to steal some of your ideas! :D
 
Oh....a quick question. Where are you going to mount your pumps without a lower shelf?

Hey Hoppopotomos, I'm also using Keggles (and a picnic cooler mash tun). My pump is currently installed in a toolbox setup. I'll repost the pics here when I have a second, theres a thread somewhere, but I think like one person ever saw it.
 
Holy moly batman, $100 for nuts and bolts? SS, I hope, for that price?

While I question you spending 10% of your budget on nuts and bolts, (dude, 7 bucks, 3" screws, done!), that is one beautiful looking stand. I really dig the plank top instead of a solid plywood top, and the color is really really awesome. At least with the hardware cost, you built it sturdy enough to support a couple of cars stacked on top of it, so it shouldn't get wobbly on you any time soon. Nice going!
 
Got it...Looking forward to the pics and I would love to see your keggle conversions as well. I'm doing the 3-vessel HERMs system similar to Kal's, but with a few differences. Received my 5500w heating elements last week and have 9 three piece ball valves scheduled to arrive tomorrow. Placing my order with bargainfittings or the weldless bulkheads and with brewhardware for my weldless site glass combos. I also have my eye on the chugger pumps with the ss heads at rebelbrewer for $120 each, but that will be a later purchase.

My wife and I finally grouted the slate floors in our basement bar this past weekend and I put two coats of stone sealer over the entire thing today. I have a few more drop ceiling tiles to cut and drop in and the basement is finished.... with the exception of carpeting and boiler to heat the floors. Hopefully we can get the carpeting installed within the next couple of weeks, so I can get all of the furniture for the basement, tools from working on the basement, and a bunch of other crap out of the room that will soon be my dedicated brew space. :rockin: I'll start a thread when I get a chance!

Can't wait to see your progress as you go! :mug:

Hopp
 
Progress...

For my ventilation system I went with some standard snap-lock style ducting, purchased at Lowes. Originally, I had planned to use gas indoors, so I wanted something that could take any excess heat generated by the propane burners. I eventually warmed up (no pun intended) to an electric setup, but this hood remains flexible.

The dimensions of the hood are 6' x 2', and contain the following parts:

2 2'x6' snap lock ducting - $29.99 each
2 end caps - $14.99 each

additional lumber for support (already had from another project).

Here are some pics:

The ducting I used
Waterloo-20110904-00038.jpg


A wood frame pieced together. I had concerns about the regidity of the 18 gauge sheet metal.
Waterloo-20110904-00039-1.jpg


All the pieces test fit and placed on the frame. So far so good.
Waterloo-20110904-00041.jpg
 
... continued

I used aviation snips to cut along the bottom portion of the ducting. No turning back now! The initial cuts do look kind of rough.
Waterloo-20111030-00087.jpg


Heres how it looks with the middle cut out. The sheet metal is *extremely* sharp. I used and angle grinder to smooth the edges.
Waterloo-20111030-00088.jpg


I then cut 45 degree angles in the corners, and using a 1x4" as a guide and a rubber mallet, hammered out a lip on the inside which should help in condensation. It also cleans up the look quite a bit.
Waterloo-20111030-00090.jpg


Here's the finished look of the lip... I was pleased with how it turned out.
Waterloo-20111030-00092.jpg


The whole thing is actually much more rigid then I had originally thoguht; I probably didn't need the 2x4 framing, although it will probably make mounting the whole hood easier.

Right now I'm a little stuck, I have a 6" blower fan and a non-circular 3.5-4" hole in the cold room that I plan on venting out through. I'll need to somehow reduce from 6" to 3" for running a length of pipe oudoors... If anyone has any ideas for this I'm all ears!

I was actually considering buying a different model 4" fan and using a 4" to 3" reducer as a backup plan.

Aviation Snips: $18.99
 
While I question you spending 10% of your budget on nuts and bolts, (dude, 7 bucks, 3" screws, done!), that is one beautiful looking stand. I really dig the plank top instead of a solid plywood top, and the color is really really awesome. At least with the hardware cost, you built it sturdy enough to support a couple of cars stacked on top of it, so it shouldn't get wobbly on you any time soon. Nice going!

I overspent on these parts, no question. I could have ordered online cheaper, or used other parts. At the end of the day, I bought everything on a friday, and was putting the last coat of polyurethane on Sunday evening. So it was highly convienient. People more patient then I am should definitely shop around.

Also, I live in Canada where everything is twice as expensive.
 
lol i noticed it first just from the little piece of the front end showing in the previous pic said i bet thats a kat and sho nuff.. :mug:
 
Hey guys. Indeed, the room was finished, but I ended up going all electric after realizing that running natural gas burners indoors was far too dangerous in terms of carbon monoxide and heat in such a small room.

I did a detailed write up on a local form, see link below. If I have time I might transcribe my post here to finish the story :)

FYI - the total cost for the conversion was probably about 2800, 1800 for the brewmation system I bought. Compression fittings, valves, silicon tubing, camlock disconnects, and a second pump took up a large percentage of the remaining money.

http://forum.grabahomebrew.com/viewtopic.php?f=10&t=356

GREAT! Just read everything and look at all the pics on the other site, really nice! Few questions when you get a chance - Do you do anything for make-up air? I have both my furnace and gas hot water heater about 13 feet away from my proposed ebrew setup in the basement and I think I am overly paranoid about potential suck back! How long are brew days taking you now that you have it all setup? I know setting up and tearing down adds way too much time to my brew day! Nice job again.
 

Latest posts

Back
Top