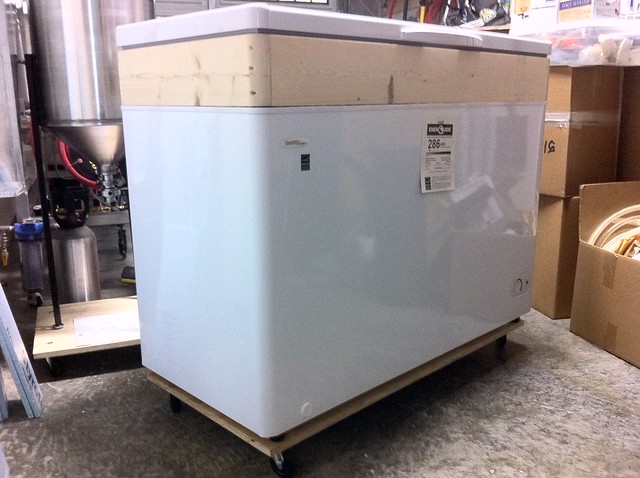
This is my kickoff thread for my Danby 10.2 Keezer build. I purchased this from Buy.com because HD was out of stock online but those interested should be able to get it from them.
First a picture:

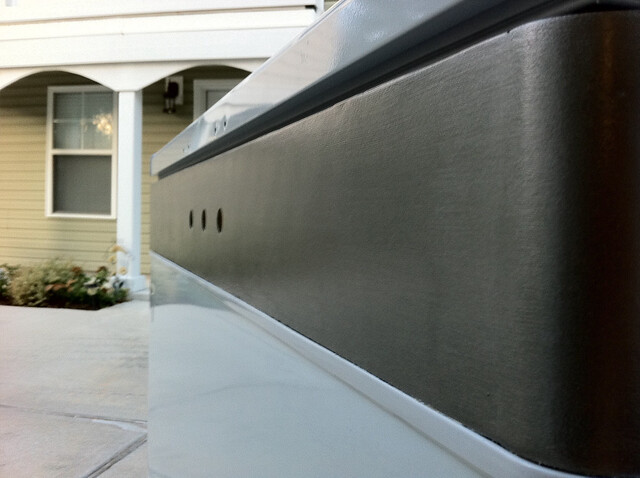
photo 1 by brewerJP, on Flickr
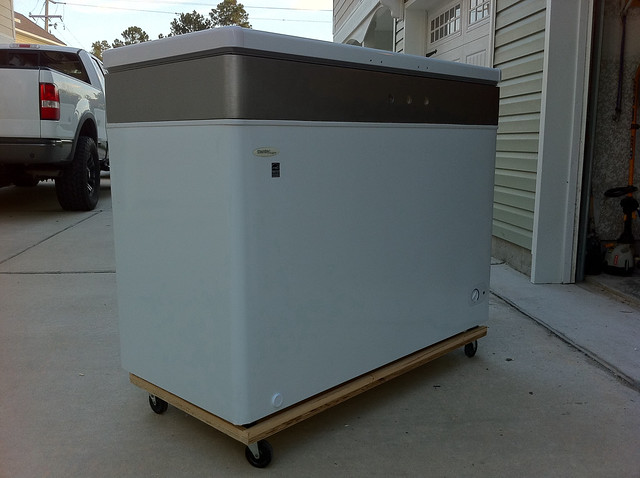
And one more:
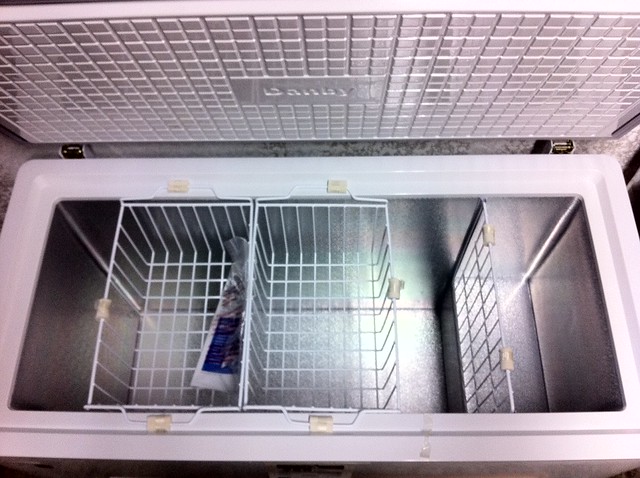
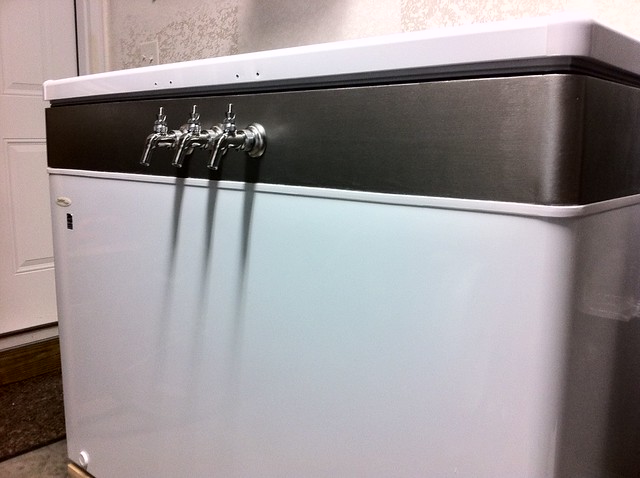
photo 3 by brewerJP, on Flickr
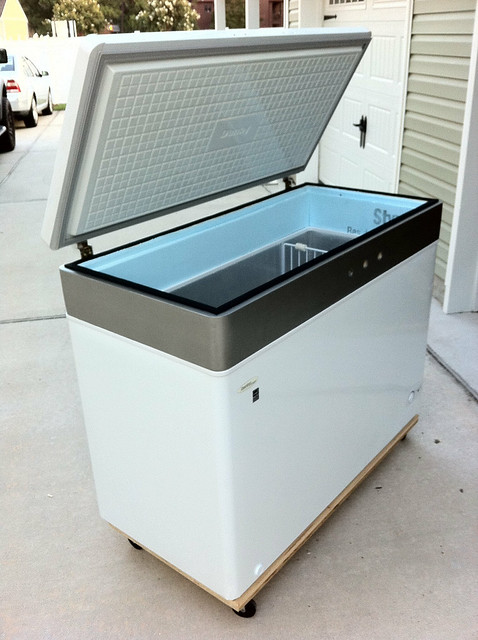
A couple other pictures and other build related pictures will be posted here:
http://www.flickr.com/photos/57569099@N06/sets/72157627180416588/
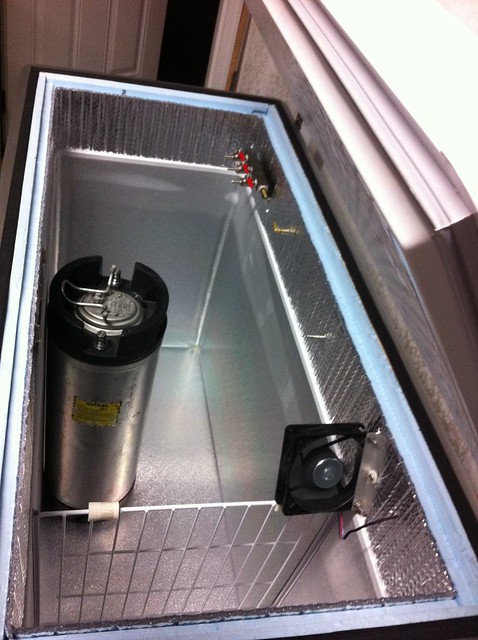
The interior dimensions are as follows:
Width: 42 1/2"
Height: 24 1/2"
Depth: 17 3/8"
Hump Width: 7 1/2"
Hump Height: 8 3/4"
The hump is oriented to the right side when facing the unit.
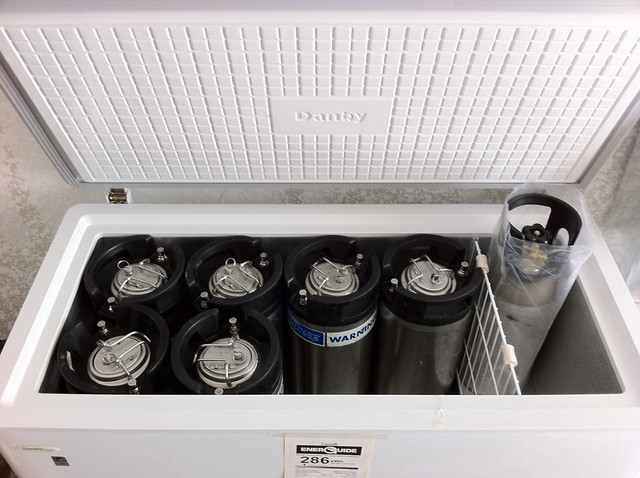
My kegs are due to arrive by the end of the week I believe - when they do I'll post some pictures with kegs set in. My hope it to be able to fit up to 8 on the floor.
The build will consist of a base with casters, a 6" collar with 3 Perlick 525SS taps, SS shanks, Johnson A419 controller and 10lb C02 tank. The keezer will dual as a kegerator and a cold water supply for my Brewhemoth immersion chiller.
More soon!
First a picture:
photo 1 by brewerJP, on Flickr
And one more:
photo 3 by brewerJP, on Flickr
A couple other pictures and other build related pictures will be posted here:
http://www.flickr.com/photos/57569099@N06/sets/72157627180416588/
The interior dimensions are as follows:
Width: 42 1/2"
Height: 24 1/2"
Depth: 17 3/8"
Hump Width: 7 1/2"
Hump Height: 8 3/4"
The hump is oriented to the right side when facing the unit.
My kegs are due to arrive by the end of the week I believe - when they do I'll post some pictures with kegs set in. My hope it to be able to fit up to 8 on the floor.
The build will consist of a base with casters, a 6" collar with 3 Perlick 525SS taps, SS shanks, Johnson A419 controller and 10lb C02 tank. The keezer will dual as a kegerator and a cold water supply for my Brewhemoth immersion chiller.
More soon!

")