Keezer build

Homebrew Talk - Beer, Wine, Mead, & Cider Brewing Discussion Forum

Help Support Homebrew Talk - Beer, Wine, Mead, & Cider Brewing Discussion Forum:

This site may earn a commission from merchant affiliate links, including eBay, Amazon, and others.

KKreisler

Member
Joined
Oct 27, 2011
Messages
8
Reaction score
0
Location
farmington
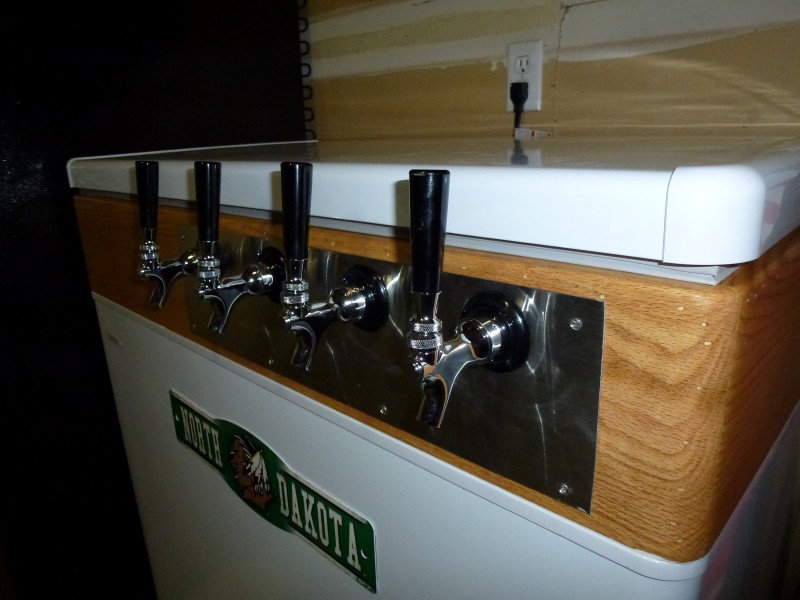
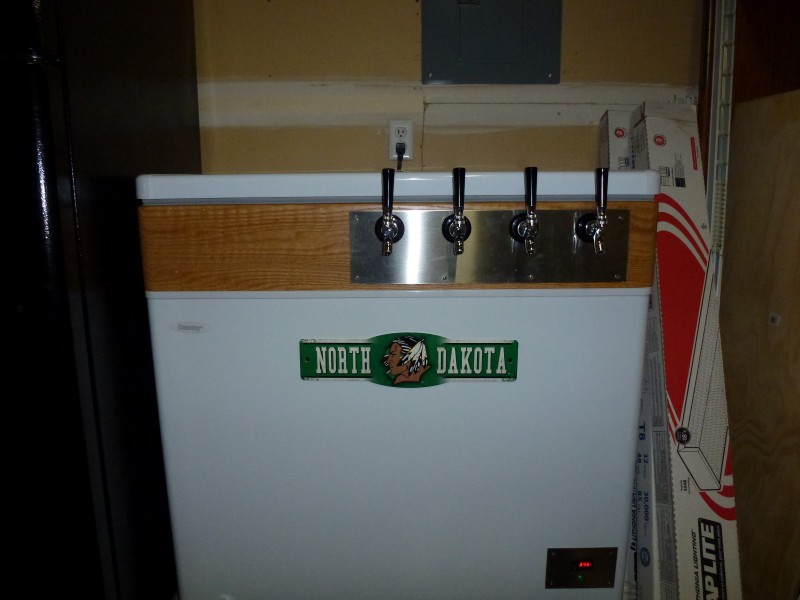
A few pics of the new keezer.
there is a Caribou slobber brown, and a sierra nevada clone carbonating right now, I am going to add a rootbeer or a cream soda to the mix for my sons (and myself) today hopefully.

P1010121 (Custom).JPG


P1010130 (Custom).JPG


P1010137 (Custom).JPG


P1010143 (Custom).JPG
 
How did you attach the wood collar?

To avoid drilling into the rim of the chest freezer I ended up using scotch high density foam mounting tape. I believe the spec on the tape was around 2lb / sq inch.
I adhered the tape around the entire perimeter of the collar leaving the paper on the back side. I next set the lid on the freezer and removed the tape backing from one of the ends of the collar and carefully attached.
i then lifted the opposite about an inch, removed the rest of the backing and firmly placed the collar.
I am pretty pleased with the bond. I am a bit concerned about how it will hold up at lower temps, but if it fails there are automotive adhesive tapes that have a much stronger bond strength and even more temp resilience.
 
If you didn't drill through the rim to attach the collar did you drill through it to attach the taps ? Just curious I want to build one soon and have seen them done a bunch of diffrent ways
 
Farmington MN, and ND Fighting Sioux decals? Go UMD Bulldogs. Just had to get that out of the way :)

Nice Build

School Pride, Props go out to the Bulldogs too, just not as enthusiastically

:D


Solo,
I drilled through the collar to attach the taps, the only penetrations I have made in the actual freezer are the four screw around the stainless plate I mounted the temp controller and the LED to. The area behid that is the compressor cavity.
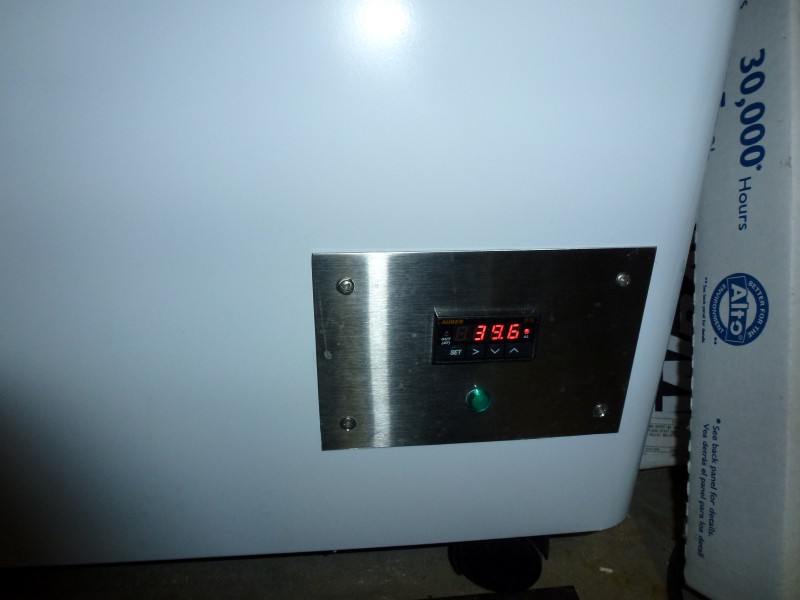
when I wired the auber temp controller I wired it so that the LED is illuminated only when the compressor is cycling.
The temp controller is an analog controller, but is set up using a relay contact for digital control with a 1 degree deadband.
http://www.auberins.com/index.php?main_page=product_info&cPath=1&products_id=14

The stainless backsplash and trim around the temp controller were both cut from a SS door kick I had laying around.
 
Thanks for the complements,
I will try to snap some more pics later, but to answer the questions
The when I cut the pieces of stainless I drilled and countersunk the mounting holes.
I attached the controller plate over the existing t-stat opening in the front of the freezer with stainless countersunk sheet metal screws.
I attached the backsplash with the ss screws that came with the door kick plate.
the holes for the shanks were laid out in the back plate, 1/4 center hole were drilled, then I punched them out using a 7/8" Knock out set.
I then attached the splash plate to the collar and used my drill press and 7/8" spade bit through the holes in the ss plate to bore the holes in the oak collar.

when I removed the original t-stat, the probe was installed in a capillary behind the compressor that was sealed with a rubber cap.
I pulled the temp probe out and pushed the RTD probe that I used into the capillary. It was a tight fit, and it is not in as far as the original probe was, but it is in far enough to be accurate as I checked it against a wireless thermometer I have and they were less than two degrees different.
 
Back
Top