The 'Keezer' Project

Homebrew Talk - Beer, Wine, Mead, & Cider Brewing Discussion Forum

Help Support Homebrew Talk - Beer, Wine, Mead, & Cider Brewing Discussion Forum:

This site may earn a commission from merchant affiliate links, including eBay, Amazon, and others.
Bobby_M said:
I don't think you're necessarily harming the compressor (not immediately anyway) by insulating the heat transfer but you are losing cooling efficiency. If you do anything to contain the heat at all, that heat will eventually make its way in part to the interior of the freezer. The compressor will run more often and waste power. Refrigeration works by removing heat from inside the box and depositing it outside the box (those coils you're covering).

Mmm indeed my friend. That's what the freezer repair guy said as well. I guess the real question is how much power is being wasted. Guy didn't seem to think it would be too significant, but since I decided to forego the ductwork and only use spacers, I'd like to see how much power jester's kreezer uses compared to my old 20.3 cu ft P.O.S freezer when all is said and done. Im crossing my fingers and trying not to let the curiosity kill me. Ill start another thread when my project is done here in a few weeks.
 
now what could possibly be more important than dispensing beer? man this site is really going downhill...

;)

ps... it's not done. like you said
Rockybottom said:
He has more important photos to take.
:D
 
JestersRed said:
now what could possibly be more important than dispensing beer? man this site is really going downhill...

;)

ps... it's not done. like you said :D


Maybe you could "barter" with him (or others) to get that project done!! Come on Jester we are counting on you!!

P.S. Red we can't drink beer via the Internet, but photos on the other hand :rockin:
 
i wants the keezer to be done too... she's gonna be a beauty! one part of the problem stems from a little issue with this baby:

Jester369 said:
7674-NewKeezerManifold.jpg

it started leaking and emptied a bottle of CO2, rendering us unable to carb multiple kegs at the same time. the other part of the problem is finding the time to work on everything. we haven't had time to find the leak and fix it yet, nor have we had time to do much about actually building, but that's not jester's fault. i blame the video game burnout paradise... well, i guess i manage to be a distraction too. hopefully we can both put some time into getting the materials together and finish it before we have a brew party. we'll need all 7 taps working for that event, and then everyone can come see the finished thing in person!
:mug:
 
Rhoobarb said:
So, is there any update on this project?:)

yes, I'd like to know

finding the leak should be easy....spraybottle with soapy water....you should see the bubbles where the leak is

Why can't you two just bang this project out....ok, maybe not the best choice of words, but I'm not deleting them :)
 
98EXL said:
Why can't you two just bang this project out....ok, maybe not the best choice of words, but I'm not deleting them :)

I'm sure he is sharpening his W O O D working skills.
 
geeze, I need to see more keezer pics/info....methinks I want to build one now
 
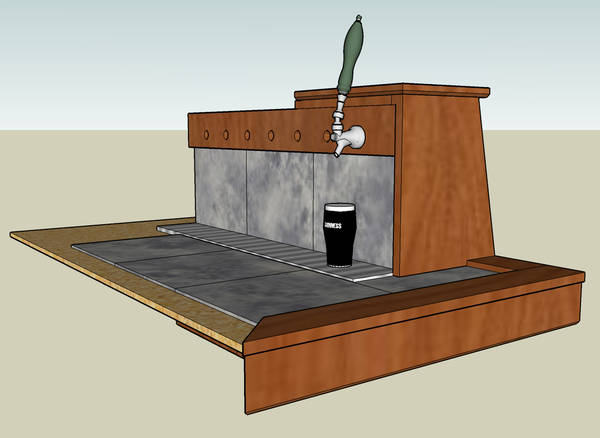
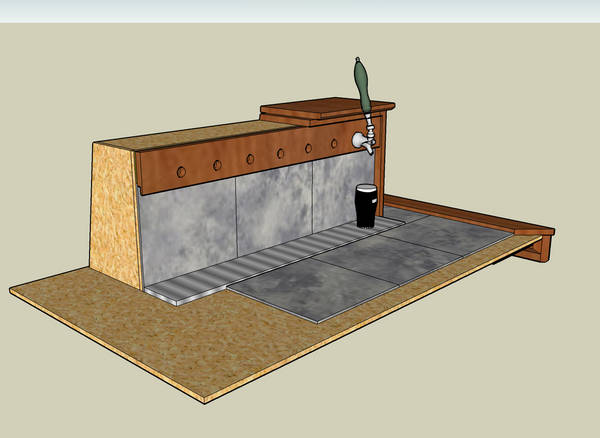
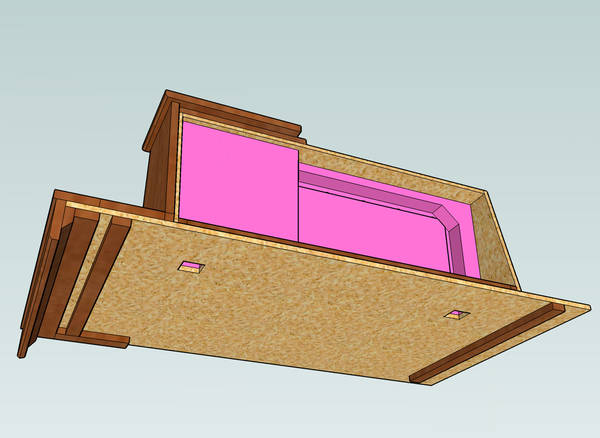
Ok, so the stone is finally on order for this beast. Should be in about a week from now, and then things should get rolling again. Here are some revised drawings that are correct for the dimensions of the freezer. I did cutaways to show detail for how it's all going to go together.

KeezerTopDetail5.jpg


KeezerTopDetail2.jpg


KeezerTopDetail3.jpg


KeezerTopDetail4.jpg
 
very cool man, are we going to get some 'action' shots of the stone when it arrives?:ban: :rockin:
 
Ok, so some real progress on the Keezer.

First, strips of ply that will register the top unit on the freezer lid. The hole routed in the front is for the slightly raised handle on the front of the freezer.

PositionStrips.jpg


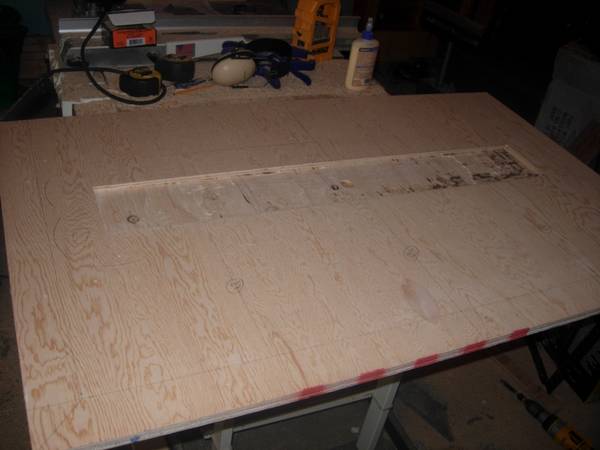
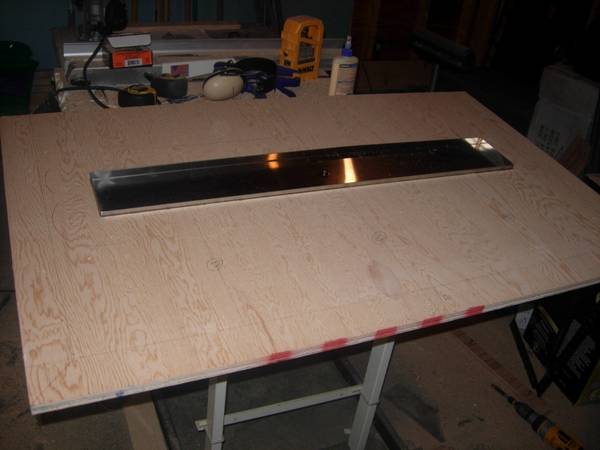
On the top side, there is a hole routed for so that the drip tray will be flush with the marble.

DripTrayChannel.jpg


Here is the drip tray test fitted.

DripTrayTest.jpg


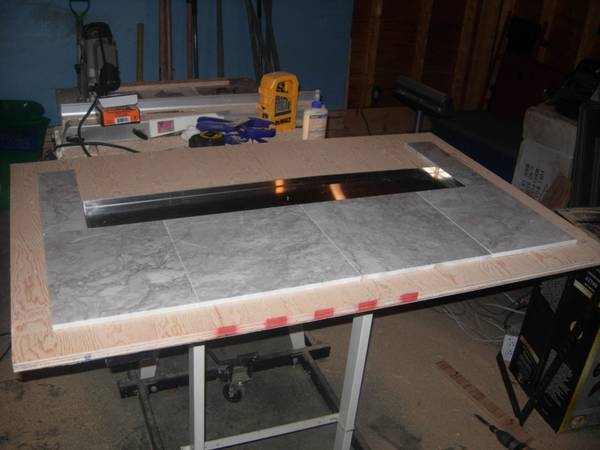
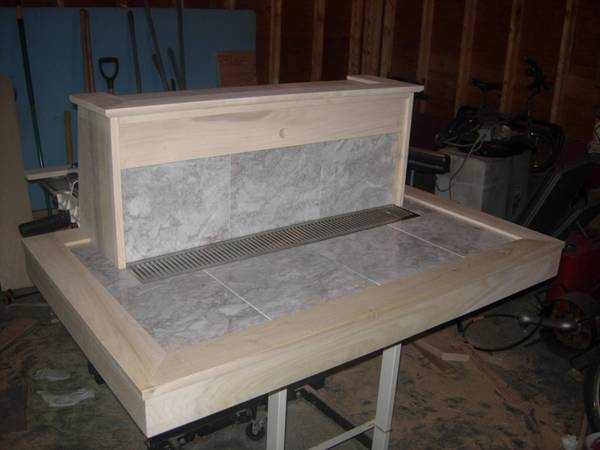
Next, the marble tiles for the top are cut and placed to make sure I didn't screw anything up.

CutMarble.jpg
 
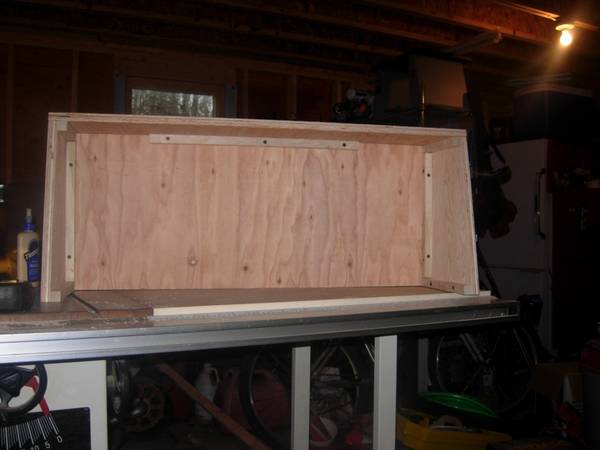
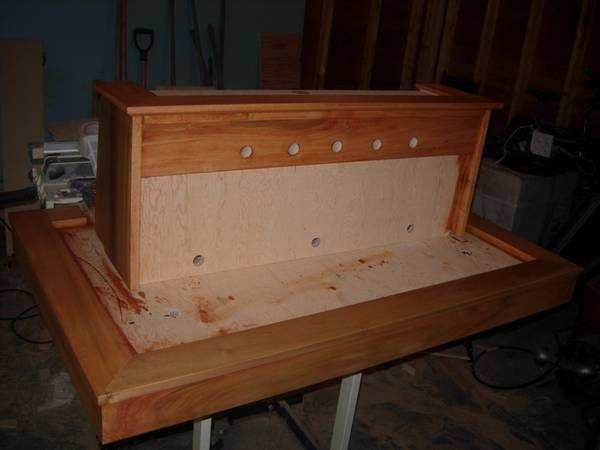
Here is the back view of the coffin that will hold the taps.

CoffinBack.jpg


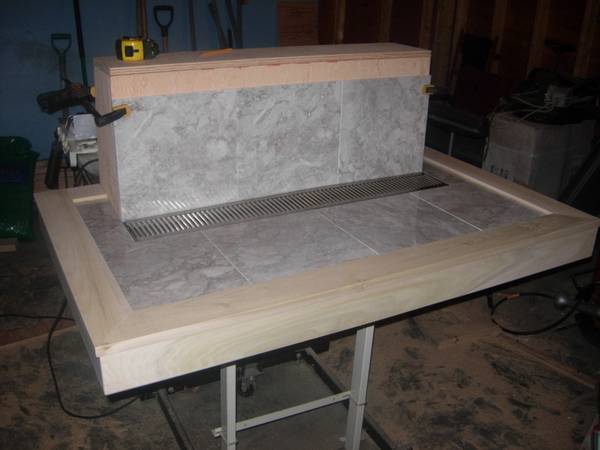
And here is the coffin placed on the top. Also the first part of the surround trim has been installed.

CoffinPlacement.jpg


So, after about 8 hours of effort (plus another hour or so trying to find tools around the house!) here is where it is.

Day1Progress.jpg


Next up will be getting exterior wood on the top, drilling the tap holes, and then staining the wood and caulking the marble.
 
God damn ,nice job dude! I have a very very similar project in the works right now. A GE 6.9 cu footer on a custom dolly with a 9 1/4" collar and a pass-thru/fan-cooled/insulated draft tower. a heads up - use big wheels especially if you are on carpet, mine are tiny and its a b!tch to move... I'll post some pics of my rig soon...
 
It's looking awesome already. I'm looking forward to the first pint pulled off it. Great job so far!
 
The tap board is in place now, just need to drill for the shanks

TapBoard.jpg


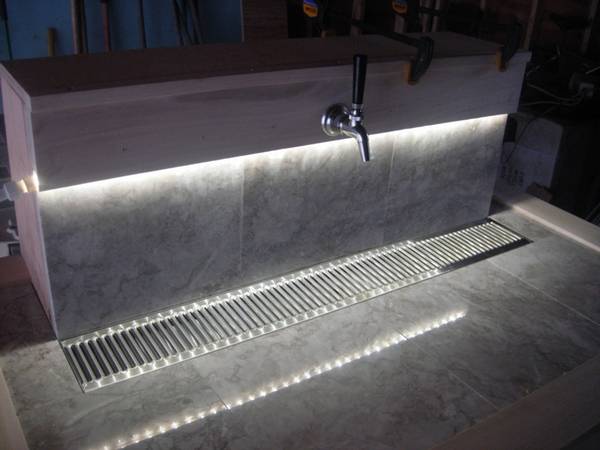
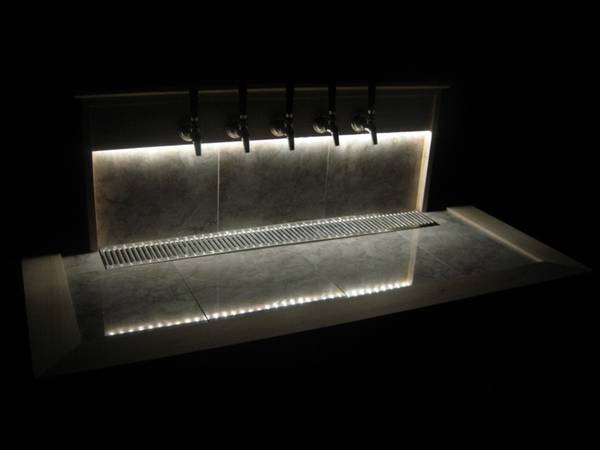
And here it is with the rope light lit up, and one tap installed

LitTap.jpg


More to follow!
 
Very nicely done Jester. Looks like photography is not your only talent. A nice keezer that my SWMBO will let me keep in the house is a long term goal of mine.
 
Jester, gotta and it to you, I really liked what you were doing with it, and then I saw the lighting and it really made it rock! I love that idea. I am going to incorporate that into mine. (when I build it) You rock man. good job
 
Hey IrregularPulse, I tried to PM you back, but you are over your quota. I sent you one of the keezer SketchUp files to play with.
 
Very nice!!! I have saved the link to this thread. I want to do the same project!! Thanks for sharing!!

Richie
 
Be sure to use a tile sealer on the marble-it is very susceptible to staining, especially being such a light color.

Would be a bummer to have a stout stain in it. :(
 
Be sure to use a tile sealer on the marble-it is very susceptible to staining, especially being such a light color.

Would be a bummer to have a stout stain in it. :(

For sure, it will be sealed. And in addition to sealing it, by removing the drip tray, all the pieces can be removed and replaced if any should get damaged, or if I feel like changing the color.

:mug:
 
Ok, so slowly running this thing to ground!

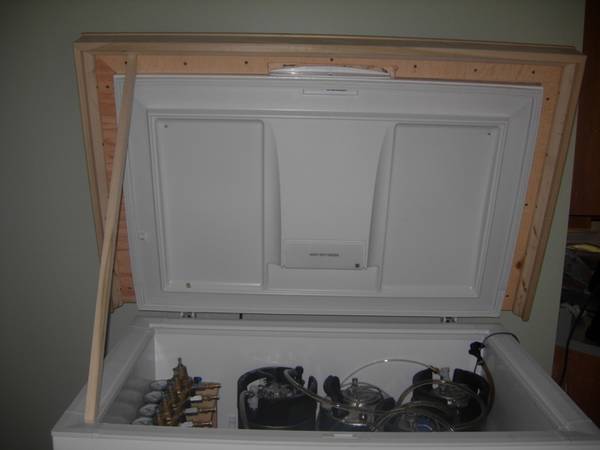
Here is the top (without the coffin) attached to the freezer, held up with a prop.

ProppedLid.jpg


Here is what it will look like assembled - the boards on top of the coffin have not been attached. Once the glue has fully cured, they will be attached.

Assembled.jpg


Here it is with 5 of the 7 taps in place. I don't have the other 2, so I only drilled the 2 outmost shank holes to within 1/4 inch of the face (just when the pilot point broke through.) When I get the new hardware, I can just drill the last 1/4 inch from the front, using the pilot hole as a guide. In the meantime, I'll just plug the pilot holes with a couple of nice brass screws.

FiveTaps.jpg
 
Yea yea yea nice pics and all, but more importantly, when are you updating the 'other' thread? :D

This is an awesome project! When I finally get my own place/woodworking shoppe I will be stealing your ideas to make my own altar-keezer.
 
Back
Top