Lil' Sparky
Cowboys EAC
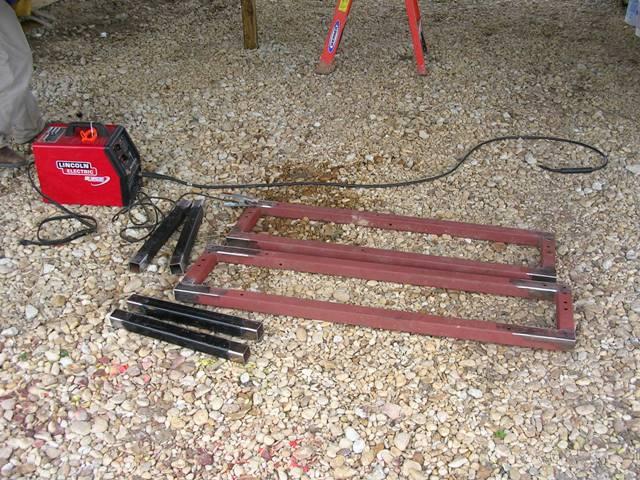
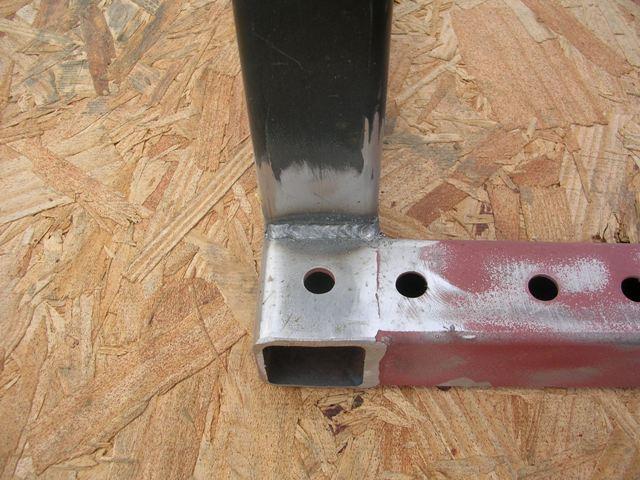
Look what I found while raiding my parents' scrap pile (my step dad picks this stuff up as part of his job sometimes). Now what to do with it. Any ideas??? 
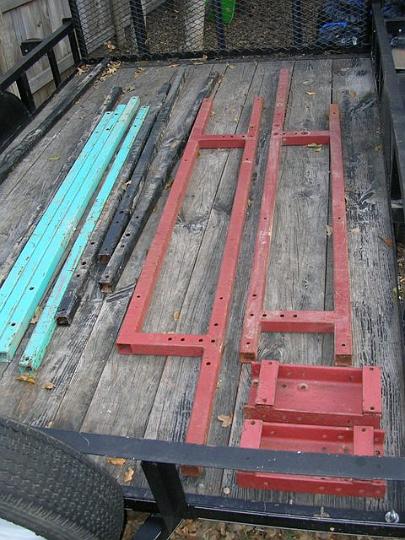

Lil' Sparky said:Look what I found while raiding my parents' scrap pile (my step dad picks this stuff up as part of his job sometimes). Now what to do with it. Any ideas???

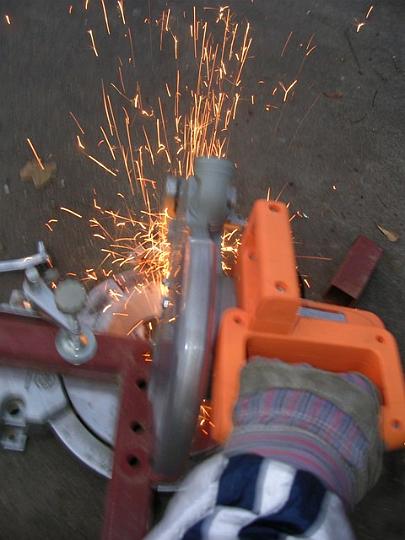
Bobby_M said:That sure saved a bit of welding eh?
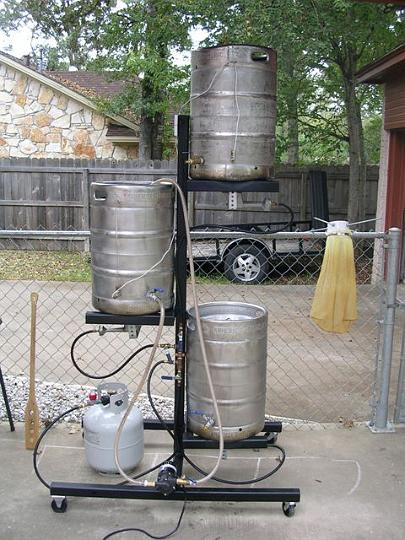
SuperiorBrew said:Make it into one of these. I like the polished kegs
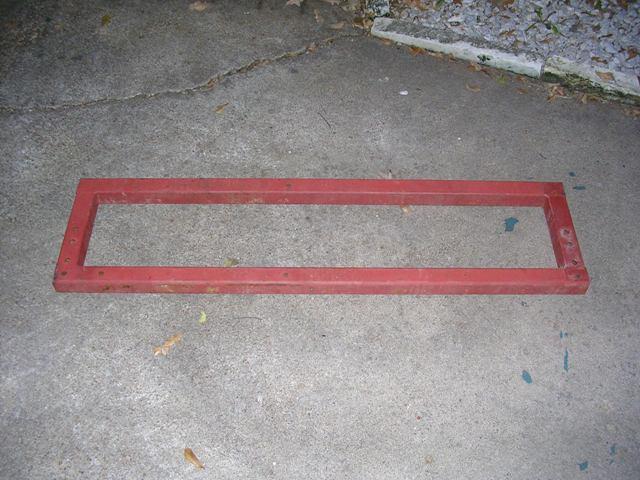
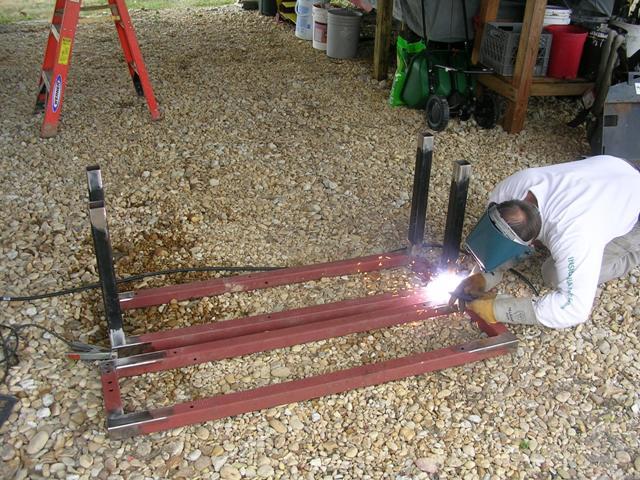
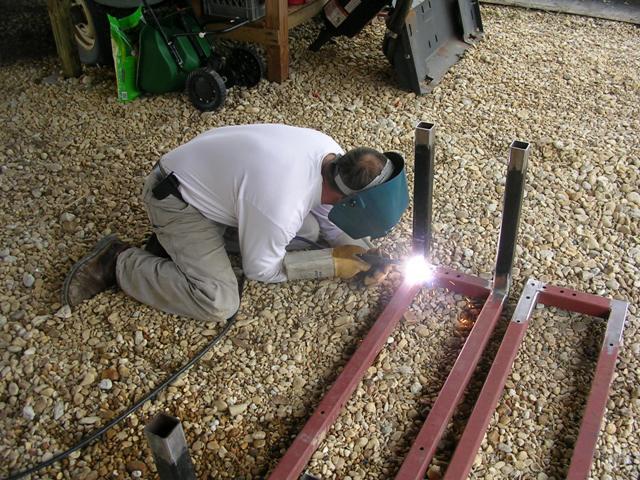
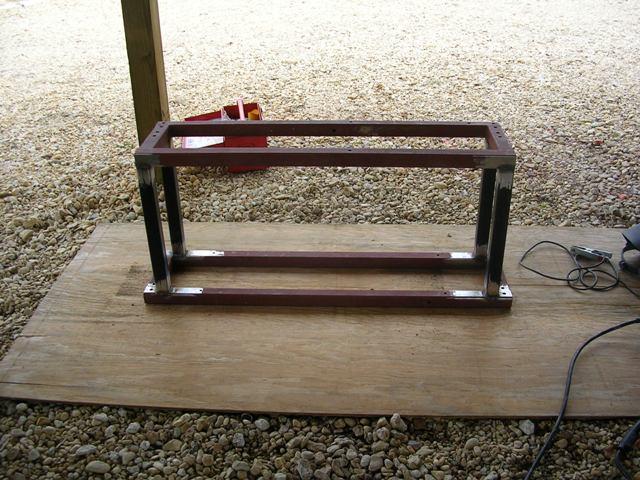
True, but the metal was free and it'll be riding on some HD 4" casters. My 3-tier uses about the same abount of steel and I'm able to get it around easy enough.Bobby_M said:Now that I see how sturdy my cheapo bedframe angle iron stand is, I'd say that heavy square tube you've got is way overkill. Of course, it's not a problem if you don't try to mobilize to other brew locations..
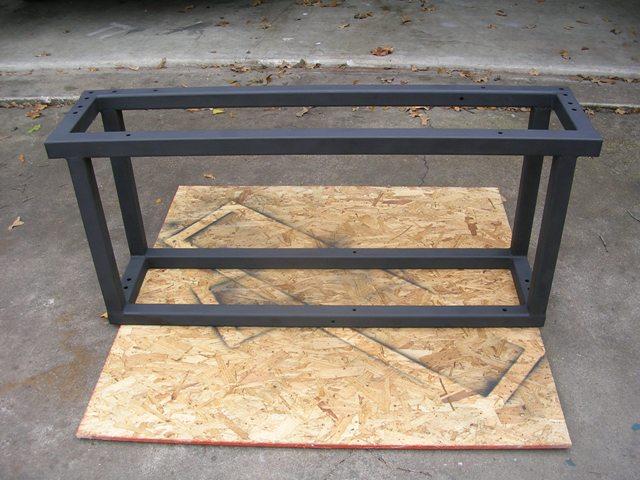
Lil' Sparky said:Oh, and anybody local need some steel? I've got ~ 100 ft of this 2"x2" steel that I won't have any use for. If you want it, let me know and come get it.
Lil' Sparky said:Look what I found while raiding my parents' scrap pile (my step dad picks this stuff up as part of his job sometimes). Now what to do with it. Any ideas???


tbulger said:Did you take the head off of the pump to reorientate the mounting bracket. Im still trying to think of how to mount my pump.
Do you need a pipe threader for this, or did you buy pipe in just the right lengths?
I'm finally going to get the parts this weekend, and order the burners as well. My kegs are converted and ready, and I'm just itching to use them (and as an incentive, my turkey frier has a rail around it that will keep a keggle from fitting in it, so I HAVE to finish the stand).

Both Lowes and HD will custom cut pipe and rethread but it's hit or miss. I had a situation where my entire gas line in the house was disconnected and I just needed one perfectly cut piece to get done. Their die machine was improperly adjusted and the fitting would only thread on a 1/4 turn before it stopped. They wouldn't let me adjust the cut on the machine no matter what, even though I showed them it wouldn't thread in to any fitting. The idiot tried telling me it was fine so I had to drive to another store.
I couldn't help but wish I had a 1/2" NPT tap or die handy when fitting my stand. The reason is sometimes you need a fitting to thread on to just the exact amount of turns to make something line up. Sometimes when you hit that spot, it's too loose but you know it won't make it one more turn. The only thing you can do is slop more Teflon tape on and hope for the best. If you had a tap or die, you could thread it just a tad deeper.
I used the thick yellow teflon tape for gas lines.
From what I understand, this is very important. DON'T use the normal white teflon tape, apparently it makes your schtuff leak even more.
I've got ~ 100 ft of this 2"x2" steel that I won't have any use for. If you want it, let me know and come get it.
I tested mine and I've got no leaks. I used the thick yellow teflon tape for gas lines.
Enter your email address to join:
