My first brew (in progress)

Homebrew Talk - Beer, Wine, Mead, & Cider Brewing Discussion Forum

Help Support Homebrew Talk - Beer, Wine, Mead, & Cider Brewing Discussion Forum:

This site may earn a commission from merchant affiliate links, including eBay, Amazon, and others.

ajmartinez

Well-Known Member
Joined
Dec 26, 2009
Messages
86
Reaction score
1
Location
Houston, TX
Copy/pasted from my blog.

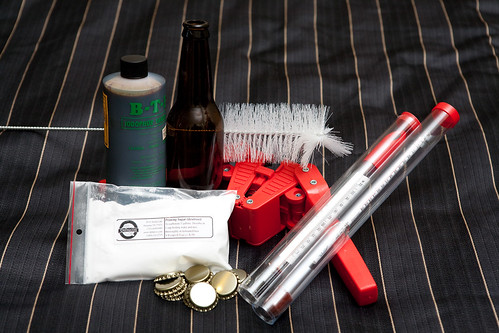
Twelve days ago, I started brewing my own beer. Today, I made a stop at DeFalco's Home Wine & Beer Supplies to pick up a few things I needed to finalize this brewing project. Lacking a hydrometer was making it pretty impossible to know if fermentation had halted or not, so that was number one on my list. I also picked up a floating thermometer, a bottle of Iodophor for sanitizing my equipment, a bottle brush, a case of 12oz. bottles, a few hundred bottle caps, a bottle capper, and a packet of priming sugar (fructose).
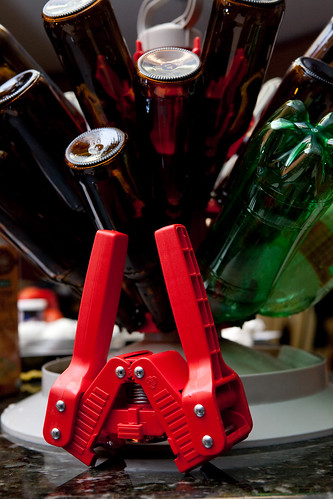
Assorted supplies:


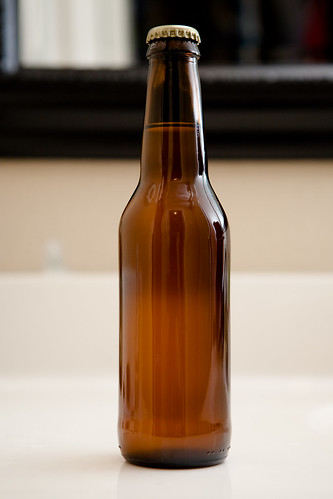
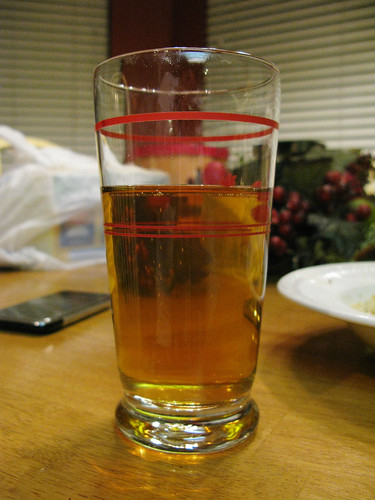
When I got home from DeFalco's, I prepared to take the first sample of my West Coast Pale Ale from my Mr. Beer brew keg. Surprisingly enough, what poured out looked, smelled, and even tasted a lot like beer. It may have been a bit on the sweet side, but I am not complaining right now. Once carbonated, it will definitely pass as drinkable in my book.
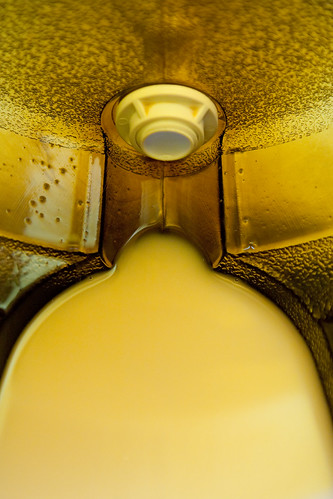
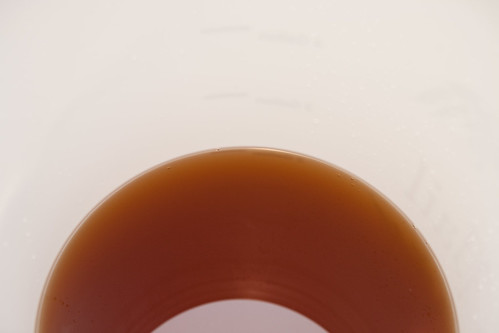
First sample:


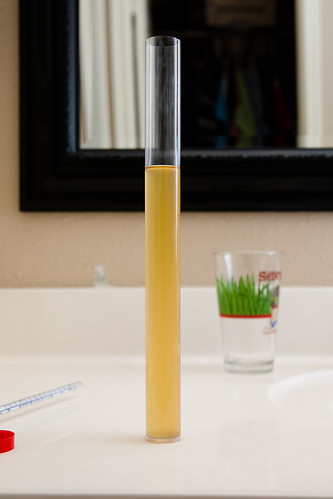
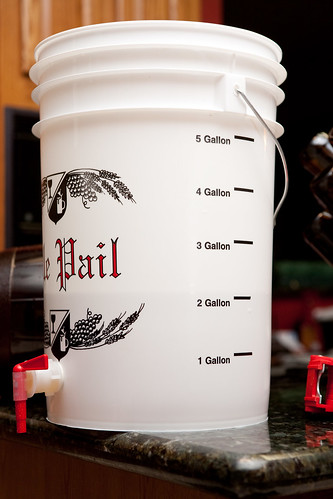
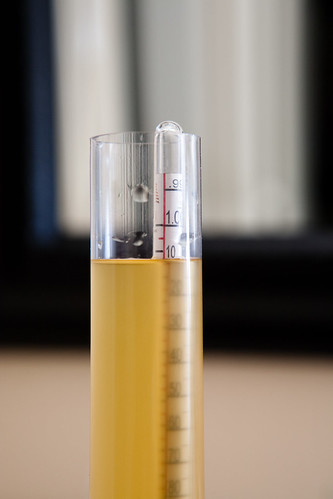
The hydrometer reads right around 1.010 for the specific gravity right now, at 72°F. According to the handy dandy sheet that came with the hydrometer to correct for temperature I add .002. So we'll call my reading today 1.012. Since I did not have this instrument when I actually made the wort, I have no earthly idea what the original gravity was. That being the case, I will hold off another few days and take a reading again. If nothing has changed, I am going to start bottling. I've not quite decided exactly how I plan on doing the priming part but I'm sure I'll get at least 30 different suggestions before that time comes!

Hydrometer reading:


I think an Apfelwein is likely to be the next thing my Mr. Beer ferments, while I start gathering the equipment required to step up to 5 gallon all-grain batches of beer. This is definitely a lot of fun, and if the result is drinkable beer, I am all for it.
 
Looks great. The general advice around here is to wait another week or two before you bottle (3-4 weeks total). Even if you're at your FG, the yeast still need time to cleanup.

Are you a professional photographer by the way? Those pictures look really good.
 
Looks great. The general advice around here is to wait another week or two before you bottle (3-4 weeks total). Even if you're at your FG, the yeast still need time to cleanup.

Are you a professional photographer by the way? Those pictures look really good.

Thanks, I do some photography now and again when I'm not drowning in a sea of calculus and physics (mechanical engineering major). I'd planned on leaving it sit for 3 weeks, but if there's no change in gravity I may start bottle conditioning sometime next week. I'm going hunting for a few days starting Sunday. I definitely won't bottle before then.
 
I hate to be a wiseass, but you're actually just sanitizing your equipment [which is the norm]. You're not sterilizing with iodophor.

Nothing wiseass about it, the words are similar but not the same. I'll fix it.
 
update:

another blog copy/paste (b/c I'm definitely not typing this multiple times).

January 8, 2010, I blogged about the start of my first home-brew experience. Today, I continue that tale with the bottling of my very first home-brewed beer. I had intended to wait longer in fermentation, but another hydrometer reading today showed no change from my last reading several days go. Time to bottle.

Since I will ultimately move up to larger 5gal batches, I decided to make another trip to DeFalco's for a few more odds and ends. While I already had Iodophor for sanitizing my equipment, I did not yet have any way to dry my bottles after cleaning and sanitizing. I also lacked any way to really get a smooth, and controlled, flow of beer into my bottles to avoid aeration. In my last post, I really had no concept of how important any of that is to the final product. Fortunately, I spent about 10 hours in my truck driving across Texas and listening to Brew Strong podcasts. It all makes much more sense now. A bottling bucket, a bottle filler with some tubing, and a bottle tree came home with me.

Bottle Capper + Bottle Tree


When I finally got home, it was time to clean and sanitize my equipment and working area. I would hate to make it this far only to infect my beer and have wasted my time. Iodophor should be used at a concentration of 12.5ppm for rinse-free sanitization. That translates to .50 fl. oz. per 5gal of water. Since I do not have much to sanitize, and did not feel like wasting that much solution, I made 2.5gal of solution to sanitize my bottles, the bottle tree, my caps, bottle brush, bottling bucket, bottle filler and hose. About a quart of the solution went into a cleaned and sanitized spray bottle so I could sanitize the outer surfaces of everything as well as the inner surfaces.

Once all of that was done, I made my priming solution. For a 5gal batch I would boil .75 cups of dextrose in 2 cups of water. I cut this in half for my 2.5gal batch, and added it to my sanitized bottling bucket. It was finally time to pour my beer into the bottling bucket, on top of my priming solution. This is when I wished I had gone ahead and purchased a racking cane and siphoning tube. Pouring, with any kind of control, 2.5gal of beer through the mostly useless tap on the front of a Mr. Beer brew-keg was an exercise in patience to say the least. It took forever, and exposed my beer to more air than I would have liked. Now I know. I will use a racking cane next time, for sure.

Bottom of the fermenter


Beer


Bottling bucket


Bottled beer


Bottling went quite smoothly. My batch filled 16 12oz glass bottles, plus half another 12oz bottle and two ~33oz plastic bottles. I had my Dad tilt the bottling bucket towards the valve for me so I could get most of the beer out. In the end, only about half a pint was left behind. I can live with that. In a few days, I will check the two plastic bottles and see if they have hardened from carbonation at all. If I managed to make it through this whole process without screwing something up, I will be quite happy. Doubly so if the beer is drinkable.
 
Every one of these photos was shot with a Canon 5D, EF 24-70mm f/2.8L mounted (various focal lengths, though most were 50mm or more). For light indoors, when I don't care if I have strange specular highlights, I take one hotshoe flash (Vivitar 285HV in my case) and put it somewhere off-camera bounced into the ceiling at an angle. I use Pocket Wizards for triggering. For quick and dirty, bouncing off the ceiling with an origin off-axis from the camera lens works well. You can get finer control with more lights, diffusion panels (can be as simple as a white trash bag pulled across an easy frame, or a white sheet, or a pillow case), and bits of opaque material to block light from falling where you don't want it to (they go between the light source(s) and the subject).
 
Thanks. There are a few things I'm pretty sure I did not do exactly right, at least after reading How to Brew and listening to the Brew Strong podcasts. I brought the extract to a boil, but I did not do so for very long. I also don't think I really got the wort cold enough before I pitched my yeast, and I did not make a starter at all. During fermentation the temperature did not stay very stable, thanks to the wild temperature swings of late (in the 20s at night, up near 70 during the day). The thermostats are on the other side of the house. Seems I probably should have fermented in a closet on the better-regulated side of the house.

There is a definite "beer" taste, I sampled from the 1/2 pint that was left in the bottom of my bottling bucket, but I think there is too much sweetness. It's a pale ale, it shouldn't be that sweet. Of course, I don't expect my first batch ever to be the perfect beer and I've certainly identified areas in which there is room for improvement. It's fun, and from what I gather that is the point! :mug:
 
Today the Mr. Beer West Coast Pale Ale I bottled as my first homebrew hit a solid two weeks in bottles. While that seems to be the lower limit of time a beer ought to spend bottle conditioning, I just couldn't wait any longer.

Pssshhhh. The sound of gas rushing out of a bottle greeted me when I removed the shiny cap I'd crimped in place two weeks ago. At least I got the priming syrup right, and the beer was sufficiently carbonated. Pouring into a glass revealed great clarity, and a nice aroma. A head did form, but head retention was practically non-existent. As I've poured many a beer in to these glasses and been met with plenty of retention, I'll go out on a limb and say the proteins required for head retention just weren't there.

As for taste, you can taste the sweetness of the malt over any sort of hops Mr. Beer added to their hopped malt extract. For a beer with the words pale ale in the name, there was no hop bite at all. Drinkable? Indeed, but it's not a recipe I'm likely to make again.


(I got lazy w/ the photo this time).
 
Back
Top