Soldering a heating element mount - Hex vs. Coupling

Homebrew Talk - Beer, Wine, Mead, & Cider Brewing Discussion Forum

Help Support Homebrew Talk - Beer, Wine, Mead, & Cider Brewing Discussion Forum:

This site may earn a commission from merchant affiliate links, including eBay, Amazon, and others.
Epcgordy,

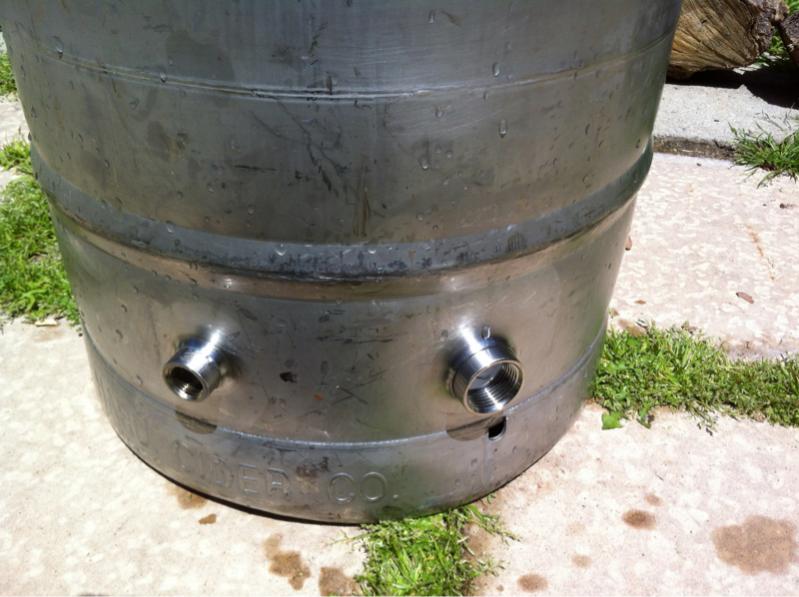
Those solder connections look good. Quick question, based on some of the other posts in this thread - the straight threads of the heating element fit the tapered threads of the coupling without an issue?

Thanks

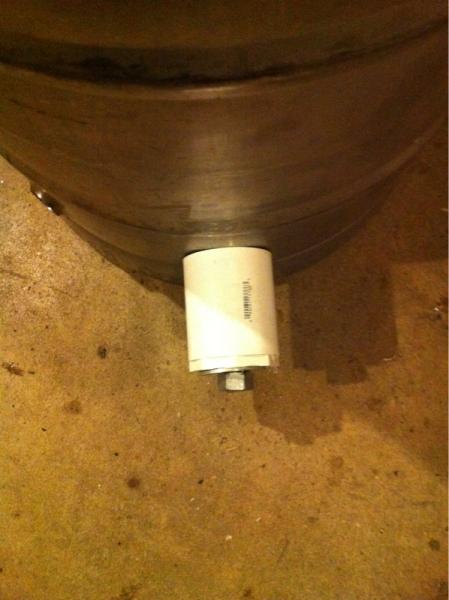
My element didn't thread into the half coupling more than about one full turn, so I found a 1" NPS tap on Ebay. I used that to "chase" the threads, and open them up a little so the element would thread into it farther. Turns out that with the thickness of the O-ring and washer, and the back cover plate on the box, it really didn't need much more than I originally had. From all the reading I've done on here, it seems that its really a case-by-case issue, whether it fits well or not. But by chasing the threads, it eleminated any doubt.
 
I soldered the nut to my keggle ( which is plenty strong) and tonight I soldered the nut to m HLT for my HERMS kit. They seem great.

unfortunately the second nut on the HLT did not have the groove, but it holds water just fine.

I used 1/2 inch nuts for the magnesium anodes as well.

Just curious, how have the anodes been working for you? I get some hard water build up (calcium) on my element.
 
So, I took some pictures when I got home last night. The second picture shows how the OD of the O-ring is slightly smaller than the ID of the stainless washer. When compressed between the box and kettle, the washer prevents the O-ring from deforming.

Are you using the stock rubber gasket in this setup? Or just the o-ring and washer?

Also, where did you get the washer? Did you find it locally, or did you have to order it?

Thanks!
 
For my keggle I drilled a 1 1/4 inch hole with a step bit then dimpled with a SS 1-1/4 to 1 weld reducer. I didn't need anything extra to keep it aligned. As long as you center everything as you tighten it down it will pull through straight. My element was able to screw all the way into the half coupling so I didn't need to chase the threads at all.


image-3483023563.jpg
 

Attachments

  • image-840267470.jpg
    image-840267470.jpg
    18.3 KB · Views: 444
  • image-2983087382.jpg
    image-2983087382.jpg
    32 KB · Views: 448
  • image-1865623847.jpg
    image-1865623847.jpg
    63.8 KB · Views: 511
Are you using the stock rubber gasket in this setup? Or just the o-ring and washer?

Also, where did you get the washer? Did you find it locally, or did you have to order it?

Thanks!

That part of the setup was "borrowed" directly from Kal, the parts are listed on his website, theelectricbrewery.com. I originally used the stock rubber gasket inside the box, between the hex of the element and the back of the box. Since then, I've re-thought that with the grounding in mind, and settled on using a .010 brass shim washer there instead. The brass is thin enough to act as a gasket, and conductive to allow a solid ground as well. I located the brass shim at McMaster, part no. 92678A292.
 
For my keggle I drilled a 1 1/4 inch hole with a step bit then dimpled with a SS 1-1/4 to 1 weld reducer. I didn't need anything extra to keep it aligned. As long as you center everything as you tighten it down it will pull through straight. My element was able to screw all the way into the half coupling so I didn't need to chase the threads at all.


View attachment 63386

Crane, can you tell me the exact parts you used for your dimpling tool for the element? I see the welding reducer mentioned but wanted to be sure on everything else before I bought anything.

ETA: I think I have most of it now from reading a bunch of posts about this. Thanks!
 
Crane, can tell me the exact parts you used for your dimpling tool for the element? I see the welding reducer mentioned but wanted to be sure on everything else before I bought anything.

ETA: I think I have most of it now from reading a bunch of posts about this. Thanks!

The welding reducer is here:

http://www.mcmaster.com/library/20110613/45605K725L.GIF

Everything else I got from Lowes. I took in the welding reducer and picked up a large PVC slip coupling and a slip to 3/4" female pipe thread reducer. Other than that I got some washers and a large bolt. I used and extra 1/2" half coupling so I didn't have to screw the nut on as far. Make sure the PVC slip coupling is long enough. I started out with one half as long and the welding reducer bottomed out on it.

Ok, thanks. The PVC stuff was the part I was the least sure about.
 

Latest posts

Back
Top