slnies
Well-Known Member

My new diggs. Set to deliver in January.
Ahh, what money can buy. Got to love it. Cheers and congrats!

My new diggs. Set to deliver in January.

I don't know where you would find them commercially. Thankfully, I have a relative who worked for the company that made them (now out of business...) He scarfed up any extras laying around for scrap price and the "test" barrels, which were dropped filled and pressurized....there was little damage, other than the top skirt, which we pounded out. They are really heavy duty...weigh about 70 lbs empty.

60 gallon SS primary? You don't mess around.
Ahh, what money can buy. Got to love it. Cheers and congrats!
") .
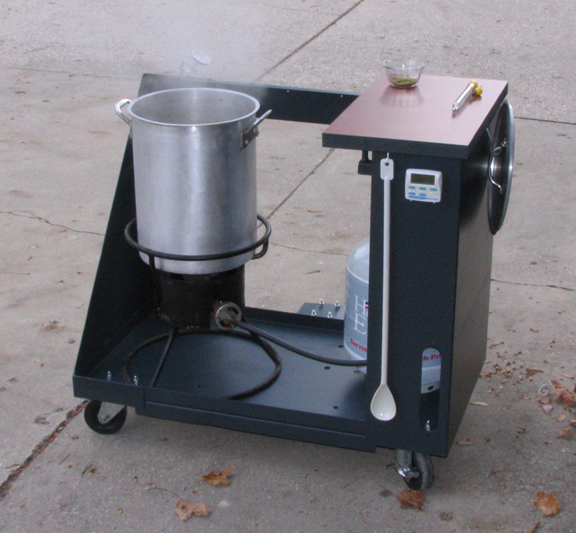
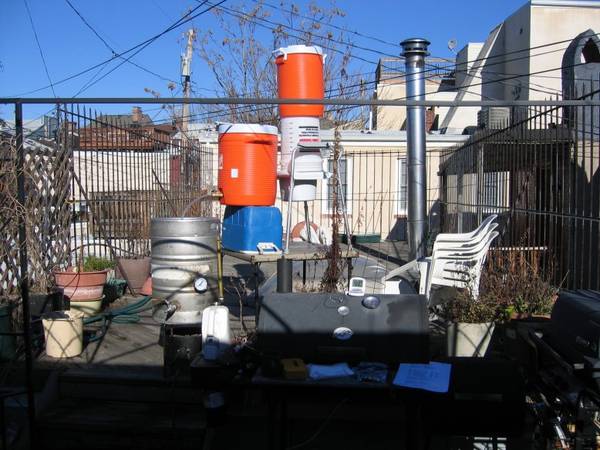
.Say hello to my little rig...
Well, my brother and I brew together...so, we split everything.
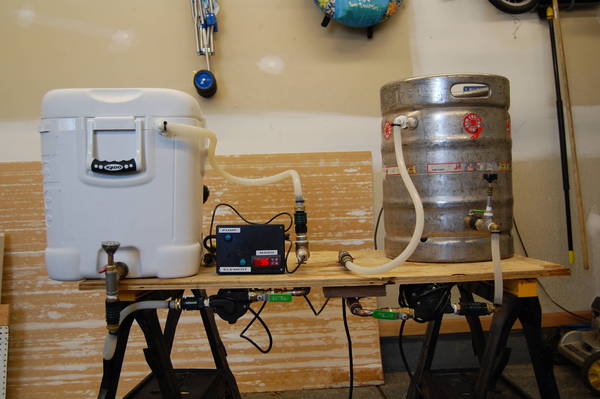
When we started, we were each brewing 5 gal batches separately, but at the same time. It didn't make much sense that we were both working on doing the same step of the process at the same time independently. SO, when we went to all grain, we went to an IceCube cooler MLT and 1/2 bbl. keggle that allowed us to do 10-12 gals and therefore work together. Didn't take long for us to find out that we had to brew pretty regularly to keep us "in beer".
So, when we were lucky enough to come across those one barrel kegs, we decided to go for it. Course, it took about a year to scrounge all the parts. Our system is still all "hands on", with no automation. With two guys, it isn't that hard to keep up with the process. The 60 gal fermenter (pics in my gallery) allows us to do back to back batches and ferment in one vessel. It's not exactly a conical, but the rounded bottom has worked pretty well for yeast collection. It is basically the size/shape of two 1 bbl kegs on top of each other, almost 6' to the top. I gotta say, though, it is pretty sweet to have to use a step ladder to access your fermenter!! Has been a lot of fun, but only 2 brews on it so far, so we are still learning, for sure.
Still working on it


Still working on it

Can't wait to brew a batch on this!


Just in progress of updating system
new brew kettle
ill be making real sculpture when all kettles are finished
Hey - is your top tier a portable toilet of some sort? it looks like something I once saw in a nursing home visit
Hey - is your top tier a portable toilet of some sort? it looks like something I once saw in a nursing home visit
yes it is
i was in a motorcycle accident last year and they sent me home from hospital with it. But it never got used as i was able to make it up the stairs.
yes it is
i was in a motorcycle accident last year and they sent me home from hospital with it. But it never got used as i was able to make it up the stairs.


I started off with a $20 Clearance Turkey Fryer kit from Dick's. That was great, I was able to do almost full boils for extract, and was able to do it outside. Then the AG bug hit. I don't have the means for the uber sculpture that I want now, so instead I contracted my buddy to help build the uber burner stand.
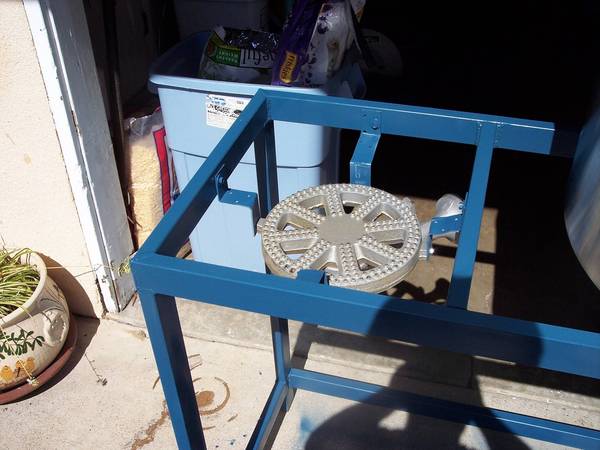
So here it is a lot higher than it was, not painted, and thinking the tank would look cool underneath it:
View attachment 9083
Painted now, and structurally sound with obligatory puppy pose:
View attachment 9084
Then after loads of beers, the MIG welder got fired up and we decided to make a nice side cart so to speak for the CFC:
View attachment 9085
Needs some more paint and some finishing touches like hooks for my stirring spoon etc, and I'm thinking maybe another small side cart to put **** on would be nice, who knows at this point.
And yes, the CFC is lopsided....made that druck, need to make it look straight
What was the design philosophy behind making it so tall?
once the keggle is full, I don't have to lift/move anything except for a full carboy. I wanted to be able to go straight from keggle, to CFC to carboy all gravity.


Enter your email address to join:

