Show us your DIY stir plate!

Homebrew Talk - Beer, Wine, Mead, & Cider Brewing Discussion Forum

Help Support Homebrew Talk - Beer, Wine, Mead, & Cider Brewing Discussion Forum:

This site may earn a commission from merchant affiliate links, including eBay, Amazon, and others.
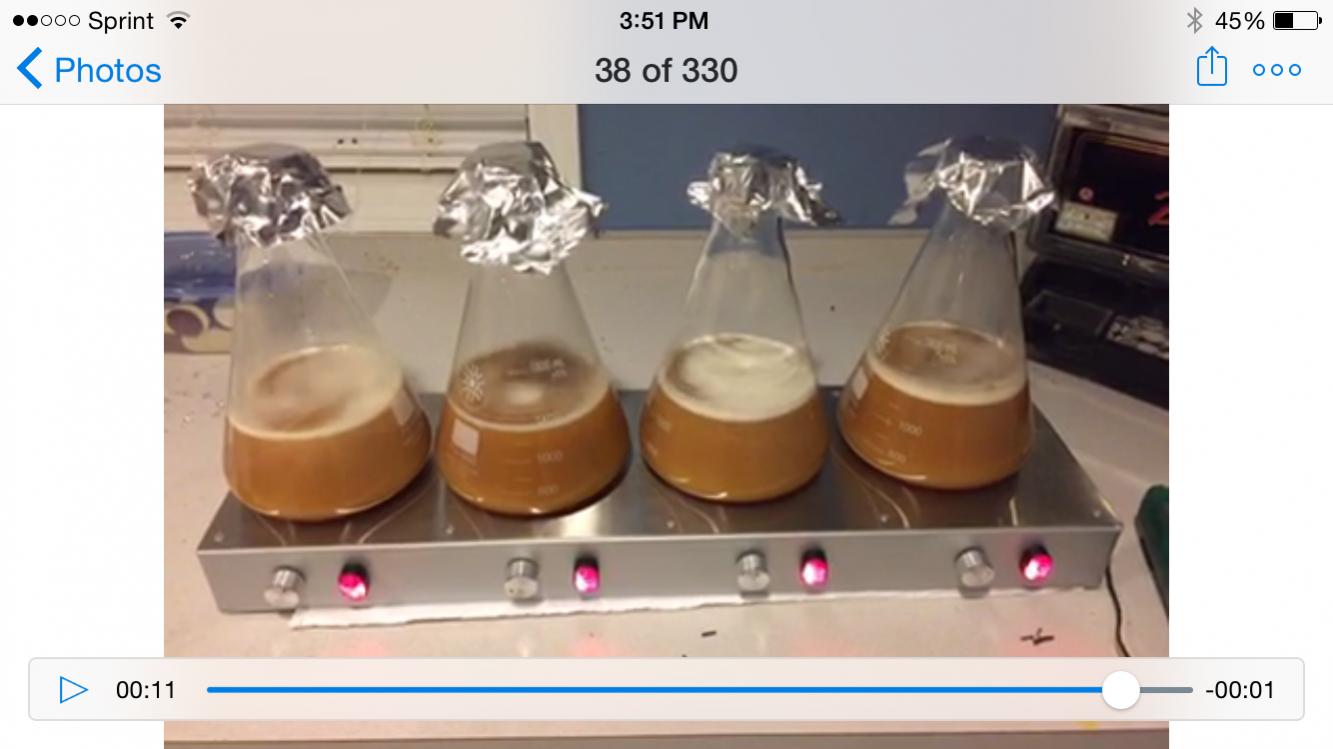
My neighbor and I brew together so we brew 24 gallons at a time. Many times we will do two different - 12 gallon batches into 4 - 6 gallon carboys and use two different yeasts in each batch to compare flavors. Even if we use the same yeast I need 4 stir plates for starters so I built a 4 place stir plate to do them all at once. The body I bent out of some aluminum and the top and bottom are stainless steel kick plates from a door. The stainless steel is a good quality so it does not effect the stir bar it any way. Here's a "Night Mode" picture as well as a video clip.

View attachment 2015-02-28 01.14.33.mov

2015-02-27 20.30.47.jpg
 
Very Nice! Are those 2 liter flasks?

Yes, they are all 2000 ml flasks. Sorry, I only had a video so I did a screen shot on my phone for this. The size is 8" x 28" x 2 1/2". I used a few old hard drives for the magnets, 4 computer fans and one power supply from an old phone I believe. The other parts were basic radio shack stuff (rheostat, switch and knob for each one)

2015-03-12 15.51.25.jpg
 
My neighbor and I brew together so we brew 24 gallons at a time. Many times we will do two different - 12 gallon batches into 4 - 6 gallon carboys and use two different yeasts in each batch to compare flavors. Even if we use the same yeast I need 4 stir plates for starters so I built a 4 place stir plate to do them all at once. The body I bent out of some aluminum and the top and bottom are stainless steel kick plates from a door. The stainless steel is a good quality so it does not effect the stir bar it any way. Here's a "Night Mode" picture as well as a video clip.


SA-WEET!:rockin:
 
My neighbor and I brew together so we brew 24 gallons at a time. Many times we will do two different - 12 gallon batches into 4 - 6 gallon carboys and use two different yeasts in each batch to compare flavors. Even if we use the same yeast I need 4 stir plates for starters so I built a 4 place stir plate to do them all at once. The body I bent out of some aluminum and the top and bottom are stainless steel kick plates from a door. The stainless steel is a good quality so it does not effect the stir bar it any way. Here's a "Night Mode" picture as well as a video clip.


That's a thing of beauty great work man love the stainless alum look lol
 
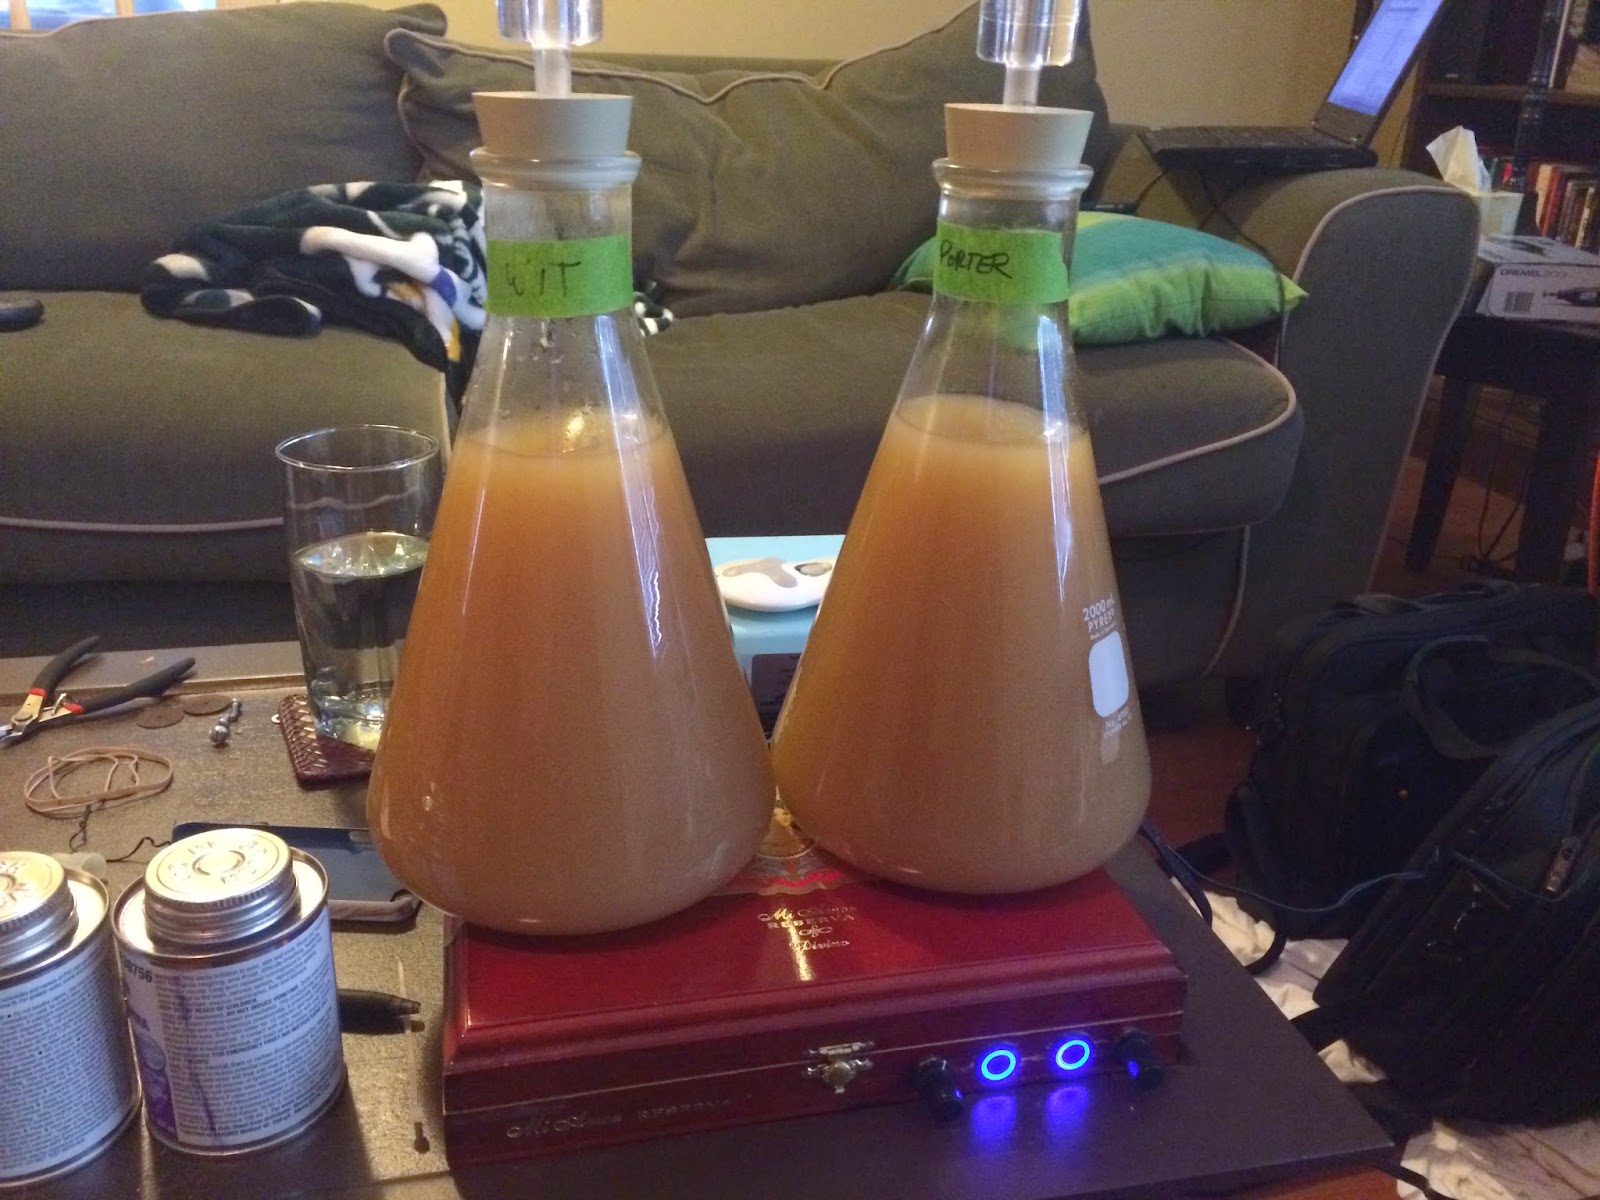
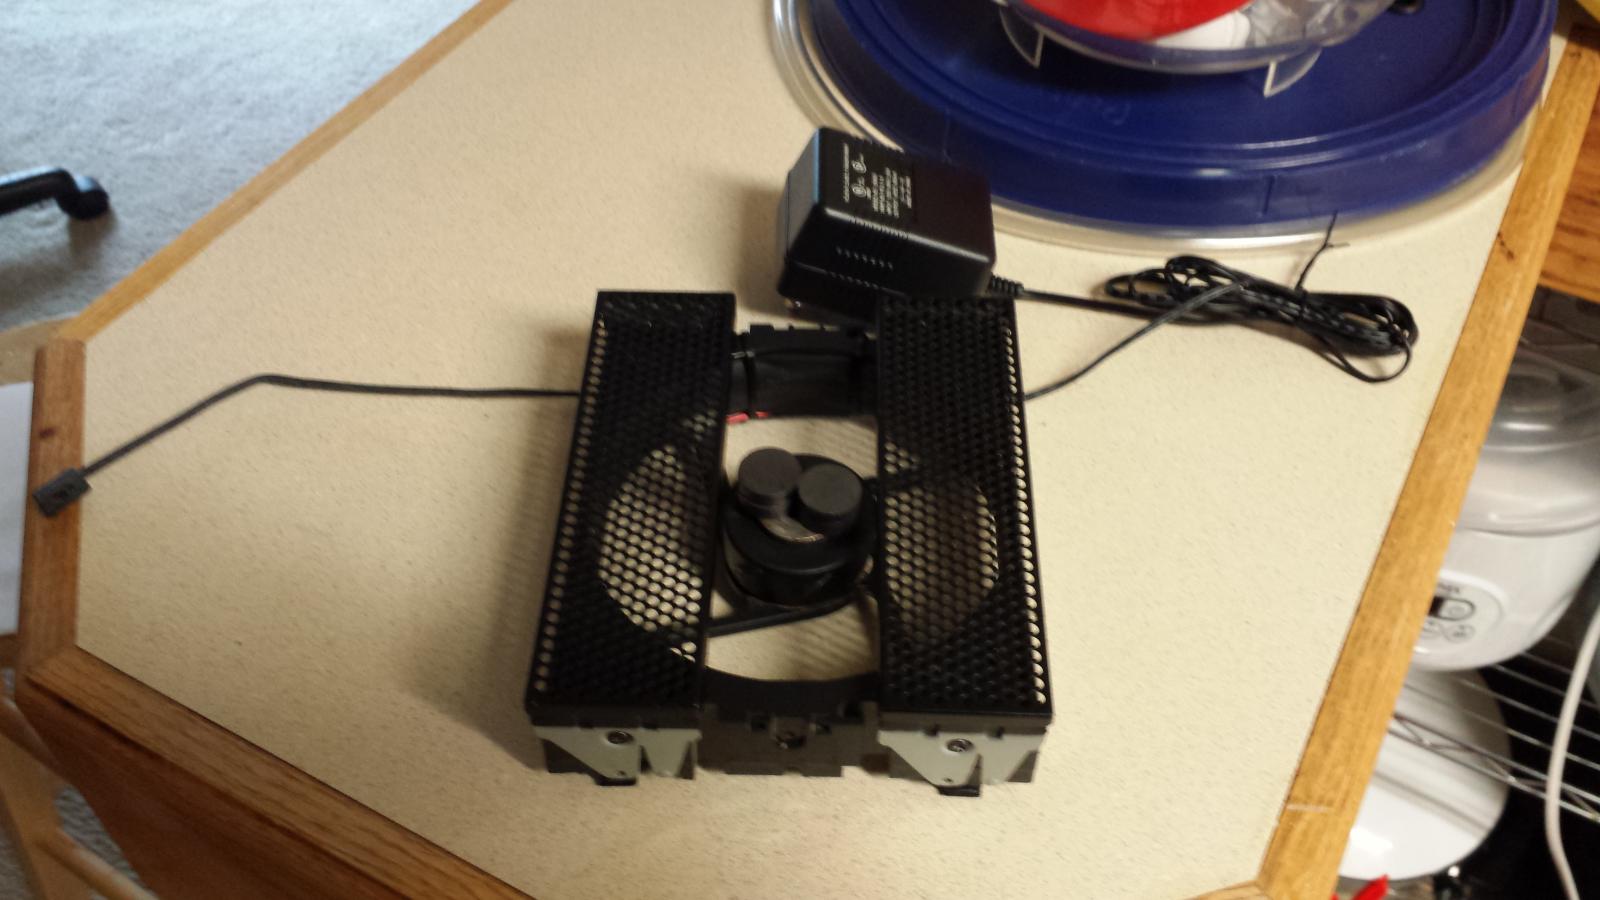
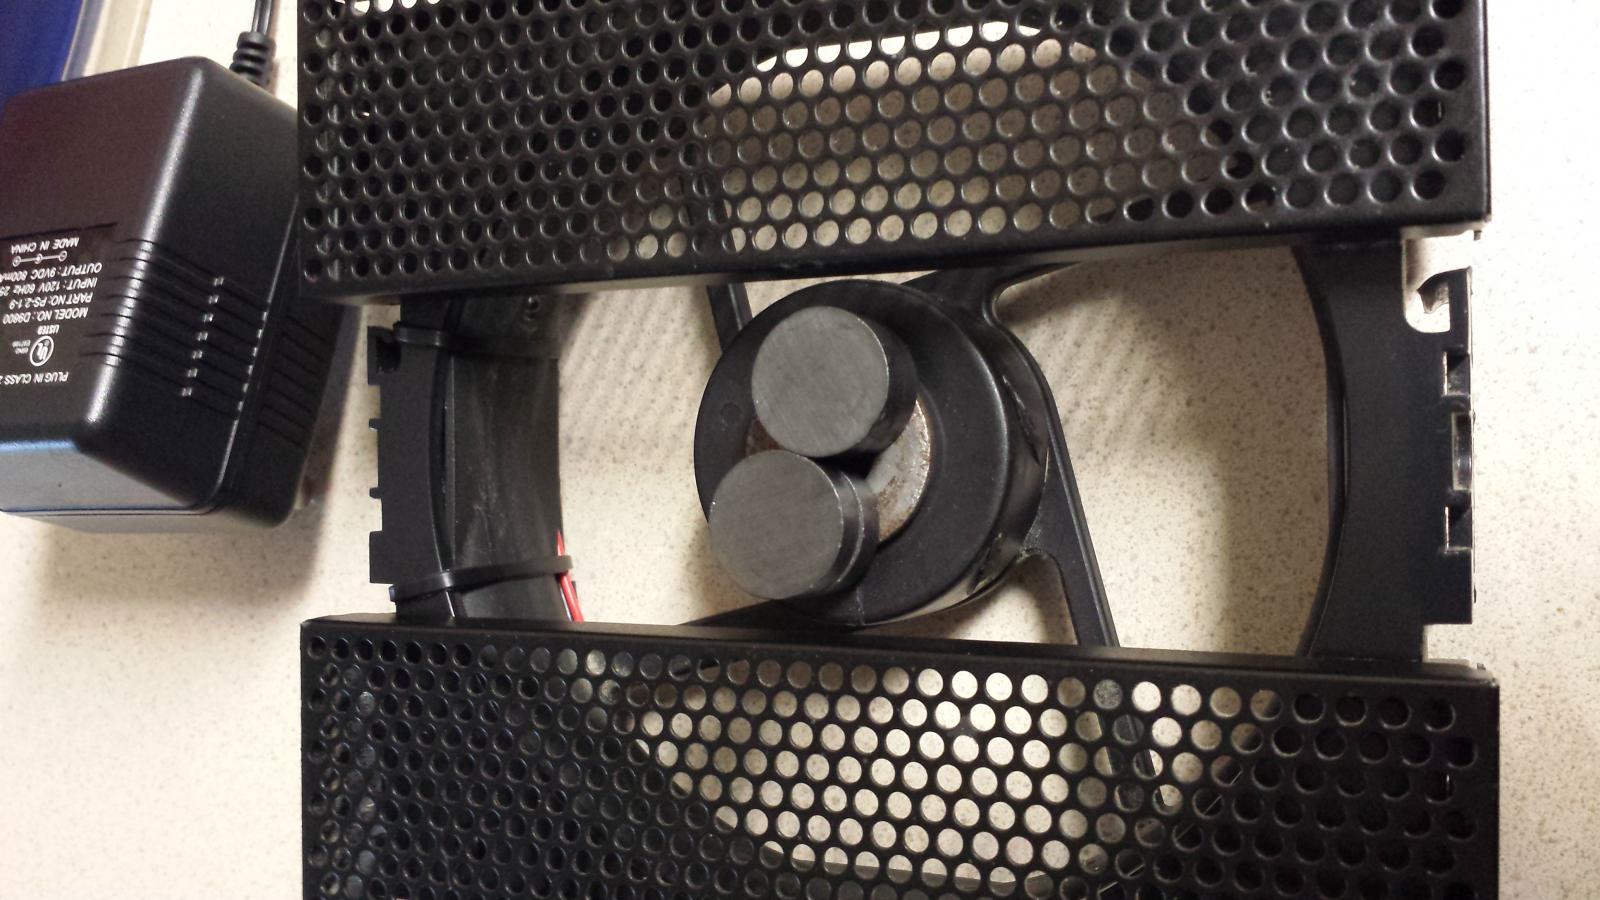
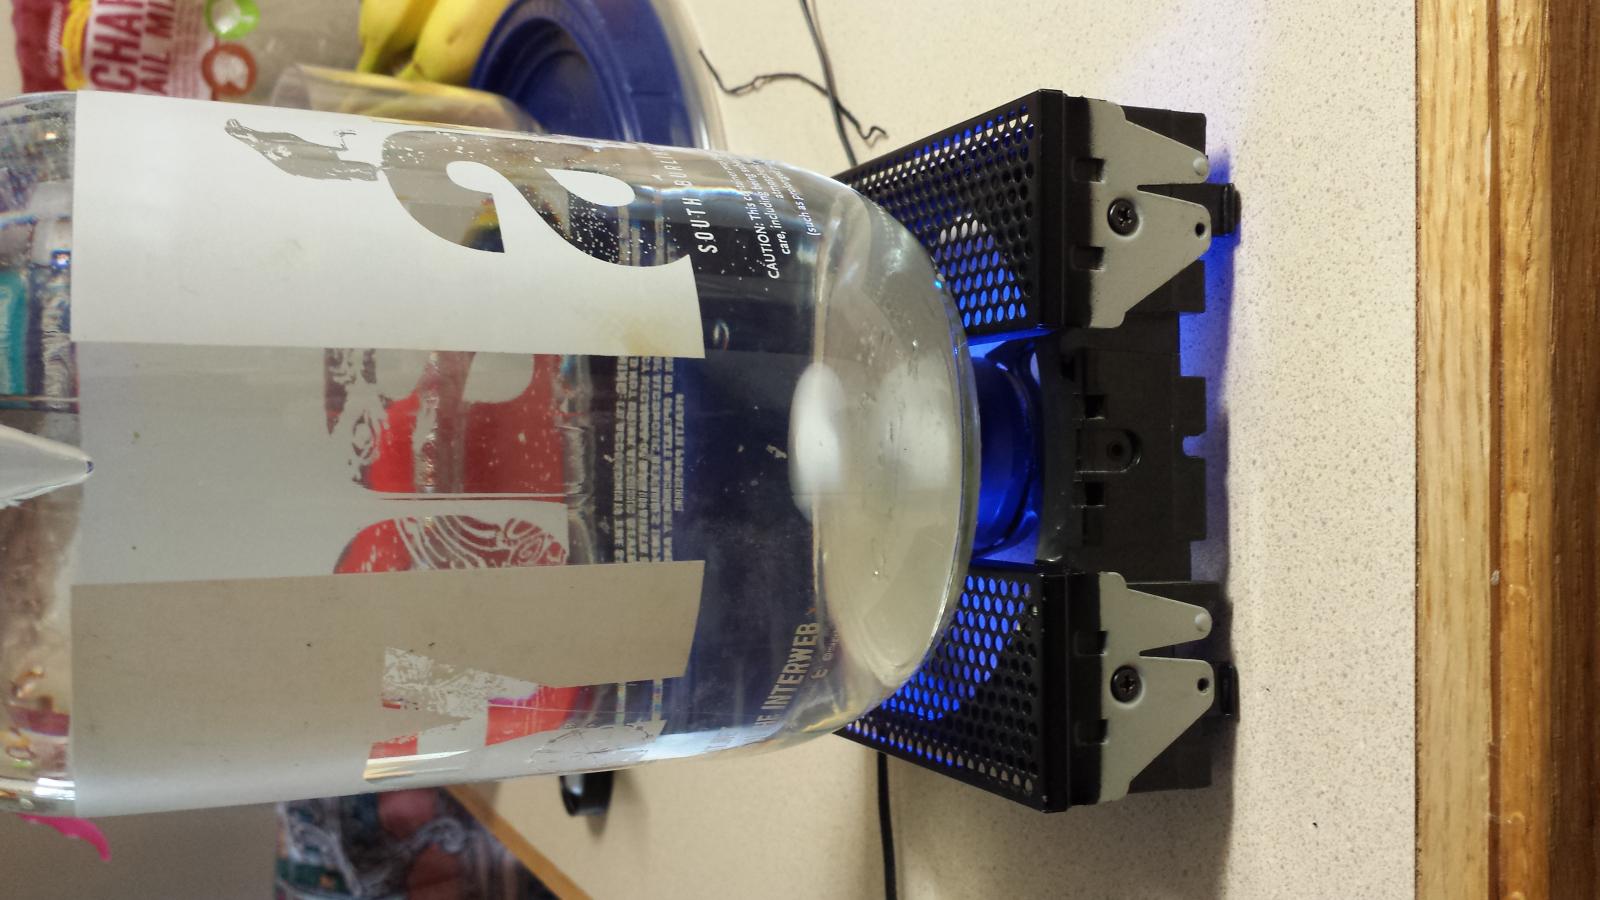
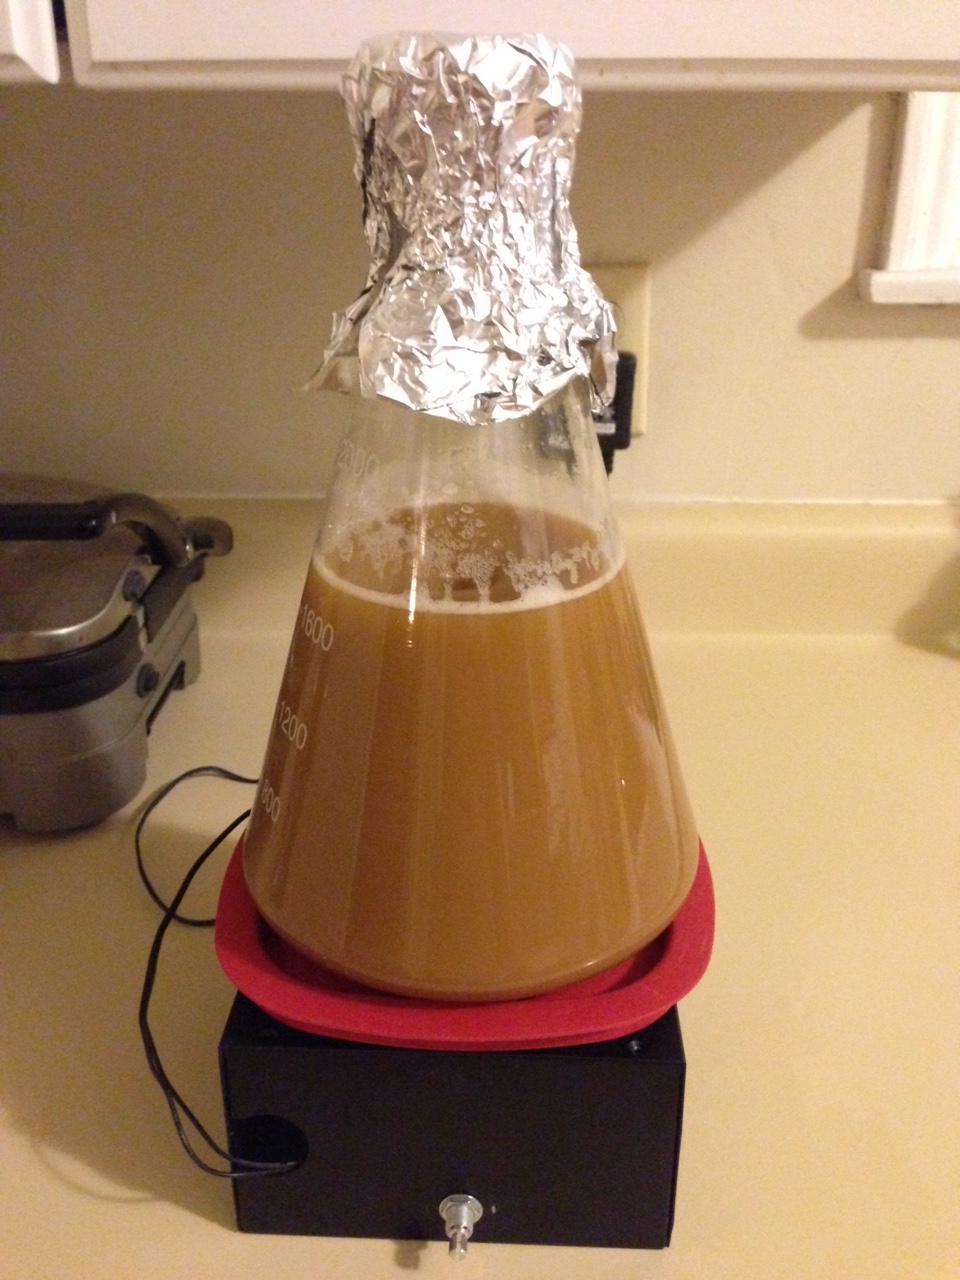
My stir plate. Old PC fan with its own 3 place speed control switch. Old cellphone charger, spare washer, + pack of magnets from Lowes ($3).

The fan mount from the tower I took it out of houses the fan nicely while providing a platform to place the starter flask on (I removed the center covering to expose the magnets better.)

PS: The blue "underglow" (as I call it) adds a nice bit of flare to the device lol

20150410_143014.jpg


20150410_143025 (1).jpg


20150410_143201.jpg


20150410_143213.jpg
 
Here's mine - nothing special, though i did use a PWM controller and it works awesome.

I'm in it about $13:

$3 box - thrift store
$3 fan - thrift store
$5 PWM controller (Amazon)
Free - 12V power supply (had it on hand)
Free - button magnets (had on hand)
$2 - nuts and bolts - hardware store.

stir1.JPG


stir2.JPG
 
My DIY Stir Plate, using a 9V power supply ($3), used cooling fan ($3), Radio Shack Rheostat and Switch ($10) the magnetic back off my nametag ($0) and a cigar box ($0). The stir bar was the most expensive single item, 1 7/8 octagon bar, $4.99 shipped off of eBay.

Life is Good!
David

Holy hell you sir are a genius! I was pissed that I threw away an old computer tower a month ago that I could have used to salvage a magnet from for my build. Then I came across this post just looking for ideas of builds, I have tons of those name badge magnets for my business. I know this post was 4 yrs ago but thanks!
 
Going to be my newest stir plate addition, it's cool to be envious.

Actually picked up the same one tonight. Easiest $2.50 I ever spent. I noticed the top is pretty thick wood. Have you turned it into a stir plate yet? Trying to figure out if it will work through the wood or if I'll have to cut a hole in the top.
 
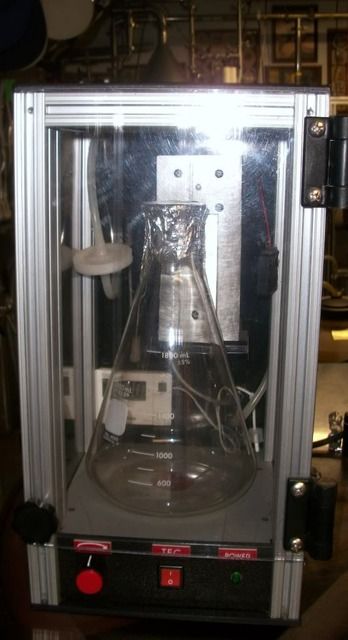
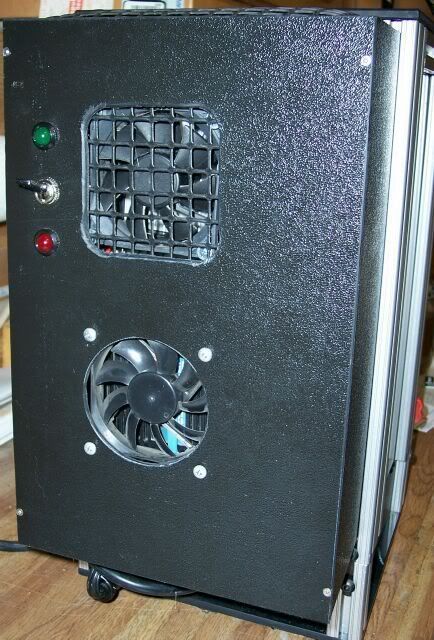
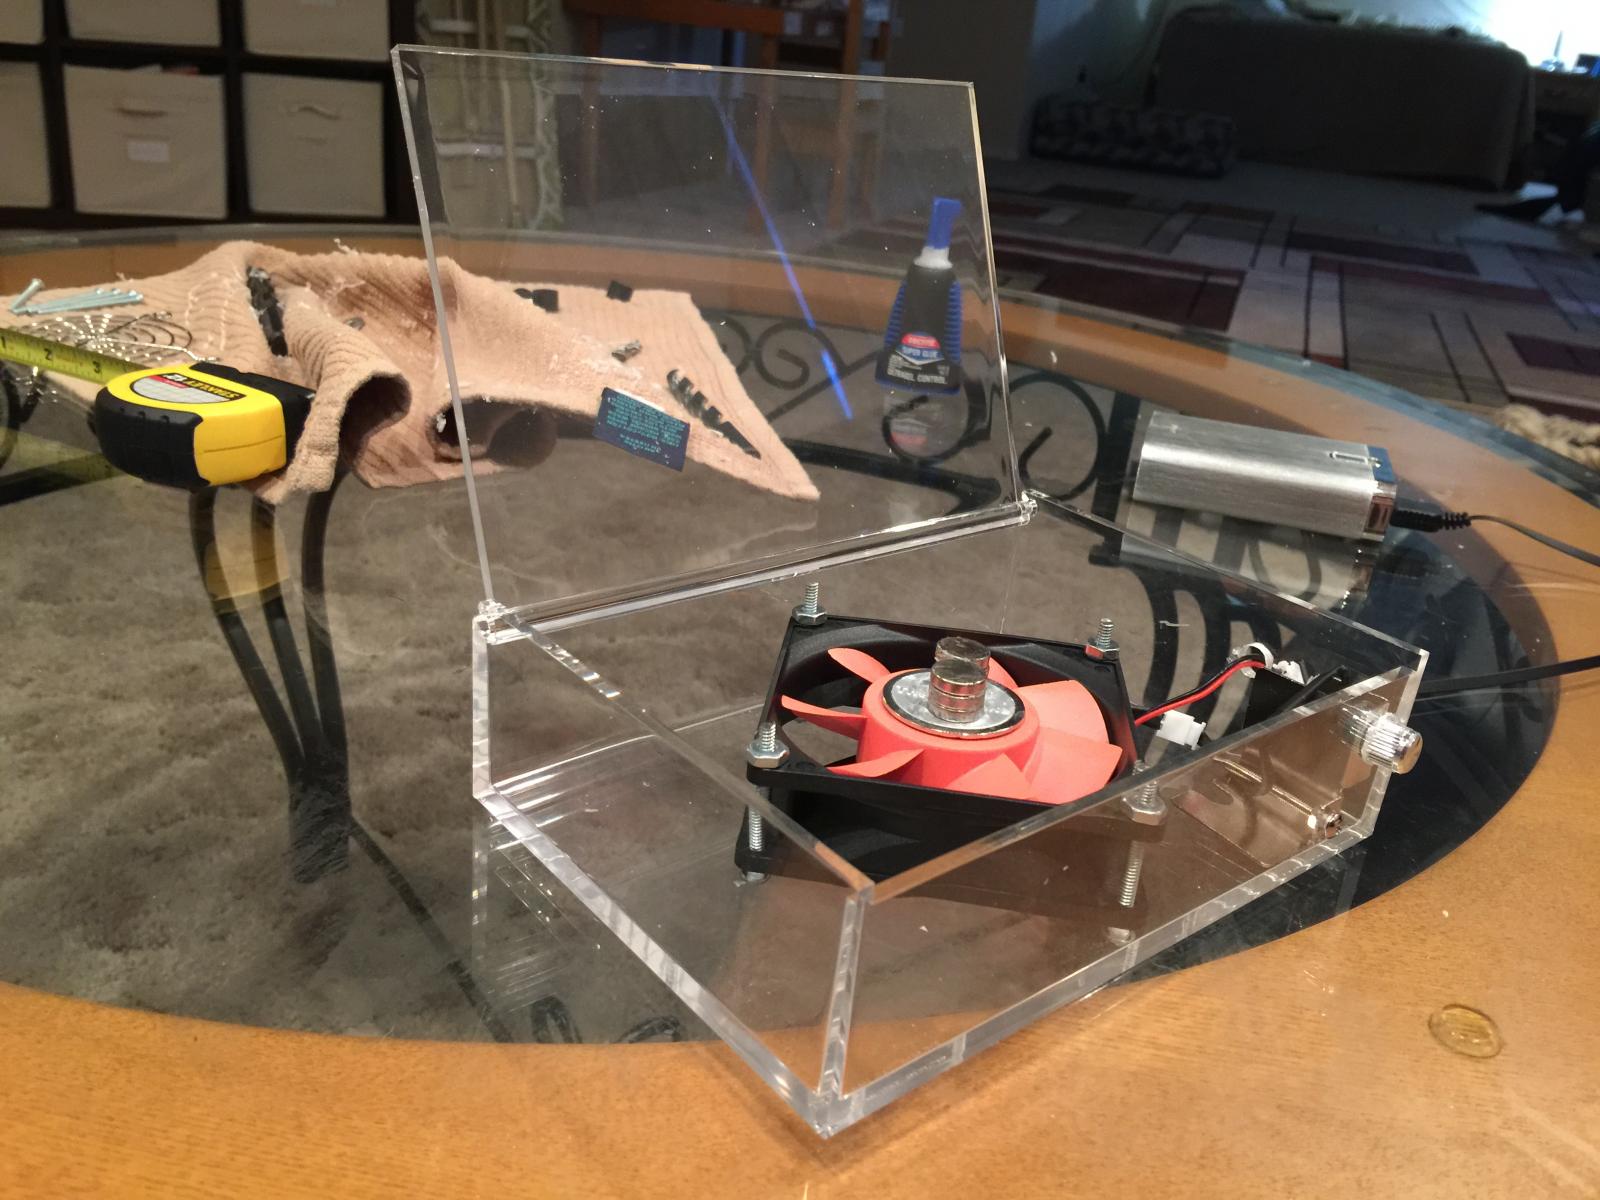
This is probably the fifth attempt I made at building a DIY stir plate, but the first that I'm actually happy with.
A few WiFi routers were upgraded at work and I thought the old ones had dimensions that seemed promising. Turns out this was a really excellent box for building a stir plate. It is just the right size and stiff enough not to flex too much.
This time I also used slightly better magnets (I've had trouble with previous versions throwing the bar). Also, I glued a large washer to the fan and just stuck the magnets to it. It made centering them a whole lot easier.

2edqxl0.jpg


2wqfm6q.jpg
 
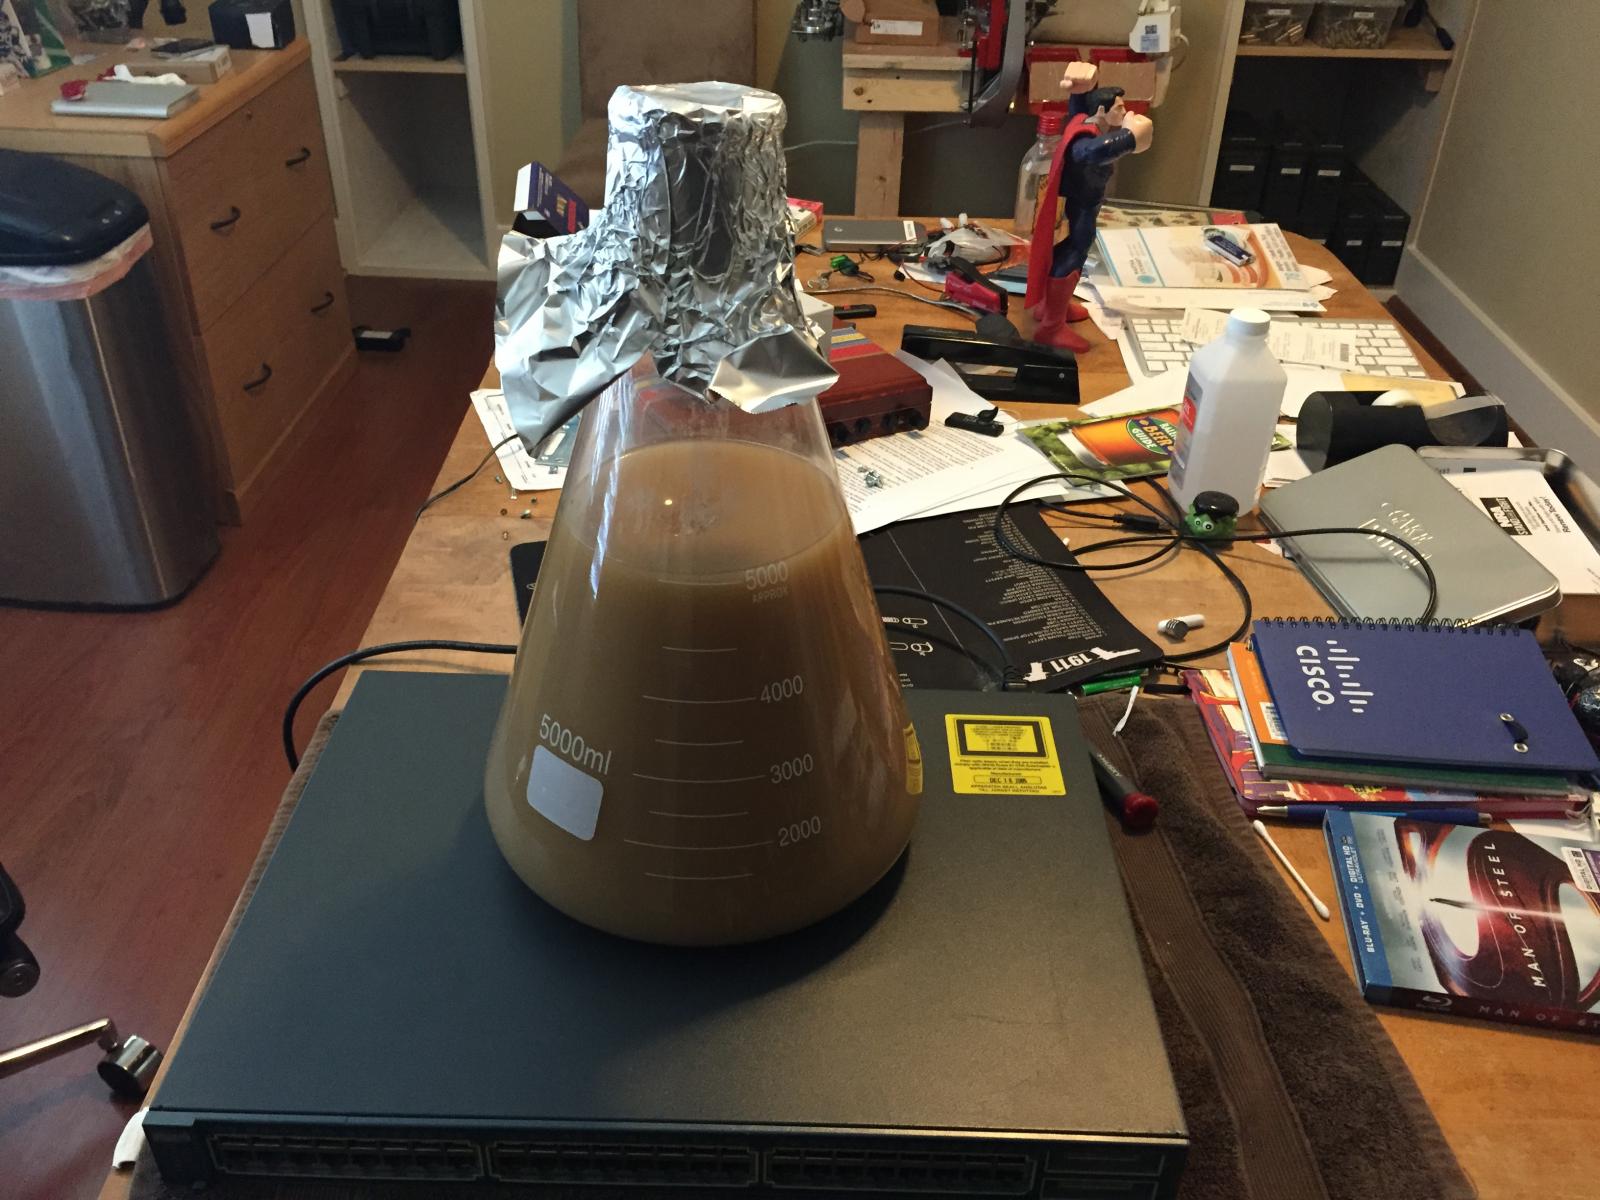
I had a few Cisco Switches sitting around. You can get one on eBay for about $30. I have a 5L flask that was just too big for my other plates. This is a 48-Port Cisco Catalyst 2950. It's a 10/100 switch, so it's out dated. $7000 when they first came out. Funny how technology can cause a price to crash so far.

I just posted the full build here:

http://imperialhops.blogspot.com/2015/06/stir-plate-for-5l-flask.html
 
I built my stir plate for less than $5. If you want to do the same here's what you need.

Philips Head Screwdriver
Torx Wrench Set
Power Drill
Hammer
Old dinner knife u dont mind abusing
Razor (wire cutters/stripper)
Super glue
3 Watt Rheometer (Potentiometer) - can be bought from any Radio Shack $4
Computer Hard Drive
Computer Power Supply
12Volt Power cord (Most cell phone chargers, router cords or appliances use theses)
Electrical tape

You need to get your hands on an old computer that has or is going to be thrown away. Yank out the hard drive and using a Torx Wrench, dissassemble the hard drive so you can get to the two rare earth magnets inside. (When pulling apart the hard drive know that some of the nuts are hidden beneath stickers.) There are videos on youtube of how to do this. I used a dinner knife and a hammer to separate the magnets from the piece of metal that they are glued to. Tap gently because the magnets are brittle. I broke one in half but it still works fine.

Next you want to pull the computer power supply out. It's the black box that the power cable plugs into. This will act as the body of the stir plate and will contain your rheomter which is used to control the speed of the fan which spins the magnet. Dissassemble the box using a screwdriver. I had to pry it open using the dinner knife. Once inside you want to remove all the wiring and the computer chip with electronics soldered to it. There is already a fan mounted inside. Leave that alone but cut the fan's power supply leaving as much wire as possible for you to work with.

Next you need to drill a hole in the side of the box to mount your rheometer. I believe it's about 5/8" so start with a small bit and work your way up. There is a small tab built into the rheometer that prevents it from spinning while mounted. You need to drill a tiny hole next to the larger one to fit this tab. After you get the Rheometer installed you can start the process of wiring. If you have soldering skills (I don't), feel free to use them. I just twisted the wires around the attachments.

At this point I took a 12Volt power cord from an old router and cut and stripped the cables. I'm no electrician so it took a little trial and error to figure out which way to wire the rheometer to get it to do what I was looking for. There are also some helpful links that I can send you. Also, I wired our stir plate simply so that when you plug it in the fan starts spinning. There is a second step that you can take that involves wiring the hot wire to a switch and then wiring the switch over to the rheometer. This way u can flick the unit on with a switch. I simplified mine though.

The last part was removing the metal screen that the power supply fan sits behind. Afterwards I took the two rare earth magnets from the hard drive and centered them to the fan to prevent wobble. I super glued them in place. Then you just need to find a non-metalic barrier to sit closely to the fan. I plan on screwing a piece of plexiglass but in the meantime I just took a Rubbermaid tuperware lid and rested it over the magnet. It needs to be as close as possible to attract the stir bar but not so close that it rubs and stops the fan. It also needs to be pretty sturdy so as to support the weight of the flask and wort within.

That's pretty much it. Here are some links and videos that helped me with the process.

[ame]https://www.youtube.com/watch?v=vz3yYcdYEZI[/ame] This video have me the idea of using the power supply as a project box which saves you $10-15.

http://beermumbo.com/how-to-build-a-simple-homemade-stir-plate/ This guide helped me with the wiring process

[ame]https://www.youtube.com/watch?v=YKzPt18aE_0[/ame] Pulling apart a hard drive

[ame]https://www.youtube.com/watch?v=GQhSy-Kz5DM[/ame] Separating magnets from their mounts

IMG_4393.JPG
 
Decided to build one last night. Just need to get a flask now. Mason jar's curved bottom makes it challenging to balance the bar just right.

[ame]https://www.youtube.com/watch?v=otB1W4XeHo0[/ame]

Eager to use a starter for my next brew day.

Photo Jul 17, 9 21 52 PM.jpg


Photo Jul 17, 9 21 58 PM.jpg


Photo Jul 17, 9 30 39 PM.jpg


Photo Jul 17, 9 53 46 PM.jpg


Photo Jul 17, 10 52 42 PM.jpg


Photo Jul 17, 10 52 58 PM.jpg


Photo Jul 17, 11 09 54 PM.jpg
 
Mine works, but the magnet wobbles just slightly and makes a really annoying noise. I've tried messing with the magnets for a while and I don't think it's an alignment issue, any suggestions for a quieter stir plate?
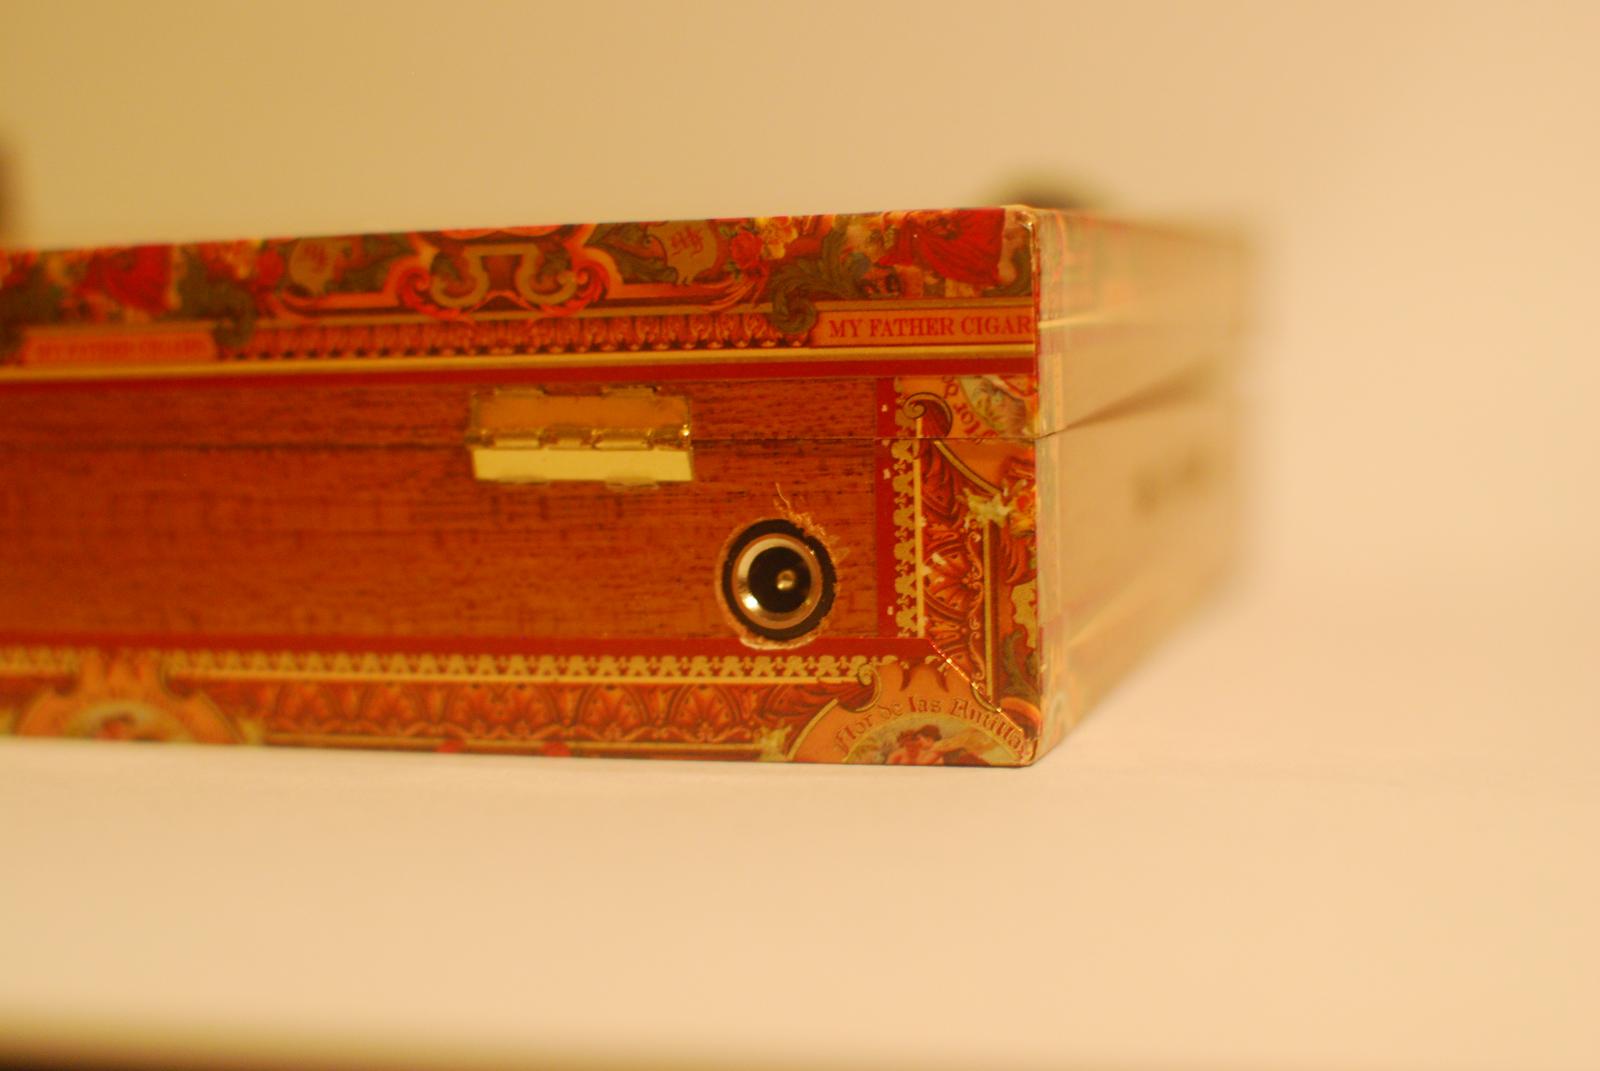
 
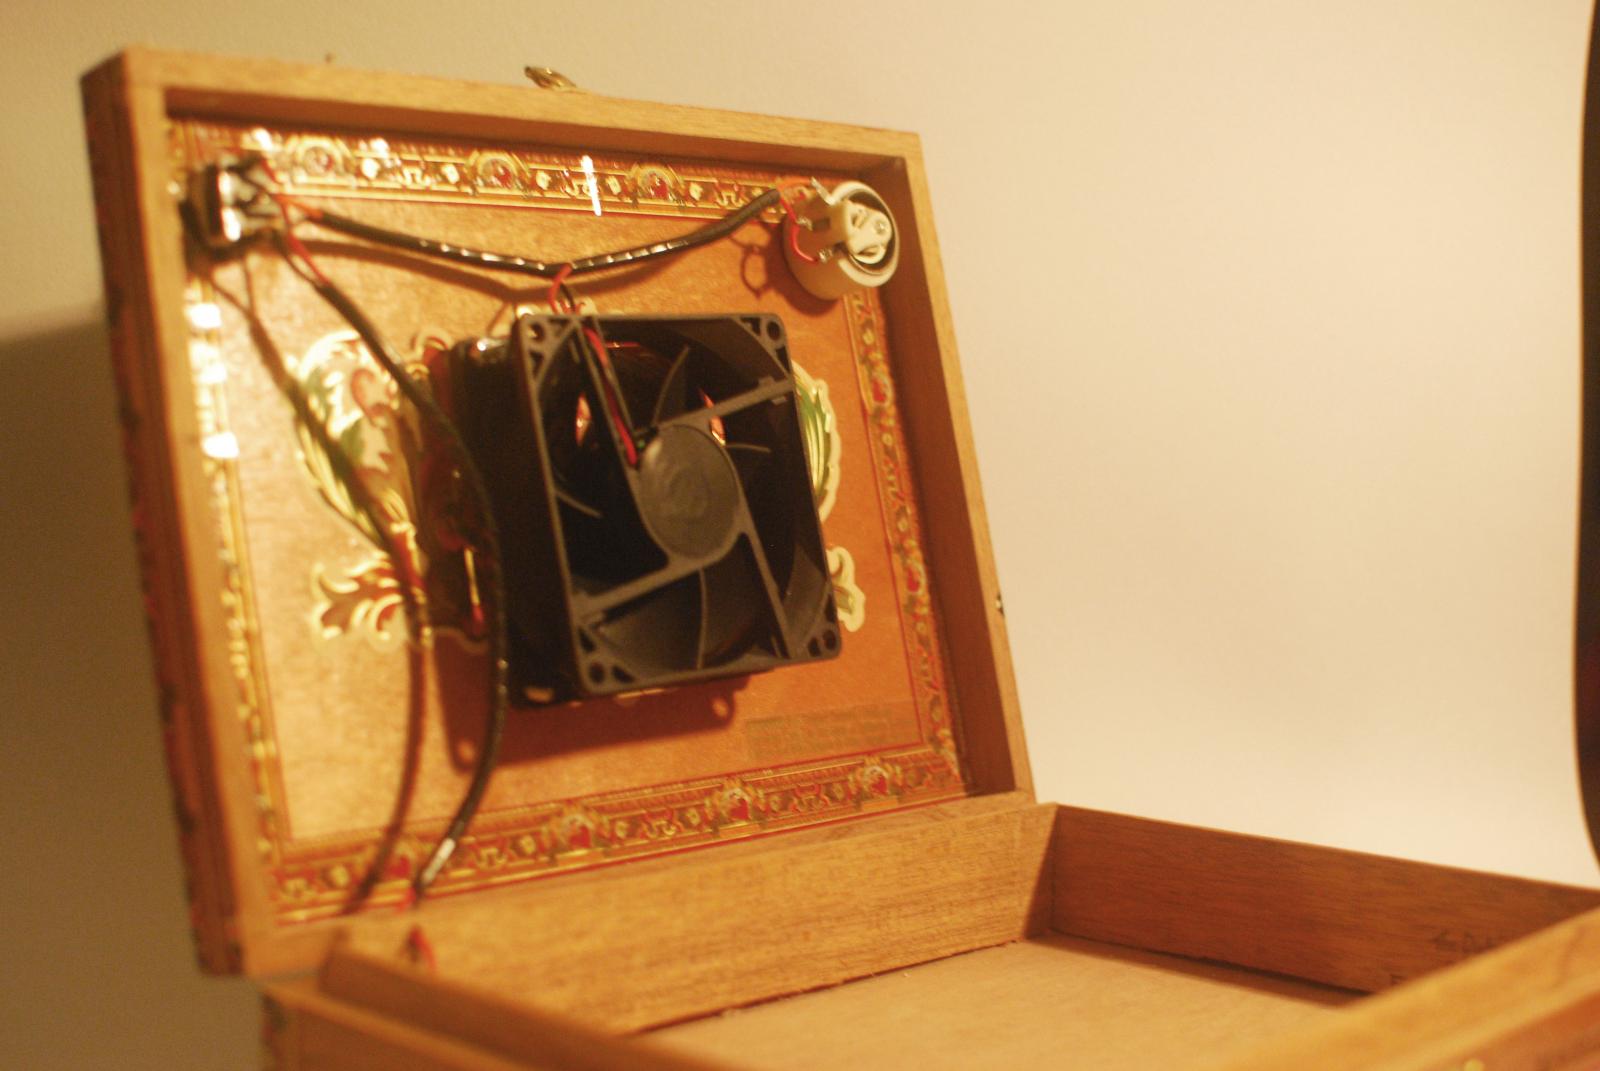
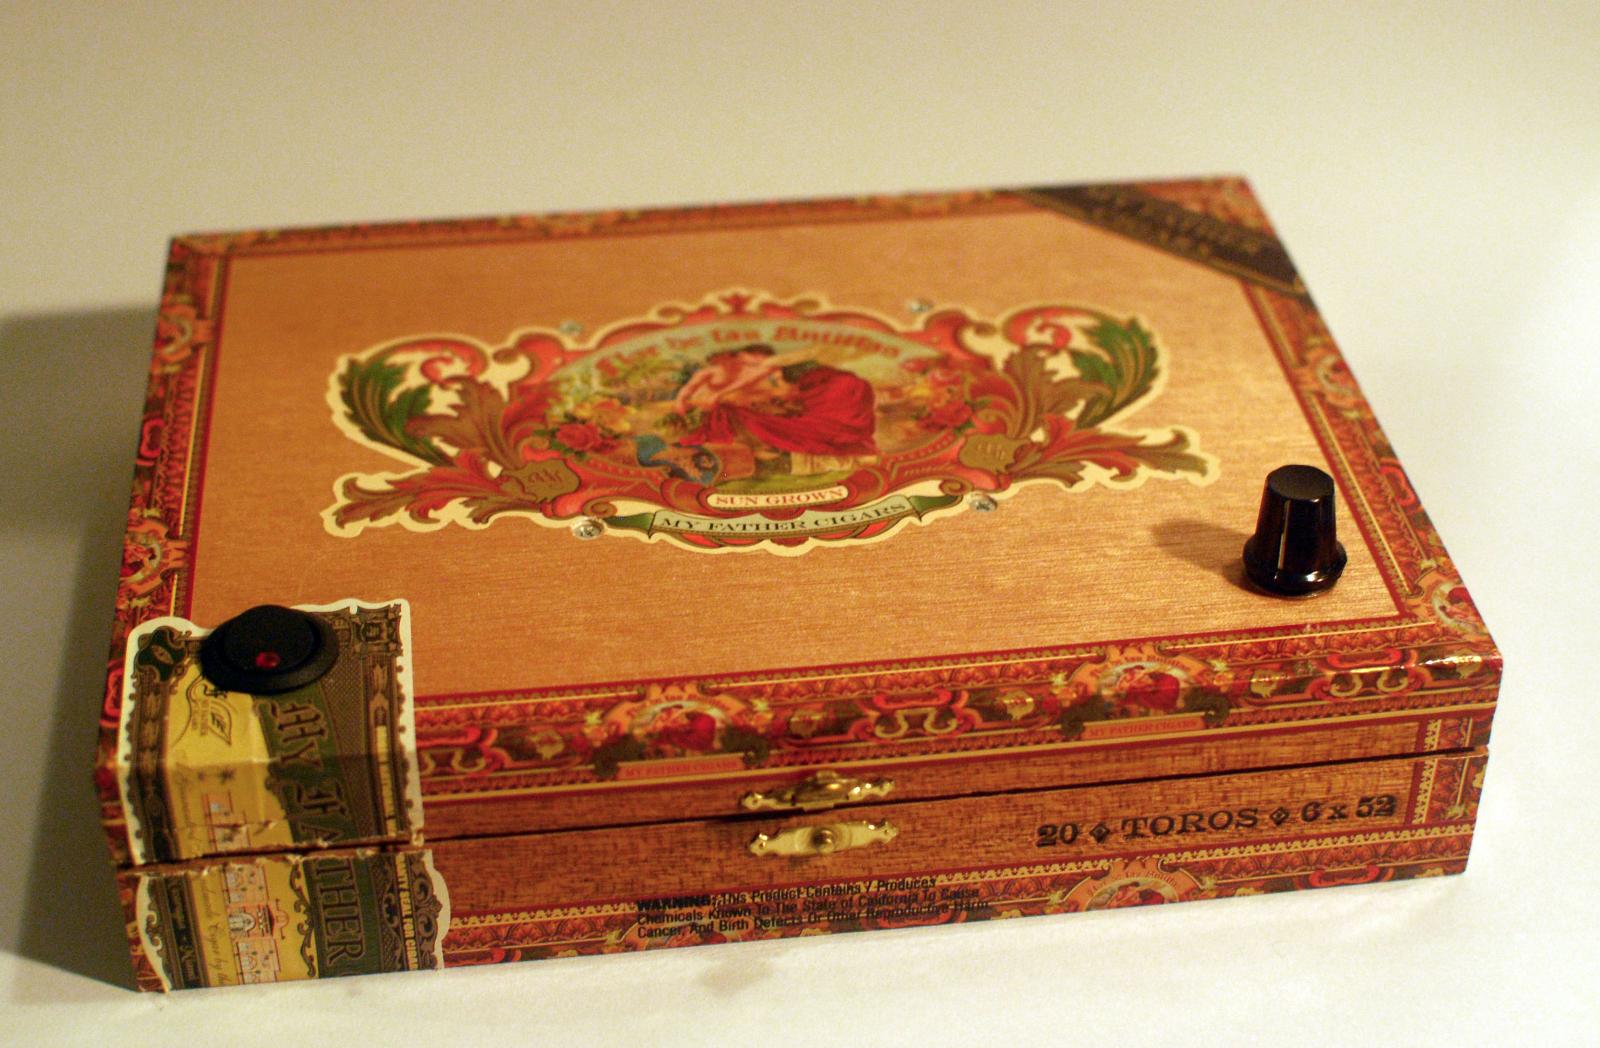
Only mostly homemade. I purchased the kit from Digital Homebrew for $39 with shipping. I ordered through Amazon. At first, I almost cancelled the order because Amazon estimated a month and a half to ship from Australia. However, that was bogus. It arrived in about a week. I probably paid about $10 more than the cost of the individual items. But, I doubt I could have gotten them as economically since I would have had to pay shipping from multiple vendors.

I mounted it in a wooden cigar box. The only issue was that the thickness of the box made it necessary for me to make recesses for the power plug and switch to fit through.

I'm very happy with the performance. And, the nice side effect of using the hinged box is that the power cord fits inside during storage. And, for those of you reading this post in Europe, the kit includes international adaptors for the power supply.

11169937_10205532812932895_8995044595724642025_n.jpg
[/IMG]
 
I just did one using fan and a "strip " type magnet from a hard drive. I noticed the bar doesn't want to spin quite right. It acts like the poles on the magnet and the end of the bar are wrong??? Or is it I dont have a speed controler yet and going from 0 to full speed is the problem?
 
I just did one using fan and a "strip " type magnet from a hard drive. I noticed the bar doesn't want to spin quite right. It acts like the poles on the magnet and the end of the bar are wrong??? Or is it I dont have a speed controler yet and going from 0 to full speed is the problem?

Could be a few things:
  • The magnet and stir bar should be of similar length
  • The magnet should be sufficiently close to the stir bar to grab and keep hold of it
  • The magnet can't be rotating too fast to grab the stir bar. In that case, you'll want to install a potentiometer/voltage regulator.
 
Last edited by a moderator:
Here are a few photos of one of my recent stir plate builds.

It's an analogue speed control with a 3W 220ohm potentiometer controlling the fan speed. Rocker on/off switch, and a .2A hard drive fan. Got a 2.1mm jack in the back, so that the power cord is detachable for storage.

DSC_0607.jpg


DSC_0606.jpg


DSC_0600.jpg


DSC_0612.jpg
 
Here's a picture of DIY Stir Plate, just finished up late last night. I was trying to get the Potentiometer installed in the front right side, but the wood from the cigar box was took thick for it to mount. So I had to mount it on top. Had I not installed the rocker switch up front already, I would have mounted the rocker switch on top too. For under $10 in parts that I didn't have on hand, it just needs to be functional not pretty! ;-)

DIY_Stir_Plate.jpg
 
New DIY to replace my old one. My previous one wasn't wide enough for me and I didn't have a good power supply for it, so I started from scratch. Upgraded to a variable voltage circuit as well. Ended up a little pricier at $40, but I love how clean it turned out.

View attachment ImageUploadedByHome Brew1448851888.754331.jpg
View attachment ImageUploadedByHome Brew1448851900.794224.jpg
View attachment ImageUploadedByHome Brew1448851910.713697.jpg
View attachment ImageUploadedByHome Brew1448851923.053579.jpg
View attachment ImageUploadedByHome Brew1448851933.058467.jpg
 
Put one together tonight out of a cigar box, some cheap parts from Radio Shack, a magnet, and a PC fan. Have it hooked up to a 9V battery for now, but will hardwire it later. Not the prettiest (on the inside), but it works. Wonder if anyone has done this with 9V batteries, wonder how long it will last?

so this is super old, but how long did you get out of your 9v battery?
 
Back
Top