BulldogBrewer
Well-Known Member
Nice jfulton, I really like that. I'm just itching looking at some of these cool wood sculptures until I have time to start working on my own.

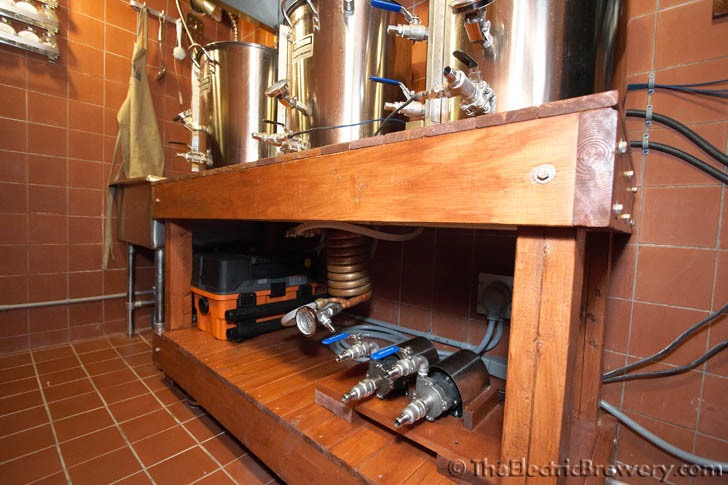
Almost done with my wooden stand.
Just need to add a shelf for the propane tank. Went way over budget with the bolts, but will make it easier to move.


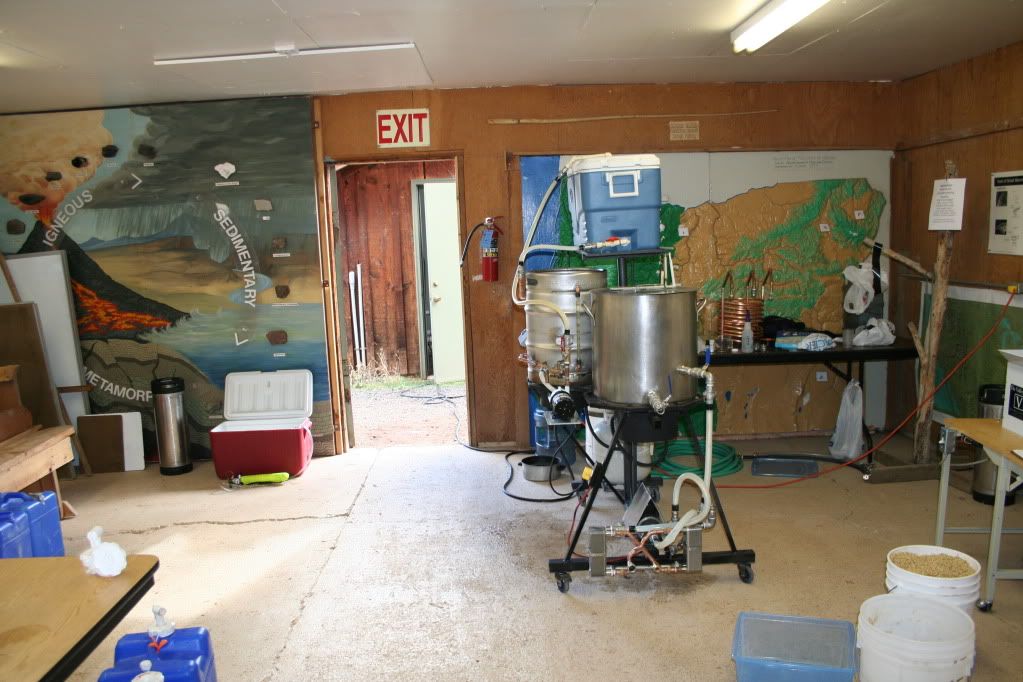
Probably the best tippy dump design I have seen. I love it. Full insulation with good aesthetics and a practical way to clean it out.
Very well done.


Unfortunately I can not give you an A+ , one of the spark ignition labels is facing the wrong wayso what do you guys think?

Here's a bunch of pictures from mine:
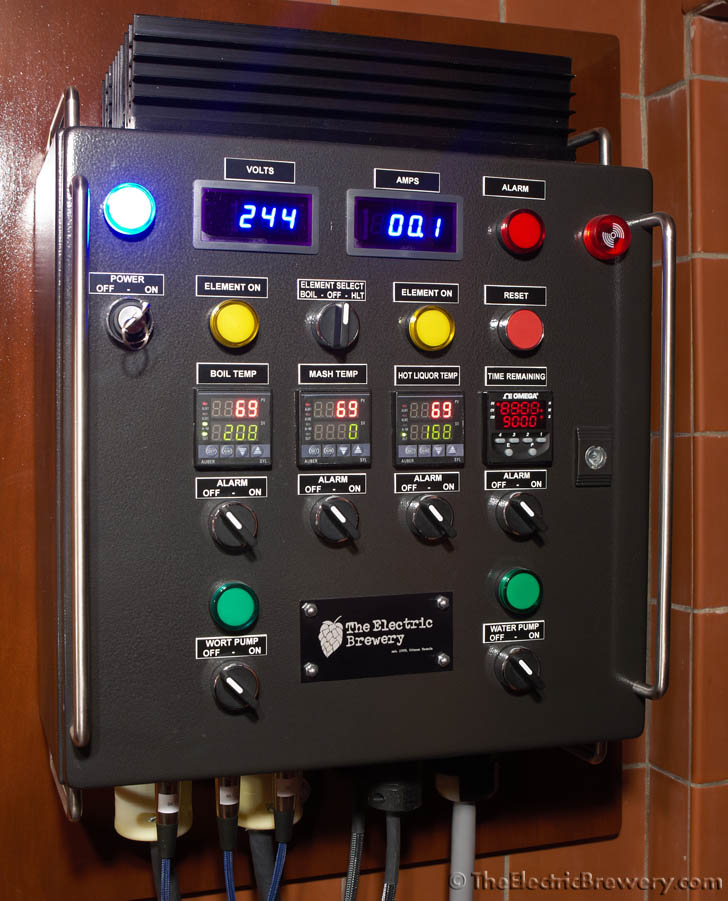
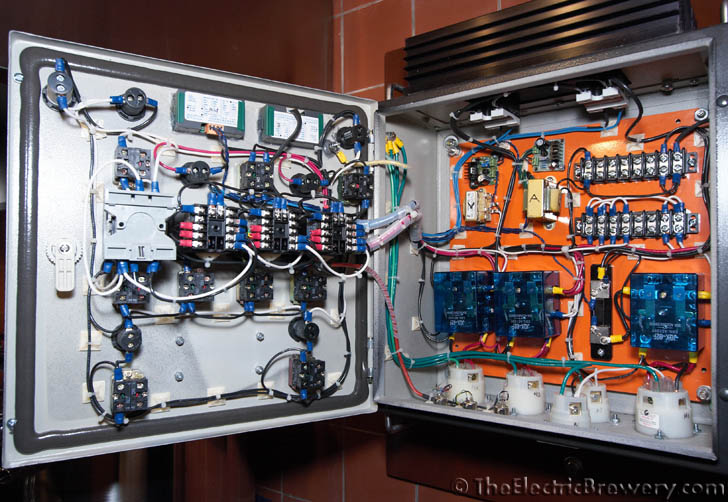
Control panel:
Kal

Thanks! I have complete instructions and a parts list for building it starting here: http://www.theelectricbrewery.com/control-panel-part-1Kal you created a muster piece. What a beauty
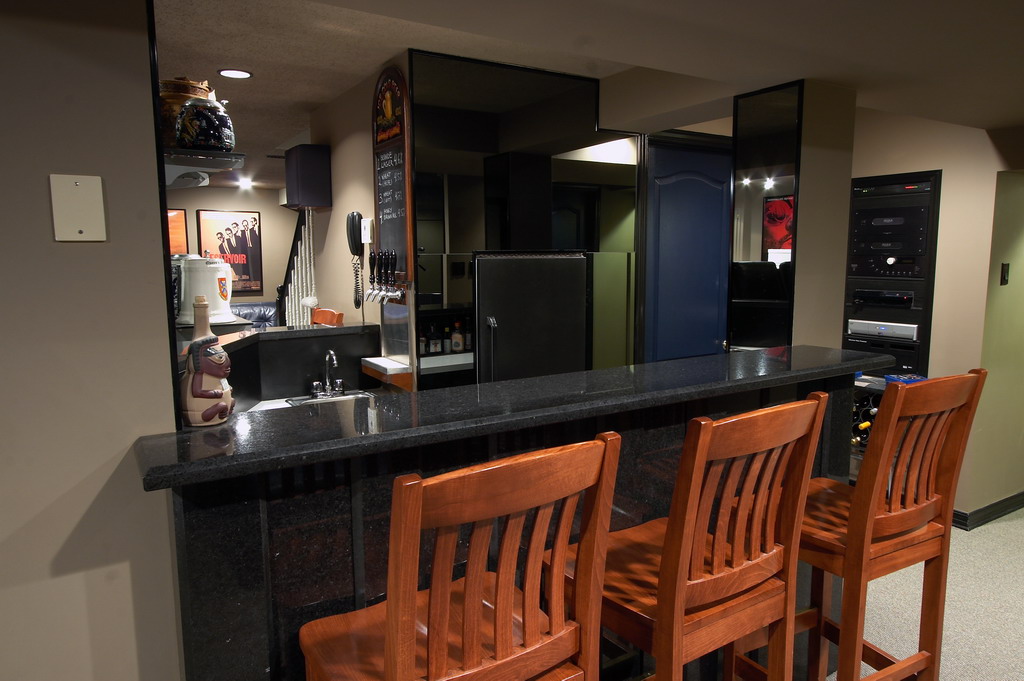
Thanks! Not brewery related but I have more pictures on my basement here: http://www.curtpalme.com/forum/album_personal.php?user_id=3I had seen this basement before and thought ''Oh god...dream basement right there!'' and now I learn that It's yours...the guy with one of the most awesome brewing setups ever...
You !@#$in rock man...thats just sick!
Bar/Taps:
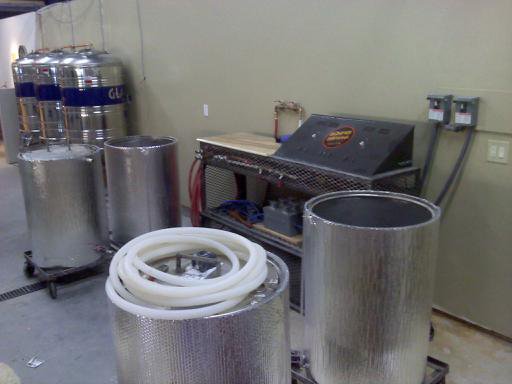
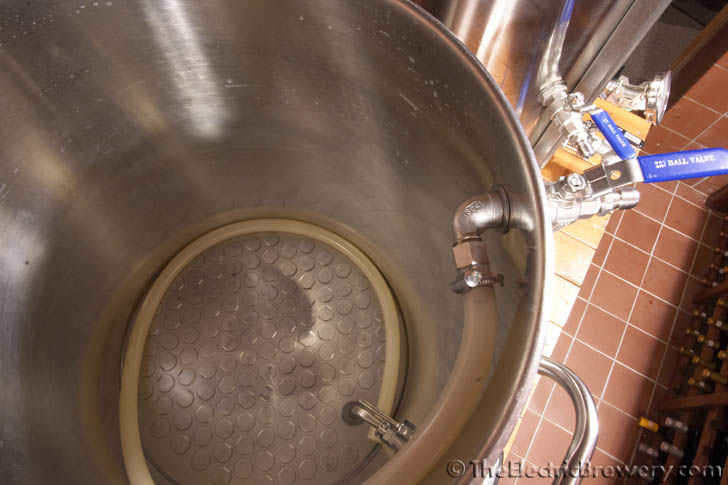
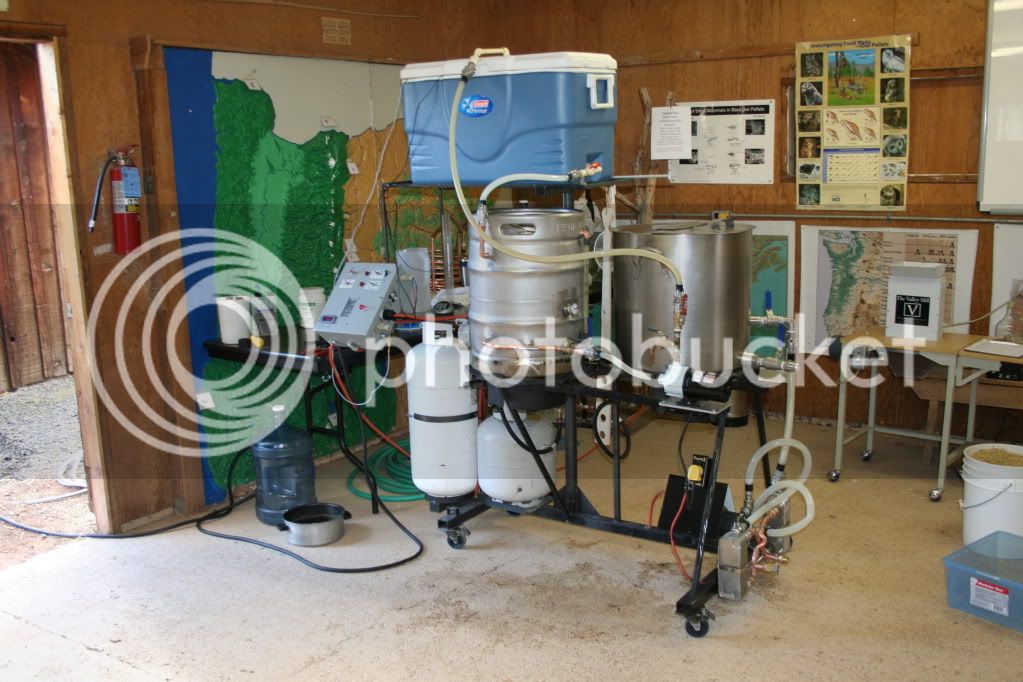
92GreenyJ, that's probably one of the burliest rigs I've seen....definitely unique! Your MLT is almost like a tandoori!
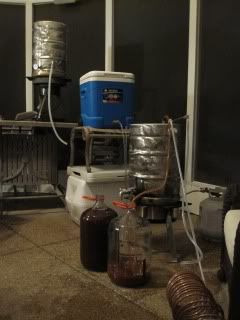
Brewmoor, what are your plans for the SS Glacier tanks I see in the background?
Brewmoor, what are your plans for the SS Glacier tanks I see in the background?


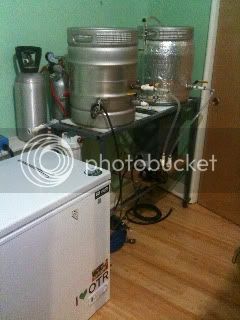
My current stand, I'm going to change the main burner and then its done..if there is a thing that's every "done
A 5.2 litre built aluminum Rover engine of 385 HP 398 TQ plus lighter for handling would be trick. Yes the 302 is one of the best engines built
but not in a light car, JMO. Past project car was a Volvo 62 P1800 with a 4.8 Rover, lighter than the iron 4 cylinder with double the HP and great handling.
Wrong Subject.
Enter your email address to join:

