I finished my conversion of the Xtreme cooler to a massive mashtun. I can't take full credit for the parts and ideas as I found inspiration from others who have done similar builds.
Here's all the parts I needed:

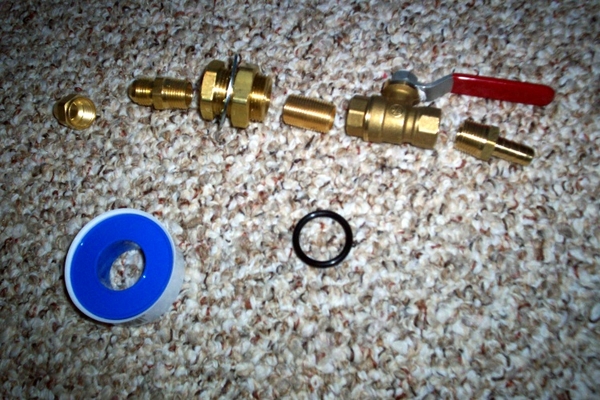
Parts List:

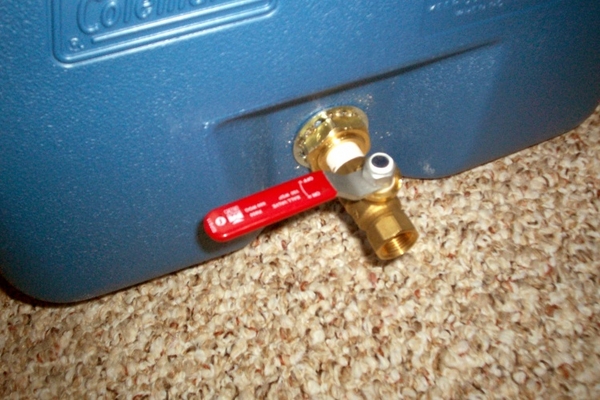
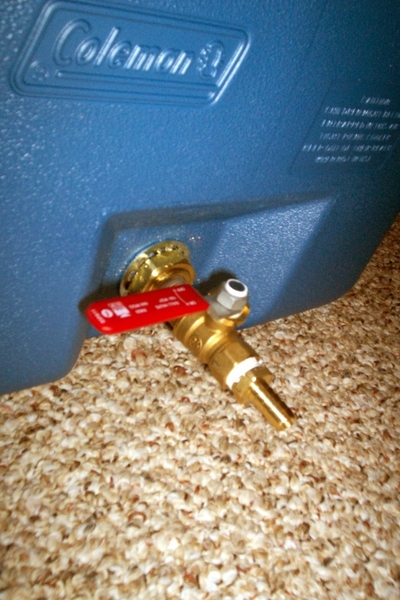
I inserted the coupling from the inside with an O-ring. I took a little force as the factory opening isn't quite big enough. I used a half round file to shave enough off to get it started. I put the lock washer and nut on the outside.
Here's all the parts I needed:
Parts List:
- Xtreme 70qt cooler
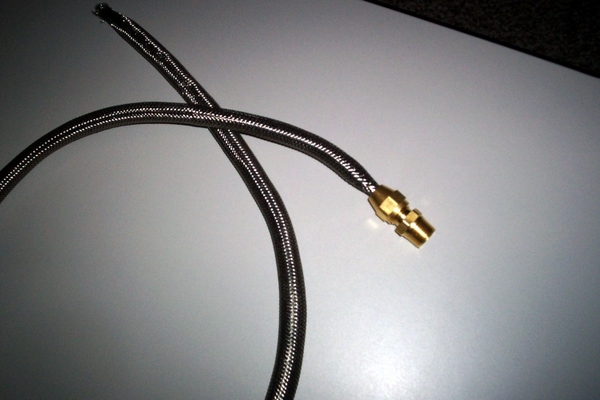
- Stainless braid from water supply line
- #18 O-Ring (15/16" I.D.) - $1.97 (pack of 10)
- Teflon tape - $0.99
- 3/8" Flare Nut - Watts A-160 - $1.55
- 3/8" Flare x 3/8" MIP Union - Watts A-183 - $1.66
- 3/8" Panel Mount Couling - McMaster Carr 50785 K274 - $9.72
- 3/8" MIP x Close Brass Pipe Nipple - Watts A-785 - $1.52
- 3/8" Threaded Full Part Pall Valve - $6.27
- 3/8" x 3/8" I.D. Barb to MIP Adapter - $2.10
I inserted the coupling from the inside with an O-ring. I took a little force as the factory opening isn't quite big enough. I used a half round file to shave enough off to get it started. I put the lock washer and nut on the outside.