hybrid heat exchanger, custom sculpture

Homebrew Talk - Beer, Wine, Mead, & Cider Brewing Discussion Forum

Help Support Homebrew Talk - Beer, Wine, Mead, & Cider Brewing Discussion Forum:

This site may earn a commission from merchant affiliate links, including eBay, Amazon, and others.

keithster

Active Member
Joined
Jul 11, 2009
Messages
42
Reaction score
0
Location
San Marcos
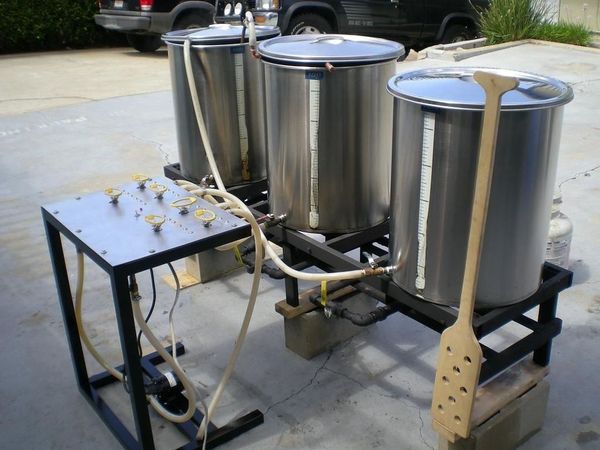
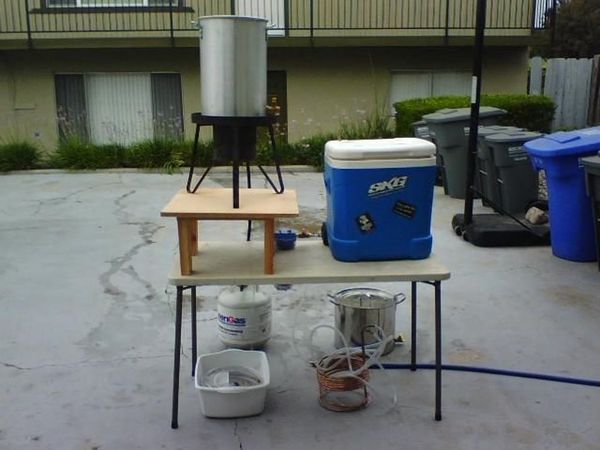
It was suggested I start a thread to share my heat exchanger creation. Thanks Earthbound. The posts will be broken up to explain the seperate portions of the system

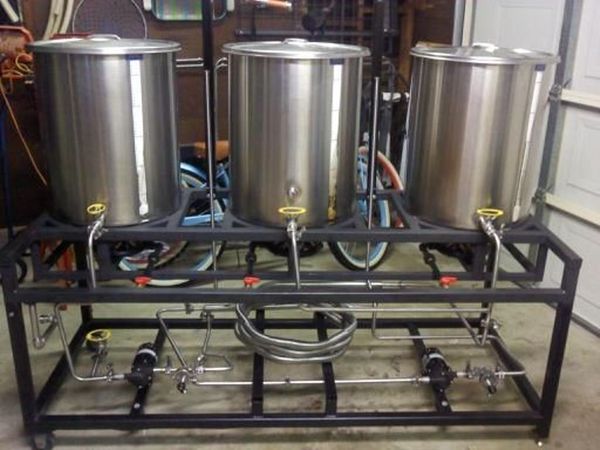
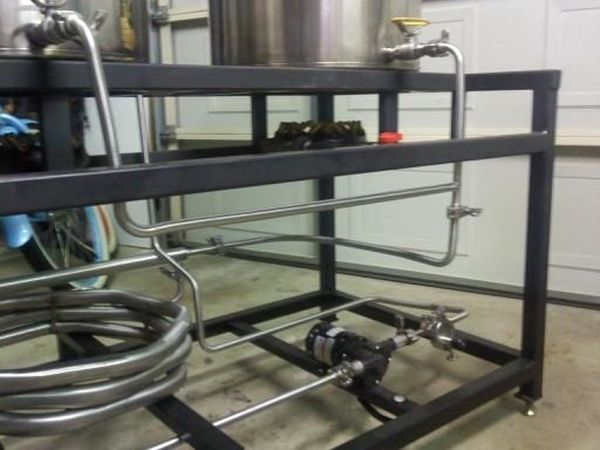
It has (3) natural gas 23 jet burners that are plumbed using a gas tube instead of a gas pipe. Plates were welded, drilled, and tapped to the 1 1/2" square tubing for each gas line connection. The burners are attached with union joints so they can be swapped for propane burners when the stand is taken to locations and natural gas is not available.

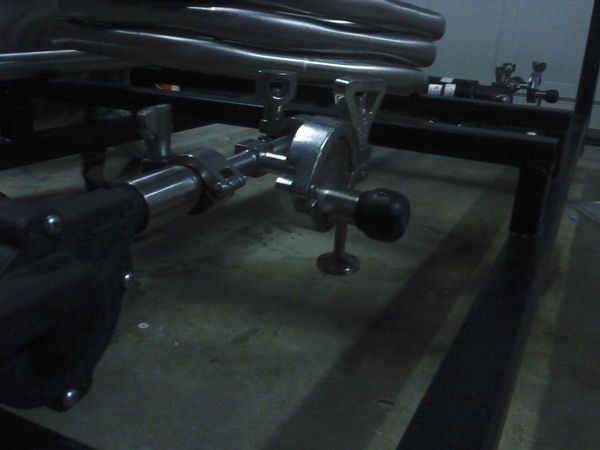
The smaller tube frame around the burners is for the future wind screen.

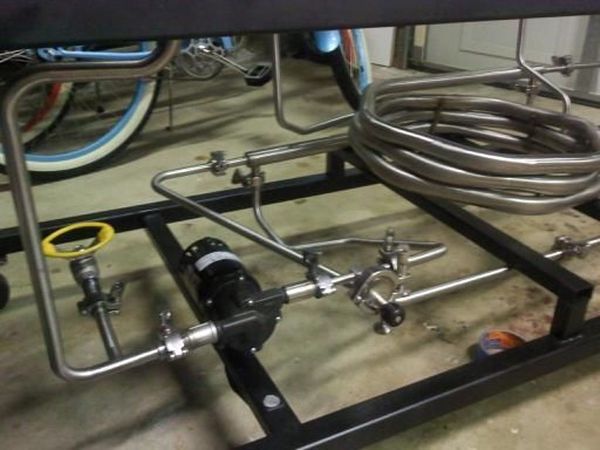
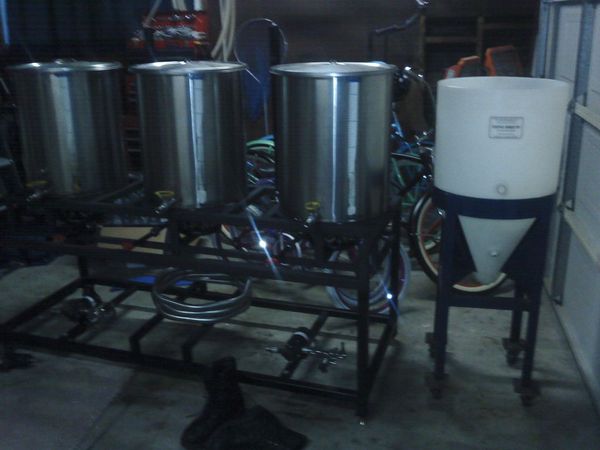
There is plenty of gas volume from the household gas line and once the boil is goihe flame is turned down to low. It does result in a sooty bottm for the boil kettle but nothing a scrubber can't take care of.

60787_1567365751427_1453937765_1490240_4771420_n.jpg


60787_1567366111436_1453937765_1490249_6804476_n.jpg


59035_1567369591523_1453937765_1490257_1907783_n.jpg


59035_1567369631524_1453937765_1490258_1749264_n.jpg


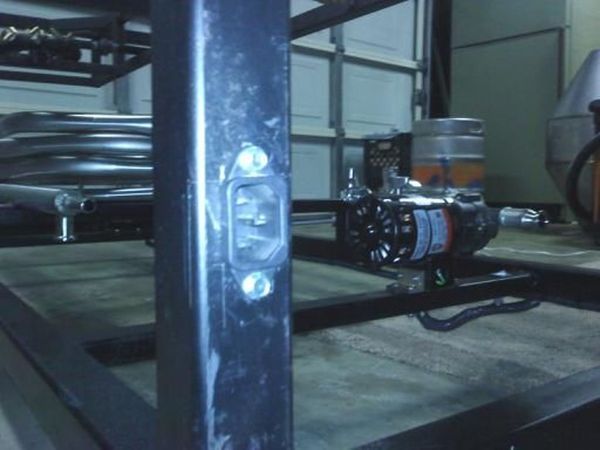
This is where the gas is connected from the house to the stand.
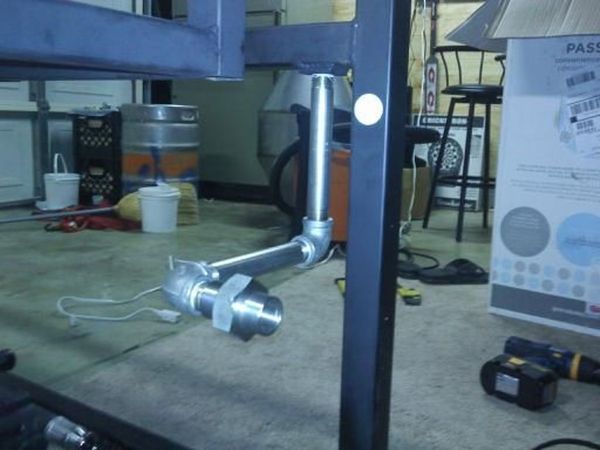
600_18836077.jpeg


73910_1655045583368_1453937765_1661133_6171463_n.jpg
 
A clean electrical connection was wanted so a old computer power supply gave up it's connector and that was flush mounted into the frame. I just use a long computer power supply cord, this ensures it won't be borrowed for something else around the house. The power then goes to a keyed switched. This allows the stand to be plugged in but the power cut to the pumps so they aren't accidently (kids and/or pets) turned on when dry. Not to mention it's kind of cool to have keys to your own "brewery" :mug:

What wires are not in the frame are covered with wire loom. The switches in front of each pump turn red when they have power to them, they then turn green when you turn the pump on.

The valve assembly on the OUT side of the pump serves two functions. The first function it to allow air to escape and prime the pump. It is also a great way to take a sample of the wort at anytime of the brewing process without dipping into the boil or mash kettle.

600_18836108.jpeg


66076_1605957476196_1453937765_1570681_491756_n.jpg


66521_1605957596199_1453937765_1570682_7653427_n.jpg


37206_1605957196189_1453937765_1570680_1121927_n.jpg
 
I'm lucky enough to work at an aerospace tubing manufacturing company. Since the owner really likes beer he allowed me to have the tubing bent at work and free use of all the tools. The tubing was donated by one of our suppliers and the tri-clover fittings were given to me by Mark at Oceanside Ale Works.

The water from the HLT can pump and sent back to the HLT or to the Mash tun. The wort from the mash tun can be recurculated back to the mash tun or sent to the Boil Kettle. It's just a matter of putting the end of the flexible hose from one kettle to the other. Both pumps have their own priming/sampling valve on the OUT side.

My old setup, like most out there, had a coil sitting in the HLT for the mash to recurculate thru it for temperature control. I wanted to get away from having any hardware in the kettle so I came up with my coil. The coil is actualy a 1 1/4" stainless tube with a 5/8" tube ran thru the middle of it. They are sealed from each other so the fluids never touch. The hot water from the HLT is ran thru the large (jacket) tube while the wort is ran thru the small (line) tube.

When it comes to cooling the wort is ran thru the line and tap water is ran thru the jacket. The coil heats the wort as required when mashing and cools the wort when the boil is done. The hot water from the cooling process is captured in the HLT for either a 2nd batch or for cleaning. I really don't like to waste water, especialy hot water. The plumbing might look a bit crazy but it's really very simple.

The cold water is brought in to the pump that is for the HLT. Of course it doesn't need the pump but it was the most logical place to bring it in.

40705_1532359356289_1453937765_1403423_4043866_n.jpg


Priming/sampling valve setup
600_18715102.jpeg


600_19744854.jpeg


Notice valve on line. Water connection via quick disconnect. Tri-clover on valve allows for water to be attached anywhere on the system for cleaning.
600_19744855.jpeg


600_19744856.jpeg
 
The main frame of the stand is 1 1/2" mild steel square tubing. There are wheels on one side for mobility, but it is still heavy.

Right not there is high temp paint on the top have (flat paint) and standard rattle can on the bottom. I'm still trying to figure out what kind of finish to put on it but needed some protection for steel. The system has been working great and expect it to be around for a long time.

Need to finish:
Stainless wind screen. Hoping to laser cut a design on it at work.
Sparge arms.
Brackets to hold vertical lines to posts
Brackets on top of posts to hold paddle/brewery sign (3 Daughters Brewery)

Almost done with my fermentaion and serving cabinet. Also trying to find time to build 28 gallon fermentors using sanky kegs and huge stainless conicals.

Thanks again for all of those who have helped me build this system. This includes everyone who posts on home brewer forums such as this one. I found myself coming back to this forum often as I designed and engineered the system.

600_19093502.jpeg


Notice flexible lines going into kettles?
154738_1668079349204_1453937765_1684064_3867242_n.jpg


Barley helping me with the build. That should be a new thread. How many home brewers name their dog after something that has to do with beer.
60787_1567365951432_1453937765_1490245_3313831_n.jpg


OK, another pic of Barley
60787_1567365991433_1453937765_1490246_3147535_n.jpg


The previous setup
600_4349083.jpeg


The old control panel. valves on left are IN, valves on right are OUT. Can pull from any kettle and put into any kettle. Problem is after drinking a few beers you can forget to close/open the correct valves . . . .
600_4349079.jpeg


The original all grain setup. The good ol' days.
600_2839183.jpeg


Have fun!
 
Very, VERY nice! I kinda like your "previous setup" best....that low profile is really nice for working with the vessels. Are you still using the valve panel on your new build? That thing is frickin' sweet! If you ever go electric, you could easily modify that to house a few more bells and whistles.

Your hex is a work of art...the bends look irregular at first, but after a closer look, I can see the pattern to it. Very nice! I think you've got the first all stainless CFC...and I bet that 5/8" inner coil can move some fluid!
 
Thanks guys.

The new setup is about 8 inches higher than the older one. I too wanted to make sure I could get into the kettles without a ladder.

I pulled the valves off of the control panel to use with the new system. I still have all the plumbing, brackets, lights, panel and switches. I did toss the stand but that could be made if wood if you don't have a welder.

Did you want to build one scubasteve?
 
I forgot to mention, it does move the fluid quickly but I have a ball valve on the out side that allows me to slow down the flow.

I was planning to brew this weekend and was thinking of setting up a webcam. It would be easier to see how it works in motion.
 
Videos are awesome! Thanks for the offer...but I'm already up to my eyeballs with my rig build. I'm forcing myself not to deviate from the plan....but it's hard because there's so many cool ideas out there!
 
I was checking out your single vessel idea the other day Scuba, interesting idea. Did you put it together yet?

Thanks wilceaser!

If I figure out how to do the video thing and post the link on here.
 
Back
Top