Time to get down to Business - Brew Den Build

Homebrew Talk - Beer, Wine, Mead, & Cider Brewing Discussion Forum

Help Support Homebrew Talk - Beer, Wine, Mead, & Cider Brewing Discussion Forum:

This site may earn a commission from merchant affiliate links, including eBay, Amazon, and others.

Steve-H

Active Member
Joined
Jul 8, 2007
Messages
28
Reaction score
8
All,
Well its been quite some time since I've been active here....Lots of changes since! I started out extract brewing about 10 years ago; made the jump over to grain shortly there after, and was pretty active for a few years.
Life just got in the way. Graduation, house, demanding job...well...ya get it. Regardless, I finally now have my own house and am ready to jump in :mug:

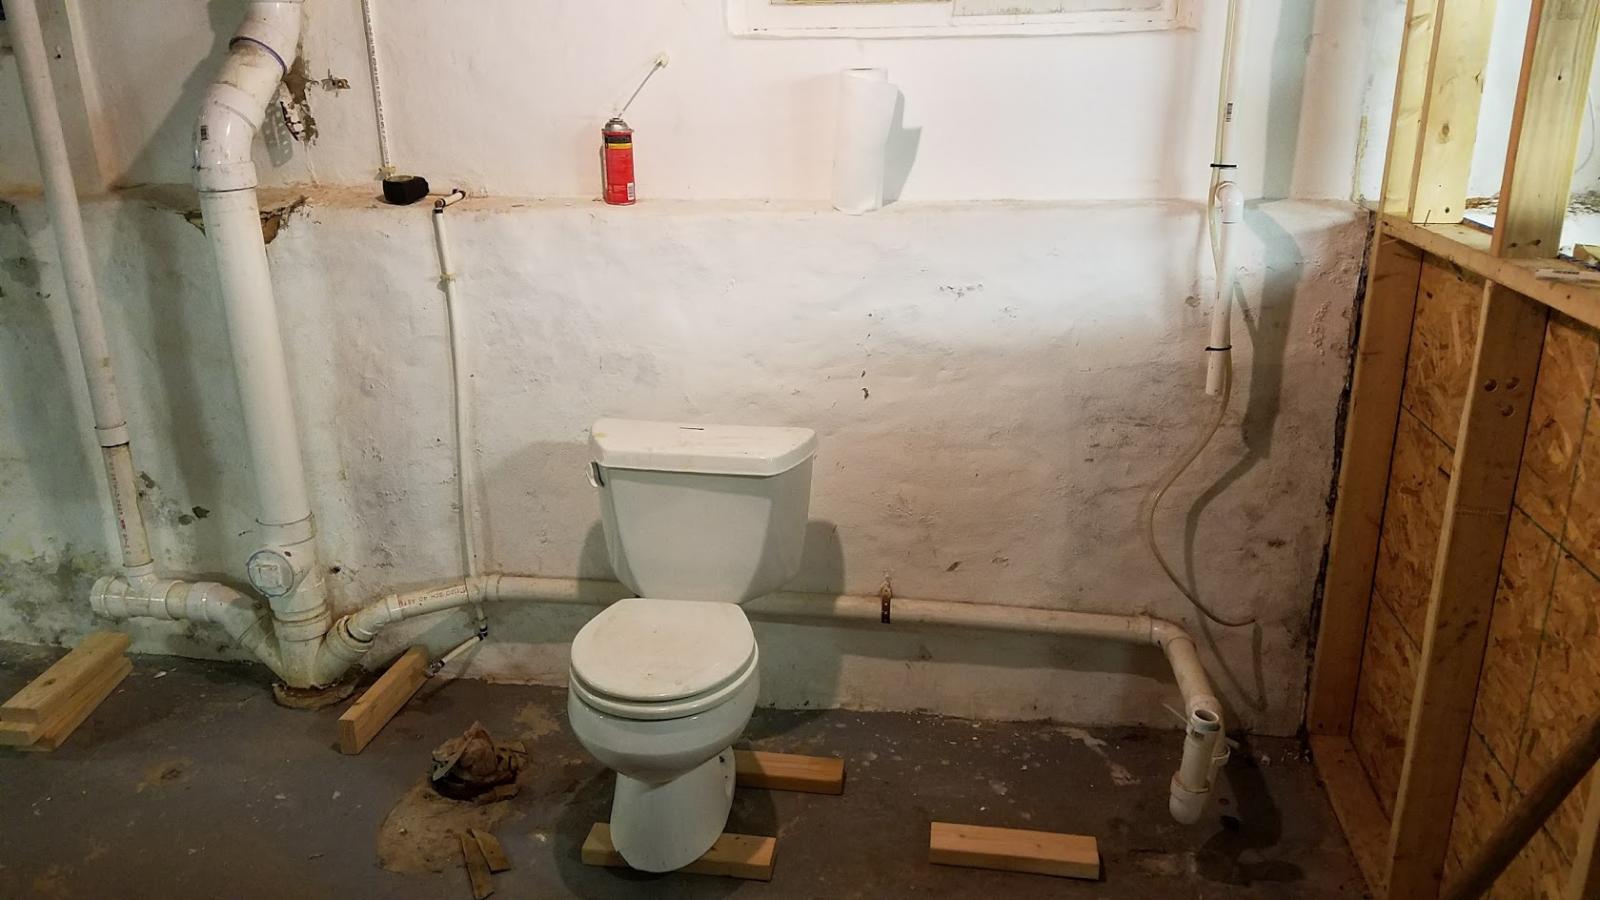
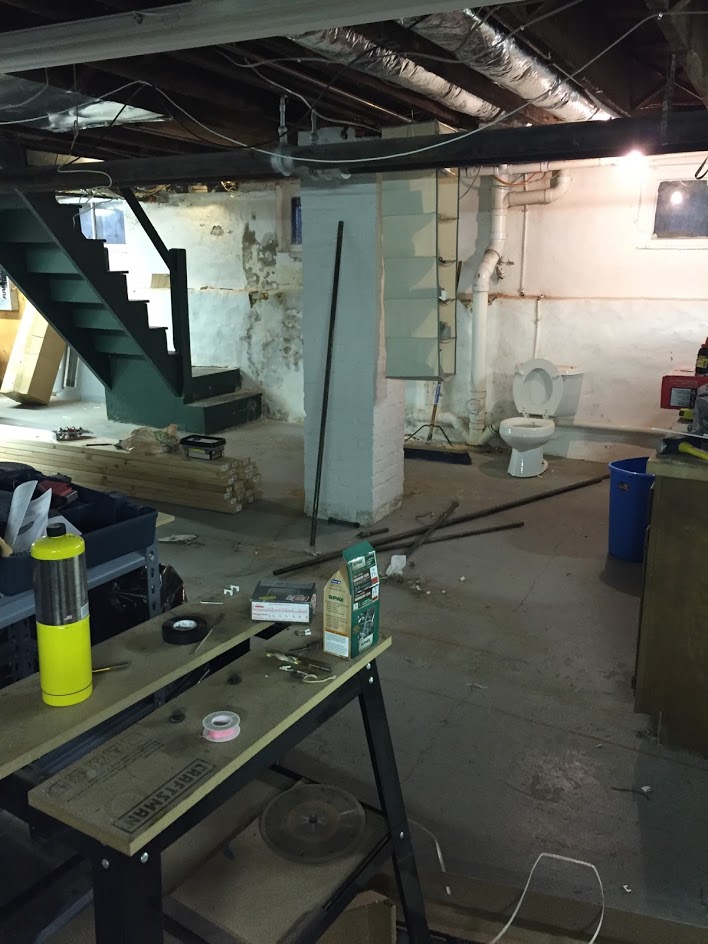
Ya...There's a crapper there. More on that later...

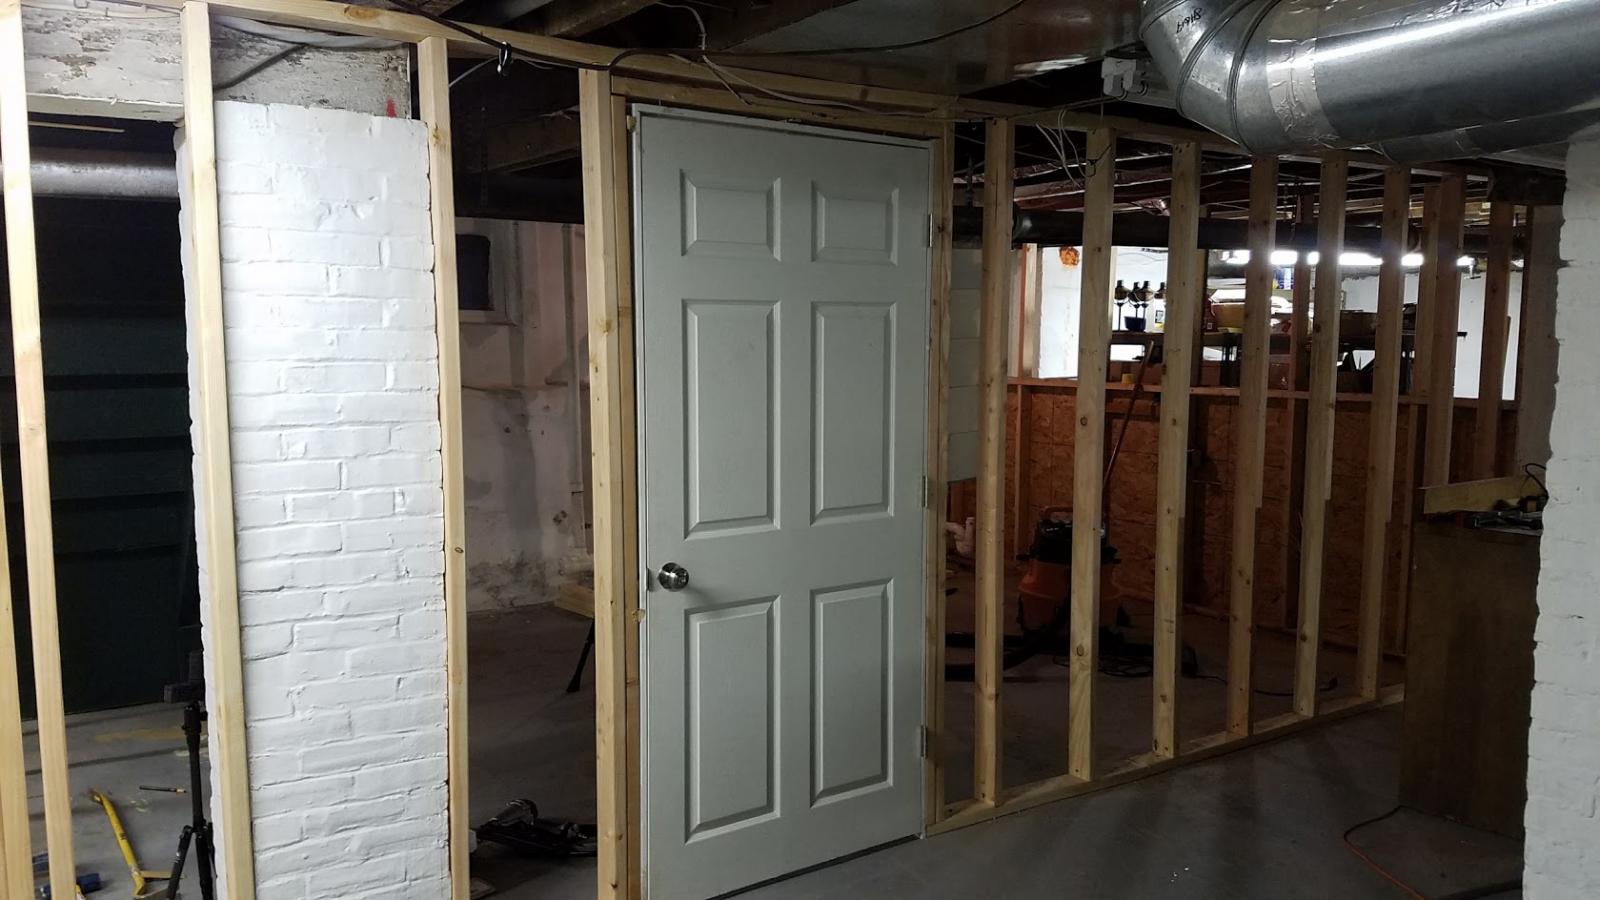
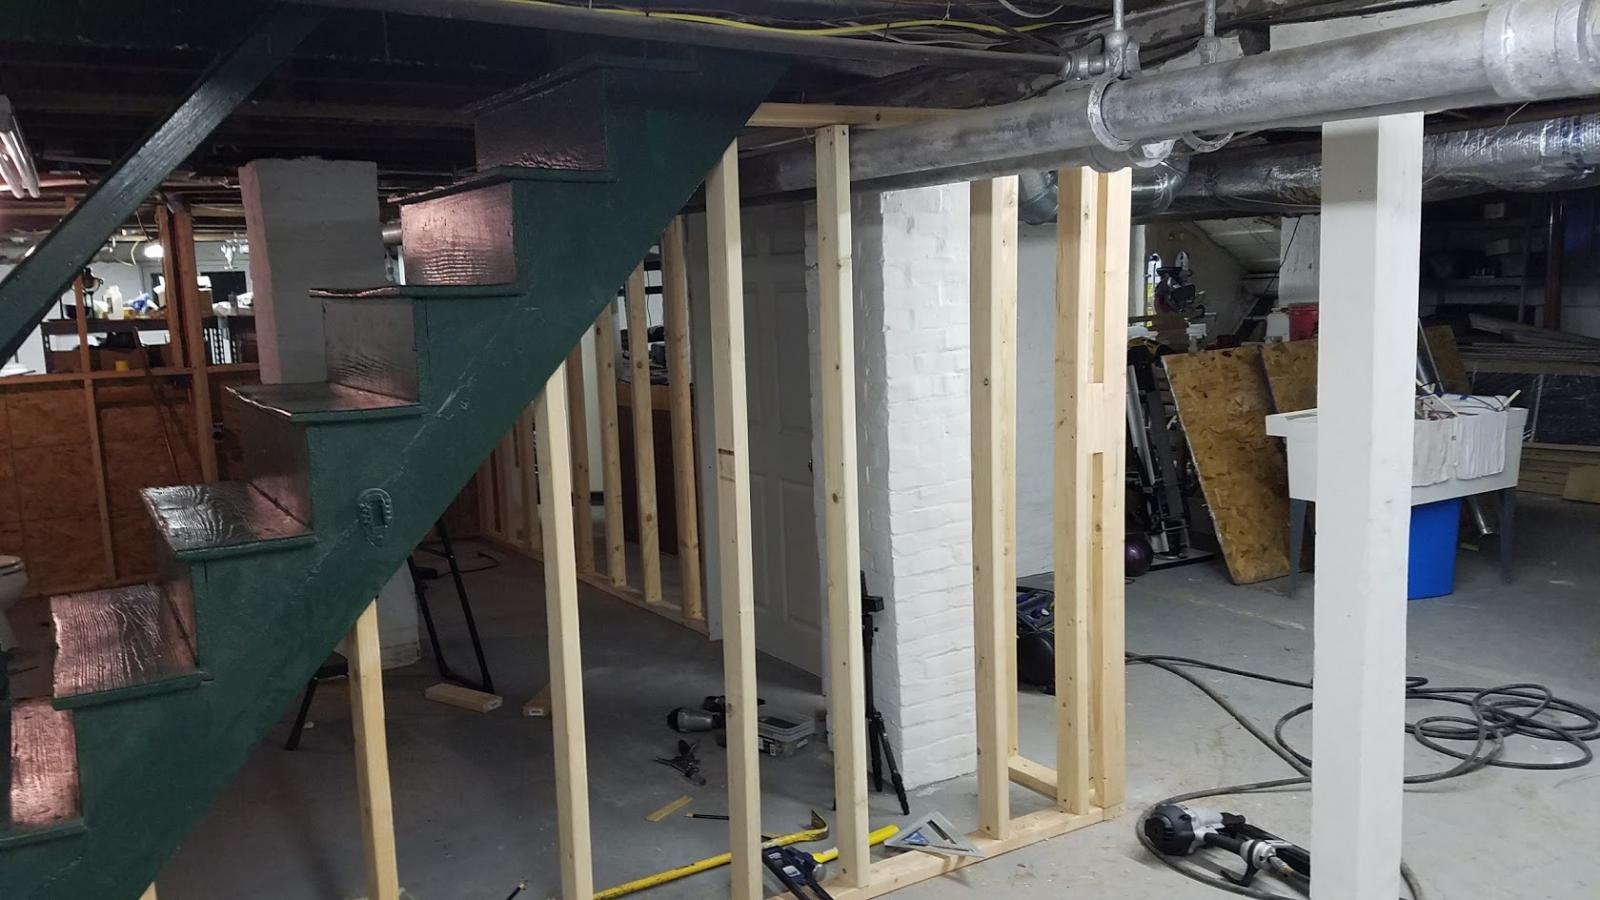
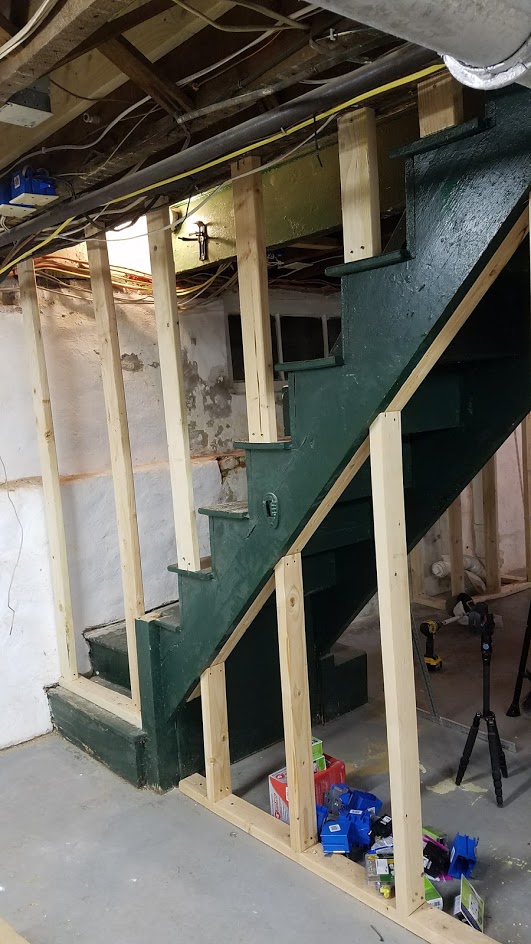
So I spent the better part of a week removing unused wires (telephone, old security system, etc), gas lines, etc. I then got the space laid out and framed out:

basement_3.jpg


basement_4.jpg


basement_5.jpg


basement_6.jpg
 
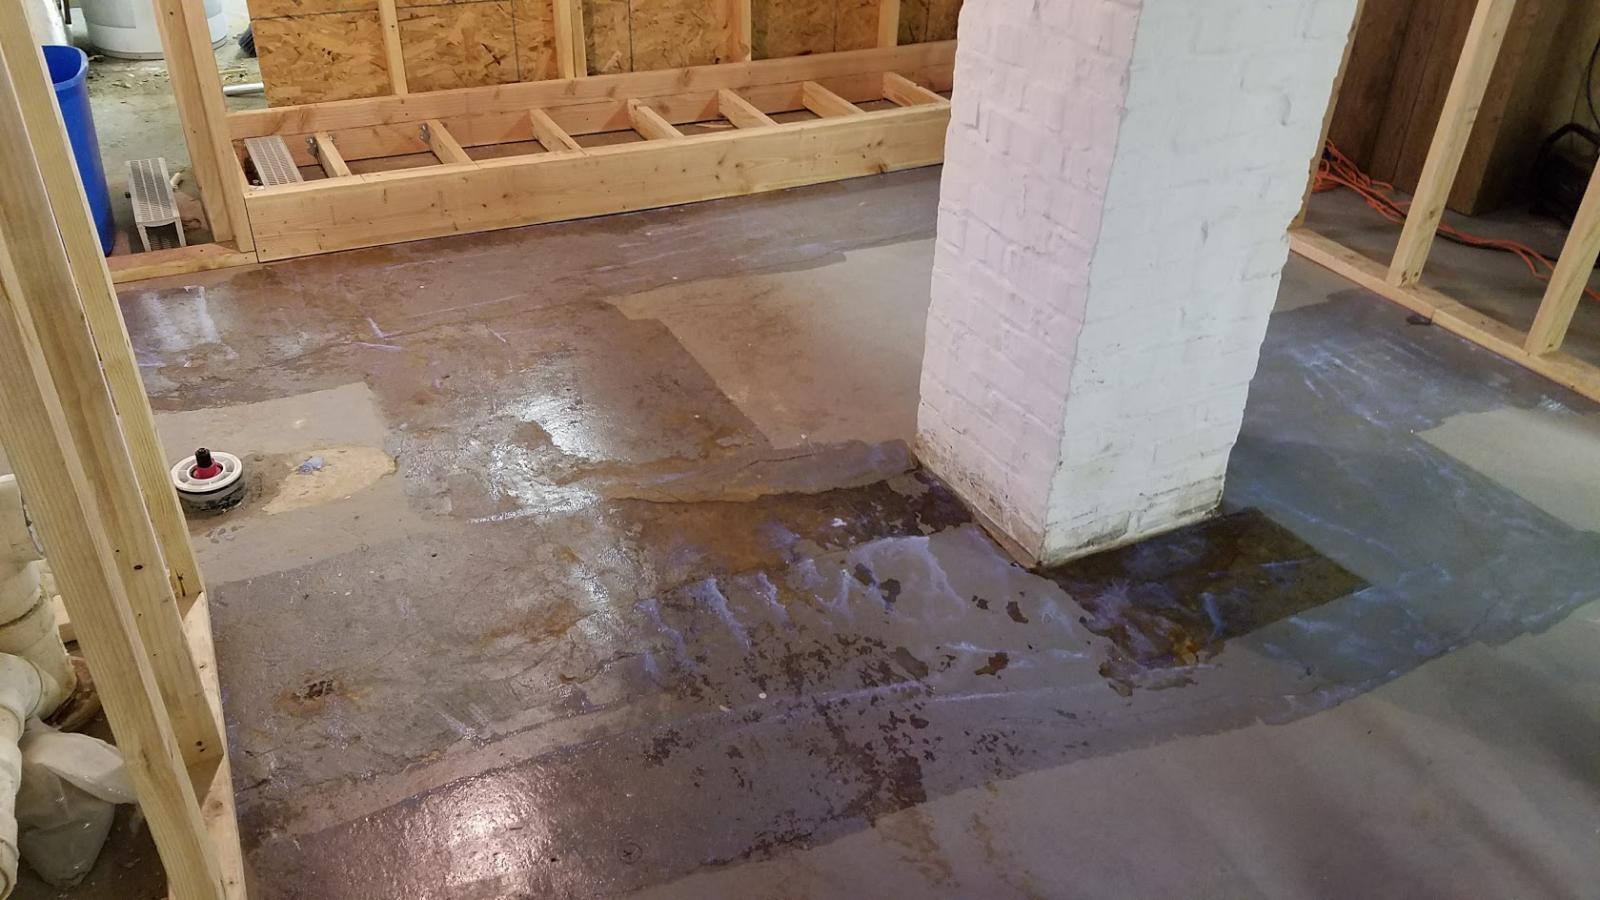
And the toilet and some unwanted plumbing needed to go. Unfortunately it wasn't as easy as it should have been - being cast iron.

Thankfully my googlefu was strong and I realized that the flange was 'soldered' onto the pipe. A bit of MAP gas and it was gone

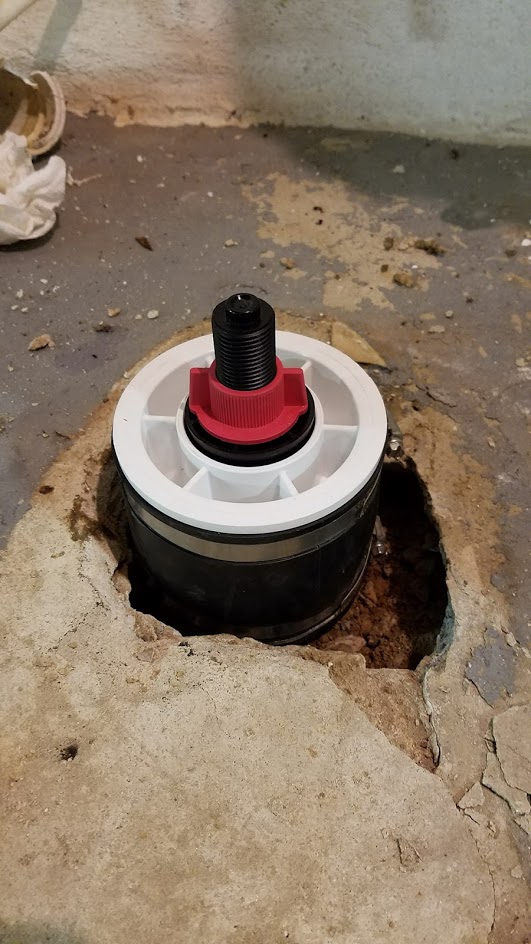
I'll then put a rubber coupler on with w/a bushing to use the line as a floor drain (will need to P-trap it).


There's a wonderful aroma of super heater sewage right now. Words fail to describe.

toilet_1.jpg


toilet_3.jpg


toilet_2.jpg
 
Perhaps I should back up....
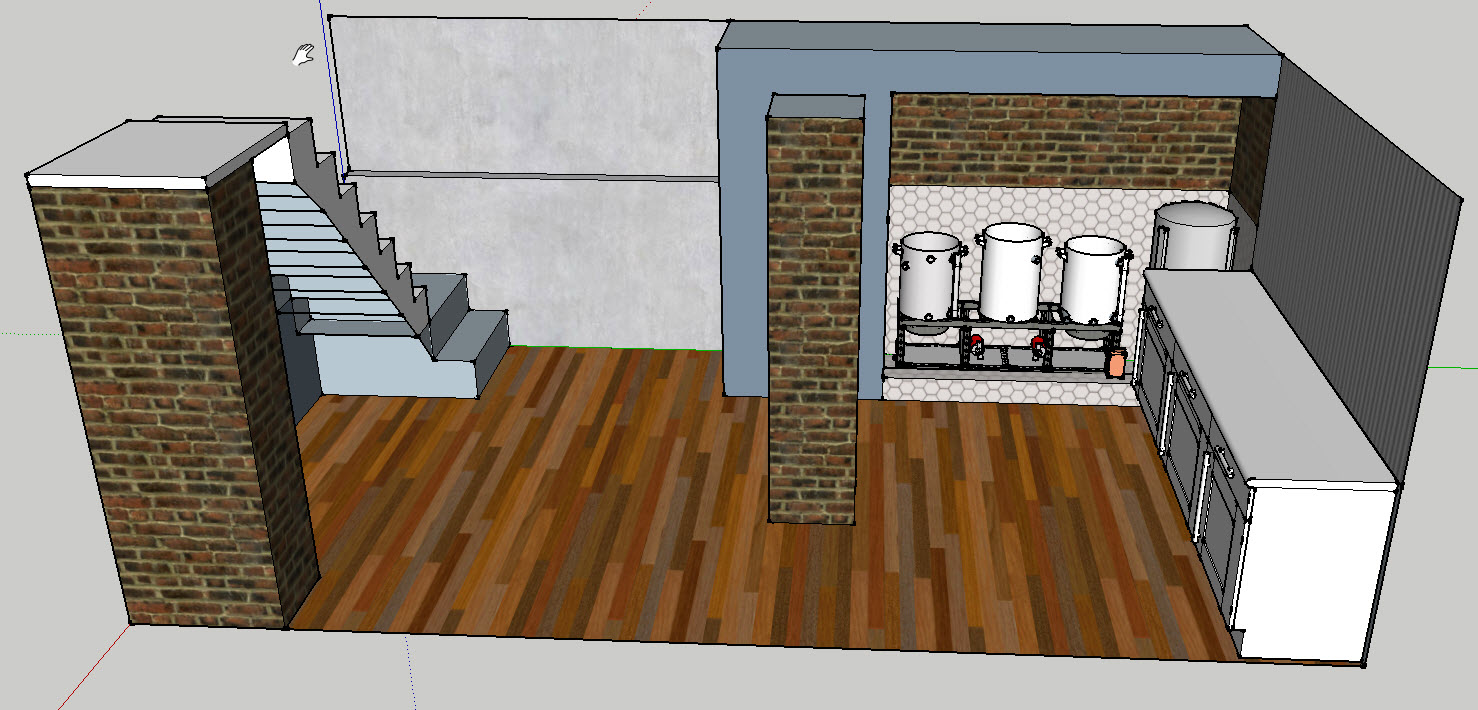
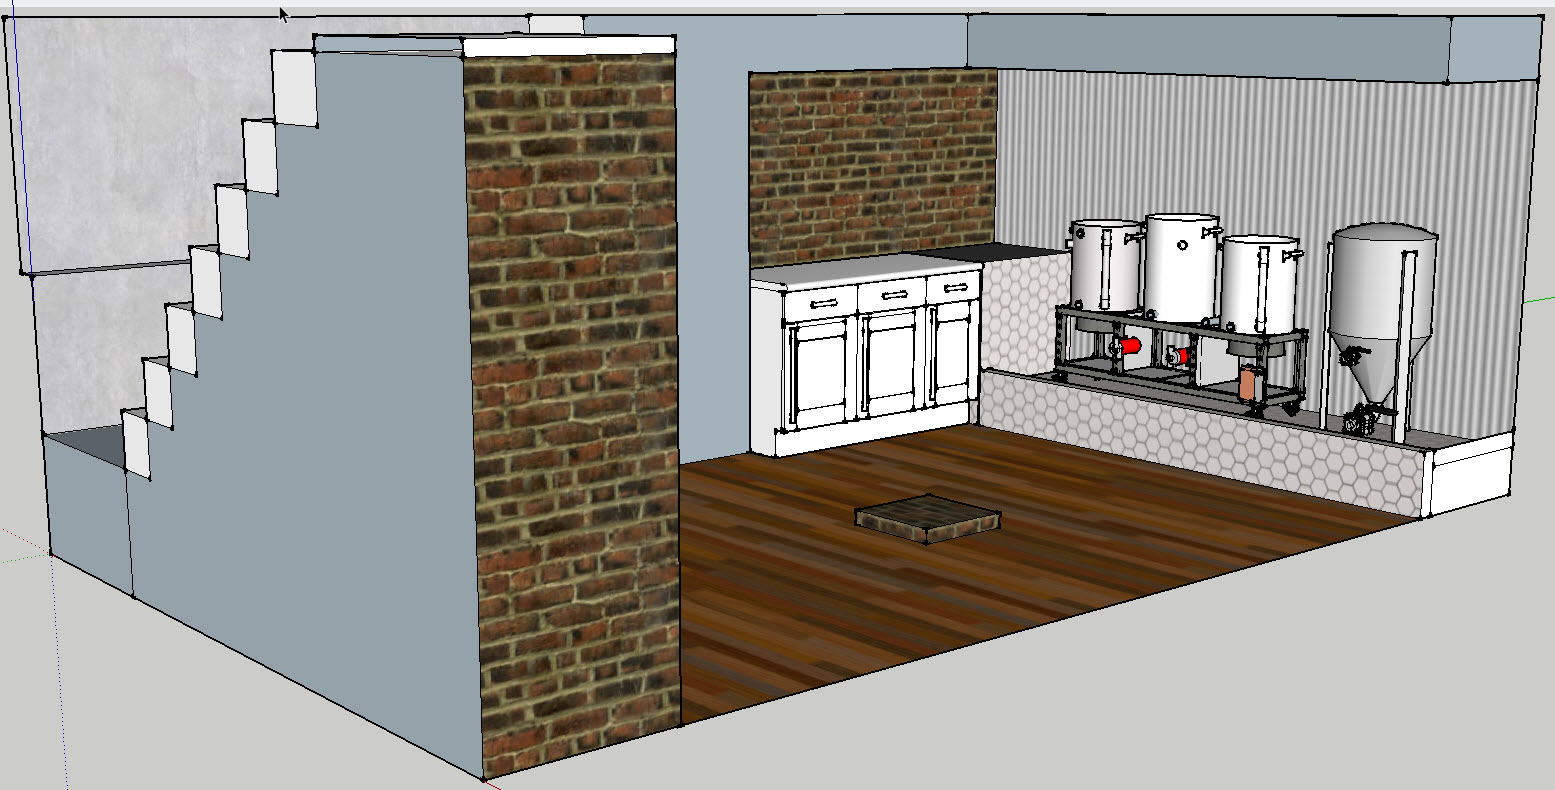
Now that I am ready to dedicate some time back to brewing, I've decided to go with an eHERMS setup, using 1/2BBL MT, HLT, and insulated MT from Stout. Im leaning towards making my own PID setup; but will need to do some further research there. In the meantime, here's some quick and dirty renderings I've made of the space (Note the pillar was shrunk in #2 to allow full view).

I still have a few major decisions to make around the fermenter (jacketed/cooled, or create a chill room for it?), countertop/sink/cabinet arrangement, and the aforementioned control.
My goal is to get the rest of the framing knocked out this weekend and begin the rough electric and plumbing - so I'll need to quickly determine most of the above.

basement_1.jpg


basement_2.jpg
 
Well..that's no good. Looks like there are issues w/the permissions in Picasa? I had to save and attach.
 
Will this be for both entertaining and brewing? Have you planned for a good sized sink? If possible you might also want to look at a floor drain.
 
Thanks guys - been slowly collecting more supplies. This area will be for brewing; but I'll also put a small table down there to hang out while I brew.
Relative to the floor drain - I am intending on installing one in the area where the kettles will be. Unfortunately nothing is as easy as it should (particularly in an old house) - as the toilet connection isn't trapped. Bell drains aren't to code here, so I had to pick up one of these (a very expensive piece of rubber):

https://www.amazon.com/gp/product/B00W2FPBJG/?tag=skimlinks_replacement-20

This weekend I'll be focused on building that area out, as it will require a false floor in order to accommodate the drain. I also picked up my 6" vortex fan so I'll need to figure out the hood arrangement.
 
Last edited by a moderator:
Looking good! Maybe build a keezer, get a couple chairs and a table and you have a nice hangout spot it your brewery when your not brewing. Im a grad student that is looking to have a dedicated space to brew and enjoy my beer with my friends and family once I get out of school, have money, and have free time.
 
Well....had a significant layout change. I decided to pull the trigger on a jacketed fermenter - which will require a bit more room than the current layout can afford. So here's what we're looking at. I gain about 21" more brewing space length and about 8" more in height. I also gained about 20" in the tight area between the column support and the outside wall (The wall is there to cover up the main sewer stack for the house).
So I spent the better part of the weekend redoing some framing, but not much to really show for it. I will post some progress photos this week once the framing is done.
The only other progress note is I did pick up the floor tile - all 900lbs of it.

basement_v2_1.jpg
 
Great project! Nice to see all those pictures of your design, ongoing modifications (nothing is etched in stone until you do), and the actual space.

What did you have in mind with the "false floor?" Any space between the current floor and your new one would be a nasty trap for water, dirt, smell, and worse. Why not just pour a new floor on top with the right pitch to your embedded floor drain(s)?

Are your (floor) tiles anti-slip or are you going to use rubber mats on top?
 
For the false floor I was going to use 2x4 stringers...so there would be an airspace under it. As the floor and basin will be tiled I can assure it is waterproof. Fair point though - I'll make sure that there is ventilation to the back side.
The floor tile is non-slip, but will most likely use a rubber mat just in case.

basement_floor.jpg
 
I would seriously reconsider that false floor.

I ripped a similarly constructed false floor out of a previous house I owned. The basement had been flooded a few times before I bought it due to a malfunctioning sump pump. The stench of mildew and rotting wood was very off putting. They'd also used plastic as a "moisture barrier" underneath. Once it was all removed, the floor scrubbed with various detergents and a good Odo-Ban soak, then allowed to dry it was not such a bad space anymore. Would have made a great brew room or beer cellar with 9' ceilings.

That floor may still be a bit springy using that construction and 2x4s.
 
Thanks for the info. The challenge I have is I need an elevated surface such that I can put my drain into. I have no desire to cut into the slab - and I also do not want to open pandora's box in dealing with the cast iron plumbing that already exists.
So, to your earlier point, my only other option is to pour a slab atop the existing. Doing some quick math I'd need just under .5cu/yd of concrete. Suppose I could make the 'curb' out of some of the old brick I took out of the house when I did the remodel - so would look pretty nice.
 
You only need half a cu yd? That's a no-brainer! Plus it gives your tiles a very solid base.

Is that enough to level while creating a slight pitch toward your rubber "waterless" trap? Even on an almost level floor, just with the slightest pitch, a good floor squeegee will help clean up in a jiffy.

I'm not a mason, but there is a certain minimum depth you need to pour. Not sure how much it is, perhaps 1" on top of an existing solid concrete floor? Could well be 1/2" as long as you get good bonding, that's important too.

This will also keep your headroom as large as possible, which I'd find important, being 6'1.
 
So....its late in the day; perhaps my math is bad...but:
The brew area is 106"x29", and figure a min depth of 6". So that gives us 18,444cu/in. 1 cu/yd is 46,656 cu/in. I figured an additional 25% or so for the gradient.
In terms of bonding, I would use masonry screws in a grid pattern every sq/ft to ensure bonding to the existing slab. I'd most likely lay chicken wire atop that for some added strength.
 
I guess you'll be only raising the floor directly in front of the kettle row. Is 29" wide enough for you? I know there's the pillar, but you could go wider around it. For reference, my galley style kitchen has 56" floor depth between the 2 rows of counter tops, and I like all of it. I'd feel cramped if it were only 29", not much space to step back. That said I once had a kitchen that was around 4' deep, leaving 24" of floor in front of the counter, backed by a wall, and that was never a problem until you wanted to toss a pizza...

Do you need to raise 6" for that drain to work?

Don't forget to design/leave some toe space under your kettle row.
 
Last edited:
Ok guys - sorry I missed last Sunday's update....I had to take an early flight out for the week. Here's where we stand:
  • The framing is complete! I wound up going w/the false floor, but with the joists on the floor (for the most part - I gave a few degrees of tilt towards the drain).
  • Speaking of the drain, went with one of these instead - which will allow me to drain out the side:
    http://www.homedepot.com/p/NDS-3-in-Plastic-Channel-Drain-Kit-764/203787428
  • I primed the low areas this morning for the self-leveling cement, and was able to get one pour in. Need another 1/2 bag or so - but then I should be good to go.
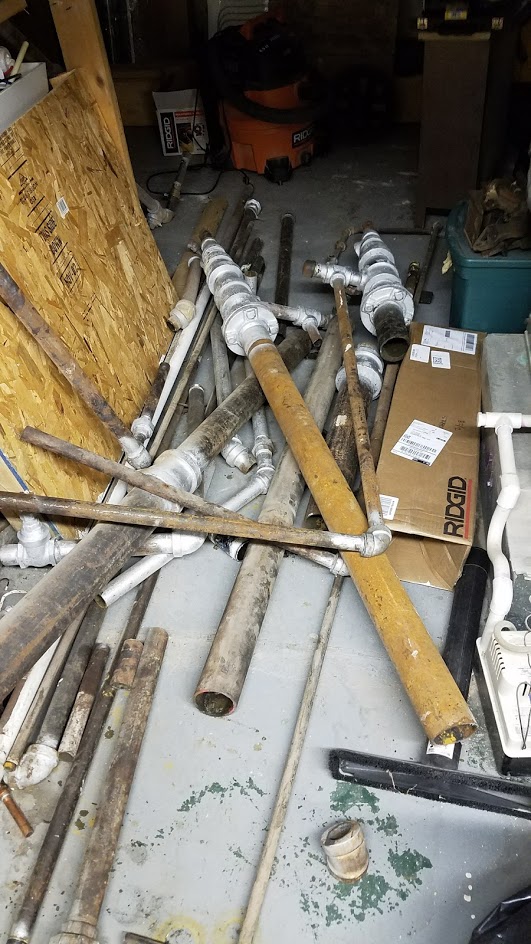
  • This week Im going to focus on moving those huge cast-iron pipes you see in all of the pictures. When the house was first built it had a steam boiler - and at some point it was converted over to hot water. Unfortunately no one ever did anything w/the massive 5" cast iron pipes which are now in the way - and inefficient. Not going to be a fun time at all, but it needs to be done.

floor_2.jpg


floor_1.jpg


framing_2.jpg


framing_1.jpg
 
Another 2Qs.

How are you chilling that conical?
Can you operate the bottom dump as it is?

Im tossed here. I would enjoy making my own glycol chiller - but am unsure if I can make one good enough to cold crash in the fermenter.
Should have no issues w/the bottom dump.
 
Ok guys...No real progress in posting - but progress is being made...Kinda!

As the pics show above, there were some serious 4" cast iron radiator pipes right in the first 1/3rd of the room, and they'd go right through the brew area. The thing is - they were needed when the house was first built in 1899 to supply steam to the radiators, but the house has since been converted to hot water. So they were providing me with a lot of head pressure (bad), I didn't need that much thermal mass heating the basement (bad), and removal would eliminate well over 3 tons of water and iron hanging from the first floor joists (good!). So after checking w/my HVAC contractor, it was calculated the proper size for the boiler loop would be 2".
It was a 3 week project to do the 1/2 of the house I needed to to eliminate the plumbing through the room (I'll do the other 1/2 in the spring).
So what I did was to drain the entire system, and put ball valves on the one side of the system and the loop such that I could at least get the one side of the house back up and heated. I then ran the new plumbing, and using unions to join the old branches to the new main supply and return. I think it turned out great - and I realized immediate benefits of significantly higher pressure on the third floor, cooler basement, and the ability to easily insulate.
If anyone intends on doing this - here are my lessons learned:
  1. Learn your favorite curse words in multiple languages, saying it over and over in your native tongue gets old....quick.
  2. Become a master with the heat wrench
  3. Plan, Plan, Plan. Do not build as you go.
  4. A few degrees at one end of a 50 foot run is a lot of inches at the end
  5. Do not even THINK about hand cutting threads on pipe over 1". Sure you CAN do it but having a machine will just make everything better in 1/100th the time
  6. Good quality Teflon pipe dope is a MUST
  7. Use HIGH QUALITY (aka expensive) unions where appropriate
  8. If at all possible, pressure test for a few days as you go. You do NOT want to be at the end and find a leak in the middle. Refer to #6.
  9. See #2

On to the pics...
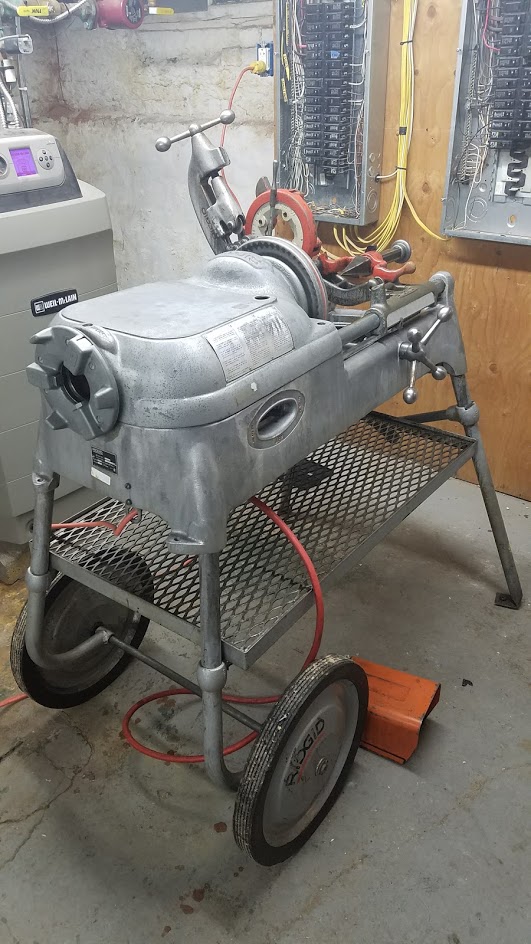
First pic is the new love of my live...Late 70's (prolly) Ridgid 535
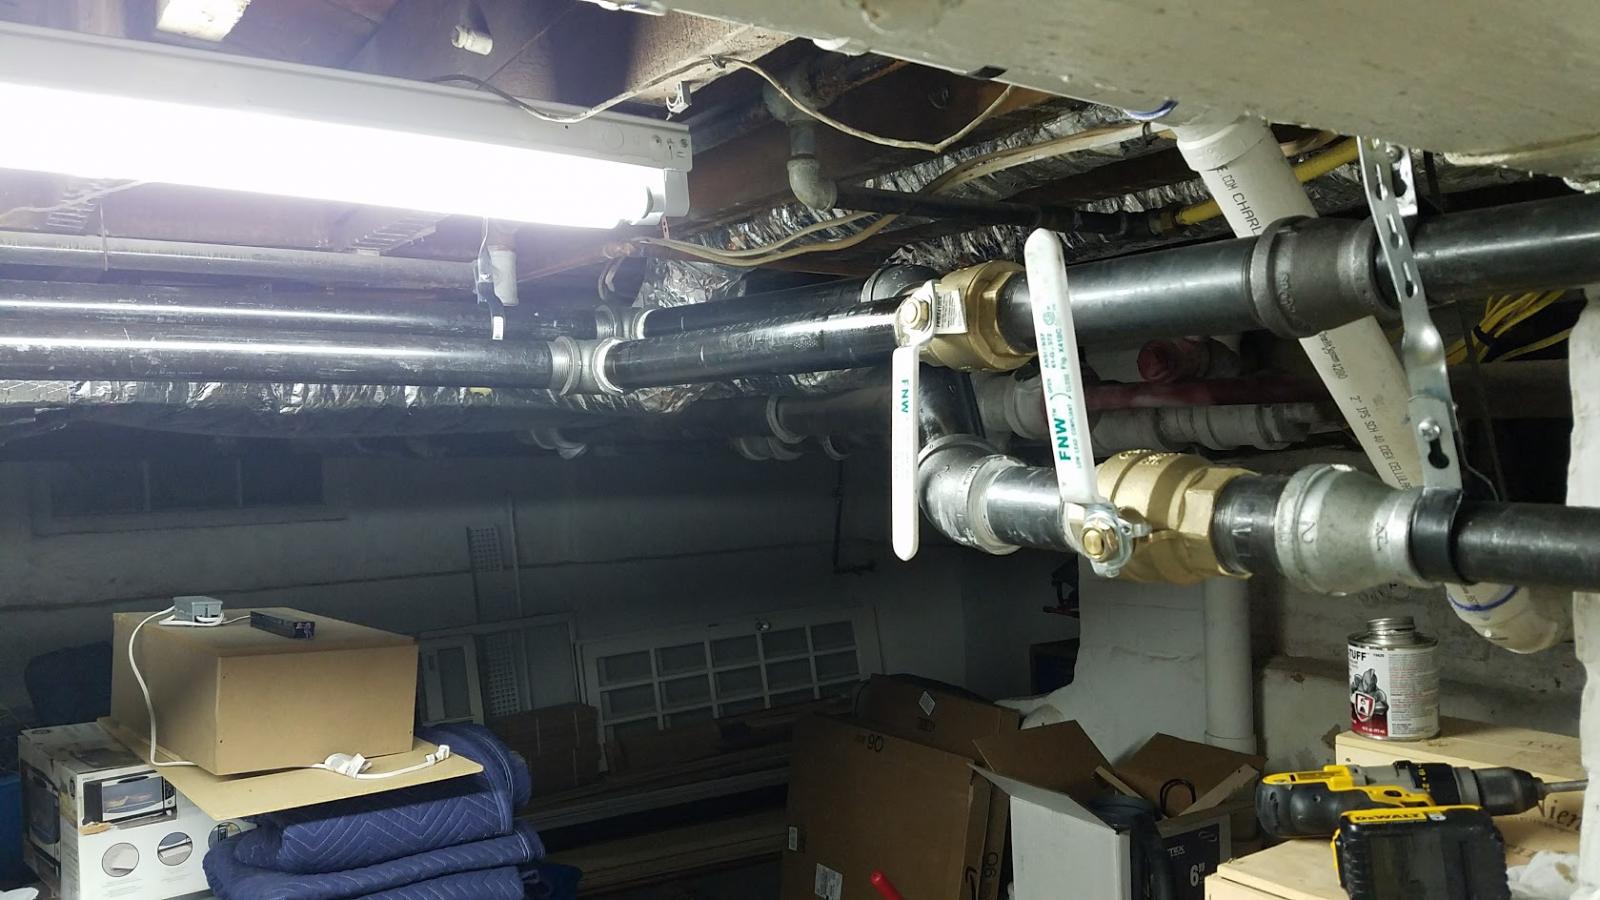
Second is the tie-in to the boiler loop
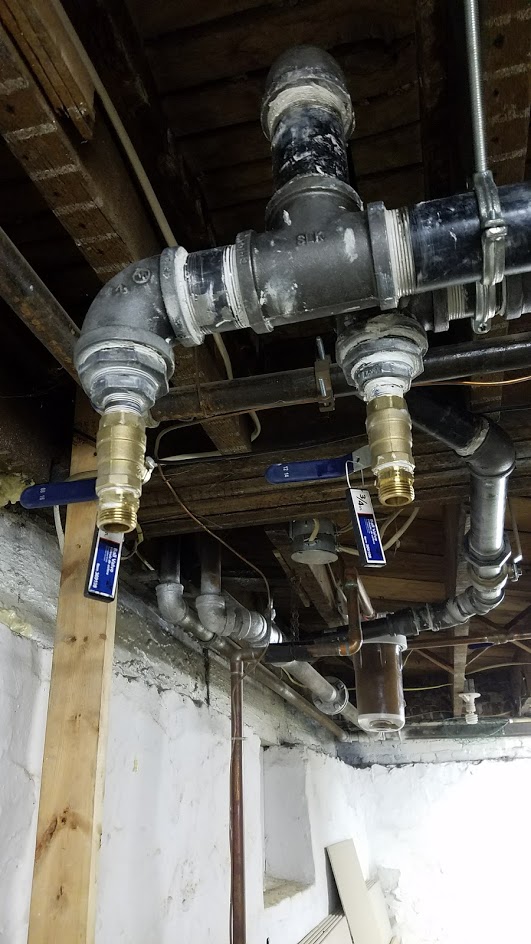
Third is my valve setup and horizontal -> Vertical swap for supply and return
Fourth is the end of the run at the front of the house with ball valves to drain the system when necessary (floor drain directly below)
Fifth is the top view
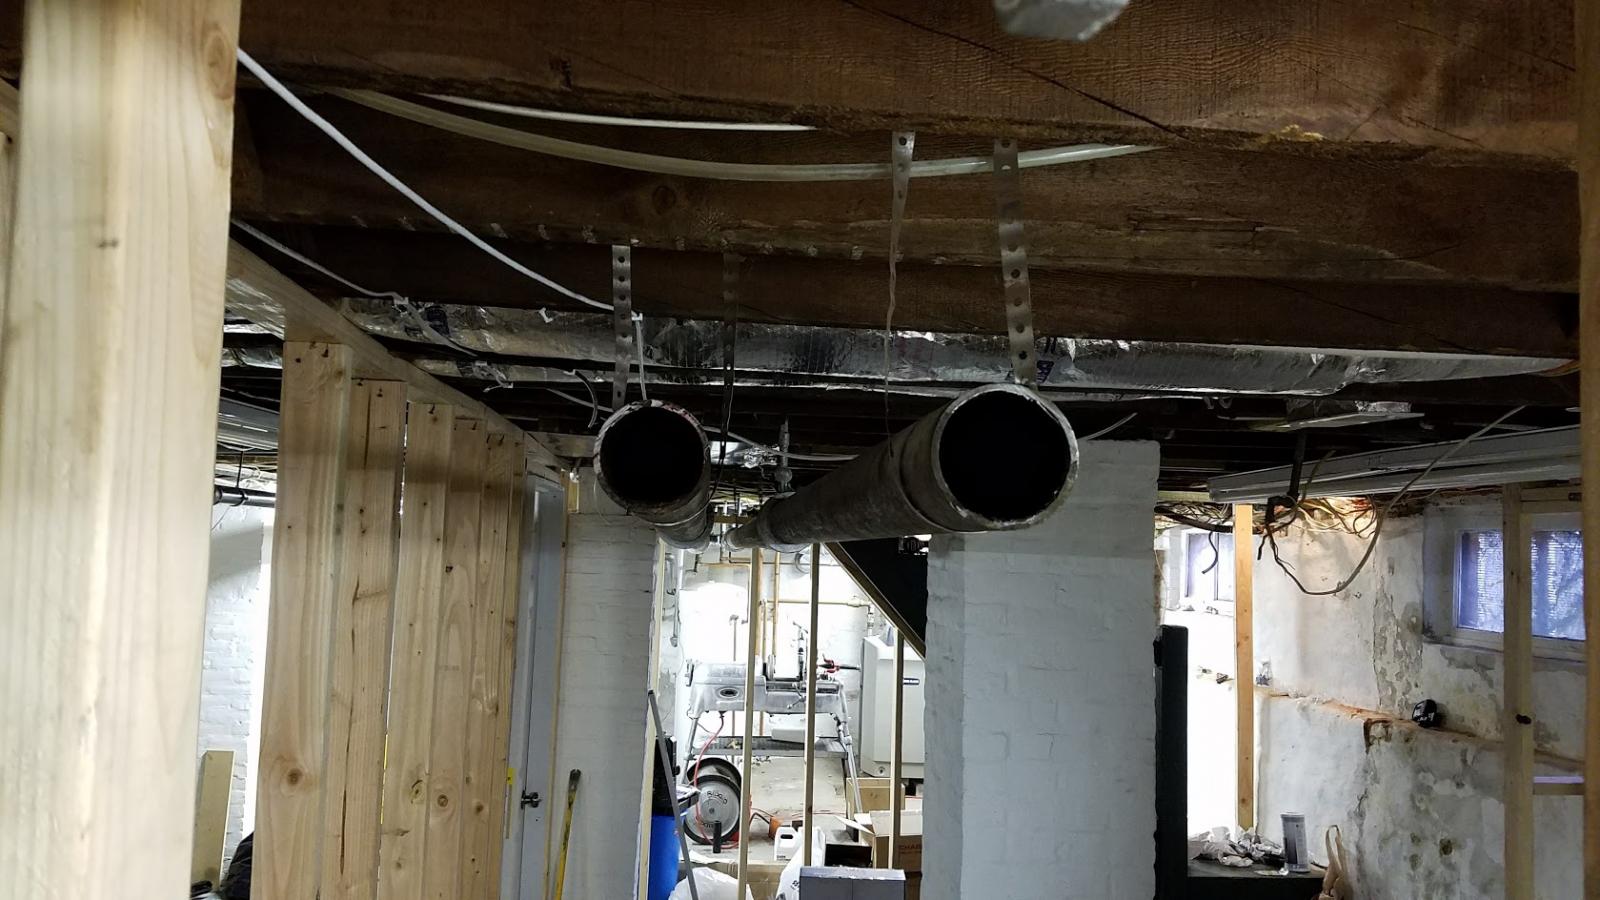
Last two are the old pipes being cut out and removed

theading machine.jpg


boiler loop.jpg


valves 1.jpg


end of run.jpg


old pipes 2.jpg


old pipes 1.jpg
 
Back
Top