Show us your electric brewing rig

Homebrew Talk - Beer, Wine, Mead, & Cider Brewing Discussion Forum

Help Support Homebrew Talk - Beer, Wine, Mead, & Cider Brewing Discussion Forum:

This site may earn a commission from merchant affiliate links, including eBay, Amazon, and others.

shroomzofdoom

Well-Known Member
Joined
Dec 2, 2009
Messages
502
Reaction score
20
Location
Piscataway, NJ
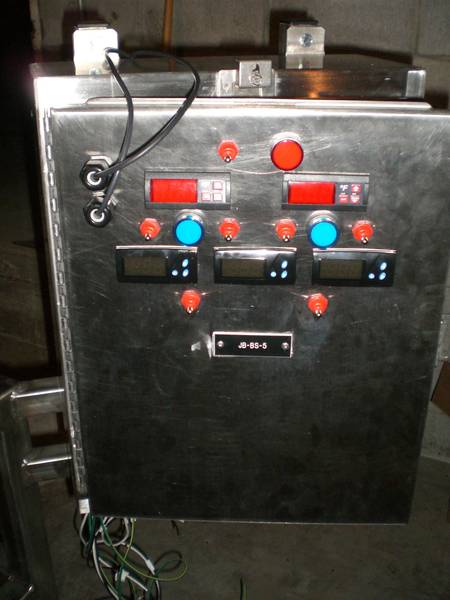
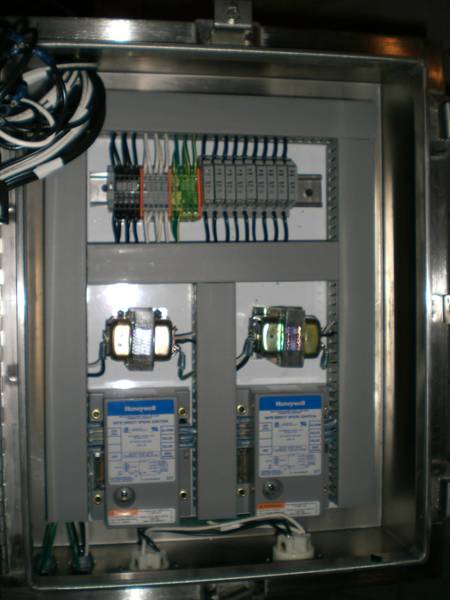
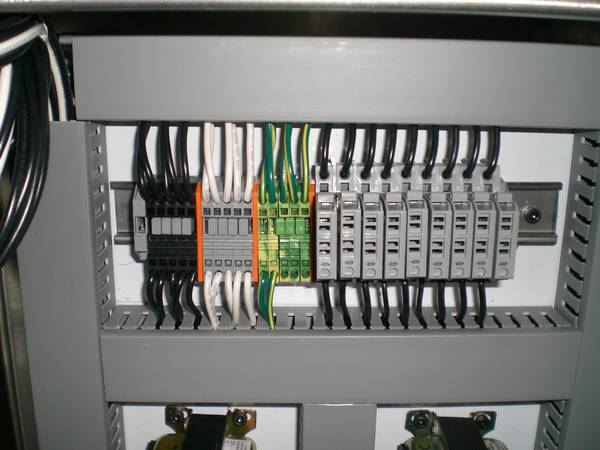
Gang, all I have done thus far is acquire a sanke. But I've spent HOURS looking through threads here and saw some great pics and descriptions.

When I built my keezer, the most useful thread to me was the 'Show us your Kegerator' thread and I would love to have something like this for electric rigs.

It would certainly help us 'e-newbs' if there was a thread where folks show a few shots of their rig and then run down the high level specs.

Build threads are great, but you often have to sort through pages to get the whole story.

I am thinking--short, sweet, and to the point.

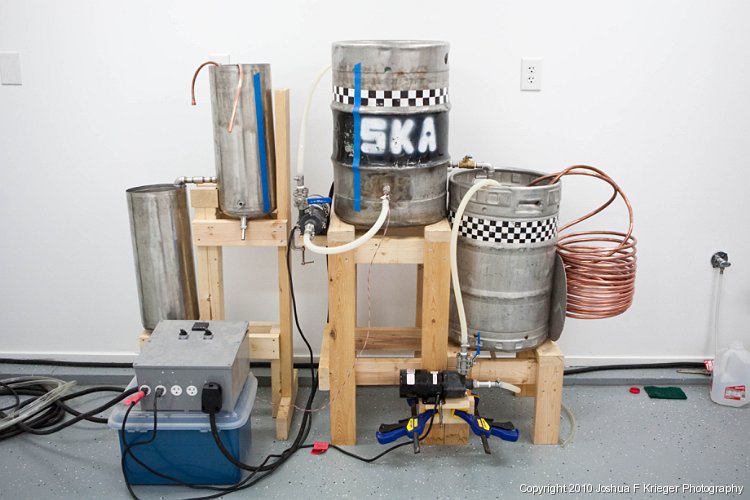
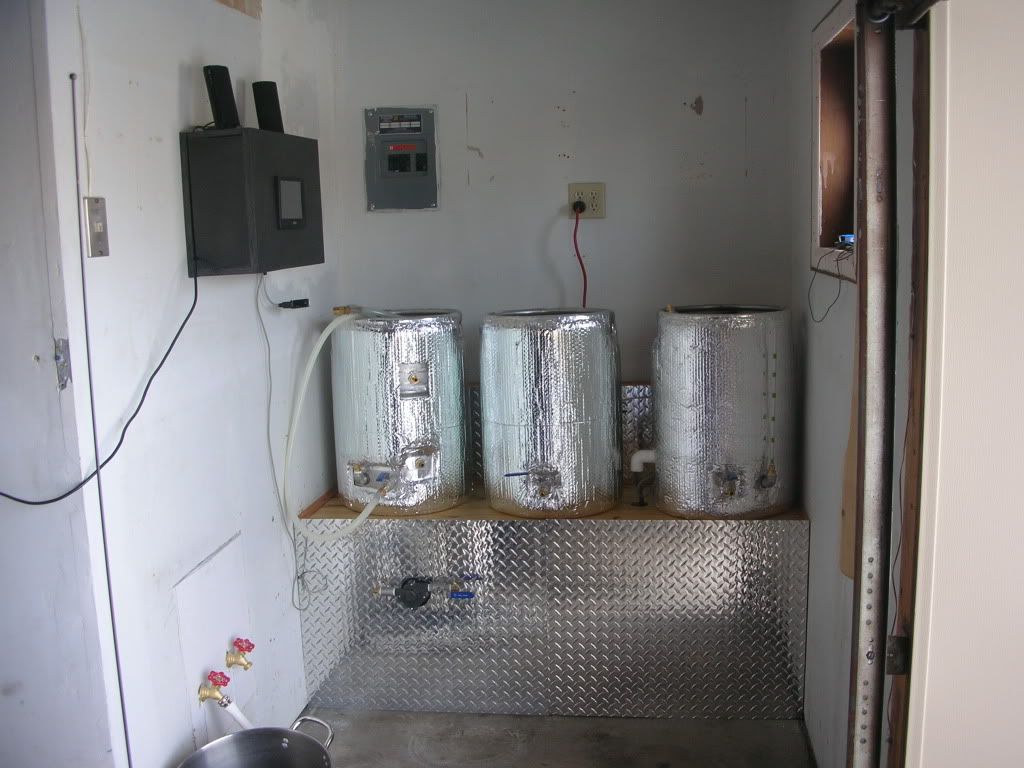
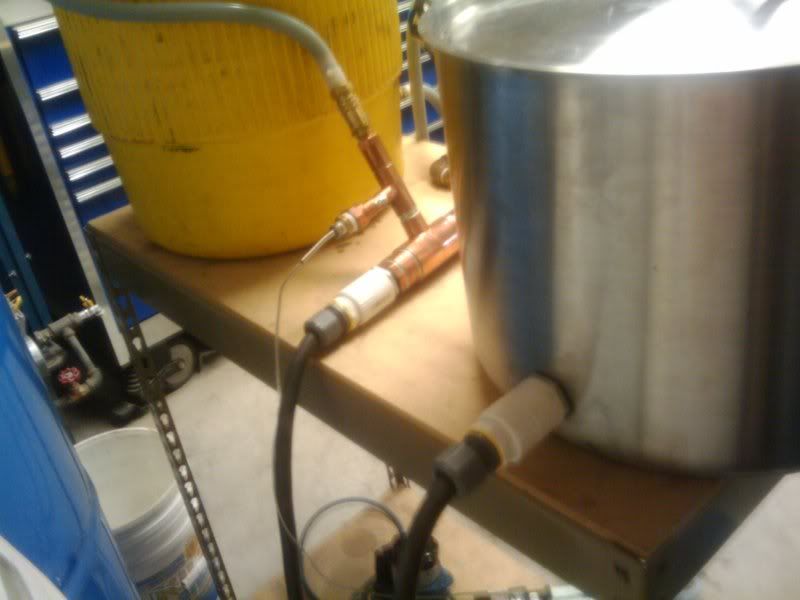
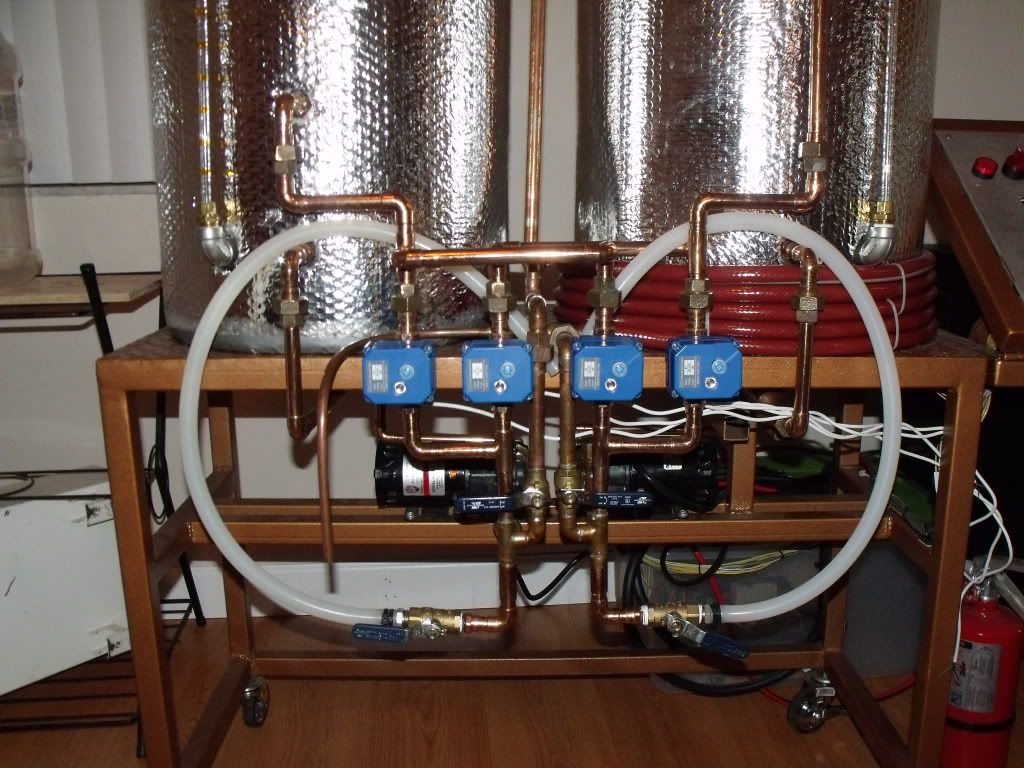
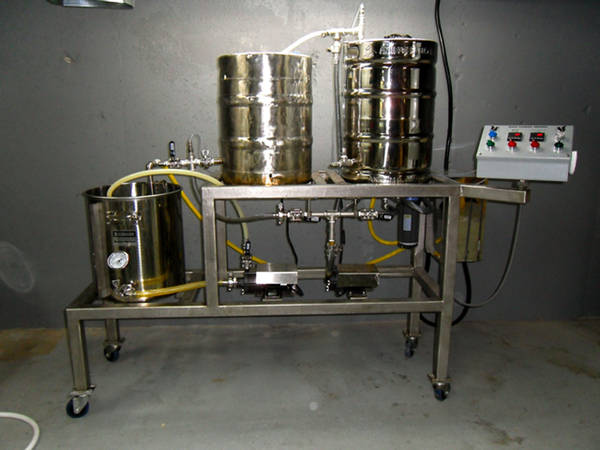
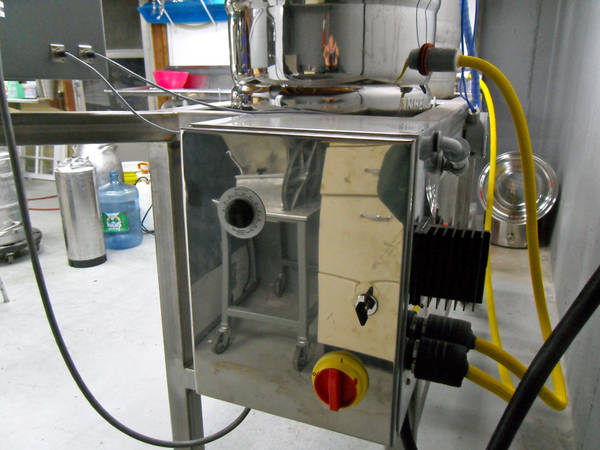
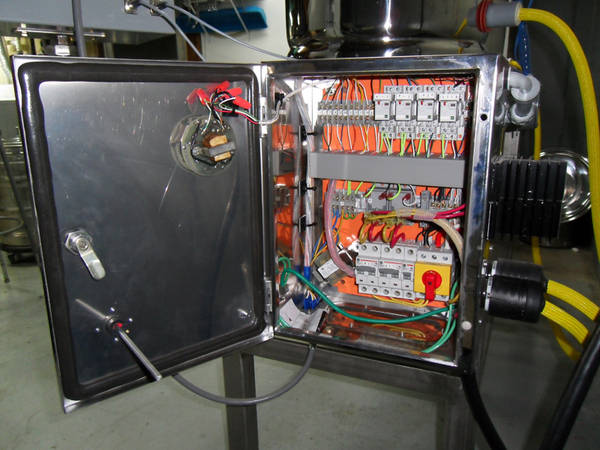
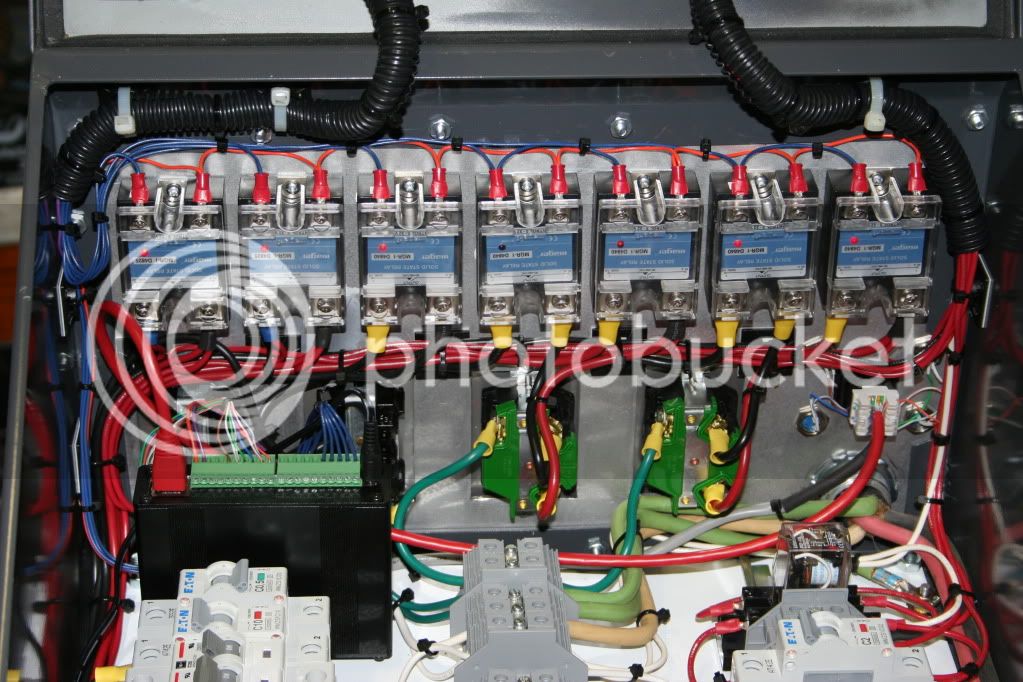
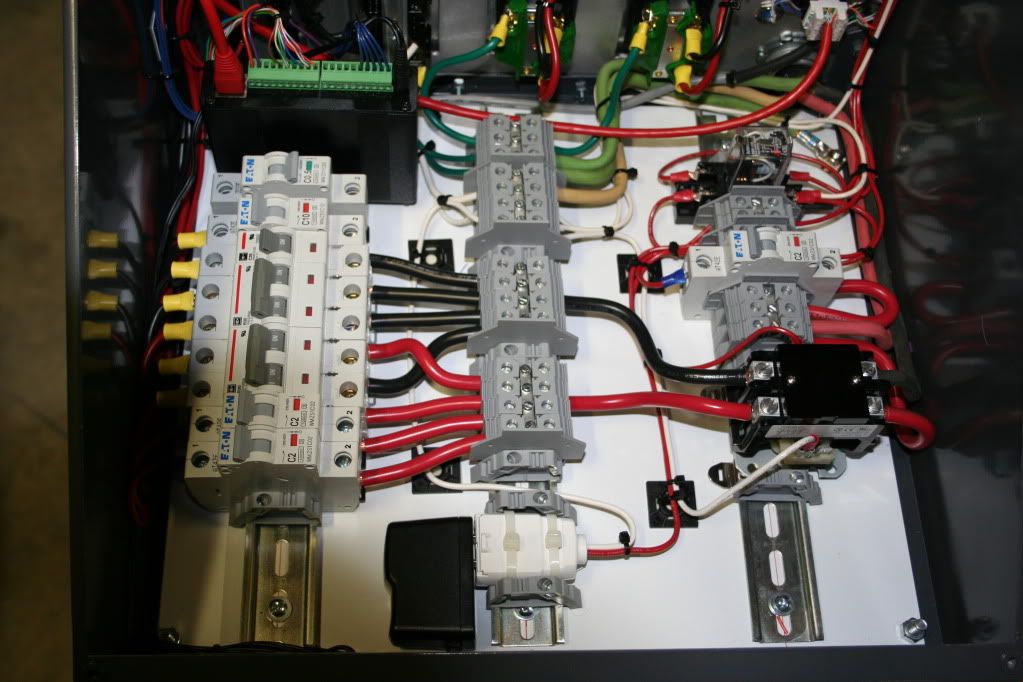
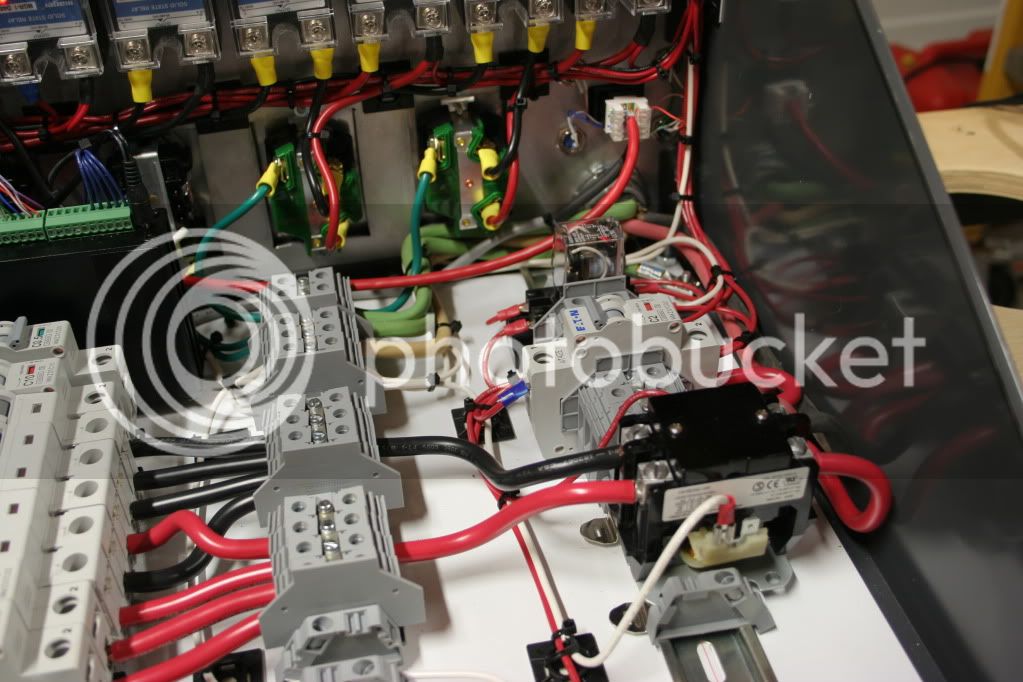
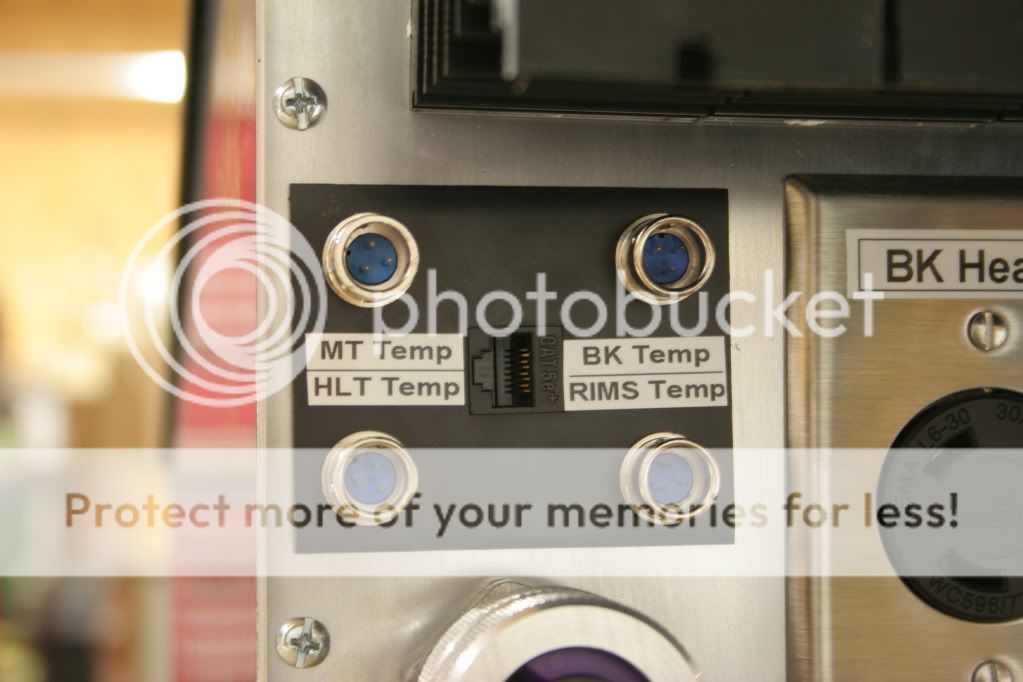
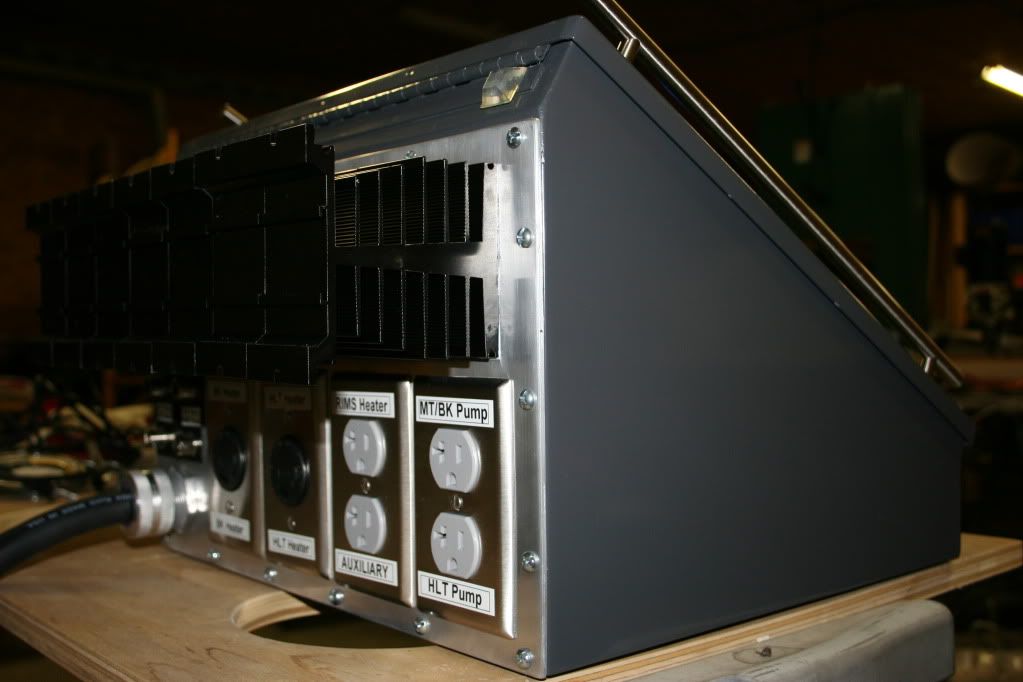
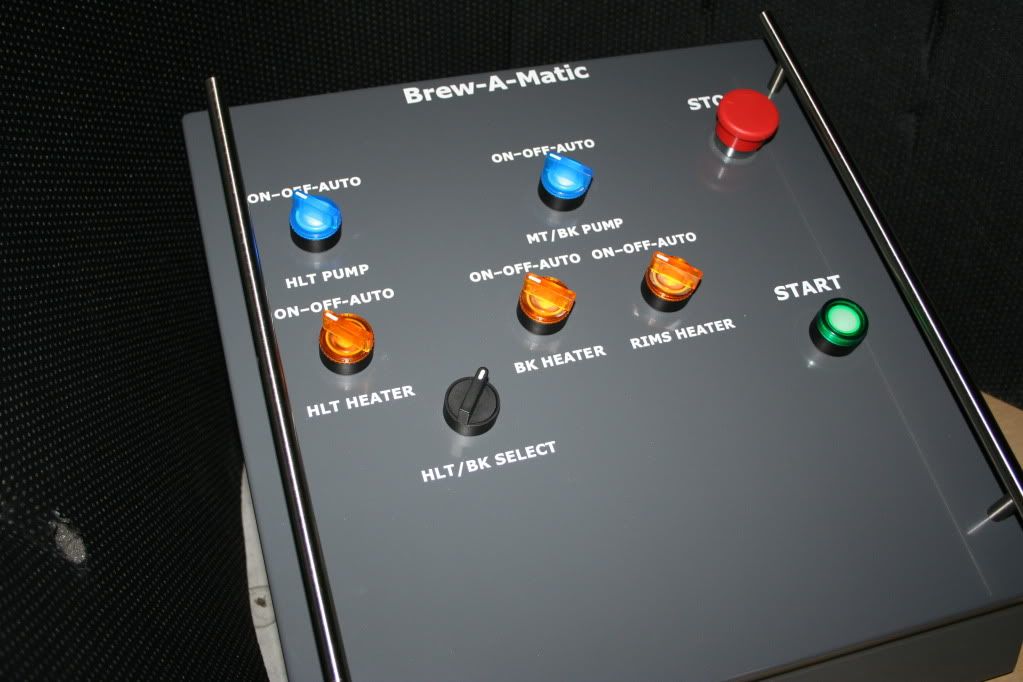
Show us your electric brewing rig!!
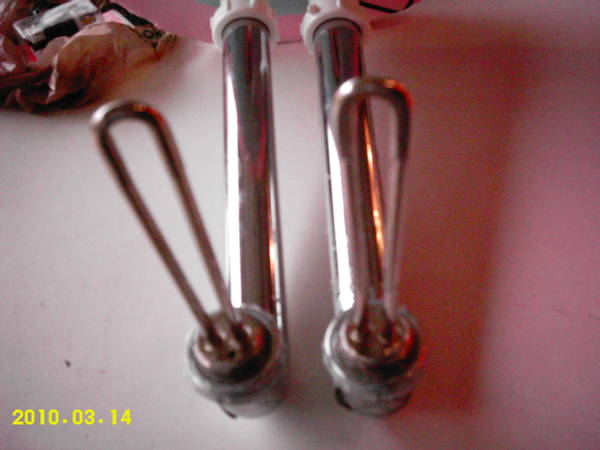
 
This is my buddies electric two-tier two-vessel.

Simple Brewery

Briefly, it runs on 120VAC 20amp (any kitchen or garage outlet). We typically get about 68% brewhouse efficiency
and up to 75% (once). Great system that I am very happy with.

Operation
Twent-E2.gif


Design
Twent-E2_V04_Storage_mode_I.png


Twent-E2_V04_Brew_mode_I.png


Schematic
Control_Box_Wiring_II.bmp


Storage Mode
CIMG3990.JPG


Brewing Mode
CIMG3994.JPG


Under the hood
CIMG3819.JPG


Time tests
Data_chart.bmp


Logo
Logo1.png


Updates that Simple Brewing needs are to finish a matching black rubberized keg for the mash tun, and adding QD's.

I love brewing on this thing.
 
Here is my brewery (in progress). The 2P-Twent-E is a single tier, two pump, electric brewery that runs on 120VAC at 20 amps.
It is similar to the Simple, but single tier with two pumps and it isn't done.

How it works
Twent-E.gif


Schematic
Control_Box_Wiring_BBK.bmp


Control box
CIMG4086.JPG


more to come....
 
This is a control panel for a spark ignition propane system. It includes two LOVE controllers that control ignition control modules to selectively fire the burners. Three timers are mounted in the panel to make brew day more convenient.

Schematic
Wiring_DITCHES.bmp


link to larger image


Panel
CIMG4318.JPG


CIMG4319.JPG


CIMG4321.JPG


CIMG4320.JPG
 
Since it's pretty cheesy to start a thread and NOT post your own pics, I figured I'd add mine. The keg was actually given to me by a member of my club! And it's my inspiration for going all electric. Right now, I am doing stovetop split boils and that's gotten old real quick. I've been lurking electrical threads for quite some time now.


Got the spear out and planning out the next steps. Will cut a lid and order valves soon.

Shortly, I'll be converting it to an electric BK and using my cooler to mash for the time being. As I get new kettles, I'll expand to either a RIMS or HERMS (haven't decided yet) and will automate, hopefully incorporating BCS in the future.

Since I just built a keezer and spent A LOT of dough, I am now relegated to minor acquisitions for the foreseeable future...but I do have tacit approval to proceed.

I think I am going to to a center drain with triclover on an inverted keg like Sizz, then add elements gradually. I am really looking forward to seeing designs and am extremly pleased that there is now a subforum!
 
Basic electric basement ten gallon batch sparge rig (usually 1/4 keg batches 7.75 gal.), 2 heat sticks at 2000w each, gallon pitcher to transfer "bail" sparge water. Very basic and cheap, but works well.


I can't pass up a brew kettle lookin for a home, better than collecting cats I guess?

 
Adapting things to go from my shop to my "weekday" apartment. The plan is to spend the weekends with the family and the weekdays at work during the day and brewing of an evening. For smaller beers I am doing a No_Sparge constant recirc and for bigger beers I will dump the sparge water into a pot on the countertop and transfer it into the MLT.

Here it is rolled out and ready to go:
DSC02310.jpg

And nested for storage:
DSC02313.jpg
 
IMAG0082.JPG


IMAG0080.JPG


IMAG0011.JPG


Still working on it, but the eKeggle and eHLT are operational now. Need some new pics, maybe this weekend.

:mug:
 
^^ I'll take that walk with you. I just started my control panel last night. Hoping to be done in a week or two. Then I'll post the whole setup.
 
Yeah, Kal...great brew porn. I can imagine a lot of HBT wives would like to meet you...and punch you right in the nose.

Kal that is awesome!!! If I did that yeah it had better keep me warm and happy at night! Cause that is all I would get to sleep with for a long long long time.
 
Beautiful setup.

Kal has been a major inspiration for me...
Not only my panel, but I also "borrowed" his technique for mounting elements.

Thanks Kal.

Ed
 
Thanks guys!

Ed: Got any more pictures of your control panel? This looks fantastic!:

avatar28027_1.gif


Kal
 
Kai's control panel dead sexay. there's no other way to put it. Let's see some shots of it splayed wide open!

Ok, just one teaser picture with my panel wide open (being the slut I am)...

IMG_6681.jpg


I'm working on writeup for this portion of the site now...

Kal
 
kal, holy #$%&, that is sick. You are going to cost me a fortune because I have to build that now.

edit: I am now reading through your site. Simply beautiful. You are my brewing hero.
 
That's absolutely beautiful work Ed! It's extremely rare to see such nicely done cable management (outside of a plant).

While Ed doesn't seem to have a build thread, for anyone looking for more info I found it here:

https://www.homebrewtalk.com/f170/electric-question-153310/


I see you used kitchen cabinet handles on the outside of your box too! :) I tried to find "real" guards but I could not find one place that sold them.

The use of lit switches is smart too - it saves on panel real estate. I could have done that with my pump switches. Even my buzzer/red light is now available as a single unit.

Kal
 
Ed----SHAAAWEET panel! Nice and clean.

When you're not brewing, can you land a space shuttle with that thing? It looks like 'Mission Control'

Seriously, very nicely planned out. If someone wants to follow your design, those HQ pictures are excellent. Great workl
 
That's absolutely beautiful work Ed! It's extremely rare to see such nicely done cable management (outside of a plant).

While Ed doesn't seem to have a build thread, for anyone looking for more info I found it here:

https://www.homebrewtalk.com/f170/electric-question-153310/


I see you used kitchen cabinet handles on the outside of your box too! :) I tried to find "real" guards but I could not find one place that sold them.

The use of lit switches is smart too - it saves on panel real estate. I could have done that with my pump switches. Even my buzzer/red light is now available as a single unit.

Kal

Kal,

I found real instrument pulls, then ran across the cabinet pulls for a fraction of the cost, and the rest is history.

I read all the threads I could find, yours included, before starting my build. The good thing about not being the first is that you get to take advantage of the "pioneers" that are willing to share their experience.

Thanks for being a pioneer.

Ed
 
Ed----SHAAAWEET panel! Nice and clean.

When you're not brewing, can you land a space shuttle with that thing? It looks like 'Mission Control'

Seriously, very nicely planned out. If someone wants to follow your design, those HQ pictures are excellent. Great workl

Thanks.

I hope my posts can help someone else even a fraction as much as I benefited from others.

Ed
 
Ed first of all.... great job! Can you provide a link to the din rail terminal blocks you are using, as well as the separator/anchor pieces that are between them and the breakers you are using? I really like the layout you have there.
 
Ed first of all.... great job! Can you provide a link to the din rail terminal blocks you are using, as well as the separator/anchor pieces that are between them and the breakers you are using? I really like the layout you have there.

Thanks.

Terminal blocks came from Mouser.
I user a variety of sizes, here is a link to an example:
http://www.mouser.com/Search/ProductDetail.aspx?R=CTS10Uvirtualkey56110000virtualkey845-CTS10U

Breakers came from AutomationDirect
Here is a link to an example:
http://www.automationdirect.com/adc...1_Series)/B_Curve_(6A-63A,_WMZS1Bxx)/WMZS1B10

The switches all came from AutomationDirect also.

Ed
 
Two systems from a common control box. A 2.5 gallon system on the left and a 5/10 gallon system on the right. Pumps and some fittings are also shared. BK high to act as BK and RIMS when recirculation mashing.

I am currently cleaning them up and redoing the control box. I will post pics when I am done.

0002.jpg
 
Here's the thread.

And a pic to get you started.

DSCN5326.jpg


I prefer the touchscreen over the hard control panel :p

However, Ed and Kal your panels are friggin pro. I refuse to put a pic in this thread of the inside of my electrical boxes after seeing yours!
 
S5033988.jpg


a more recent pic with the new motorized ball valves.
DSCF3321.jpg


Currently the copper and brass is being migrated out and a new PLC based control system is going in.
 
I really appreciate all the effort many of you have put into documenting your builds. I recently finished setting up my electric rig and have had two successful brew days on the new system.

I borrowed heavily from Kal's work, but I am using a BCS460 for control instead of separate controllers.

One thing that I ran into was some of the components going into the box were larger than anticipated. I was able to fit everything into a 12x12x8" box, but it sure would have been easier if I used a 16x16x10 box.
 
Which of the PLC hardware platforms are you going with?

Eh, I am debating between the home brand my company manufactures, SLC5, or possibly a home brew controller based on the mini-2440.

I am tempted to try using Automation Direct's DL06 PLCs but I don't have much experience with them and not familiar with their capabilities.
The price is affordable but I don't want to pay $400 for another RLL programming package. They have a free 100 word version but that won't got very far.

It's still far cheaper than the cost of AB and rslogix, though I have a copy available to me.

As for the home brew version, my ultimate goal is to make something IEC 61131-3 compliant using off the shelf or home built Modbus DAQ modules.

The goal for the brewery is to find something that can be put together by others without having to monitor e-bay auctions like a hawk or require the budget of a municipality.
 
Good luck with your system, I am converting the Java code to C# and am looking at the mini 2440 as the platform for future control system development. With a wide enough range of low cost interface hardware from the robotics arena it should not be to hard to build a control system for an electric RIMS or HERMS brewing system for a reasonable amount of cash.
 

Latest posts

Back
Top