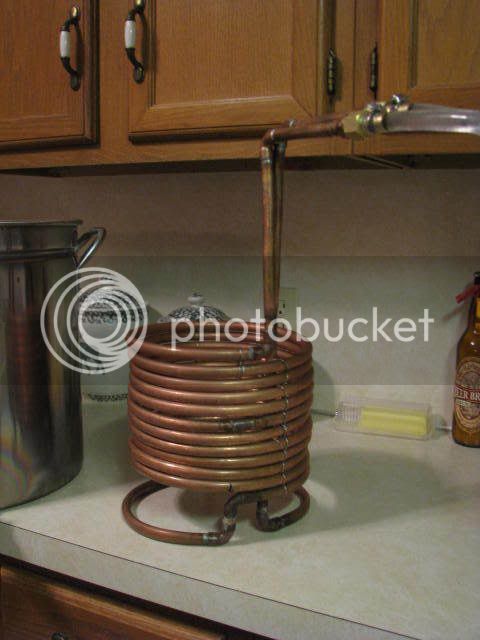
Unfortunately, the change from 3/8" to 1/2" isn't quit so simple.
What you must remember, is that with larger tube (say 1/2" vs. 3/8"), you're sacrificing length in favor of diameter, because simply put, you cannot fit as much 1/2" tubing in the same pot as you can 3/8" tubing.
For example, if you consider a 10" high stack of 8" coils, you would in effect have about 678.5 square inches of cooling surface with 48' of 3/8" tubing, whereas, your surface area would only be about 629 square inches with the 33' of 1/2" which would take up the same space. This is because you can fit only about 16 coils in the same 10" height as you can fit 23 coils of 3/8" tubing (assuming a 1/8" gap between tubing for increased cooling).
With such a nominal change in actual surface area, I'd love to see a side-by-side comparison to verify the impact of varying the flow rate.