Show us your sculpture or brew rig

Homebrew Talk - Beer, Wine, Mead, & Cider Brewing Discussion Forum

Help Support Homebrew Talk - Beer, Wine, Mead, & Cider Brewing Discussion Forum:

This site may earn a commission from merchant affiliate links, including eBay, Amazon, and others.
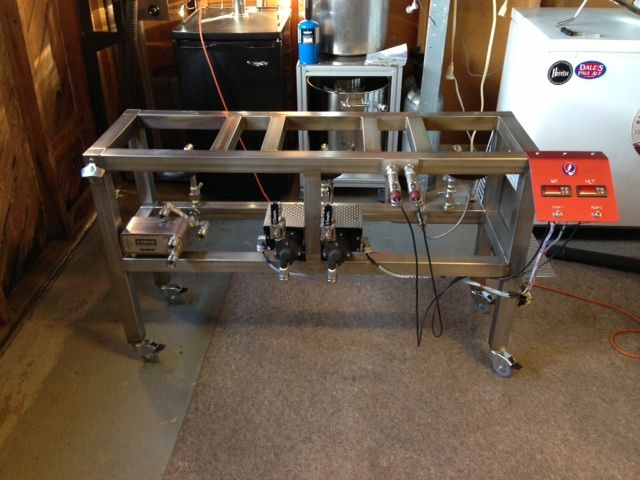
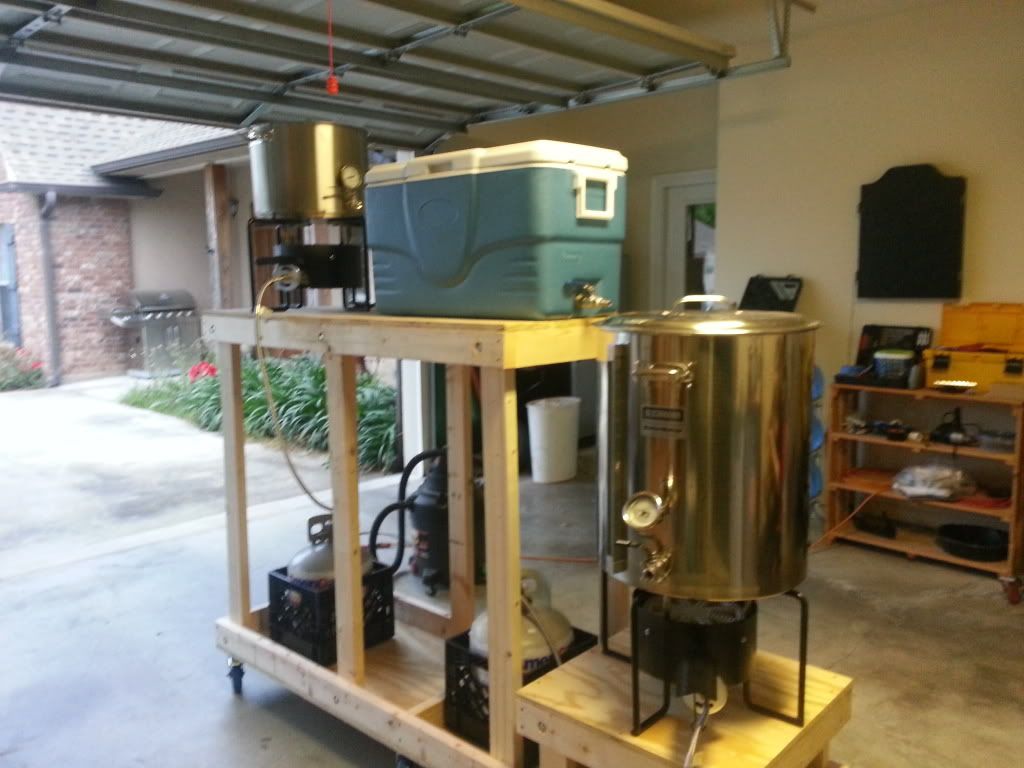
Here is my brew rig in progress of being built. I still need to mount and plumb in the burners. I also need to mount the pumps and plate chiller. I have decided to take the center support out and split it on either side of the MT so I can put some drawers in there. The Ceramic tiles under the BK and HLT are removable but will be in when it is in storage. It is nice to be able to use it for serving beer at parties as well.

8739361800_e8bdc8bf6d_c.jpg


The BK is a 15.5 Gallon Bayou classic and the HLT is 12 Gallon.
 
Jerico said:
Here is my brew rig in progress of being built. I still need to mount and plumb in the burners.

Looks pretty sweet Jerico. I'm in the process of building my own wood stand which is fairly similar to yours. I like the dual purpose tile action on the top, good call. We'll have to compare notes once I get a little further in.
 
Can do BIAB with a 10 gallon batch or batch sparge in cooler for 20 gallon batch. Uses 2x5500 watt elements and that is just right - not overkill. 25 gallon kettle here but 30 gallon would be better.

image-2459537570.jpg


image-1892484519.jpg


image-1808937822.jpg
 
Yes, I know, I'm a 'professional', but I'm still proud of the equipment we build.
BCS 462, Wash Down Duty Touch Screen and Keyboard. Motorized ball valves, 3 5 series march pumps, electric cable winch dump unit. Wash down flange bearings, aircraft aluminum shaft supports, etc. etc. etc. 65 gallon kettles, fully automated 23 tip NG jet burners. Customer named this 'Scarlett Brewhaunson'

This unit is on it's way to Ohio as I type.


922463_362898897147786_907750785_o.jpg

Cost?
 
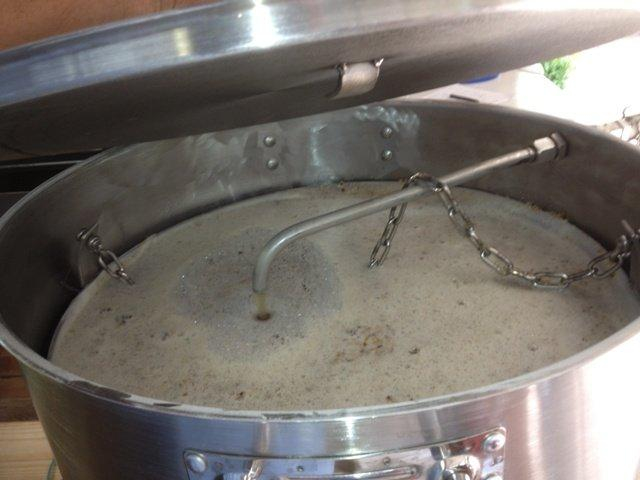
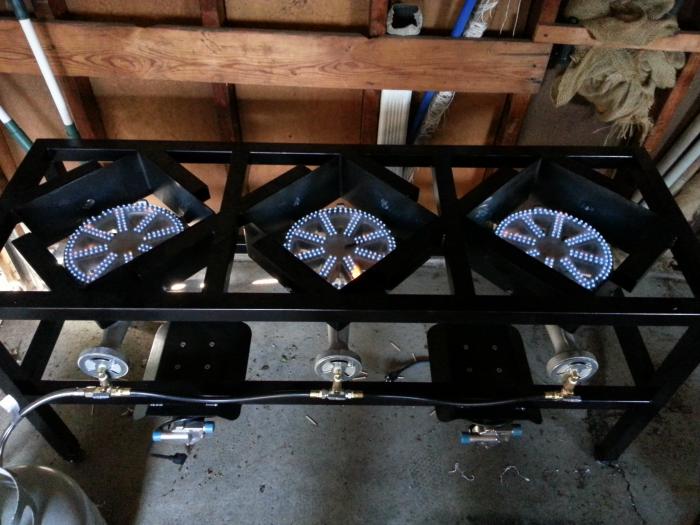
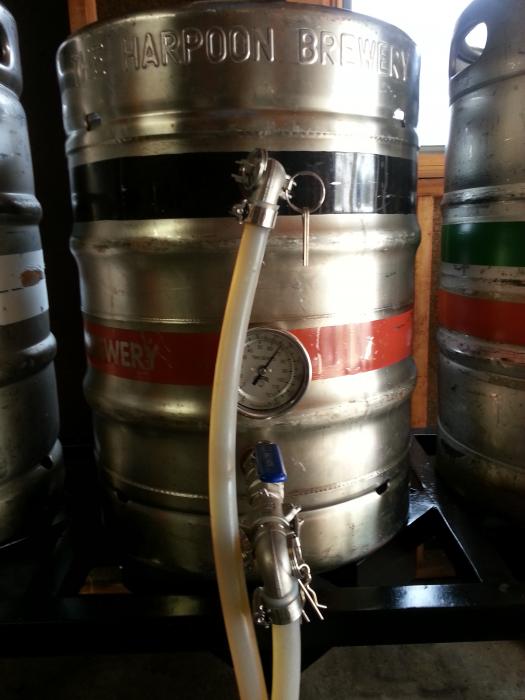
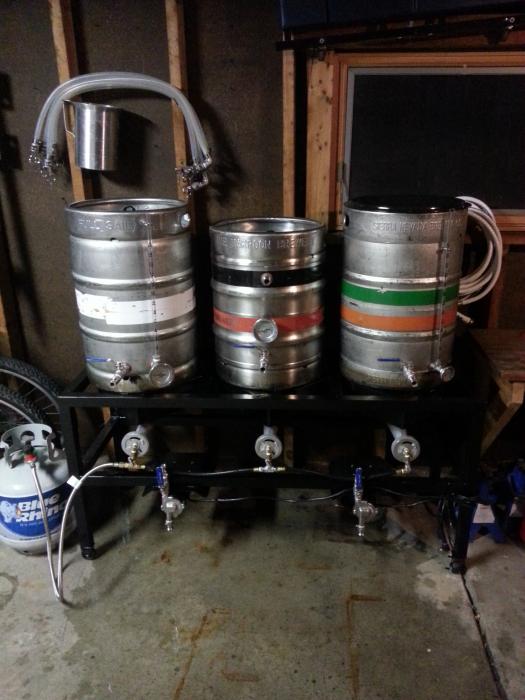
Here is mine that I just finished, while it's missing a few things, the first brew went extremely smooth. I kind of sort of stole the design from a photo OneHoppyGuy posted.

20130509_172445.jpg


20130513_165423.jpg


20130513_174924.jpg


20130513_211229.jpg
 
Here is mine that I just finished, while it's missing a few things, the first brew went extremely smooth. I kind of sort of stole the design from a photo OneHoppyGuy posted.

Where did you get those gas tee valves? Or are they multiple parts? Looks clean.
 
Here is mine that I just finished, while it's missing a few things, the first brew went extremely smooth. I kind of sort of stole the design from a photo OneHoppyGuy posted.
Wait! Is that a burlap bag hanging over a lit burner? Homeowners insurance paid up? :cross:

122175d1368622257-show-us-your-sculpture-brew-rig-20130509_172445.jpg
 
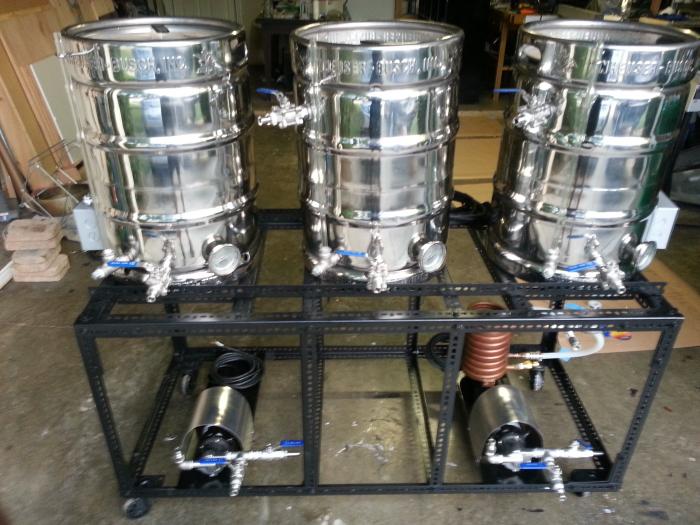
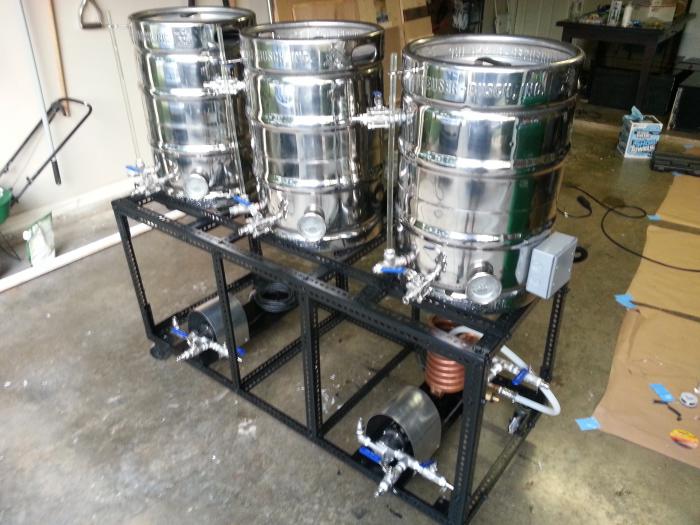
Here is my brew stand. I have done some upgrading since starting. Now I am going to be running two 5500w elements instead of propane. No HERMS yet, but will be adding that soon.

brew stand.jpg


Electric Brew Stand 1.jpg


Electric  Brewstand 2.jpg
 
scotprice said:
Here is my brew stand. I have done some upgrading since starting. Now I am going to be running two 5500w elements instead of propane. No HERMS yet, but will be adding that soon.

What material did you use for the stand and what paint?
 
I used the zinc galvanized plated slotted angle from Lowes. For the paint I used two coats of self etching primer, then the top coat is RustOleum Engine Enamel.
 
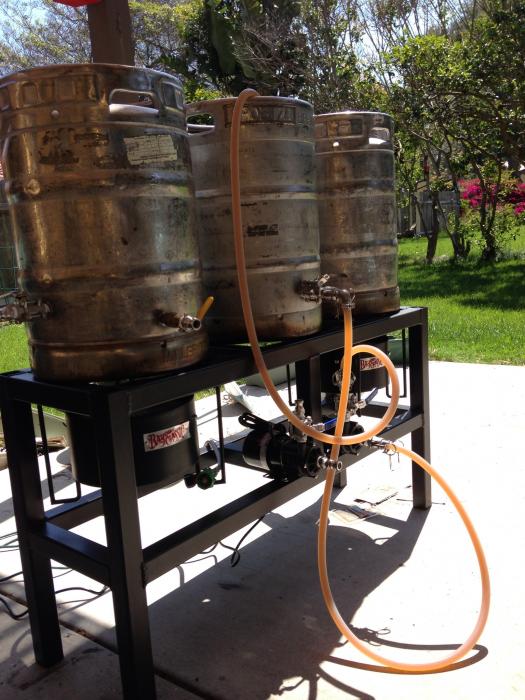
I have been out of commission since last October but I'm happy to report I am nearly back up and running again! Here is the updated setup. All I can say is boy if I knew what I know now I would saved myself a lot of money, time and aggravation! My best piece of advice for anyone here building a rig is do a LOT of homework and be careful who you get help from.

20130522_181749_resized.jpg
 
jcaudill said:
i have been out of commission since last october but i'm happy to report i am nearly back up and running again! Here is the updated setup. All i can say is boy if i knew what i know now i would saved myself a lot of money, time and aggravation! My best piece of advice for anyone here building a rig is do a lot of homework and be careful who you get help from.

awesome!!!!
 
I have been out of commission since last October but I'm happy to report I am nearly back up and running again! Here is the updated setup. All I can say is boy if I knew what I know now I would saved myself a lot of money, time and aggravation! My best piece of advice for anyone here building a rig is do a LOT of homework and be careful who you get help from.

20130522_181749_resized.jpg

Care to share what happened? To help the rest of us not end up the same.
 
Care to share what happened? To help the rest of us not end up the same.

Honestly I could probably write a book :) I'll try and rekindle the post I had on here with the rig info.

I would say the biggest lesson was in the gas system. My original rail I went the typical route of black pipe and valves and fittings and such but I just took advice from someone else on what to purchase. Come to find out they really didn't fully understand what they had me ordering and I ended up with this crazy mix of high and low pressure stuff that just caused all kinds of headaches. That and I got fitting crazy because it looked cool and didn't stop to think about all the unnecessary crap I was adding that would rob me of btu's.

I'll elaborate on my thread when I can find it and come back here and link it!
 
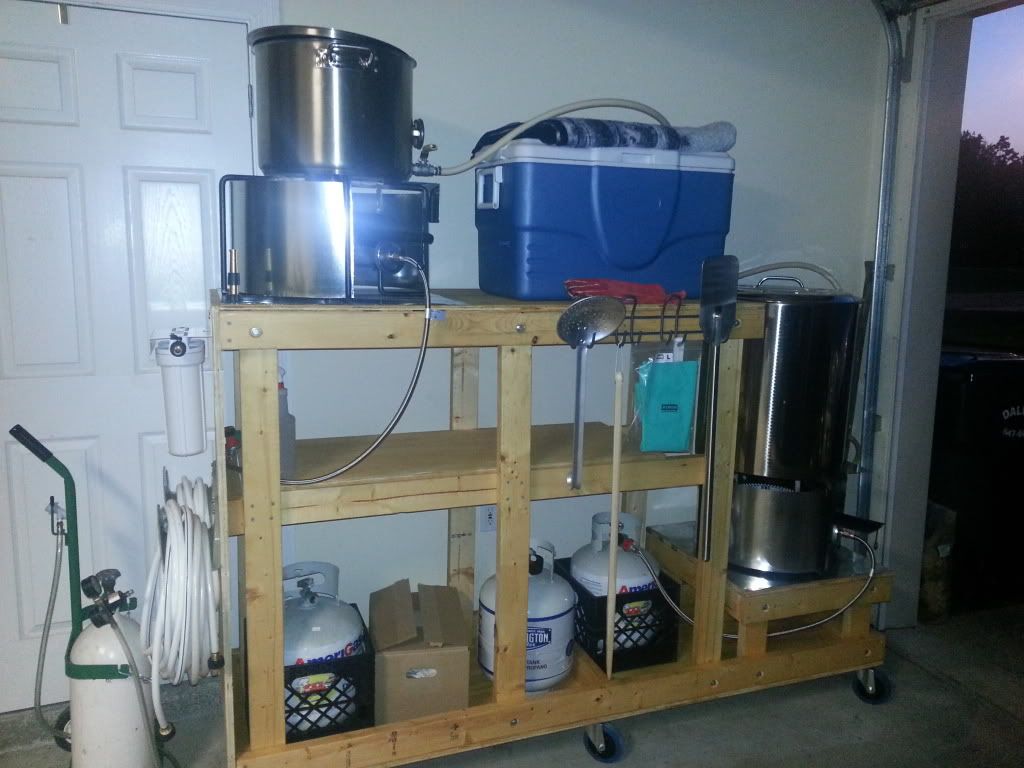
This is about 90% complete. Adding a shelf to it, mounting a 2' x 4' back board to mount some hangers for potable hoses and a 2-stage camper filter, putting a couple coats of Thompson honey gold tinted water sealer, and finally putting some flashing down on the decks.

OK, here it is at about 98%. I'm getting a 20 gallon BoilerMaker as an HLT the first weekend in June, but this is how it's rolling for this weekend's brew day.
 
jcaudill said:
I have been out of commission since last October but I'm happy to report I am nearly back up and running again! Here is the updated setup. All I can say is boy if I knew what I know now I would saved myself a lot of money, time and aggravation! My best piece of advice for anyone here building a rig is do a LOT of homework and be careful who you get help from.

That looks awesome! Is that a kit or did you piece it together? Do you have some sort of "parts list" that I can work off of?
 
I pieced this together - I am not aware of any kits! Although there are some vendors who will sell you the whole thing ready to go.

I will try to put together a parts list but it may take me a bit of time as I'm focused on getting some beer in the fermenter. Stay tuned!
 
jcaudill said:
I pieced this together - I am not aware of any kits! Although there are some vendors who will sell you the whole thing ready to go.

I will try to put together a parts list but it may take me a bit of time as I'm focused on getting some beer in the fermenter. Stay tuned!

That sir, is a fine looking brew rig. Prost
 
Here is the system I just finished. The control panel swings to the right for storage. The system runs on the house natural gas feed. The HLT and Rims system are automated. Here it is almost complete.

BrutusSystem1_zps6a80fec4.jpg


Here it is after connections and testing were complete.

BrutusSystem_zps3f9a116c.jpg


Here is a better shot of the control panel.

BrutusControlPanel_zps9ccaaa81.jpg
 
Back
Top