Lil' Sparky
Cowboys EAC
Awesome freebee! Do you plan to motorize it somehow, or use something like a ratchet?

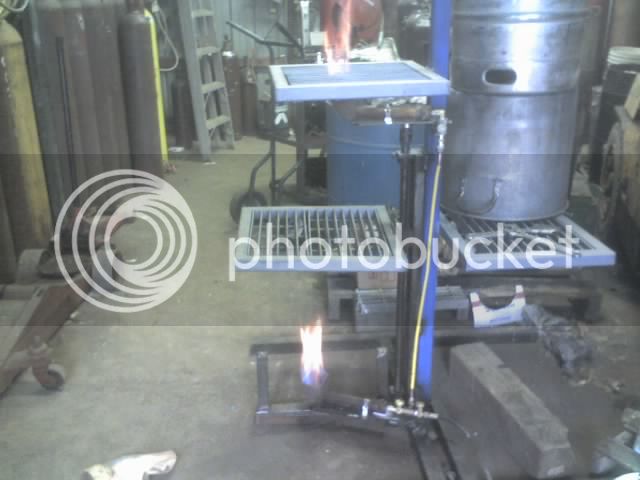
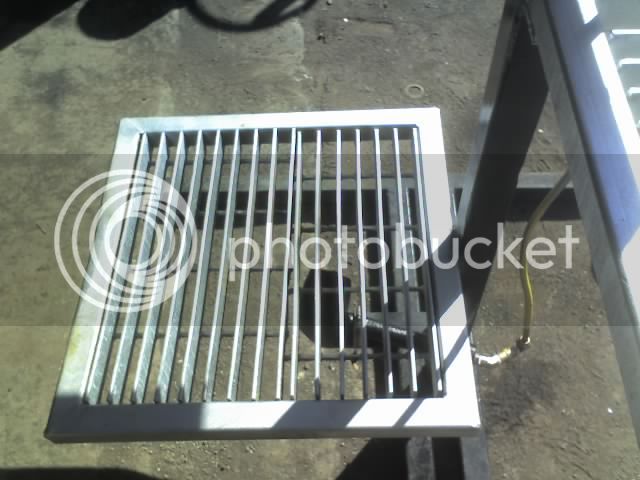
Sorry, I've not really done my homework on 3 tier rigs, but what is the purpose of lowering and raising the 1st tier? Is it so you can raise it at the end so you can siphon to carboy? I've seen other 3 tier rigs, they dont have this feature, how do those work?
then i decided that a well oiled air gun is going to shoot oil into my wort. so i decided this would be a hand wratchet job

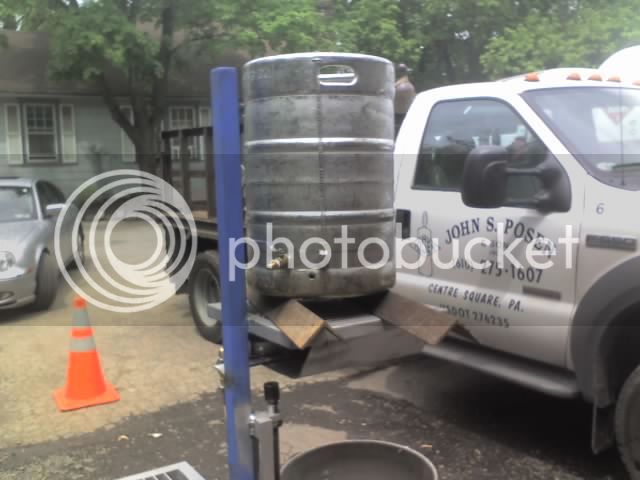

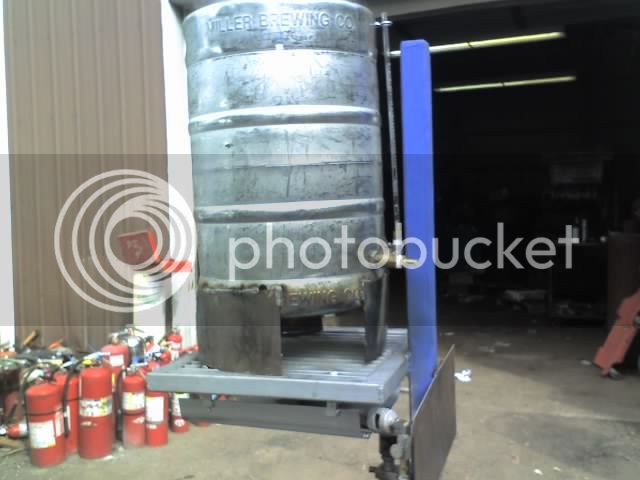
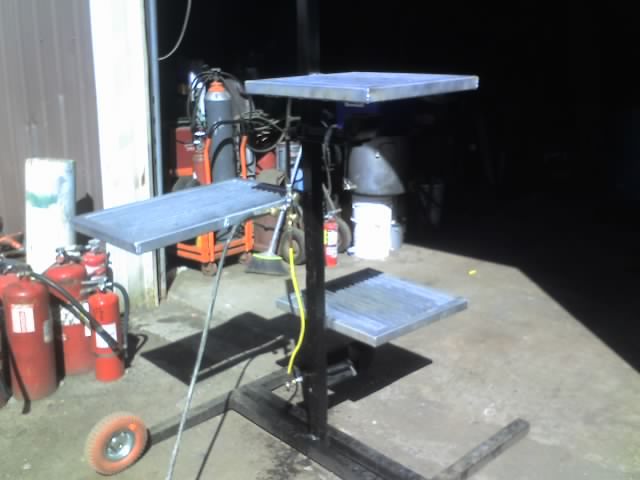
so this thing is gonna need some mods.
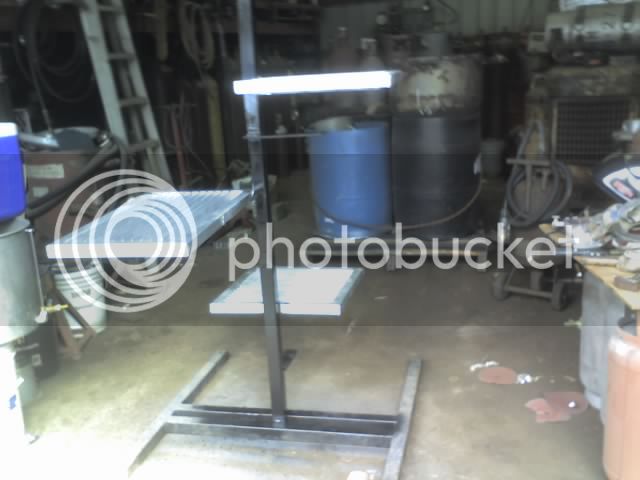
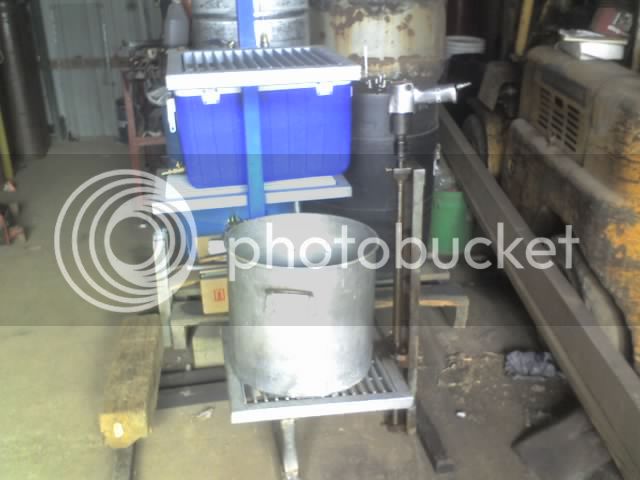
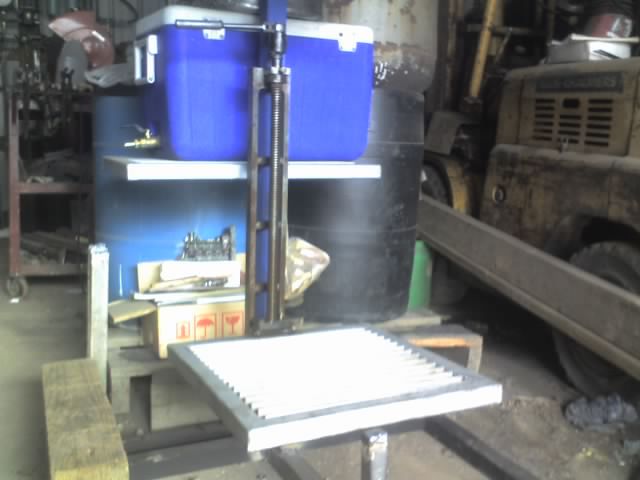
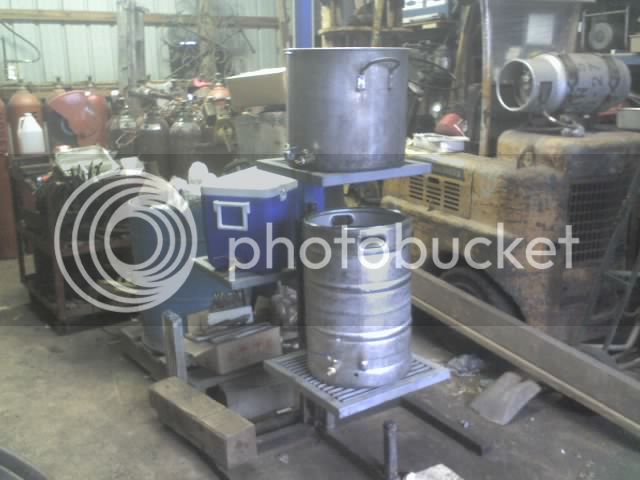
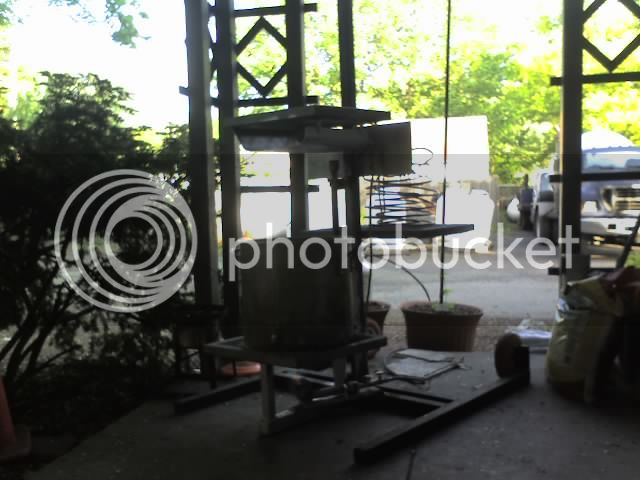
i started my rig build today. i stole some ideas from other rigs on here.
i am using 2" box for the bottom and the "mast." the burner plates and cooler holder will be made from 1.5" box.
tips? ideas?
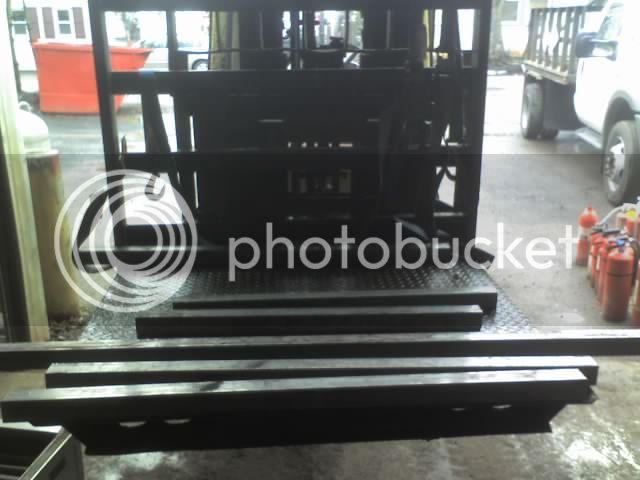
24' cut down to pieces
bottom frame tacked
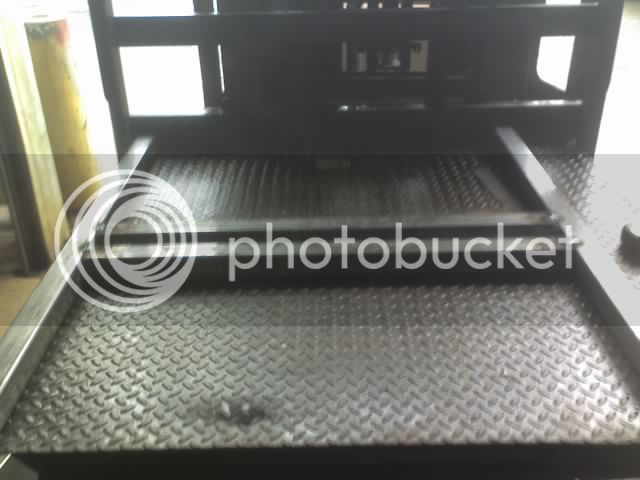
ugh, its been a while. its getting ugly
Congrats on you as a do it yourself person and don't laugh at that old "Lincoln Buzz Box" is a work horse.
I still have my dad's Dayton 90 amp 4 tap "Buzz Box". Hell back in 69 I took pre 64 T Bird riveted rims and made reversed rims with all the rivet holes and the centers trued up and welded with this Dayton welder. Dad RIP I still have this welder even with a loaded to the max 1991 Miller Syncowave 350 Tig, 2002 Miller 251 Mig with 30A Spool gun as my hobby welders. The Dayton will always be in my life, hell I ran a stick thru it back in 04 two after dad passed away. We all started equal and learned, don't forget where you came from.
Weld on and be proud vs a buy it only person like a Sabco system buyer of big dollars no talent and equipment to build. The manufacture and workers feed their family from these hard earned dollars. If you have the talent go for it and build what you want for a brewery. Hats off to you sir.
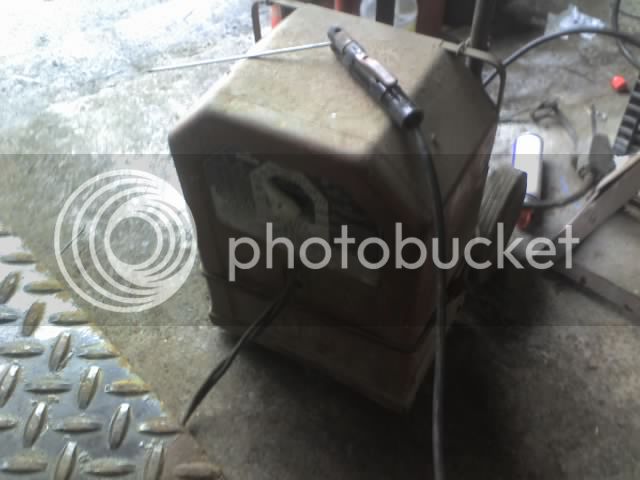
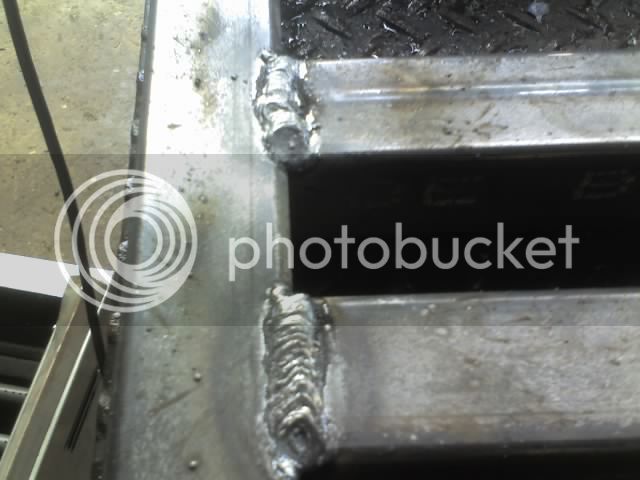
this thing is older than my dad, and it still works like a champ. if only i was any good at using it.
i guess new isnt better. the mig machine we just got has some years on it too. it kicks some ass. and it was cheap. great tool to learn on
Enter your email address to join: