Holy Inspiration Batman. . .

Homebrew Talk - Beer, Wine, Mead, & Cider Brewing Discussion Forum

Help Support Homebrew Talk - Beer, Wine, Mead, & Cider Brewing Discussion Forum:

This site may earn a commission from merchant affiliate links, including eBay, Amazon, and others.

KPSquared

Well-Known Member
Joined
May 12, 2012
Messages
363
Reaction score
22
Location
Wetaskiwin
Wow, these midnight shifts are freakin productive for me. . . I've just spent the last couple hours researching and reading about a billion threads on this forum.

I'm very new to home brewing so I have lots to learn but after my first batch ever (Fat Tire clone partial mash) I know that I'm hooked for life. After doing the partial mash, I knew I would rather be doing AG right away so I started trying to decide on a set-up. I looked at 3 tier gravity systems, single tier systems, drooled over Kal's electric heaven, went back and forth between round and rectangle cooler mash tuns, RIMS, HERMS, pumps, and all manner of magic.

All of that reading and excitement culminated in a stroke of divine inspiration (you know. . .Beer is proof that God loves us, and all that. . .)

First I saw this:

https://www.homebrewtalk.com/f51/biab-brew-stand-hoist-pump-310459/

and read through this:

https://www.homebrewtalk.com/f51/mikes-e-keggle-99931/

and this:

https://www.homebrewtalk.com/f51/designing-ekeggle-biab-recirculating-system-input-258708/

and quite a few others. . . and have decided to commit to a plan.

Winch Stand BIAB Recirculating e-Keggle.

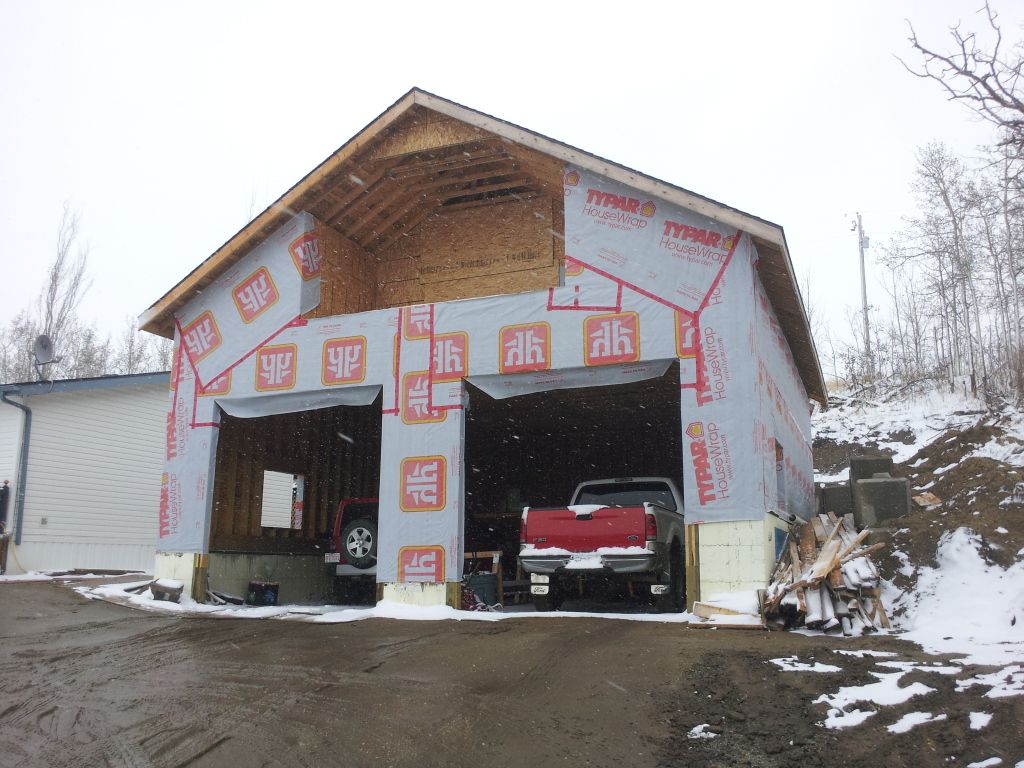
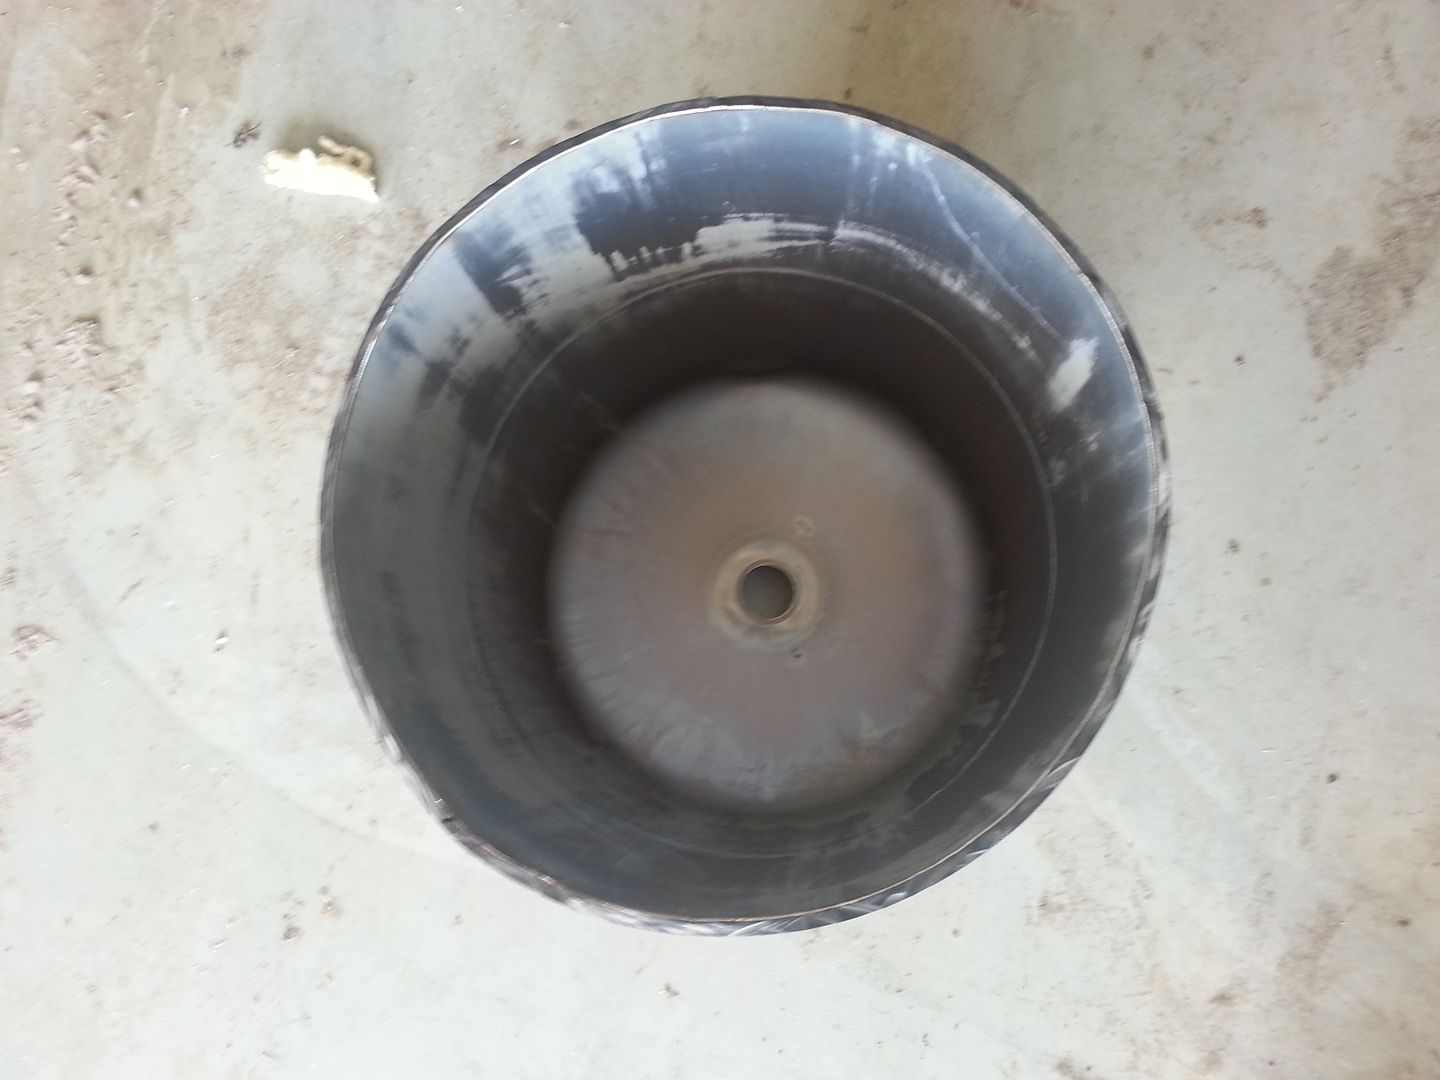
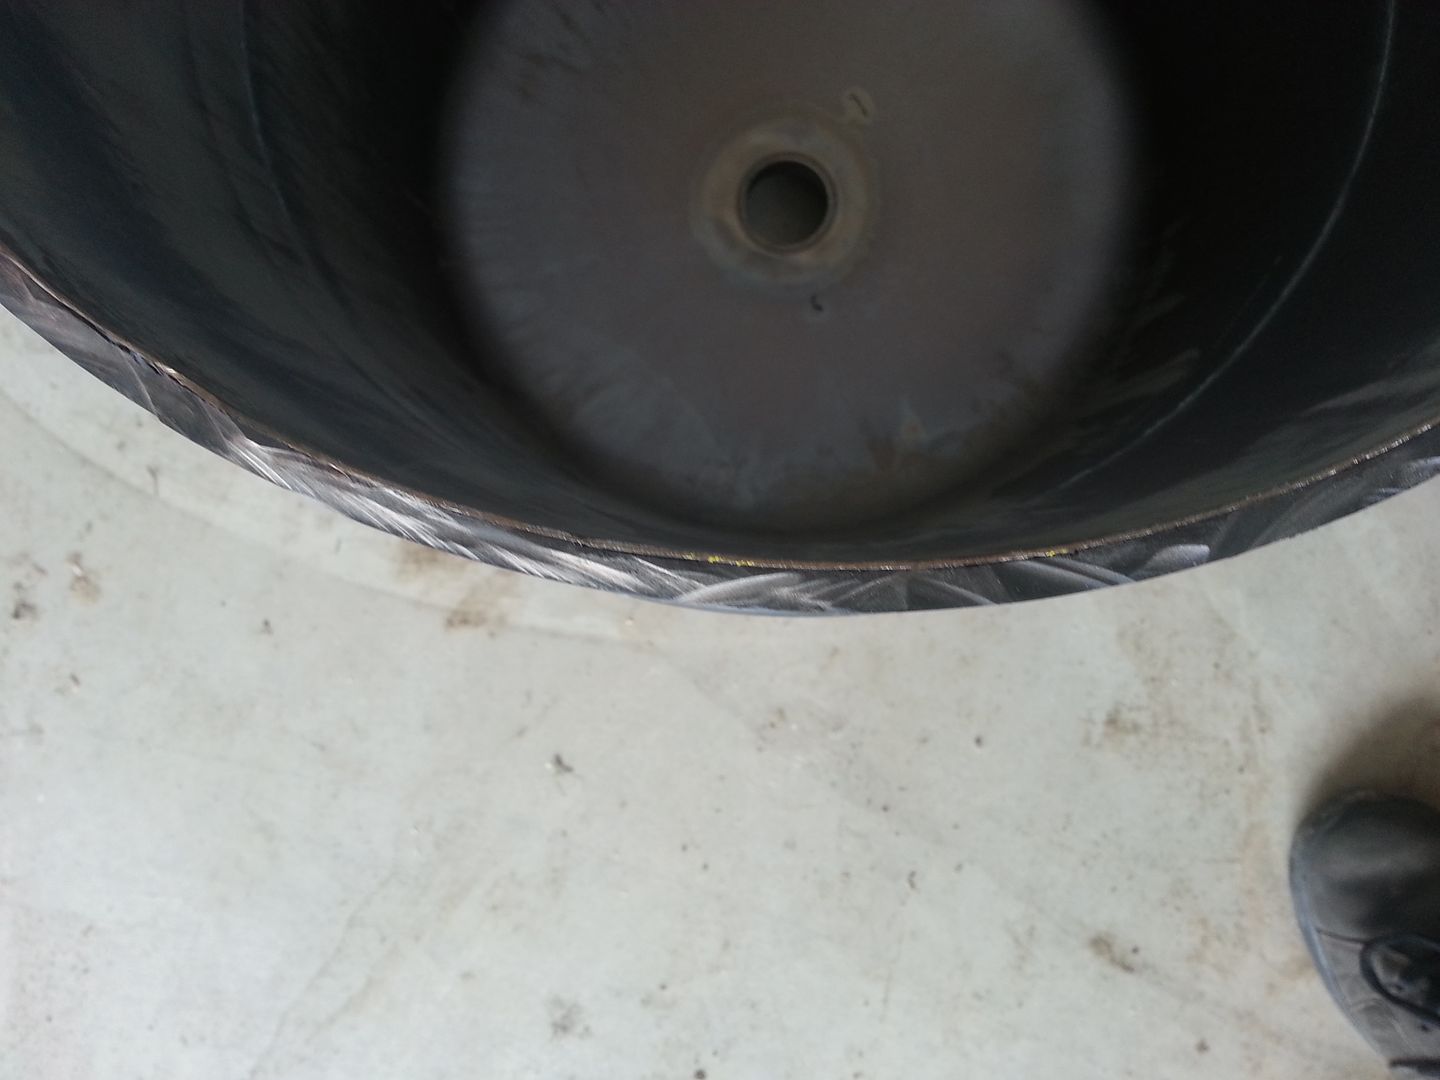
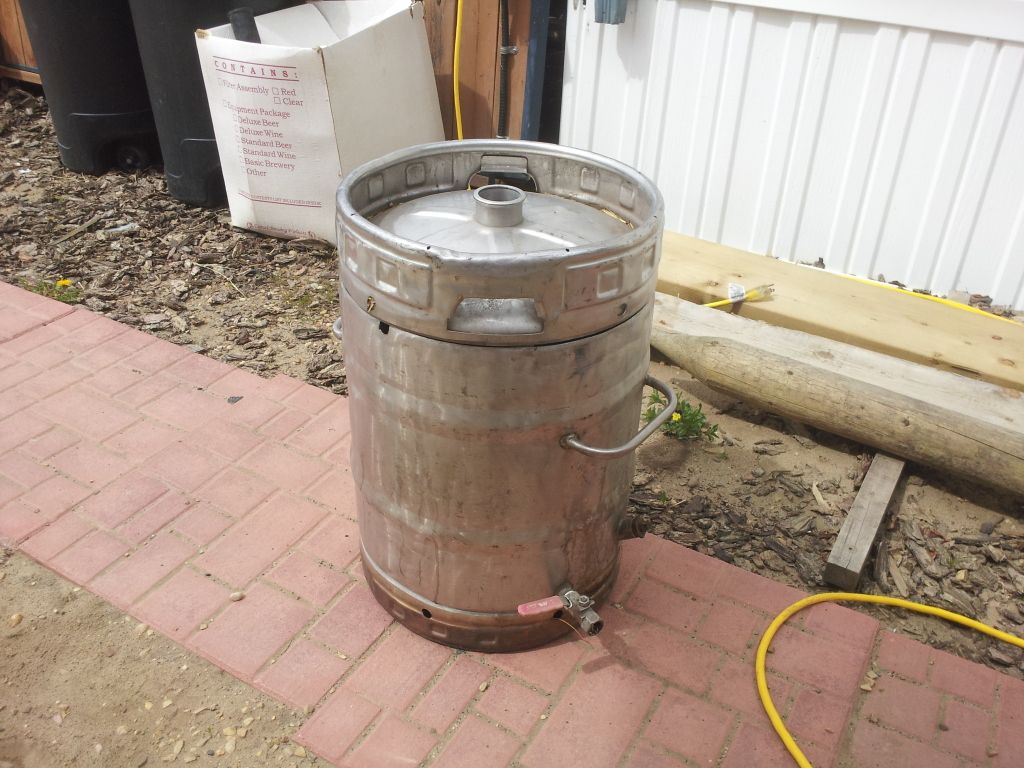
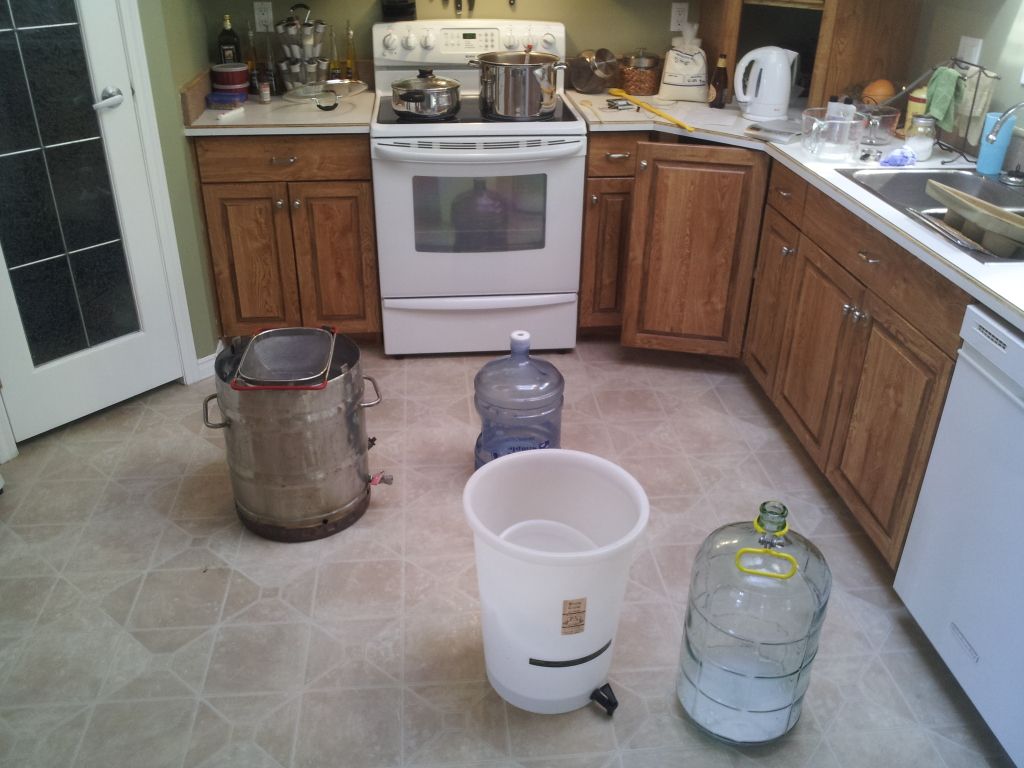
The BIAB method just makes sense to me, I have a great indoor space for brewing but it's small so the electric is a better choice, I already have the keggle, it just needs some modifications, and I have access to a lot of steel and can weld/fabricate to a reasonable end.

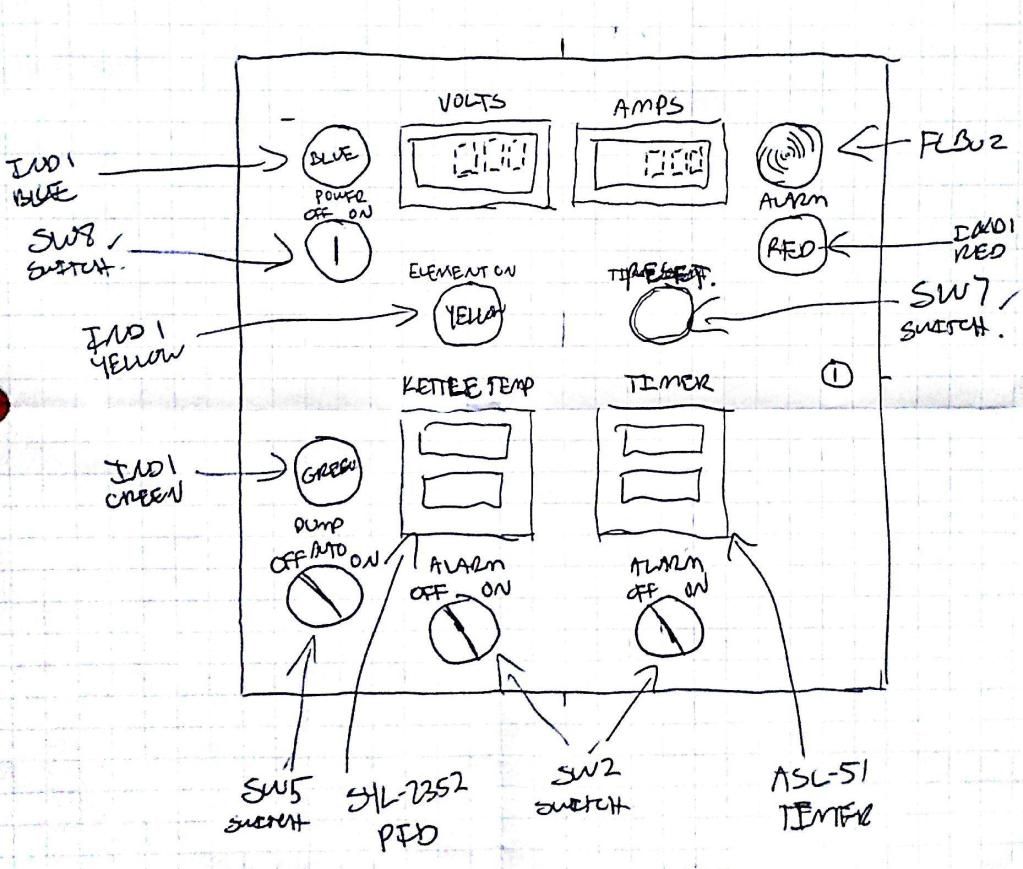
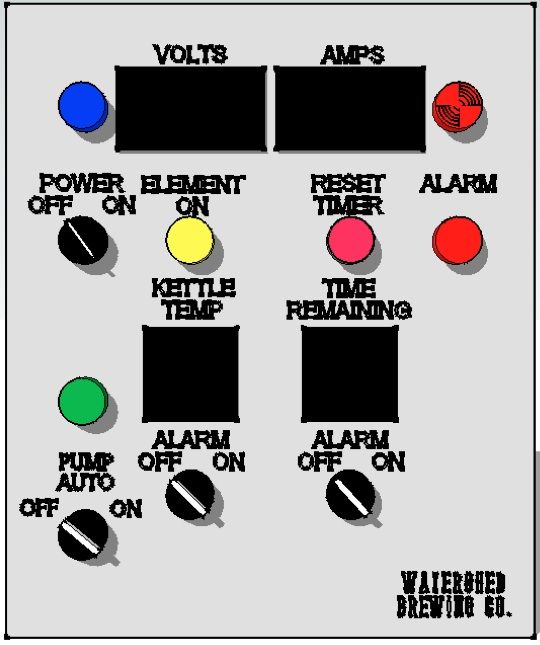
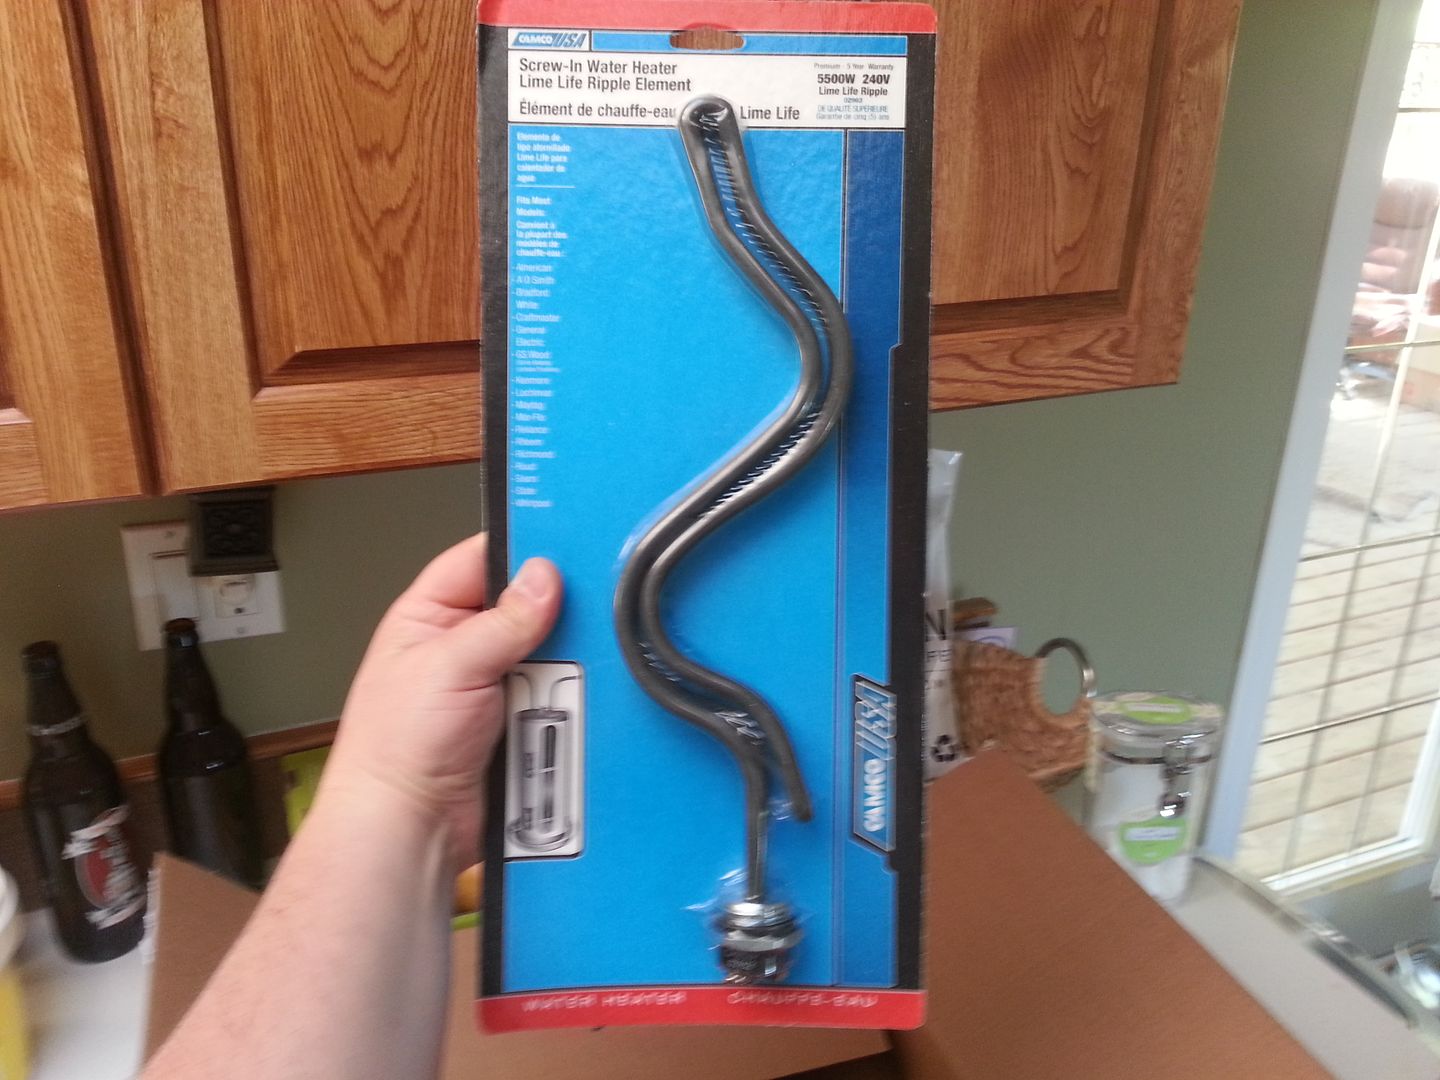
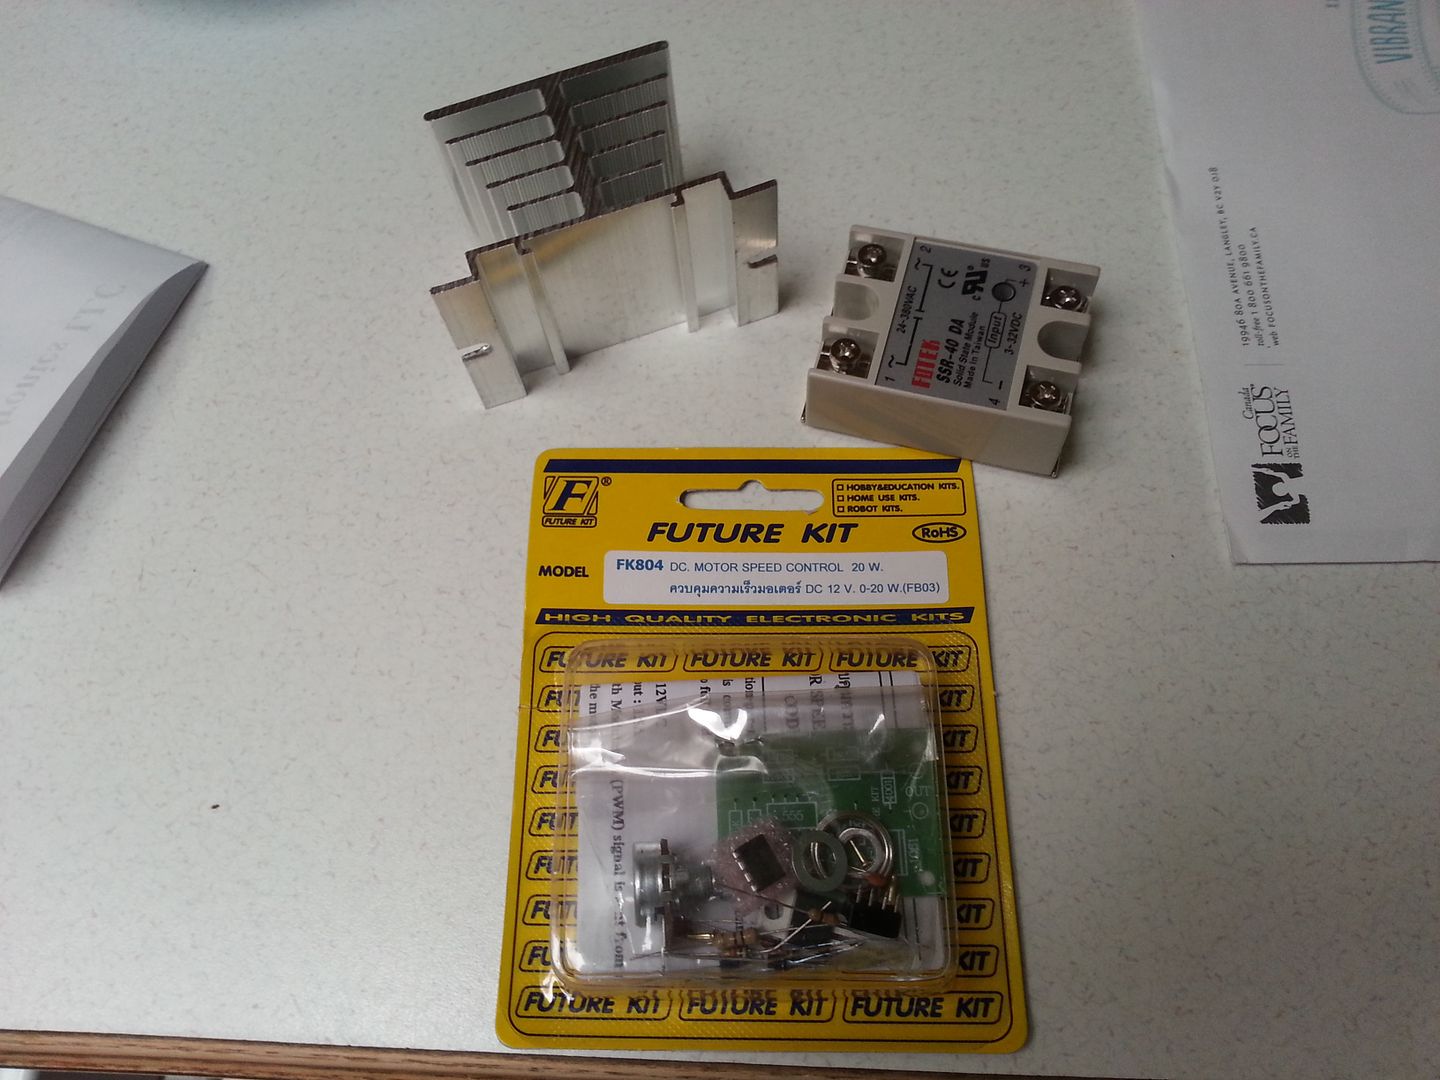
I'm so stoked about how all this is going to come together, I just had to share. . . no coolers, no extra kettles, no gas fires . . . just 240 volts, 5500 watts and some good old fashioned ingenuity.

I'll start a build thread once I get everything figured!
 
This is all I have at this point. . . my keggle. A friend had this sitting in a shed and wasn't using it. When I started talking about home brewing, he just gave it to me. The top is cut off, it's got some fitting in the bottom with a ball valve for a drain, but I may end up changing that. I like the idea of draining off the bottom with a welded on triclover like that thread I posted above. This will be the centerpiece of my setup. . .

2012-05-21143900.jpg


2012-05-21143843.jpg


And it means that the wife won't have to put up with this again. . .:

2012-05-27161521.jpg


I'm pretty stoked right now. I didn't think that going all grain was going to happen the way I wanted it to, but after seeing all these great ideas and figuring out how to combine them, I think I'll have an awesome, simple, efficient setup for brewing.
 
Yep, the best way to enjoy the hobby is to get it out of the wife's nice kitchen.

Looks like you've got quite the plan going. Good luck and keep updating :)

The wife's kitchen?:confused::confused::confused::confused:

In my house, the kitchen is MY domain. I'll let her use it to reheat leftovers or perhaps bake chocolate chip cookies, and of course she's welcome to do the dishes when needed, but the cooking is my thing.

Oh, and I brew in the kitchen, too. I even let her brew from time to time. :mug:
 
Well, we can't all be whipped like that. . . LOL

My wife is an amazing cook. I'm just her sous chef when we cook. We love cooking together. I would just rather have my own brewing space. My 30x36 garage is coming along and the pump shed is where most of my gear resides.

Designed a scaled down version of Kals control panel. Hope to build it into the winch stand.
 
Here's a super rough sketch of my control panel plan. I'm working up a 3D model in Sketchup right now. . . another midnight of "productivity" . . .

Layout.jpg


Got lots of ideas for the stand. Hope to mount this panel on one side, have the chiller and pump underneath. Basically, anywhere there's a dryer plug, I can roll this up and start brewing. . .
 
Today I picked up the materials to build my brew bag. I thought I was so original in my design, but turns out it's almost a carbon copy of the bags that bagbrewer.com sells. It will have 4 handles and a wide webbing at the top with button holes to go over those tabs on my keggle. I don't really like those tabs, but I got the keggle for free and they were all ready there.

My first BIAB batch will be with my propane burner and I'll "recirculate" with a pitcher. . . but at least I'll get to try out my new bag.

The electric conversion is probably a ways off as is the sexy brew stand. I HAVE to finish my garage first. . . and it's not moving super fast. All this work leaves no time for play!

(Here's a pic of the evil garage build thats taking up all of my spare time. . .)

2012-04-14133451.jpg


It's a little further than that now. . . I've got the doors and windows in. That's about it though.
 
Here's a little cleaner drawing of my control panel. I have an "AUTO" option on the pump. My plan is that it will circulate anytime the element comes on. Don't know if this would be necessary or not. Seems most guys recirculate the whole time they are mashing anyways.

Let me know if I should change anything. It's just a scaled down version of Kals. . . 1 PID, 1 pump.

ControlPanel.jpg
 
So slow. . .

Did my first BIAB on the old propane set up. I'm sold on the process.

This just arrived today:

20130604_155010.jpg


It's a small piece of the puzzle, but it's a piece. Acquired a rubber coated 50 litre keg. Going to cut the bottom and run a tri clover drain on the top (nee bottom)

It's slow, but it's coming. . .
 
Got the top cut off my keg.

20130608_142319.jpg


20130608_142326.jpg


It's thinner inside than I thought but it should work well. There's a good 1/4" of rubber on there. Good insulation.

20130608_142340.jpg
 
There are some parts on the way. Just to start I'm building a PWM control. I plan to integrate it into my control panel later.

Just one piece at a time or I'll go broke. . .

Got a long list to order up from Brew Hardware. Just gotta suck up the $40 shipping to Canada.

I hate that I'm so cheap.
 
Got some more mail today!

20130611_125259.jpg


And finally tried my BIAB Blue Moon clone. . .pretty tasty. I think I can do better but I really enjoyed it!

20130610_223127.jpg


First all grain in the bag (pun intended). . Many more to come!
 
Slowly gathering components. I think I'll use an old Pelican case as my control panel. I have a friend with access to a cnc laser and he can get a plate cut for cheap that will fit in the case.

Quick pic of my growing pile of components. ..

20130802_095410.jpg


More to come soon. Got 24 extra red orings for the element if anyone needs. . .
 
Just pulled the trigger on a couple of nice little orders from Brew Hardware and Ontario Beer Kegs. All the components for Stage 1 are on their way.

Initially I'm just going to do a basic eBIAB. Just a hose barb and hose off the bottom drain. I'll use my immersion chiller for now.

When I get a little more cash, I plan to upgrade to PID control. recirc and a CFC.

Can't wait for these parts to get here!!!
 
Also ordered a $20 eBay pump and a PWM to control it.

Can't lose for the price and "should" be the prefect little addition for recirc and chilling a small single vessel.
 
Ok, I finally took the time to compile the cost so far of this project. I still am lacking a few components but here it is so far. . .

eBIABCost.jpg


Yup, just over $500 so far and I'm still at least a couple hundred away from getting this thing done. . .
 
Got my new keg cut tonight. Cut the bottom completely out, leaving a nice round lip. Pics should explain everything. Feel free to ask questions!

20131119_175532.jpg


20131119_175908.jpg


20131119_182110.jpg


20131119_182040.jpg


20131119_182136.jpg


20131119_182222.jpg


20131119_200041.jpg


20131119_200626.jpg


20131119_200743.jpg


Next step, drill some holes when my BrewHardware order comes in.
 
Back
Top