After noticing how insanely critical temperature control is to making great beer, I had been really wanting to make a fermentation chamber. I thought about the chillers and had been using the swamp cooler method but really wanted to be able to maintain a real constant temperature throughout fermentation without the swings in temps that ice may give you as you swap it out.
I found this thread, and it was definitely right up my alley: https://www.homebrewtalk.com/f51/side-side-fermentation-chamber-build-105054/
All credit for this thread goes to Boerderij_Kabouter for giving me the idea and the pictures to help me through it")
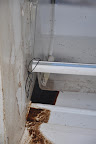
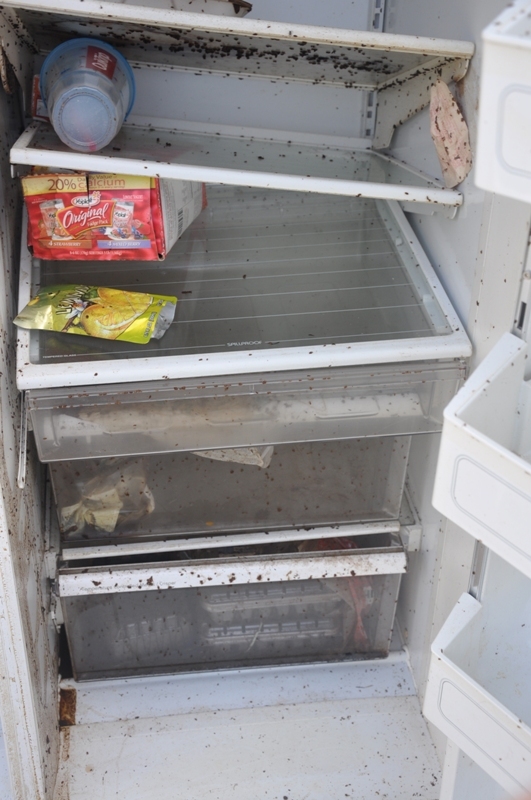
So I started out with a fridge that was quite nasty but in the end ended up being dead. I will post that information at the end of this post as it is kinda humorous for those that didnt have to clean it.
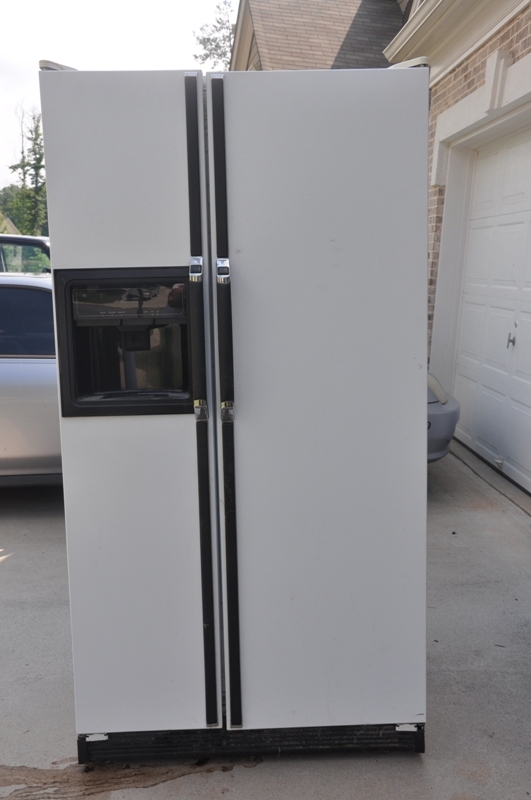
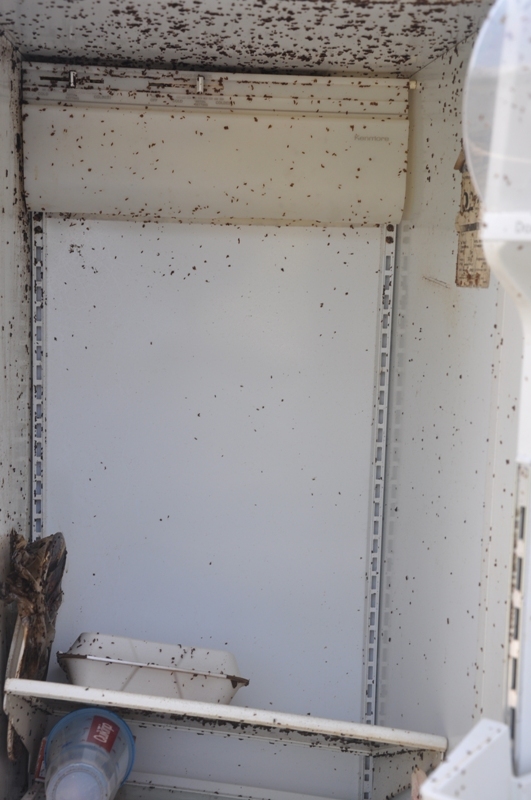
Back on topic, so i started out with this fridge. I bought it for a hundred dollars off CL from a company that was moving out of their current space in a building. They were asking 300. It was in excellent shape and was running when i picked it up. Little did they know I was going to demolish it

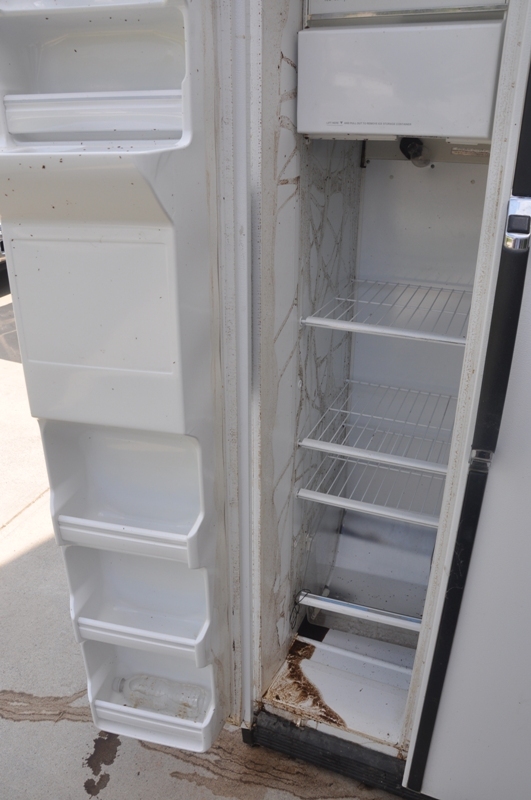
Here is the inside:

I started by using a dremel to take a peek in the walls. I quickly found some wiring and a tube used to bring cold air to the crisper bin.

Before long (actually it took quite a while) I had removed the entire wall separating the two compartments. What a mess it made!!

I then began building my shelf. It was made with a combination of 2x4's and 2x6's. I am very rookie when it comes to woodwork, so i took my time putting it together. Nothing fancy, but it works.
I placed a 2x4 across the two left and right legs where I wanted the bottom shelf so i had something to screw the boards into that would go from side to side acting as the shelf. I did the same for the top so the middle board had something i could screw into. Measurements were far from exact but it came out pretty darn well.

I then put the top boards on and this is where I am today.

I now need to get my temp controller in the mail (did the ebay one - there is a thread in the DIY section) and then put this puppy to action!!
I will add some damp rid and some baking soda once i am ready to actually use it regularly to keep the moisture and smells under control. I cannot wait!!!
In total I used about 14' of 2x6 and about 20' of 2x4 with some leftovers. Let me reiterate, i am a total rookie.
You can see the album here if you prefer: http://picasaweb.google.com/NNatic/FermentationChamber#
I found this thread, and it was definitely right up my alley: https://www.homebrewtalk.com/f51/side-side-fermentation-chamber-build-105054/
All credit for this thread goes to Boerderij_Kabouter for giving me the idea and the pictures to help me through it
So I started out with a fridge that was quite nasty but in the end ended up being dead. I will post that information at the end of this post as it is kinda humorous for those that didnt have to clean it.
Back on topic, so i started out with this fridge. I bought it for a hundred dollars off CL from a company that was moving out of their current space in a building. They were asking 300. It was in excellent shape and was running when i picked it up. Little did they know I was going to demolish it
Here is the inside:
I started by using a dremel to take a peek in the walls. I quickly found some wiring and a tube used to bring cold air to the crisper bin.
Before long (actually it took quite a while) I had removed the entire wall separating the two compartments. What a mess it made!!
I then began building my shelf. It was made with a combination of 2x4's and 2x6's. I am very rookie when it comes to woodwork, so i took my time putting it together. Nothing fancy, but it works.
I placed a 2x4 across the two left and right legs where I wanted the bottom shelf so i had something to screw the boards into that would go from side to side acting as the shelf. I did the same for the top so the middle board had something i could screw into. Measurements were far from exact but it came out pretty darn well.
I then put the top boards on and this is where I am today.
I now need to get my temp controller in the mail (did the ebay one - there is a thread in the DIY section) and then put this puppy to action!!
I will add some damp rid and some baking soda once i am ready to actually use it regularly to keep the moisture and smells under control. I cannot wait!!!
In total I used about 14' of 2x6 and about 20' of 2x4 with some leftovers. Let me reiterate, i am a total rookie.
You can see the album here if you prefer: http://picasaweb.google.com/NNatic/FermentationChamber#