Beavdowg
Well-Known Member
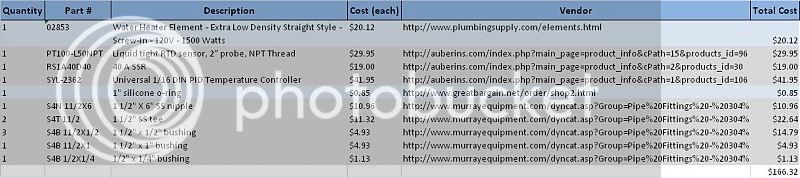
One of the things that annoys me when brewing is the inexact dance of trying to get my strike and sparge water temps spot on. Since it all starts here I feel this is a pretty important step to nail. So what I'd like to build to simplify this step in brewing is a HLT that is electrically heated. I have a converted sanke that I could use to modify/convert to a heated HLT. I have absolutely no experience in this type of thing and not really any knowledge of electricity so I'm looking for some guidance, maybe some directions to follow so that I can build a HLT that is heated with an element that is controlled with a temp controller so that I can simply dial in, say 168*F, and my water in my HLT will be heated and held to 168*F, or obviously whatever temperature I desire. This seems like it would be pretty simple, just a matter of installing an element into the HLT and wiring in the Johnson digital controller. Is it this easy? If so, would some of you mind sharing some pictures of a similar setup and/or sharing some specific directions?
thanks
thanks
")