My kegerator project

Homebrew Talk - Beer, Wine, Mead, & Cider Brewing Discussion Forum

Help Support Homebrew Talk - Beer, Wine, Mead, & Cider Brewing Discussion Forum:

This site may earn a commission from merchant affiliate links, including eBay, Amazon, and others.

bpalmer05

Member
Joined
Dec 27, 2011
Messages
11
Reaction score
0
Location
St. Louis
hey guys! Just got into brewing and I've wanted to keg and have a kegerator since I started. I finally had the funds available to buy a kegging kit, but wanted to wait to find a really good deal. I found this on Craigslist and hopped on it right away. It didnt have pictures, and I had no real details until I saw it, but I knew I would be able to make it work.

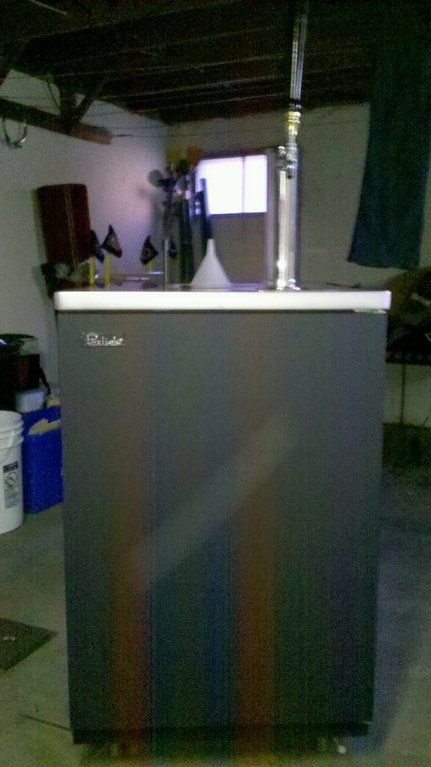
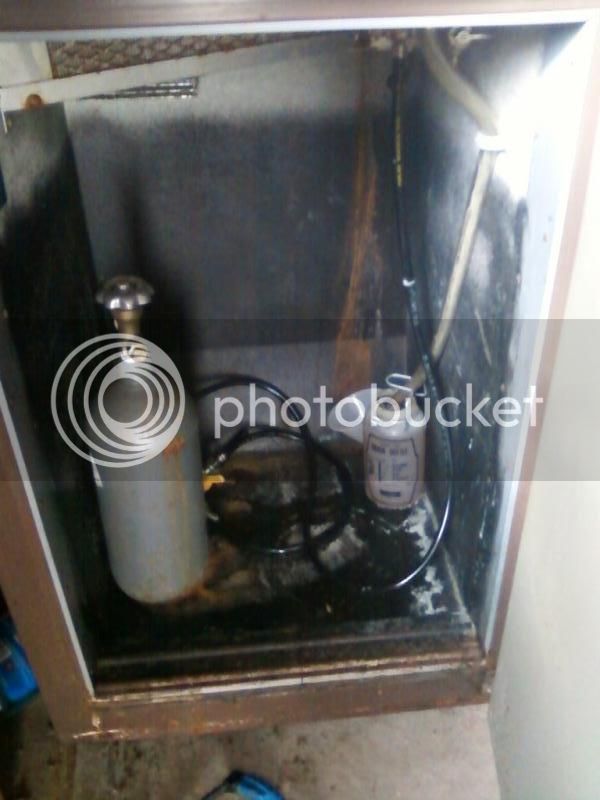
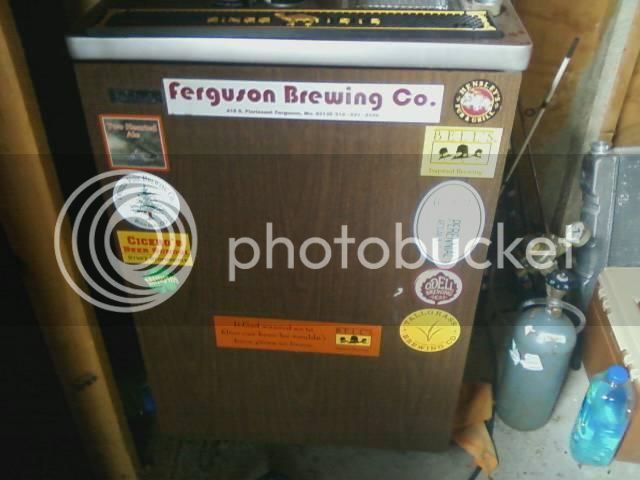
I got a Perlick 8184B (looks like from the 70's) with a 5lb co2 tank, all the hoses, tower, tap, and a corny keg all for $200. It needed a little TLC, but it runs!

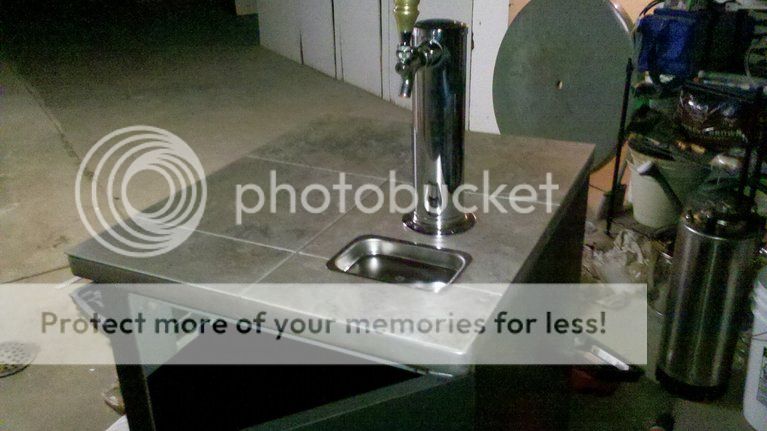
SWMBO agreed to let me get one, so long as we can make it presentable upstairs, and she wants to basically turn it into a bar with a countertop, cabinets and a wine rack. I did all this work over this weekend.

How it looked to start:
PART_1330102806166.jpg


imagejpeg952.jpg
 
First thing I did was to clean it up. I took all the panels off of the back and washed them all in a soapy solution and cleaned out the fan and compressor and everything. I cleaned out the inside with a soap and water and sanded it down to prep for paint. I also cleaned and sanded the outside.

I took the door off and removed all the stickers, and used goo gone to get rid of the residue. I sanded the door down and applied three coats of chalkboard paint to the door and the area around the door on the fridge itself to match.

SWMBO painted the sides and I painted the back of the fridge last night. While the paint was drying, I got impatient and decided to the tile/grout the top. I used groutable linoleum tiles, which just stuck on with adhesive, mostly because it was cheap and easy. I wanted to keep this as low cost as possible.
 
Here is the front door finished and back on:

photobucket-896-1330366377699.jpg


The inside cleaned up and painted:

photobucket-909-1330366405880.jpg


and the top tiled (this is right before I grouted):

photobucket-4865-1330366432294.jpg


You can also see the sides completed in the last picture a little bit. Sorry for the horrible pictures. Low light with cell phone suck. Hope to once I get it upstairs get some better pictures with my actual camera.
 
I have the exact same kegerator. I have yet to paint the inside, but i think yours looks great. Definite way to go. I have a question though. Im trying to adjust the temperature but can't get the right setting. How do you adjust that screw in the back? I haven't noticed any landmarks on the screw to set it to a number. Any suggestions?
 
Just picked one of these up... $215 with 2 co2 tanks and regulators...
I'm looking to refinish mine as well... there is a substantial amount of rust on the floor on both the inside and the bottom of the fridge...
Did you use naval jelly to stabilize the rust or sand it all out?
Did you end up with any holes in the bottom that you needed to patch?
If so how did you patch them (Epoxy?)

How is this holding up with the paint on the inside?

What type of paint/primer did you use on the inside?

Thanks in advance!
 
I used a wire pad and some sand paper to clean up the rust and then used some enamel spray paint on both the inside and out.
 
this model will handle from 1 full size keg up to 3 corny kegs... but they need to be the right mix of models I found in my experience (i.e. up to 2 Pepsi style (the taller thinner ones) and one of the coke style (~4 inches shorter and ~1.5 inches wider)) The reason you need to mix these is the evaporator up top that covers 1/3 of the ceiling... I found the Pepsi style kegs can't fit underneath of this without cutting off the rubber handles up top... and not wanting to do this I purchased a couple of refurbished coke style (pin locks) that were converted to ball lock and had a Pepsi style pressure relief valve fitted into the lid). The bigger but shorter Coke one fits nicely under the evaporator/fan up top and the 2 Pepsi Style ones fit nicely in the remainder of the space.
 
Back
Top